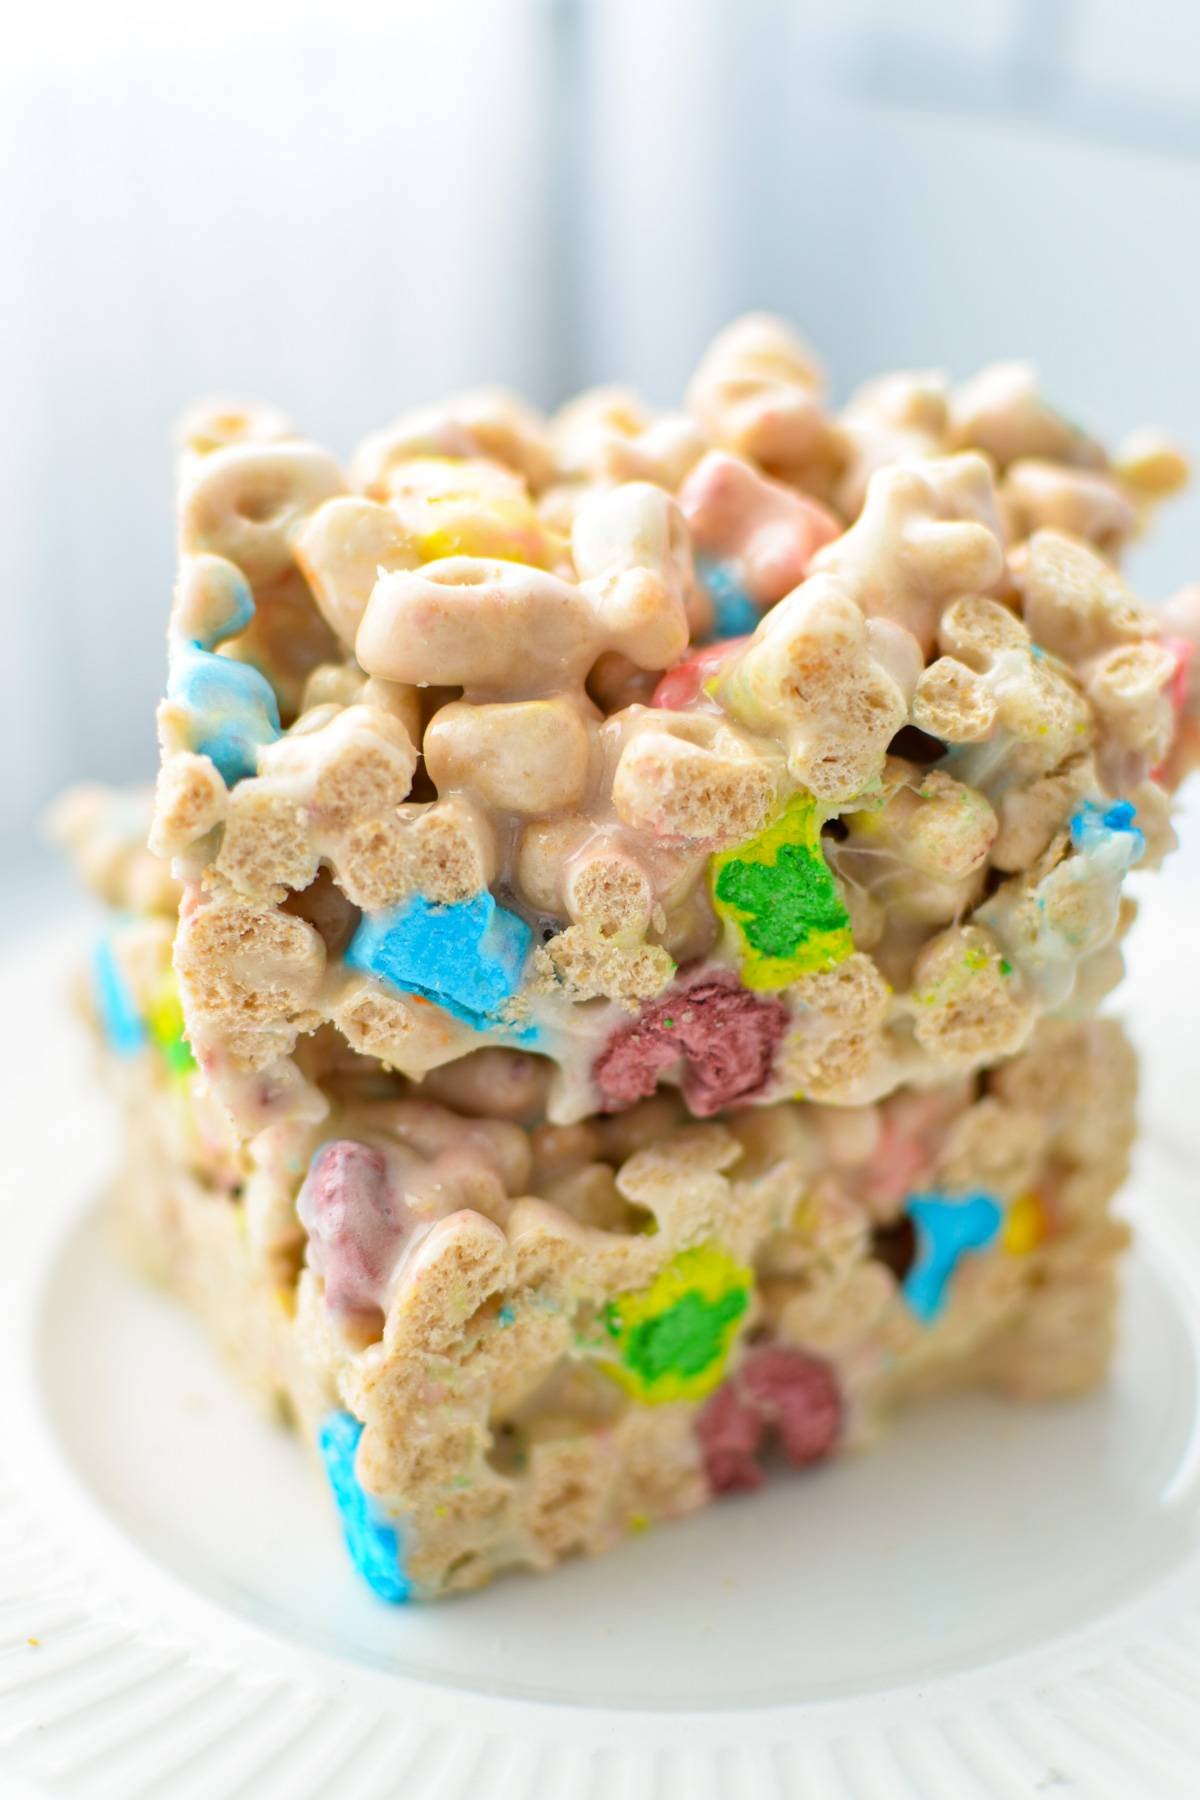
These Lucky Charms Treats are the perfect easy dessert! They use just 4 simple ingredients, and are perfect for making as a lunch box snack, a family-friendly no bake dessert, OR as a festive St. Patrick's Day treat!
Don't forget to try my recipe for no churn Lucky Charms ice cream too!
Jump to:
While it's no secret that I have an affinity for no bake desserts, I haven't shared my love of cereal treats yet here at Dash for Dinner!
Cereal treats (like classic Rice Krispie Treats) are some of my favorite desserts to make. While I certainly can't stay out of the kitchen and enjoy making multi-step desserts (like my No Bake Chocolate Chip Cheesecake or Nutella Pie), there is something to be said about the marvelous wonderfulness of cereal treats.
Not only do these Lucky Charms Treats come together in less than 10 minutes, but they require just 4 ingredients and store for up to a week when stored in the refrigerator! And even longer if you opt to freeze them.
These are always a favorite with kids, and make a great addition to a St. Patrick's Day themed party, or for any time of year you want to embrace your inner leprechaun!
Ingredients
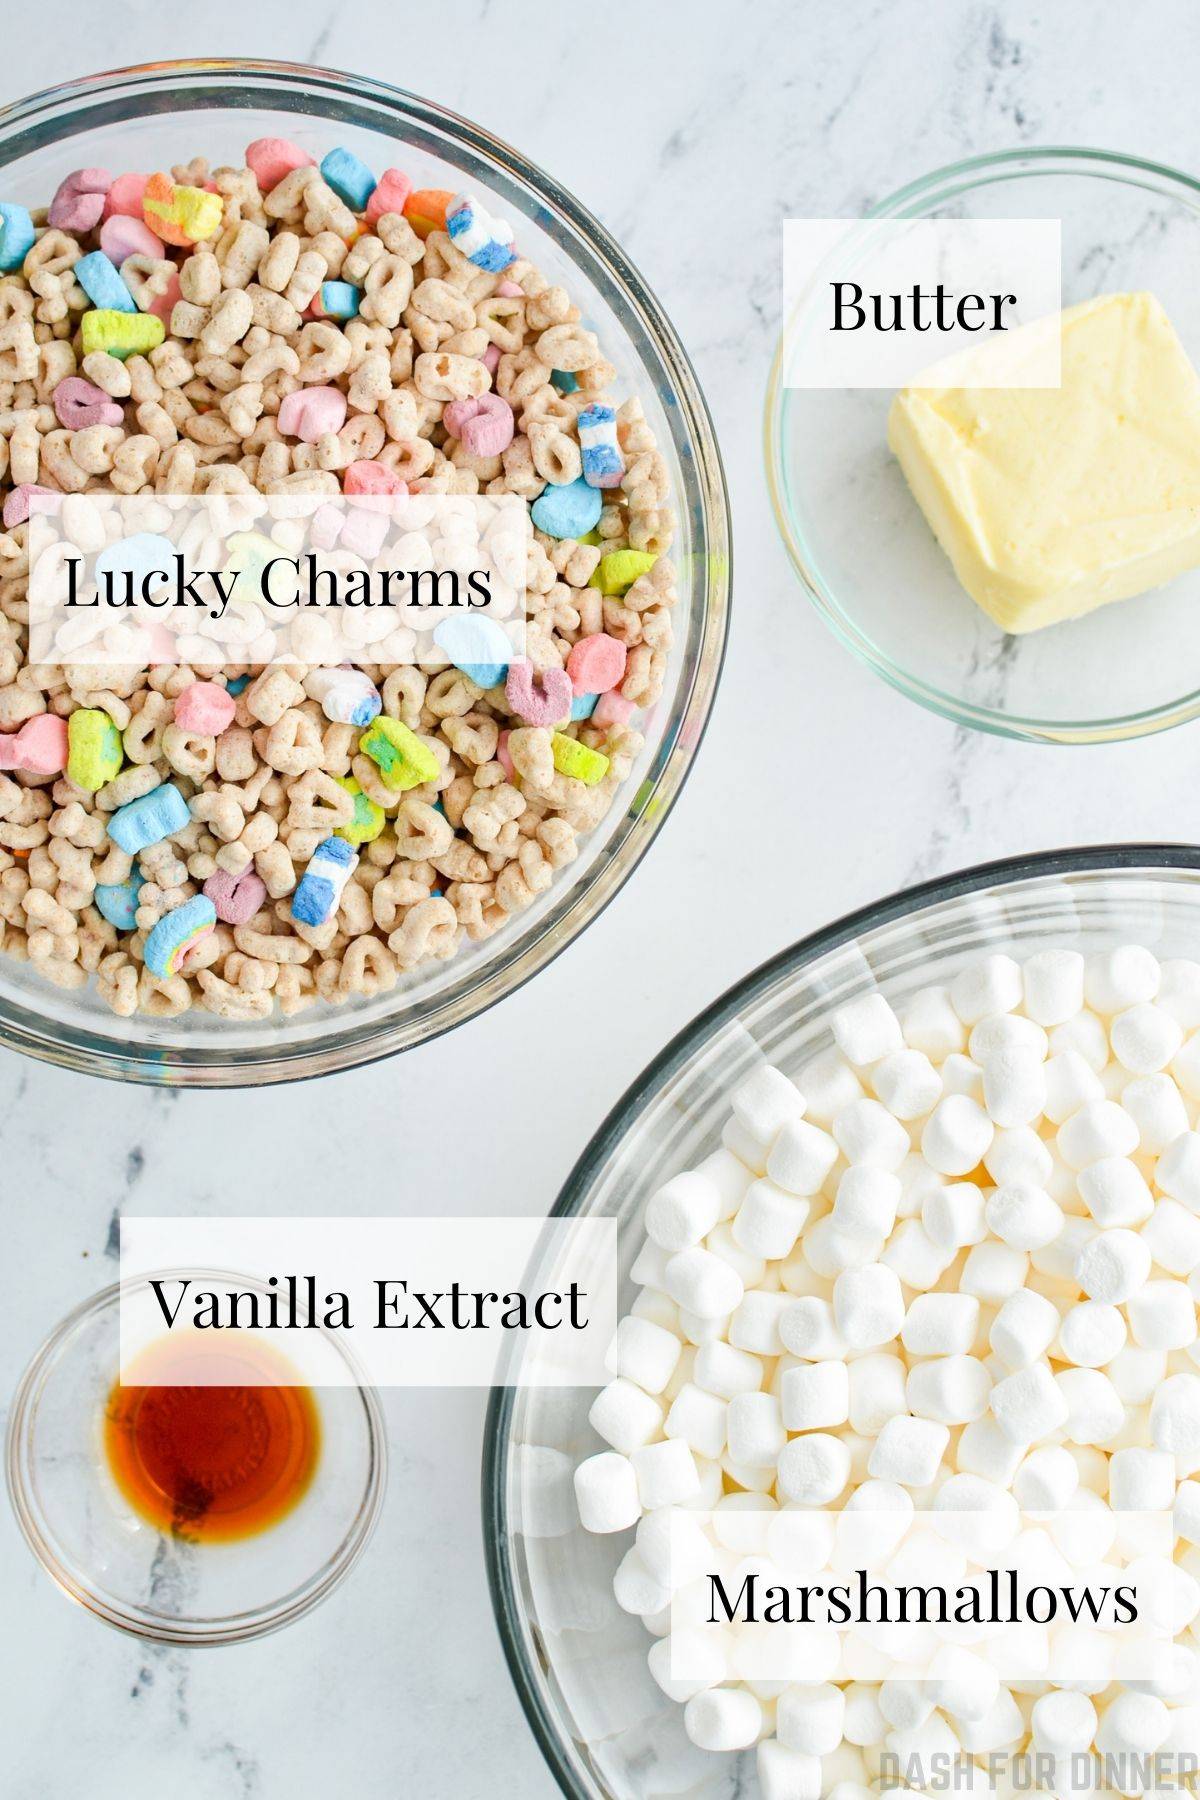
- Lucky Charms: You will need one regular size box of Lucky Charms cereal. This is roughly 11.5oz or 300g. If you have a larger box of cereal, use approximately 9 cups of cereal for this recipe.
- Marshmallows: A large 16oz bag of mini marshmallows is used. Mini marshmallows melt easier, so they are perfect for no bake recipes like this one. A large bag equals about 9 ½-10 cups of mini marshmallows, or 454 grams.
- Butter: I like to use salted butter for this recipe, since it compliments the very sweet flavors perfectly. If you find your regular brand of butter very salty, you can always opt for unsalted butter + a few pinches of salt.
- Vanilla extract: I love adding vanilla to my cereal bars! It gives a nice, subtle flavor that adds something special and gives a true homemade flair to these easy dessert recipes.
Tools & Equipment
- Large Bowl: You will need a VERY large bowl to contain all of the marshmallows and cereal. If you're using a stovetop method, instead you will need a very large saucepan or stockpot.
- Silicone Spatula: When it comes to sticky recipes like this one, I highly recommend using a silicone spatula. This one is my favorite and it comes in many sizes.
Instructions
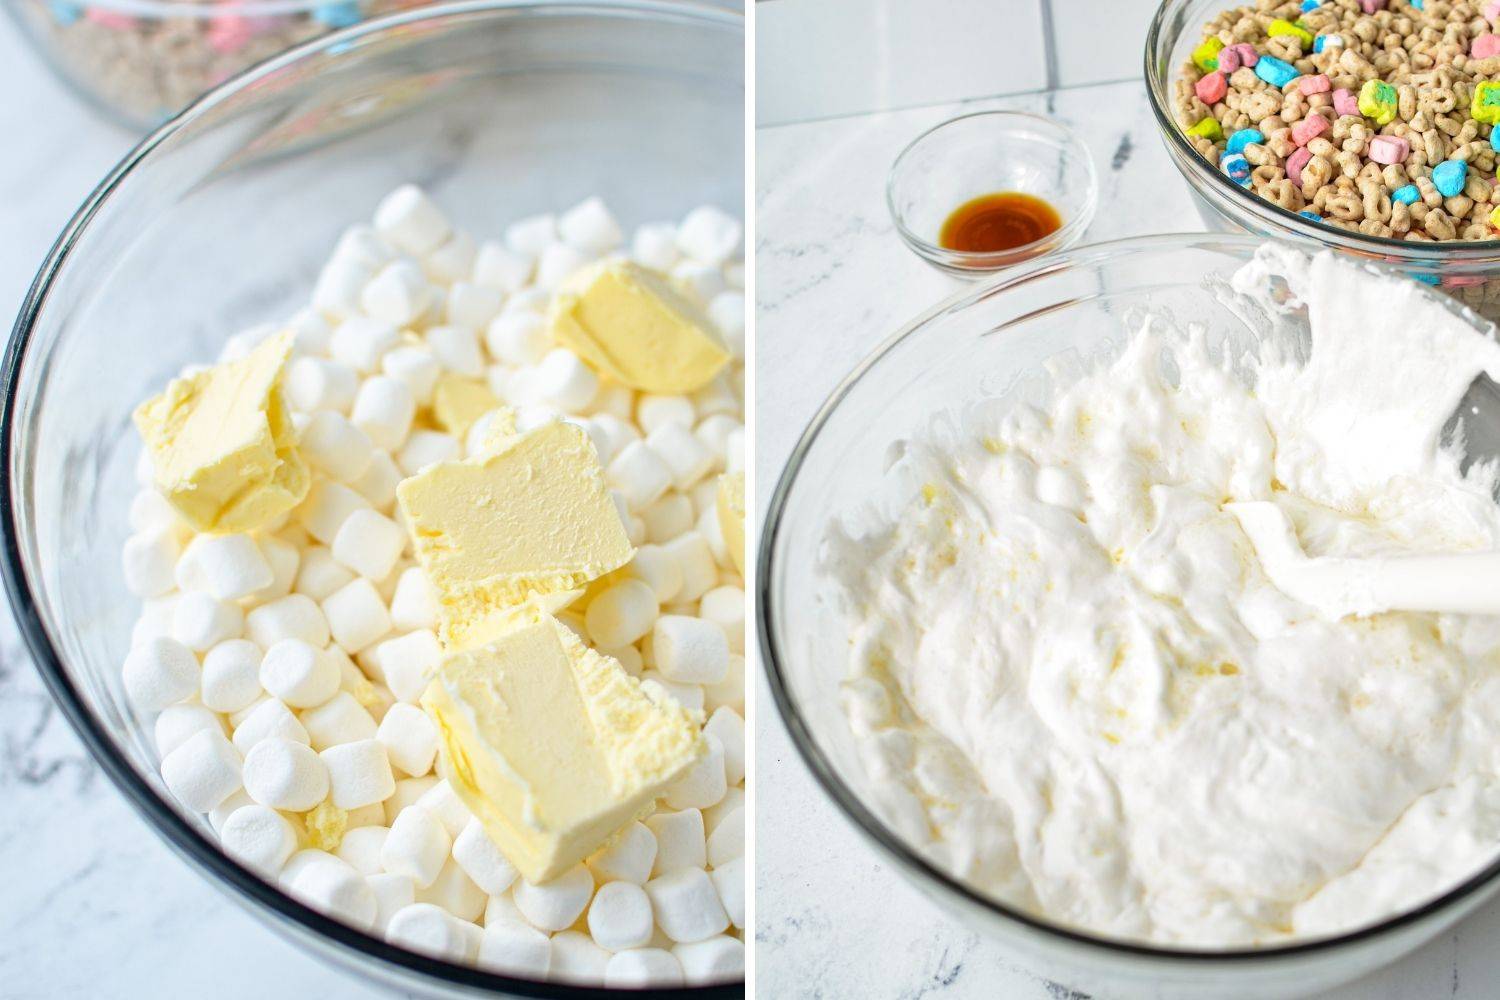
Start out by adding all of your mini marshmallows to a large glass or microwave safe bowl. Cube or slice the butter and add it to the top of the marshmallows.
Heat in the microwave on "high" for 3 minutes, stopping at the 2 minute mark to stir.
Once the marshmallows and butter have melted together, remove from the microwave.
Note: If you need stovetop directions, scroll down towards the end of the post or check the recipe card.
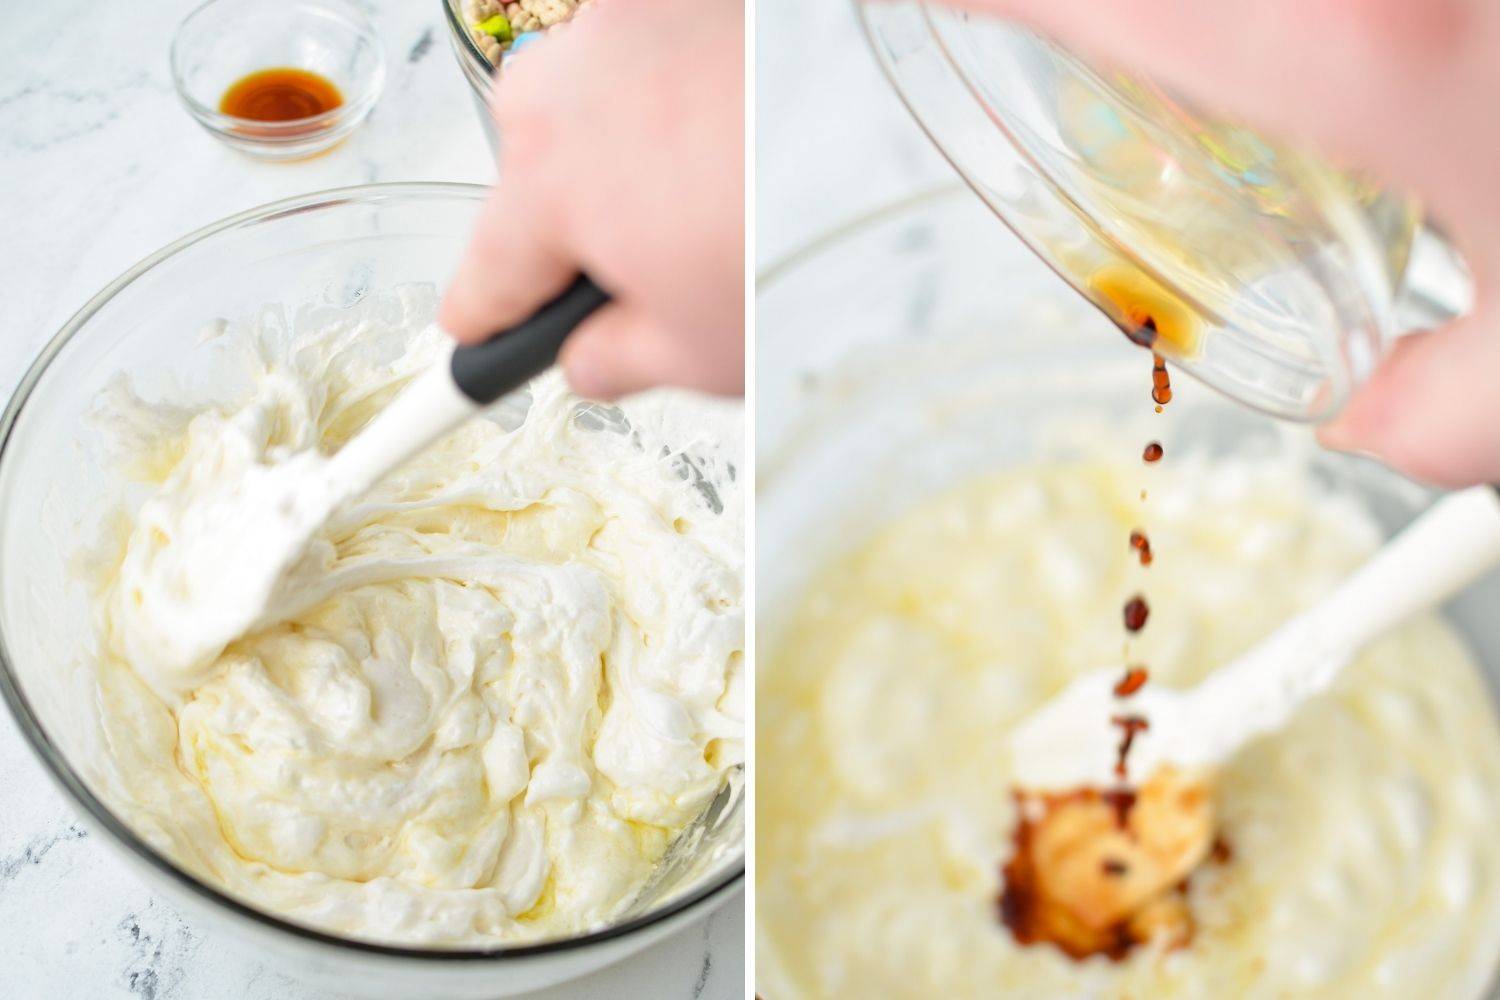
Stir the melted marshmallows and butter until smooth.
Add in the vanilla extract and stir again to incorporate.
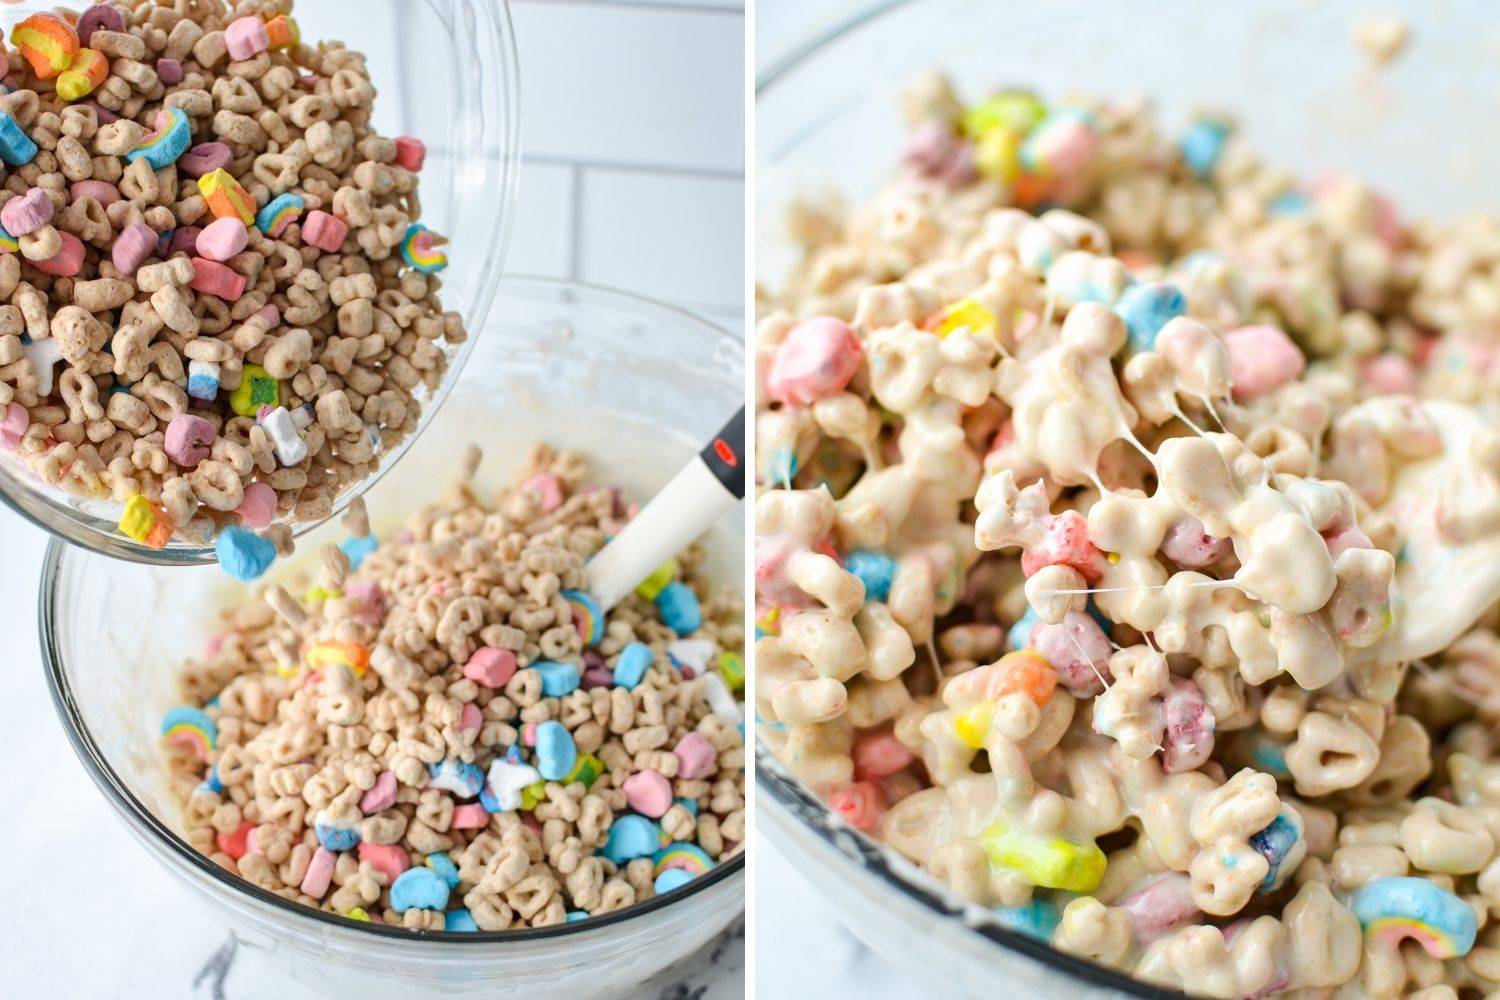
Add the lucky charms cereal to your bowl of melted marshmallow-y goodness.
Fold the cereal in using a silicone spatula, ensuring all of the cereal is coated.
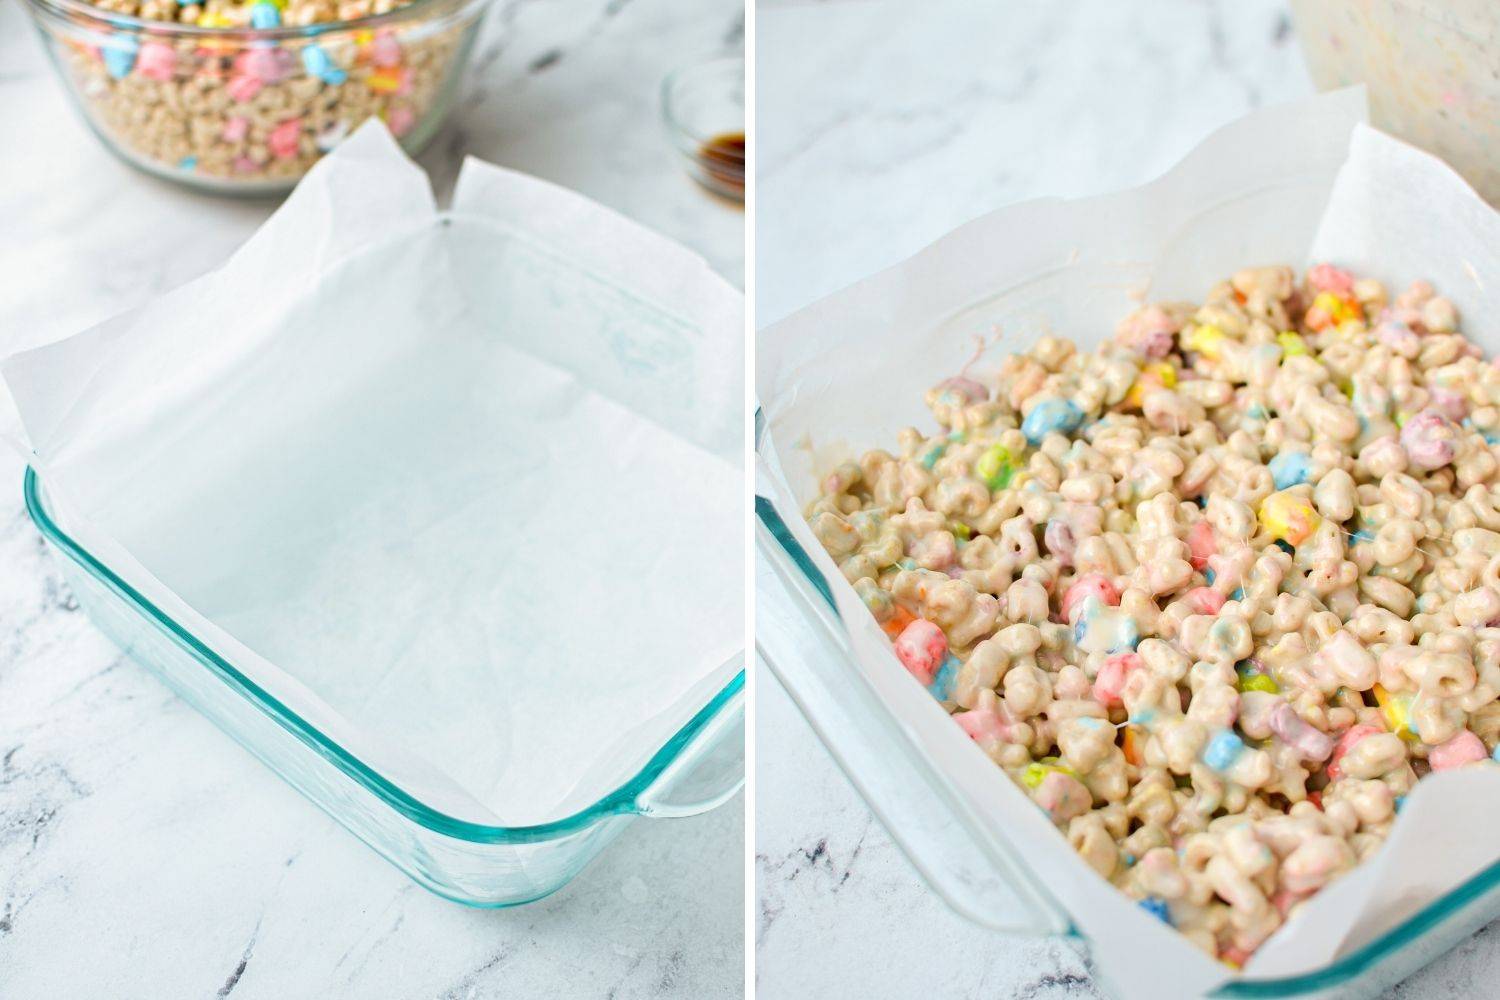
Grease and line two 8X8 baking pans (or 1 9x13 baking pan) with alternating, crisscrossed layers of parchment paper that have been trimmed to fit.
Overlap the edges to create a "handle" for the dish.
Transfer the cereal mixture to the baking pans and spread it out evenly.
Be careful not to pack the mixture down, or push hard. This will create a dense, slightly dry Lucky Charms treat. We want soft, gooey, and sticky!
Chilling and Slicing
Once you have spread the mixture into your baking pans, allow the treats to set at room temperature for 2-3 hours, OR in the fridge for 1-2 hours.
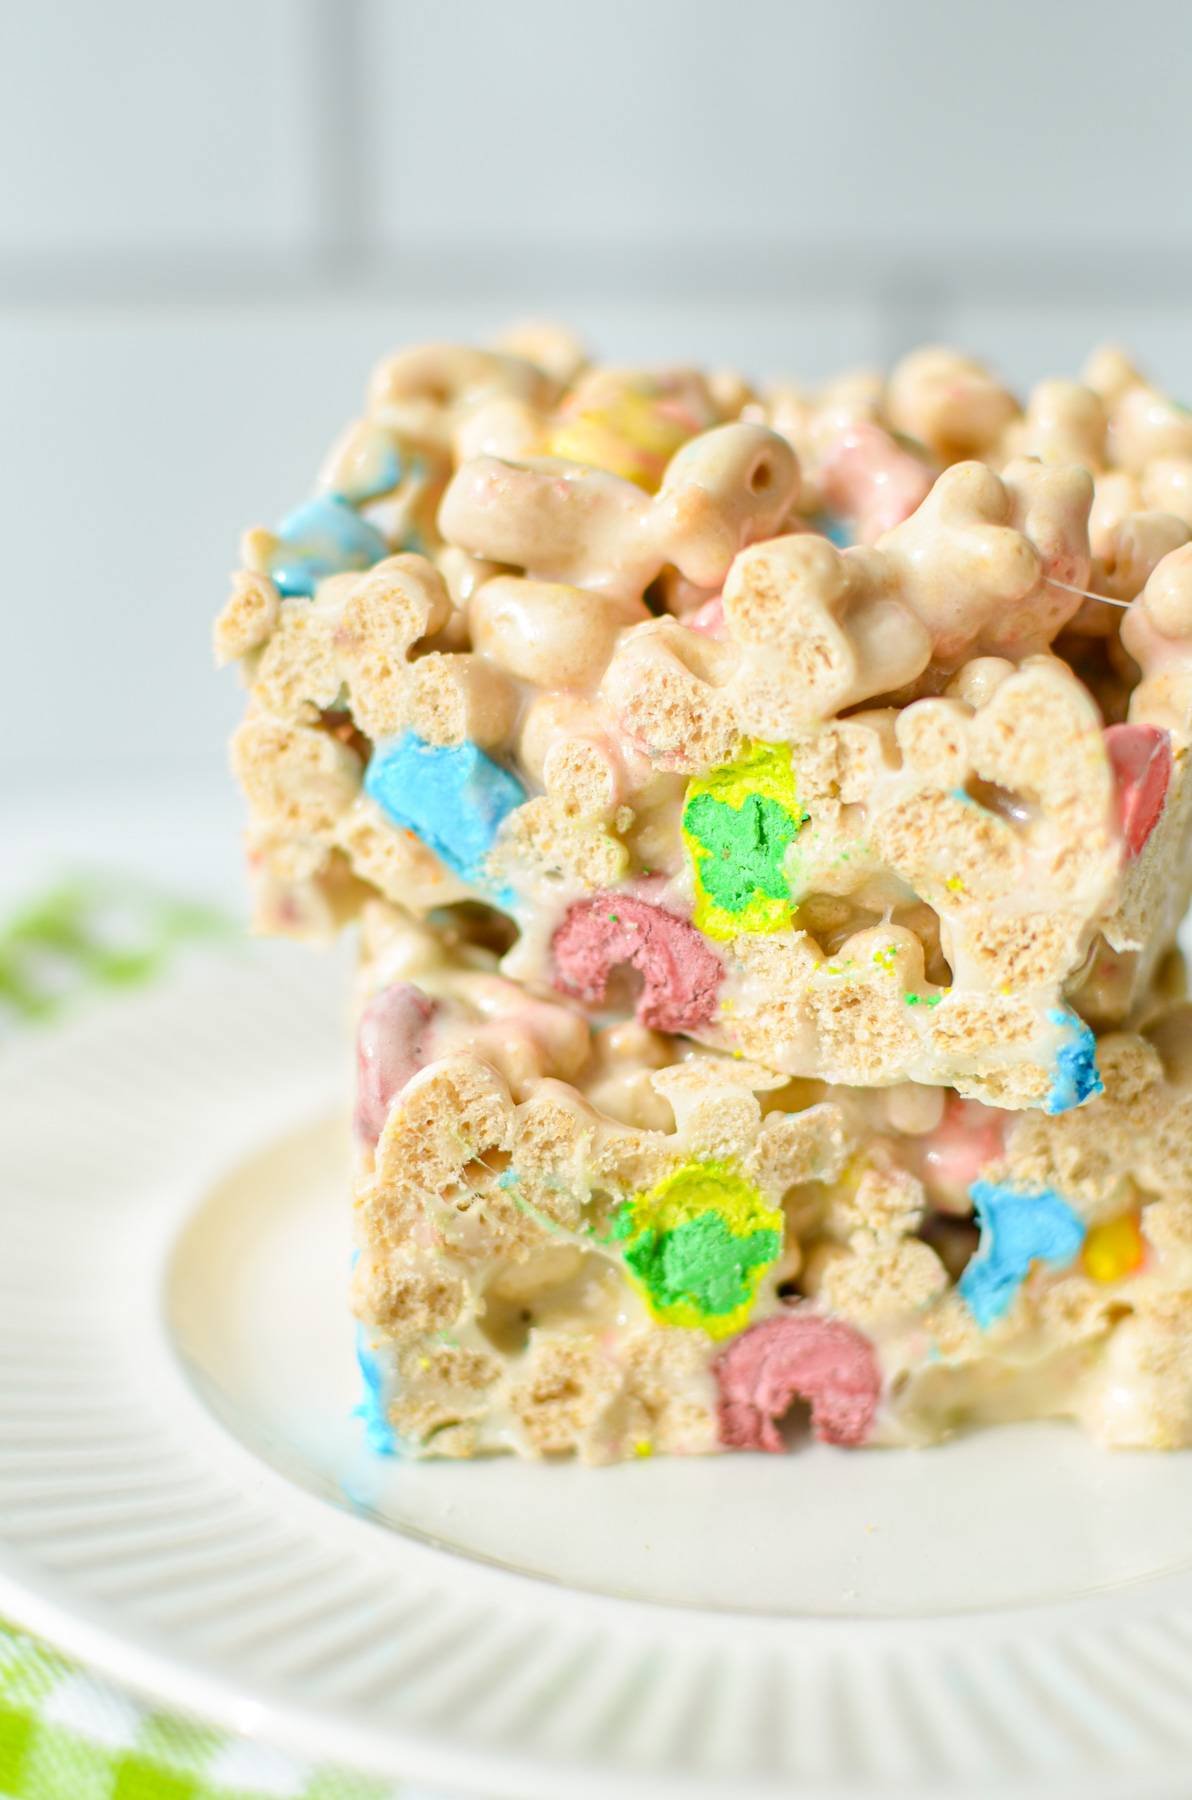
Once the bars have set up, go ahead and slice them into squares.
Serve and enjoy, or store for later!
Storing Your Treats
Once your treats have completely cooled down and have been sliced into bars, transfer them to an airtight storage container.
Keep on the counter for up to 3 days, OR in the refrigerator for up to 1 week.
Freezer Storage
If you would like to freeze your treats, you can do so by wrapping each treat individually in plastic wrap, then placing in a labeled freezer bag. Freeze for up to 3 months.
Stovetop Instructions
Not everyone owns or likes to use a microwave for cooking. Here are some alternative instructions for those who prefer to use a stovetop method to make their Lucky Charms treats.
- Melt the butter in a very large saucepan or stock pot over low heat.
- Once the butter is melted, add the marshmallows and stir constantly until melted.
- Once the marshmallows are completely melted and smooth, remove from the heat and stir in the vanilla.
- Add in the cereal, and fold it in gently.
- Transfer to the prepared baking dishes as described in the recipe.

Lucky Charms Treats
Ingredients
- 10 cups mini marshmallows (10 ounce bag)
- ½ cup butter
- 9 cups Lucky Charms cereal
- ½ teaspoon vanilla extract
Instructions
- Grease one 9" x 13" baking dish (or two 8" x 8" pans) with butter, and line it with two sheets of parchment paper cut to size, overlapping each other to provide "handles" on all sides of the baking dish.
- Add your marshmallows to a very large microwave safe bowl.
- Cube your butter and place it on top of the marshmallows.
- Heat the bowl of marshmallows in the microwave on high power for 3 minutes, stirring at the 2 minute mark.
- Stir well to combine the marshmallows and butter, and then stir in the vanilla extract.
- Add the cereal to the melted marshmallow mixture, and gently fold it it with a silicone spatula.
- Gently transfer your lucky charms mixture to the prepared baking dish, and spread it out evenly. Be sure to not pack them in too tightly, as you don't want your treats to be dense.
- Allow to cool at room temperature for several hours, OR in the fridge for 1-2 hours.
- Once your treats are set, slice them into squares/bars. Serve and enjoy!
Notes
Nutrition
Please note that some of my blog posts here at Dash for Dinner may contain affiliate links. If you make a purchase through these links, I will get a small commission at no additional cost to you. Please see my Disclaimer for more information.



Leave a Reply