This easy recipe for Lucky Charms Ice Cream requires no ice cream maker! This 4 ingredient homemade ice cream is infused with the flavor of cereal milk. It's then dotted with colorful Lucky Charms marshmallows for the ultimate sweet treat!

Even though Lucky Charms are totally a year-round thing, I can't help but think of them more as St. Patrick's Day rolls around. Maybe it's the Irish stereotype of a leprechaun with a pot of gold at the end of the rainbow, or maybe it's just because "luck of the Irish" and "lucky charms" flow so well together.
Whatever the reason, my family is always glad to have this popular cereal incorporated into a few special St. Patrick's Day treats leading up to the holiday. Last year I shared my recipe for Lucky Charms Treats and a copycat Shamrock Shake. Both recipes have been popular requests throughout the year.
This year I wanted to have something cool, sweet, and perfect for reminding us that we have warmer weather to look forward to. So naturally, I had to come up with a recipe for Lucky Charms ice cream!
This ice cream creation is a twist on a classic no-churn vanilla ice cream base. I infused the ice cream base with cereal and filled it with colorful Lucky Charms marshmallows. What's not to love about that!?
Reasons to Make This Recipe:
- It uses only 4 ingredients and requires no ice cream maker.
- The ice cream base tastes just like cereal milk!
- This is a no churn ice cream recipe, meaning it's ready to freeze in no time.
- It's the perfect festive dessert for St. Patrick's Day, or a way to make any day special.
- Oh, and no eggs or egg yolks!
Ingredients
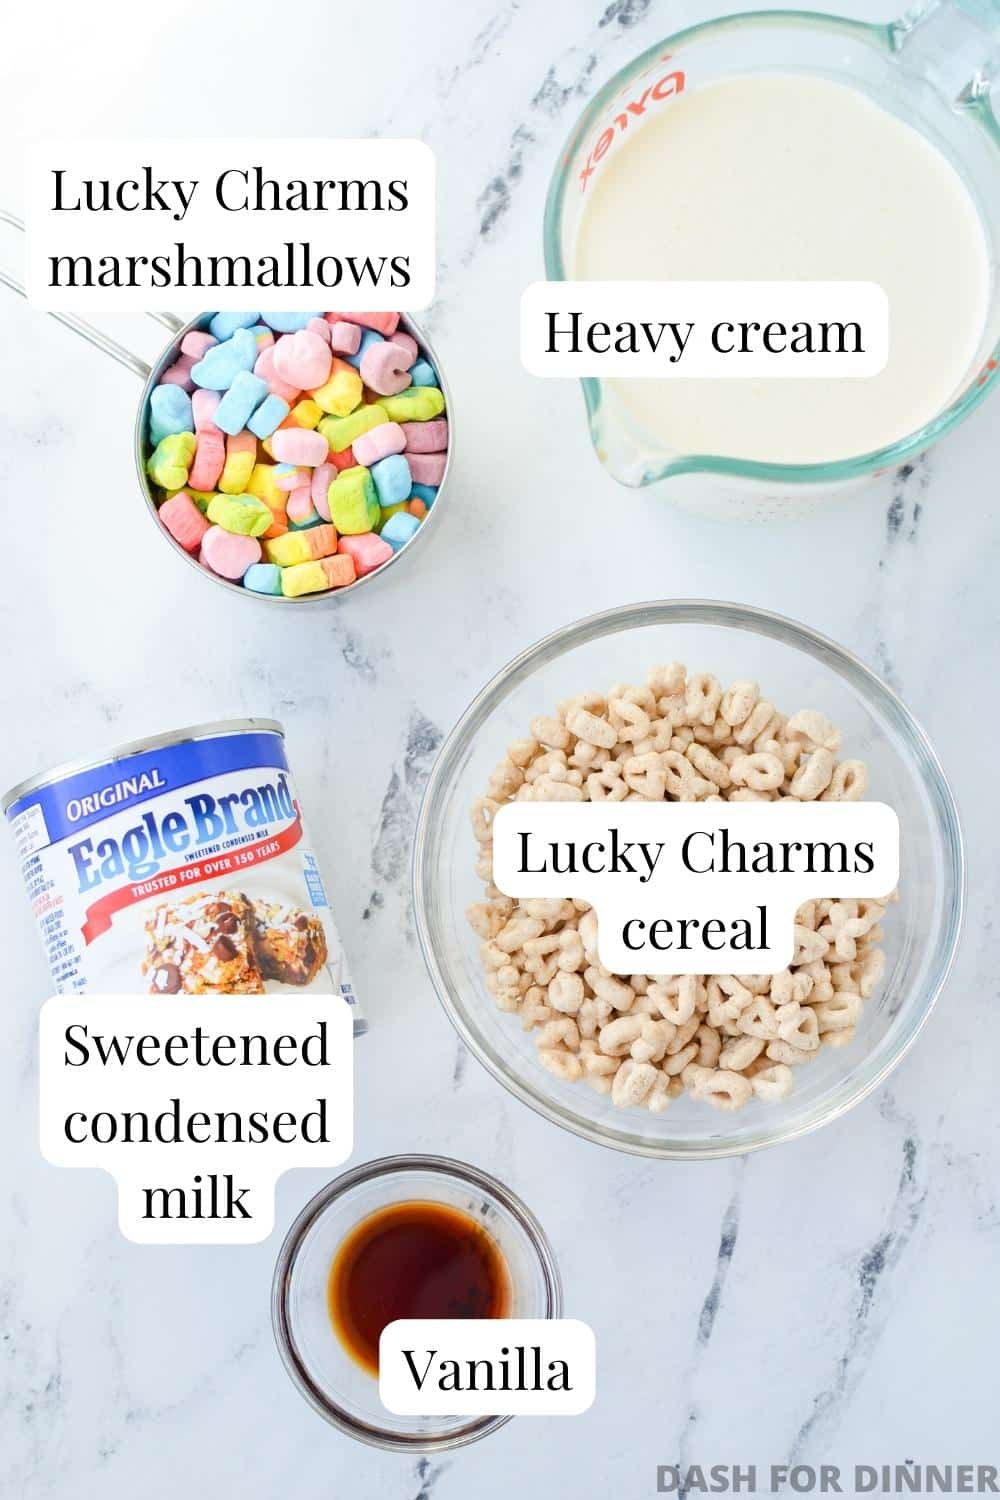
- Lucky charms: You'll need a standard-sized box of lucky charms, but you'll only need to use about 2 cups total. You will need 1 full cup of marshmallows, and 1 cup of the cereal itself. Since the marshmallow-to-cereal ratio is not 1:1, you'll end up using many of the marshmallows in a standard box.
- Heavy cream: Also known as heavy whipping cream, this is essential to getting that super creamy consistency we all love.
- Sweetened condensed milk: This is the secret ingredient for no-churn ice cream recipes. It really brings everything together into the perfect consistency and sweetness.
- Vanilla extract: This adds a lovely vanilla flavor that compliments the Lucky Charms cereal perfectly.
Equipment:
- Loaf pan: This is for freezing your homemade ice cream. A loaf pan works really well for no-churn recipes and proves to be the perfect depth. You can use an 8X8 baking dish as long as it's freezer safe, but your ice cream may end up on the firm side.
- Stand or hand mixer: Since you'll need to whip the heavy cream into a whipped topping, I highly recommend using either a stand mixer or an electric hand mixer to do the whipping for you. You could use a food processor. Note that you would need a large one to be able to whip the cream in a single batch.
How to Make Lucky Charms Ice Cream
Once you make this easy Lucky Charms ice cream at home, you're going to be wondering why you don't make ALL of your ice creams at home!
The cereal-infused milk flavor is absolutely delicious, and the taste and texture are at the same level (or higher) as premium ice cream brands.
Making Cereal Milk
To get started you'll want to add all of the heavy whipping cream to a large measuring cup (or a medium-sized bowl). Then add in 1 cup of Lucky Charms cereal (no marshmallows) and press it down to submerge it.
Cover the cereal and heavy cream with some plastic wrap and place in the fridge to chill and infuse for around 30 minutes.
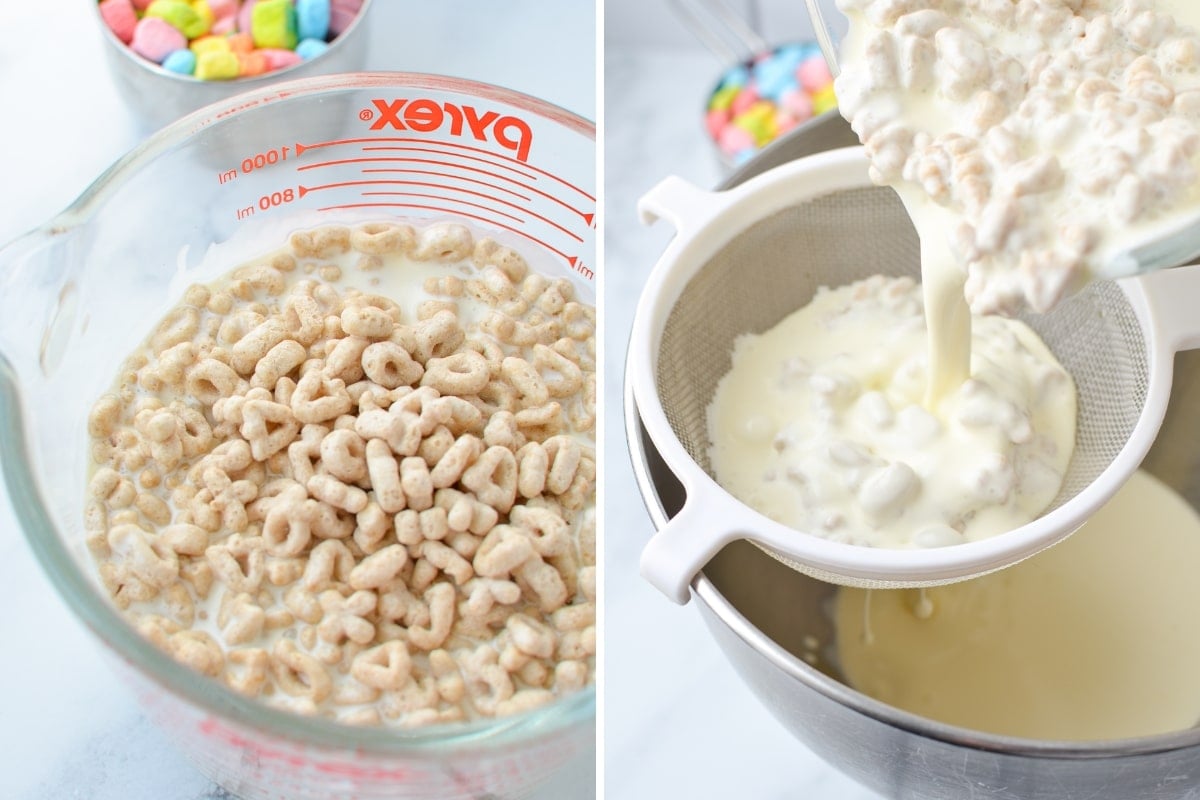
After the 30 minutes is up, set a strainer over a large bowl (or the bowl of a stand mixer) and pour the cereal and heavy cream through it.
The strainer will catch the cereal and allow the heavy cream to flow through. Press on the cereal to release as much of the absorbed cream as possible. Set aside.
Making the Cereal Ice Cream Base
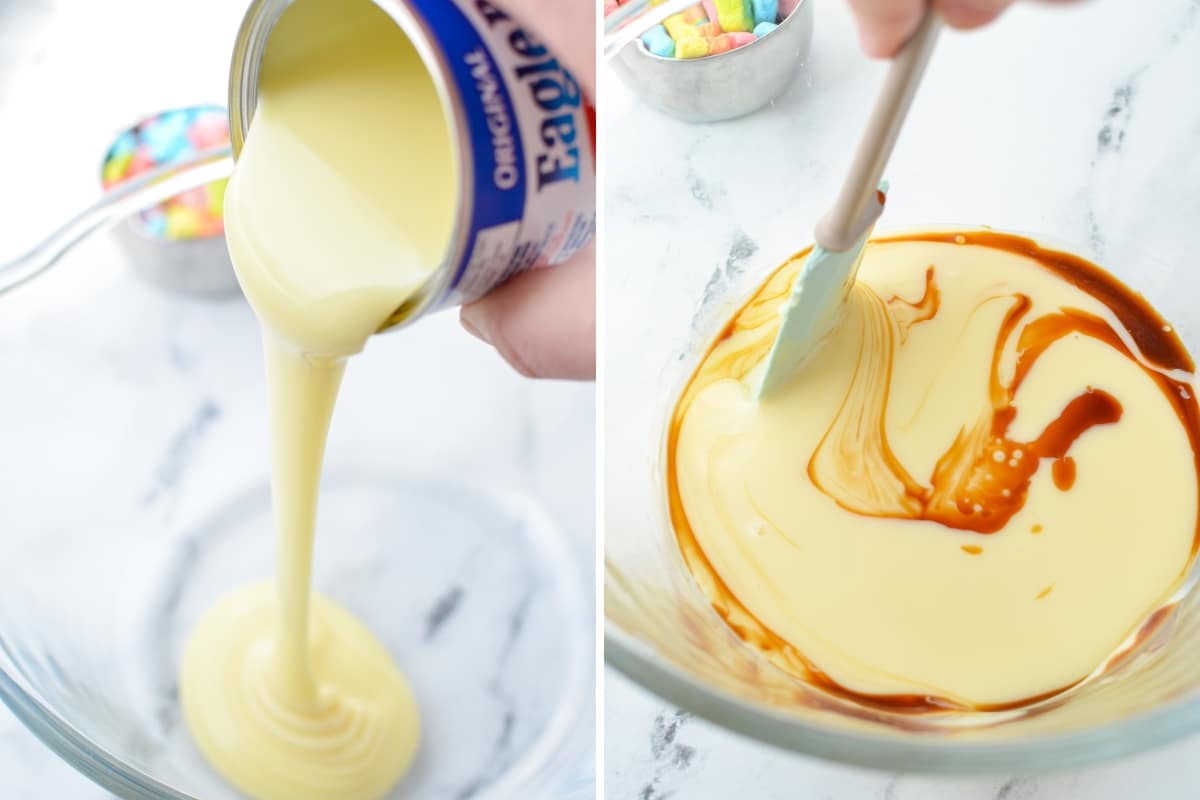
Add the full can of sweetened condensed milk to a large bowl, along with the vanilla extract. Stir well to combine and set aside.
Whipping the Cream
If you haven't already, add the heavy cream to the bowl of a stand mixer fitted with the whisk attachment, or use a large bowl with an electric hand mixer.
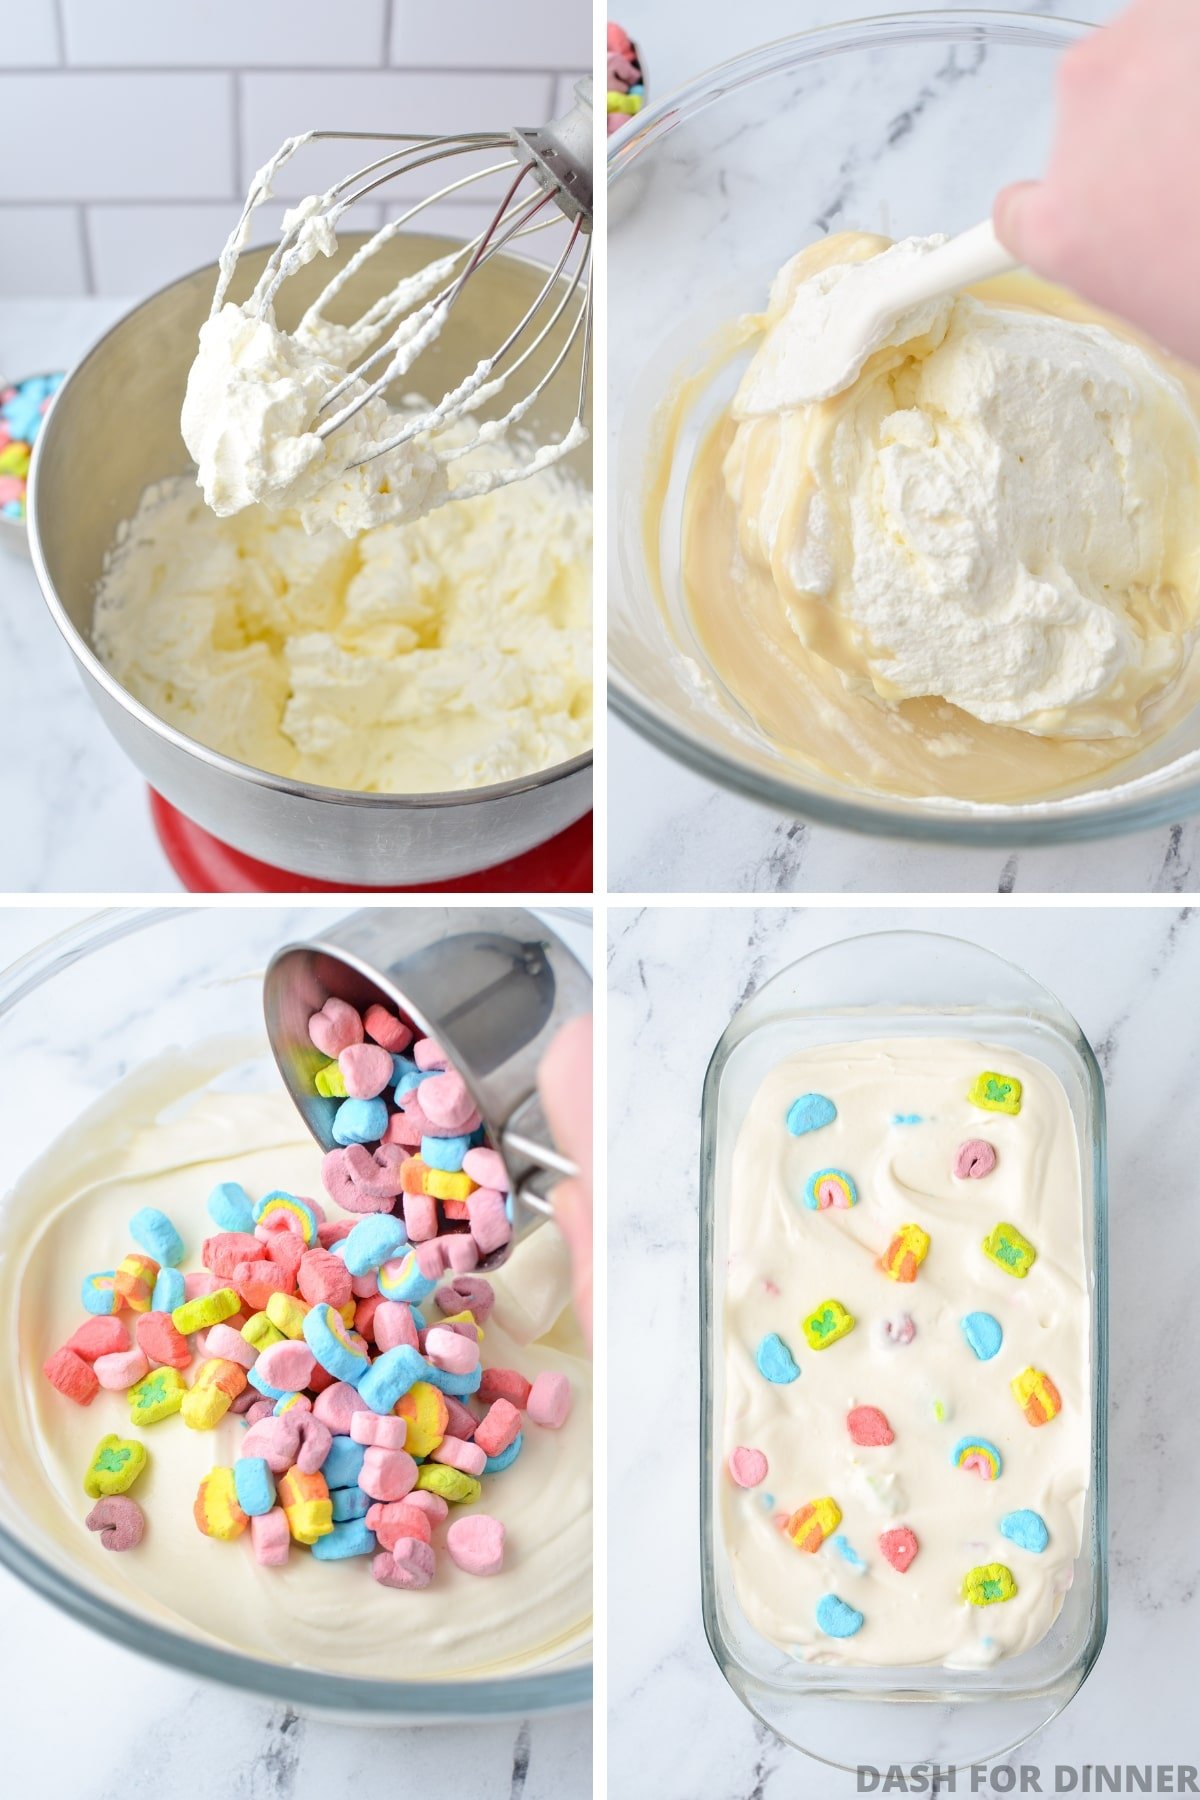
Whip the heavy cream on medium-high to high speed until stiff peaks form - about 2-3 minutes.
Once the cream has been whipped and is holding its shape, transfer it to the bowl of sweetened condensed milk and vanilla. Use a silicone spatula to gently fold it in until completely combined.
Adding in the Lucky Charms Marshmallows
Once the ice cream base is smooth and uniform, add in a full cup of Lucky Charms marshmallows and fold them in very gently. Overworking the base at this point could cause the colors to bleed, so use a light hand!
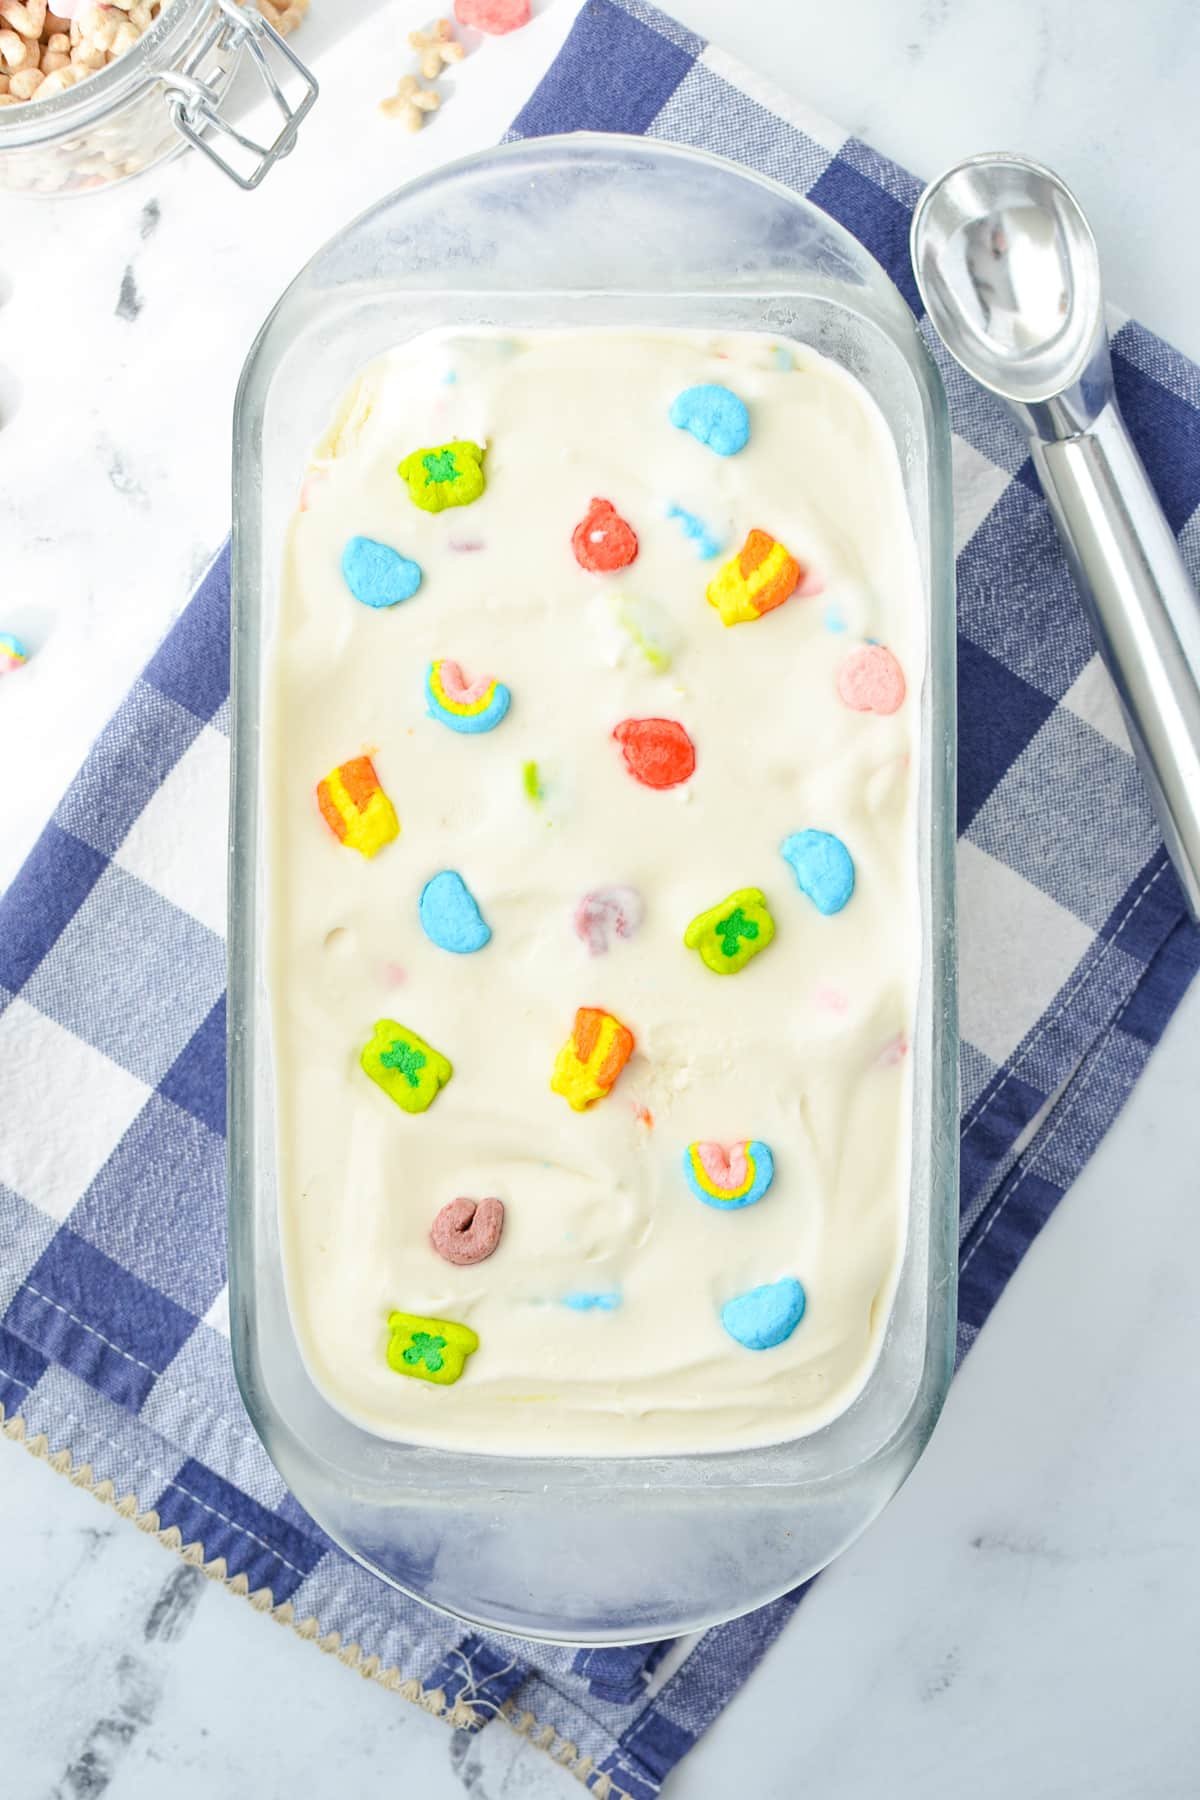
Transfer the ice cream to a freezer-safe loaf pan that has been lined with parchment paper or lightly sprayed with cooking spray.
Freezing
Cover the ice cream-filled loaf pan with plastic wrap and place it in the freezer. Allow it to chill for at least 4 hours before serving, but really 8-12 hours is the sweet spot.
Keep in mind that this style of ice cream is scoopable and softer than traditional churned ice creams. So it won't get super hard after freezing, but it should still be firm.

Serving
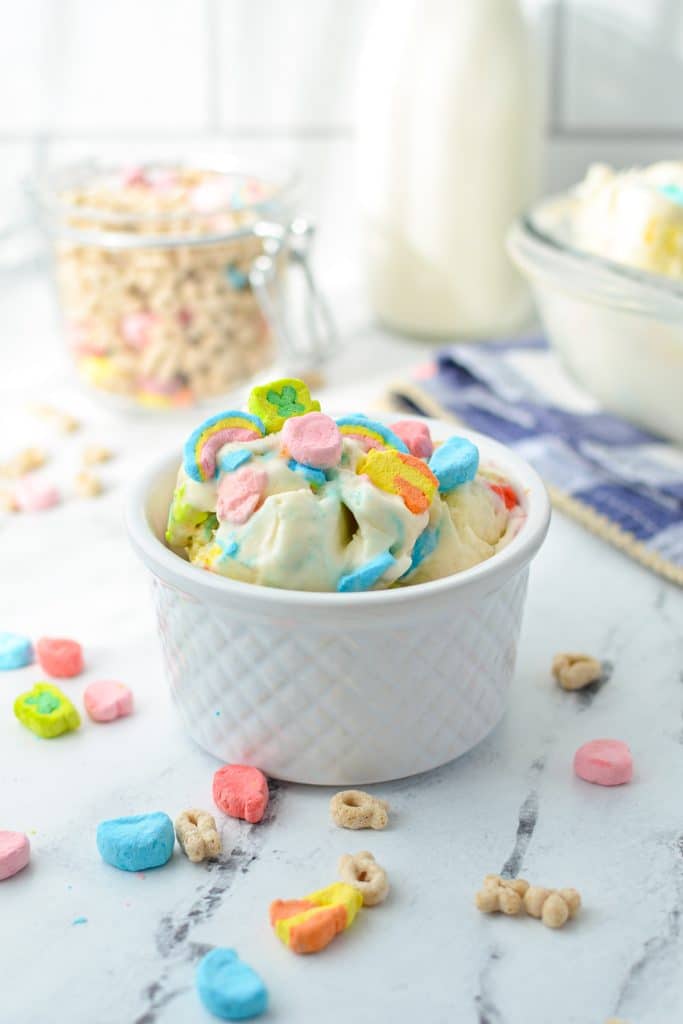
Once your ice cream has chilled long enough to be scoopable and firm, you're ready to serve and enjoy! There are so many ways to make this cereal bowl inspired treat extra special.
- Sprinkle extra marshmallows on top
- Top with edible gold glitter
- Serve it with waffle cones
- Whip up a Lucky Charms milkshake
- Serve with sugar cones
- Make it for St. Patrick's Day and serve it in a green waffle cone
- Tint the cereal milk green by adding green food coloring to the base of the ice cream
- Serve it in mini pots of gold
- Make an ice cream sandwich by scooping some ice cream between chocolate wafer cookies or homemade sugar cookies
- Fold a ribbon of marshmallow fluff into the soft serve ice cream base
Storing Leftovers
Your ice cream is fine to store in the loaf pan for up to 1 week, but any longer than that and you risk getting some freezer burn and flavor changes.
For storage longer than a week, I recommend transferring the leftover ice cream to a special ice cream container that is used for homemade ice cream. You can buy quart-sized, mini-size (6oz), or even large containers for storing big batches of homemade ice cream.
Store your homemade ice cream in airtight freezer containers for up to 1 month!

Tips for the BEST Homemade Ice Cream
- Just chill: If you have the time and freezer space, chill the bowls and loaf pan before preparing the whipped cream and ice cream base. It also helps to chill the ingredients in the fridge for a few hours ahead of time, and always make sure your heavy whipping cream is chilled before whipping.
- Give it time: While you can start sampling the ice cream around the 4-hour mark, you'll get the best results if you allow it to freeze for 8-12 hours before serving.
- Delegate: Make a deal with a kitchen helper that if they separate the cereal into marshmallows and cereal pieces they can eat the rest of the box. Works every time!
More Easy Desserts
- Lucky Charms Treats
- No Bake Chocolate Chip Cheesecake
- Berry Cheesecake Salad
- No Bake Peanut Butter Bars
- Nutella Pie

Lucky Charms Ice Cream (No Churn Recipe)
Equipment
- Stand mixer or electric hand mixer
Ingredients
- 2 cups Lucky Charms cereal separated into 1 cup of cereal and 1 cup of marshmallows*
- 2 ¼ cups heavy cream
- 14 ounce can sweetened condensed milk
- 1 ½ teaspoons vanilla extract
Instructions
- Line a 9X5 loaf pan with parchment paper or lightly spray it with cooking spray. Place the loaf pan in the freezer to chill while you prepare the ice cream base.
- Add the heavy cream to a medium-sized bowl, along with 1 cup of just the cereal (not the marshmallows). Stir well to combine, then cover and allow to infuse in the fridge for 30 minutes.
- Once the cereal has infused the heavy cream for 30 minutes, place a fine mesh strainer over a large bowl and pour the mixture through. The cereal will catch in the strainer, with the heavy cream collecting in the bowl. Discard (or enjoy) the soaked cereal.
- Add the sweetened condensed milk and vanilla extract to a large bowl and stir to combine. Set aside.
- Add the infused heavy cream to the bowl of a stand mixer fitted with the whisk attachment (or using a large bowl and an electric hand mixer).
- Mix the heavy cream on medium-high speed until stiff peaks form.
- Add the whipped cream to the bowl of sweetened condensed milk and vanilla, and gently fold them together.
- Add the marshmallows to the ice cream base, and fold them in very gently.
- Pour the ice cream base into the prepared loaf pan and cover it with plastic wrap. Top it with additional marshmallows if desired.
- Freeze for at least 4 hours before serving. 8-12 hours yields the best results.
Notes
Nutrition
Please note that some of my blog posts here at Dash for Dinner may contain affiliate links. If you make a purchase through these links, I will get a small commission at no additional cost to you. Please see my Disclaimer for more information.



Leave a Reply