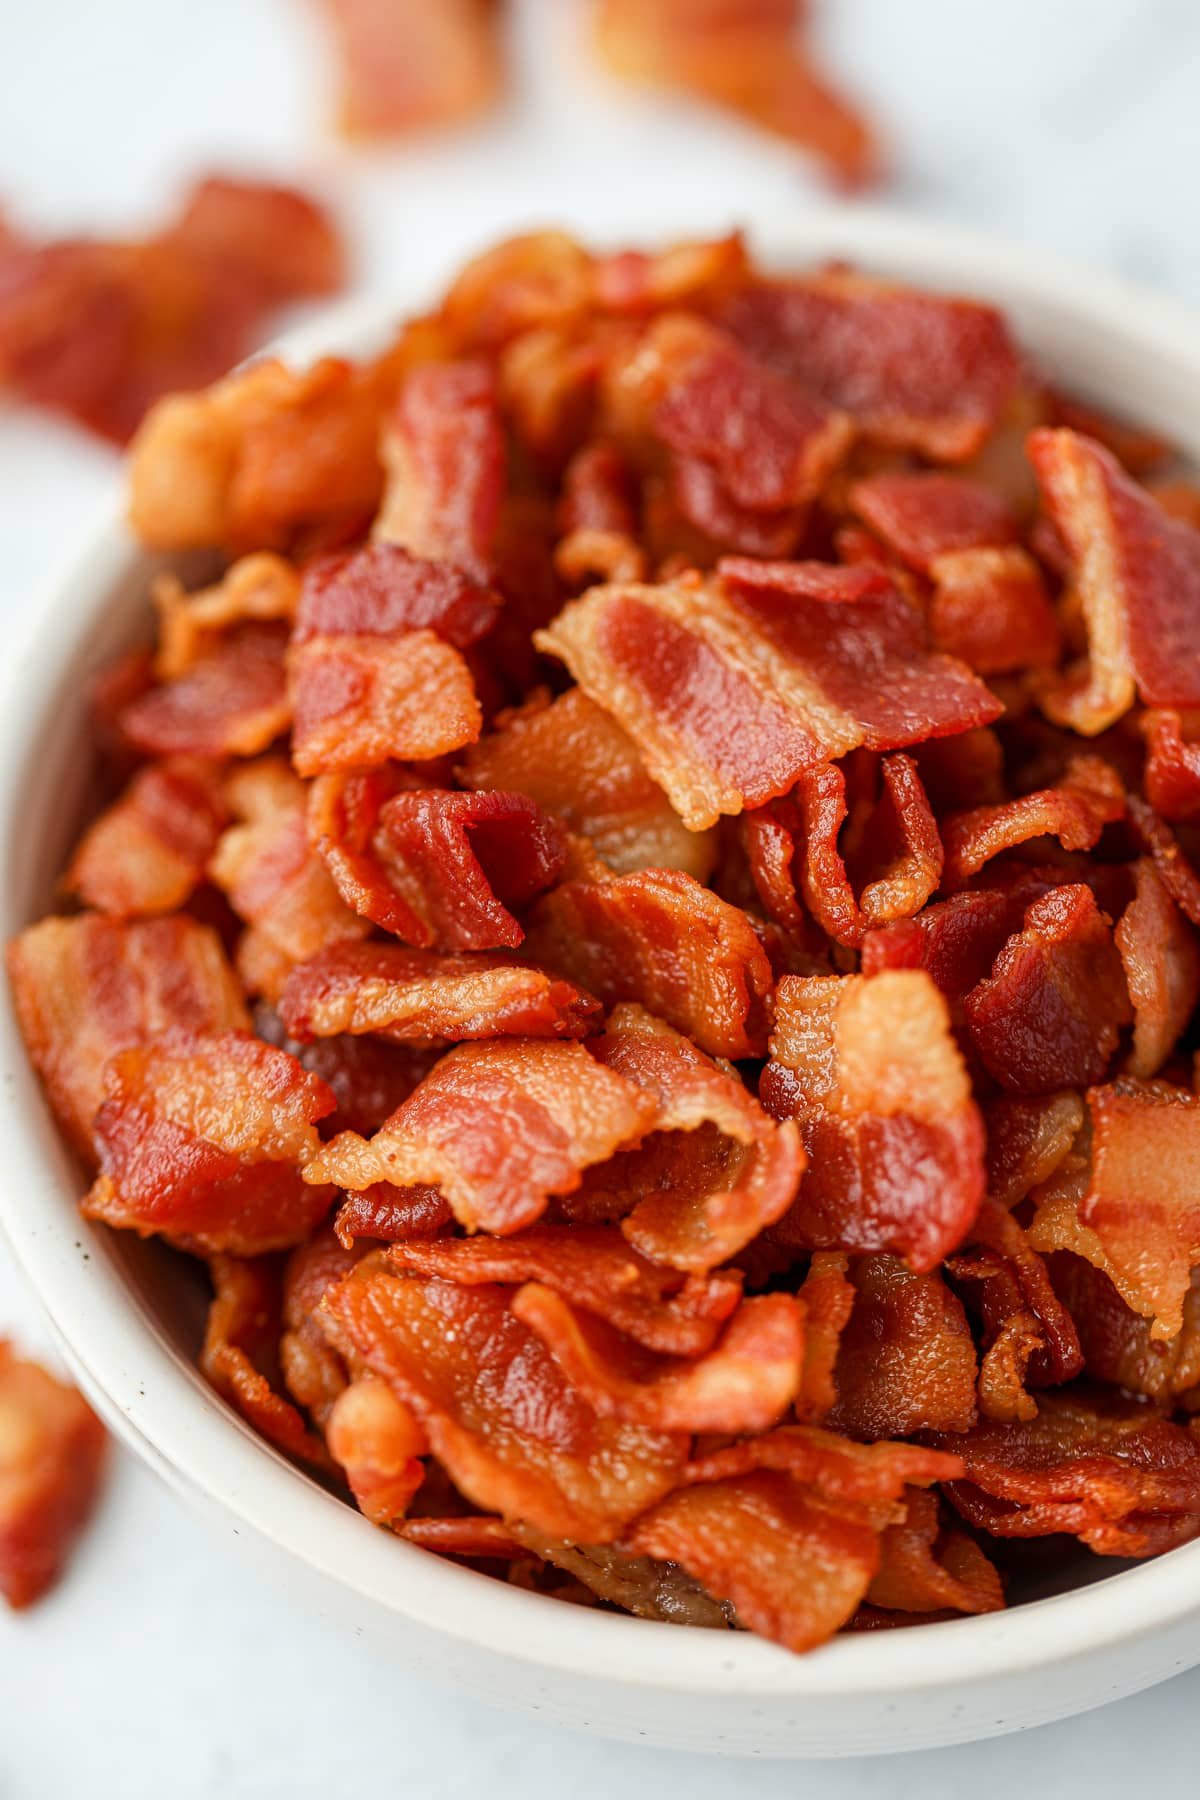
Learn the secret of how to make bacon bits that are perfectly crispy, crunchy, and flavorful every single time. Save money and make your own at home - you can even freeze some for later!
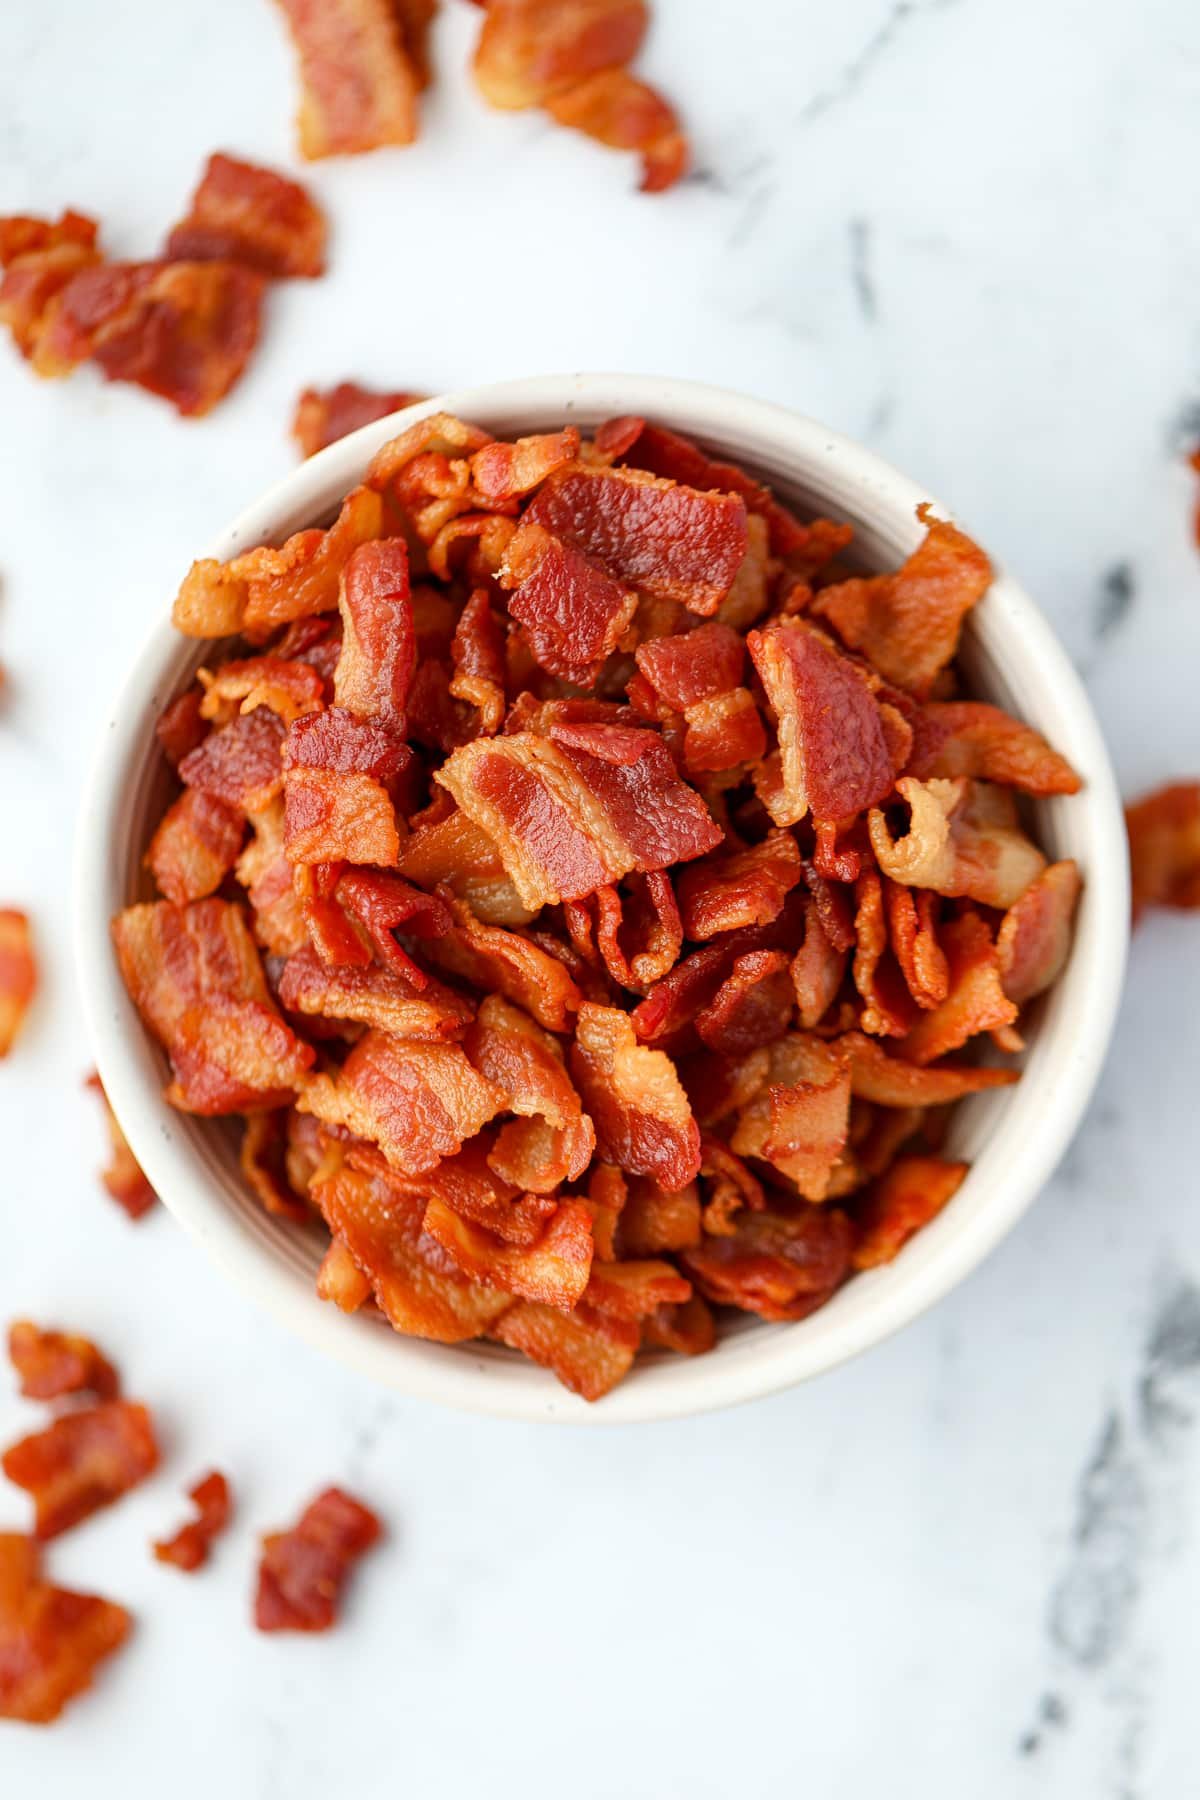
One of the secrets to being a good home cook is to always prep your own bacon bits!
Pre-cooked store bought bacon just doesn't hold a candle to freshly cooked. It adds the perfect crunch and savory flavor to all of your favorite casseroles, baked potatoes, dips, salads, and more.
For many years I simply cooked bacon slices, then chopped them into bits. Over time, I realized that the best results always came from bacon that was first chopped - then cooked until crisp.
Keep reading for the best method for making homemade bacon bits. They are consistent in size, taste, and texture. You're going to love 'em!
Why Homemade?
- Cheaper. Store-bought is pricey compared to fresh bacon. Making your own means you can save some serious coin!
- Crispier. Since these are made fresh they are extra-crispy and deliver a satisfying crunch.
- Tastier. Nothing is better than fresh bacon that hasn't been treated for long term storage. Yum!
- Freezer-friendly. If you want to make sure you have some on hand for the next time you need some, make a big batch and freeze for later.
Ingredients
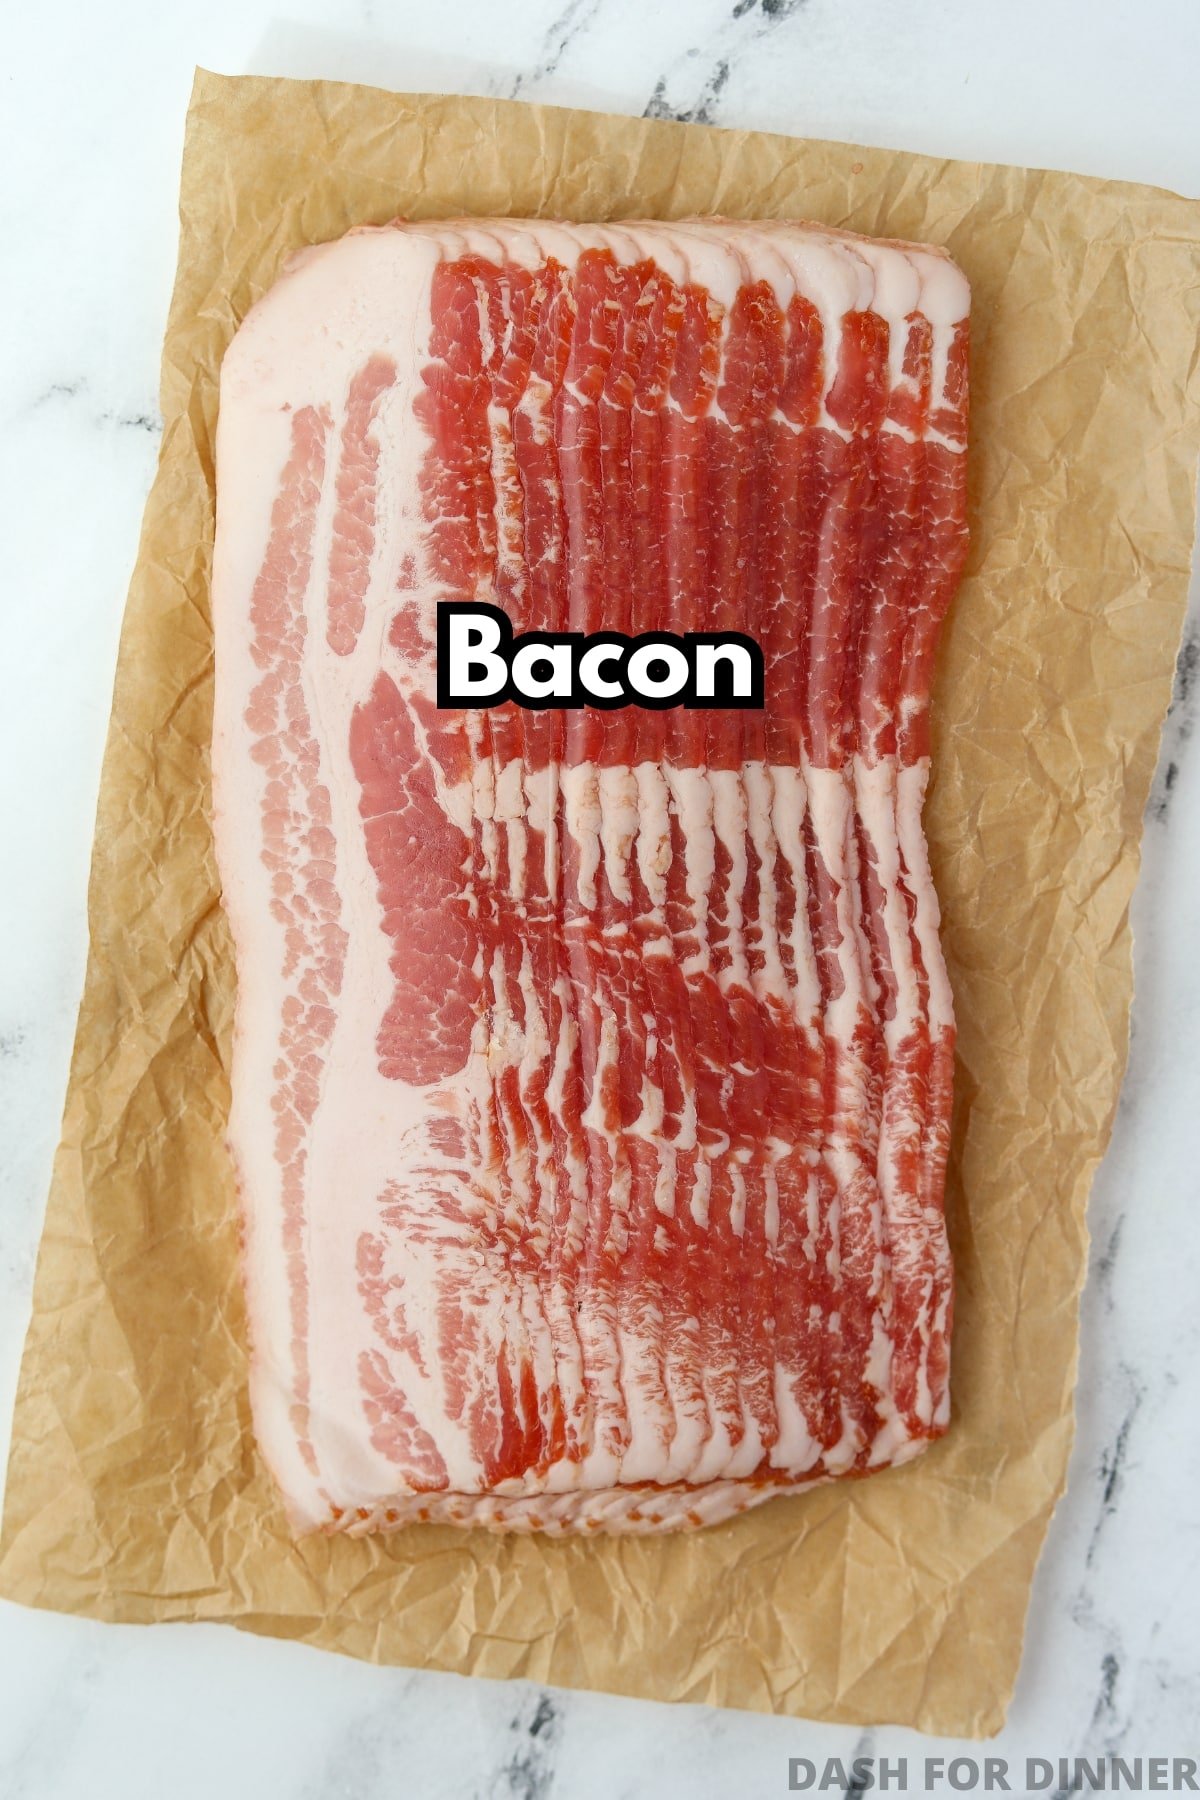
- Bacon: This can be any type of bacon you like, and will work just as well for thick-cut bacon. You can even experiment with flavored bacon like maple, applewood, cracked pepper, etc.
Budget-friendly tip: If you can get bacon ends at your butcher, you can save even more money than you would by using sliced bacon.
Equipment and Tools
- Large skillet (or Dutch oven - this reduces grease splatter)
- Sharp knife
- Wooden spoon
- Paper towel
How to Make Homemade Bacon Bits
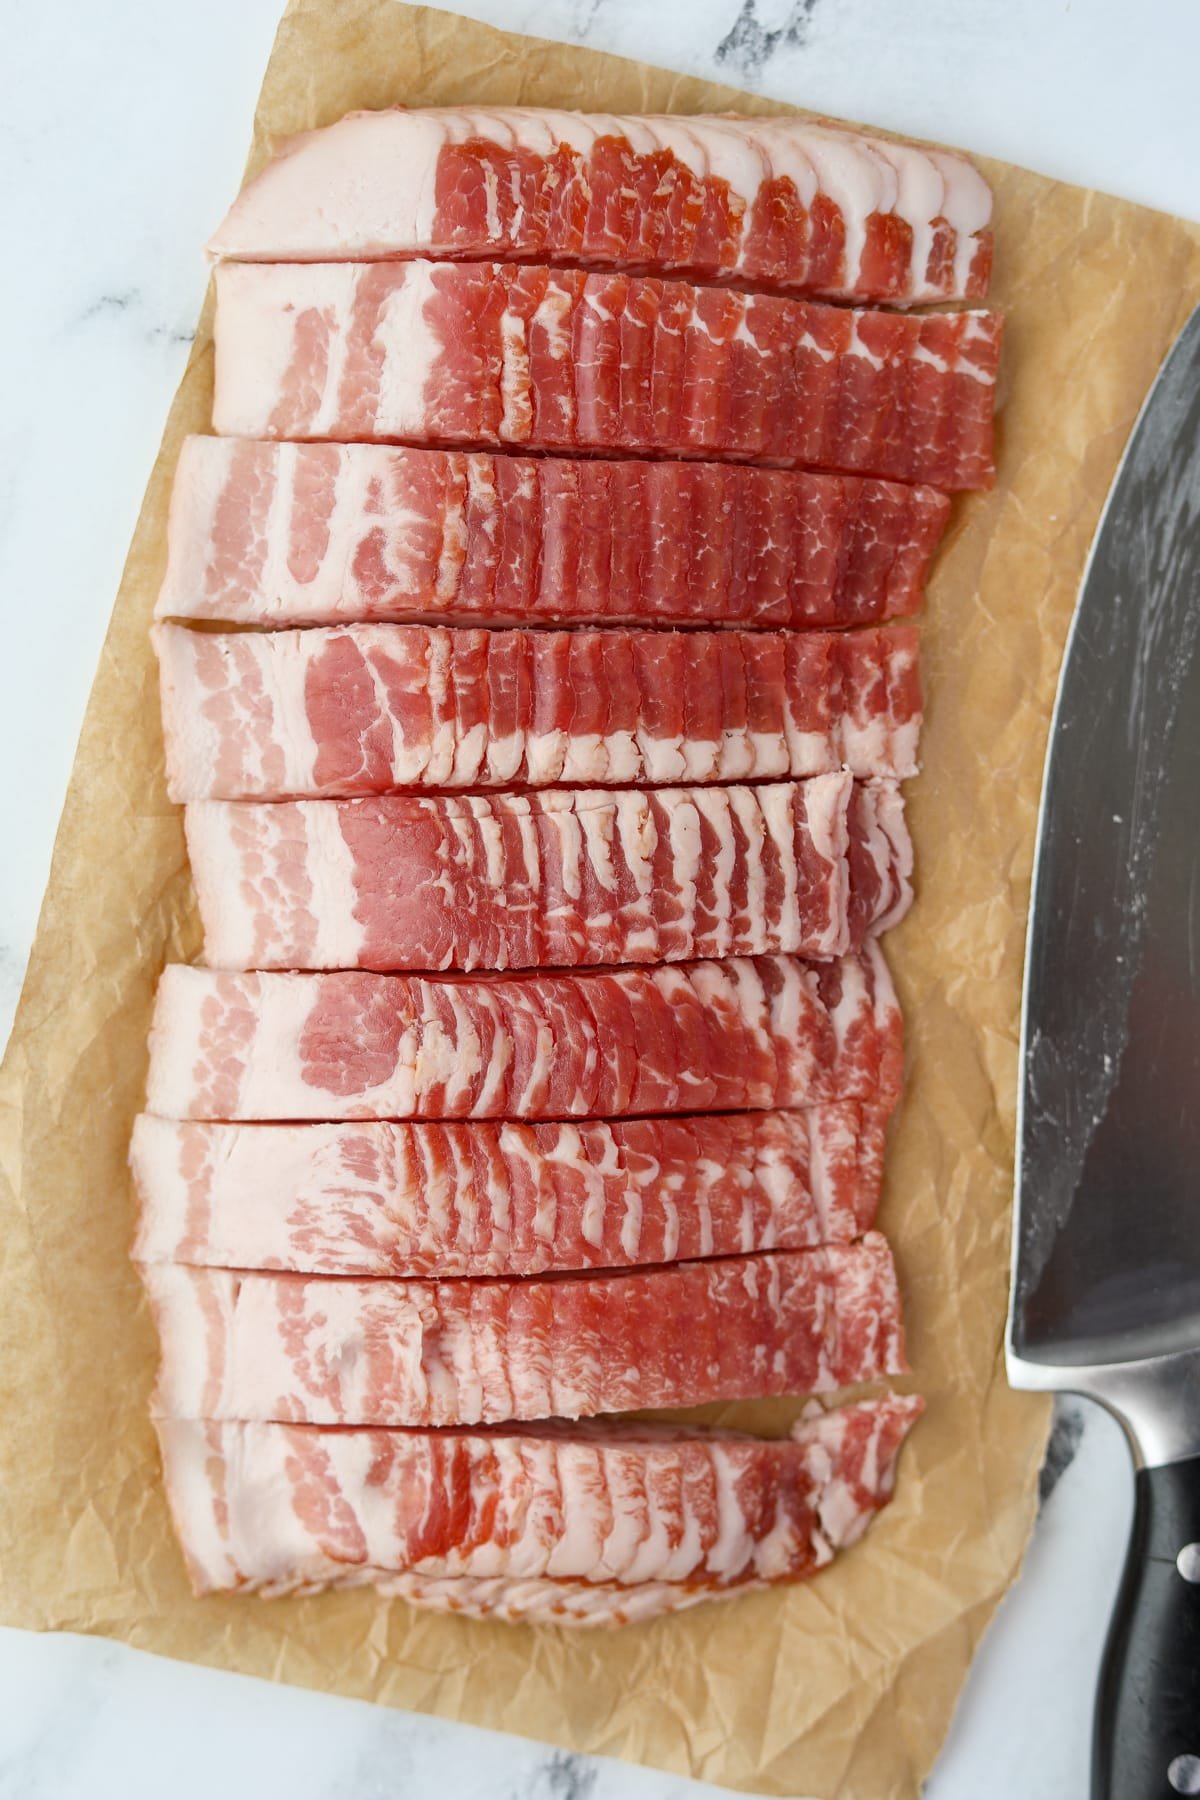
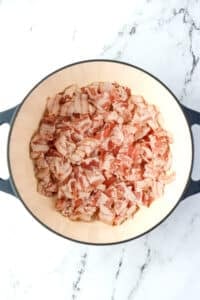
- Keep the bacon slices lined up as they were in their package, and slice them into ½-3/4" pieces along the long side.
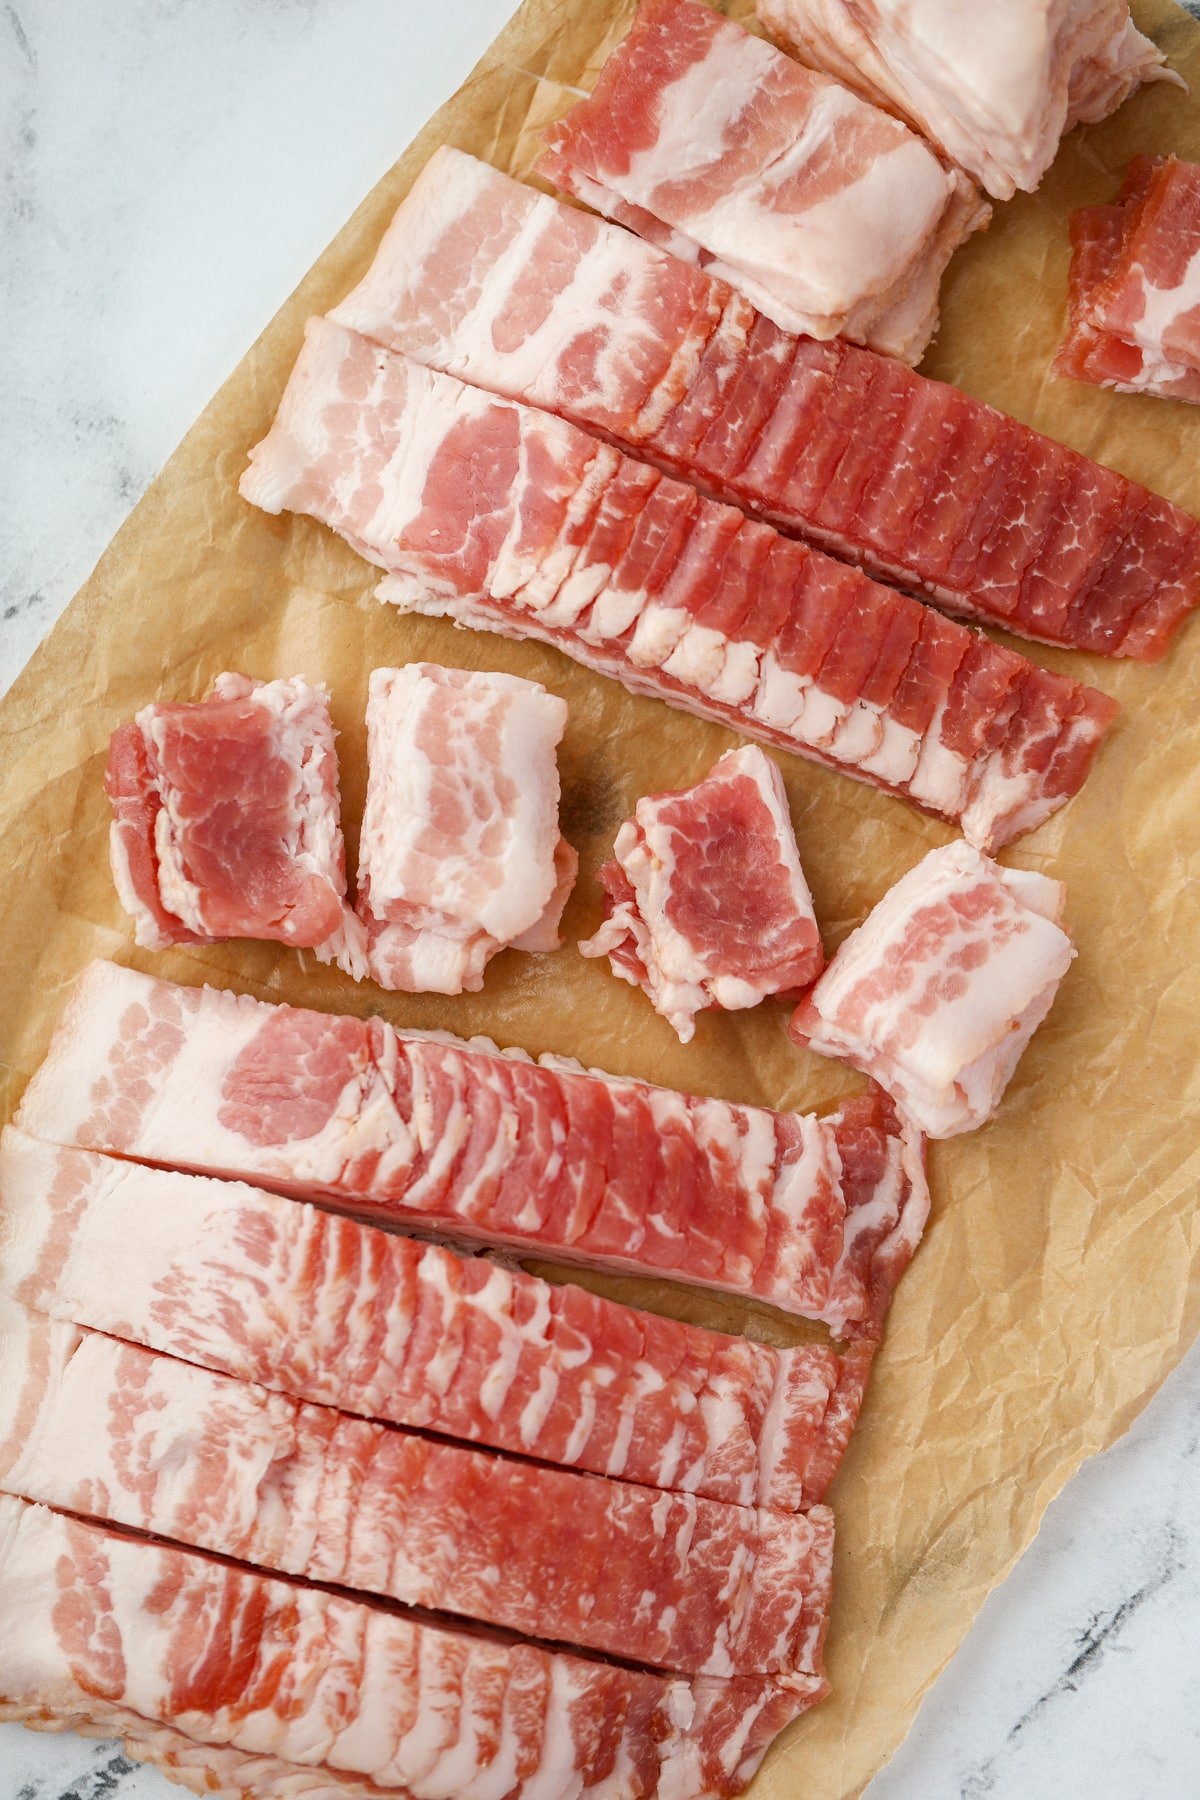
- Stack up the ½-3/4" rectangles into small piles, then slice the rectangle in half so your bacon slices are small, rough squares.
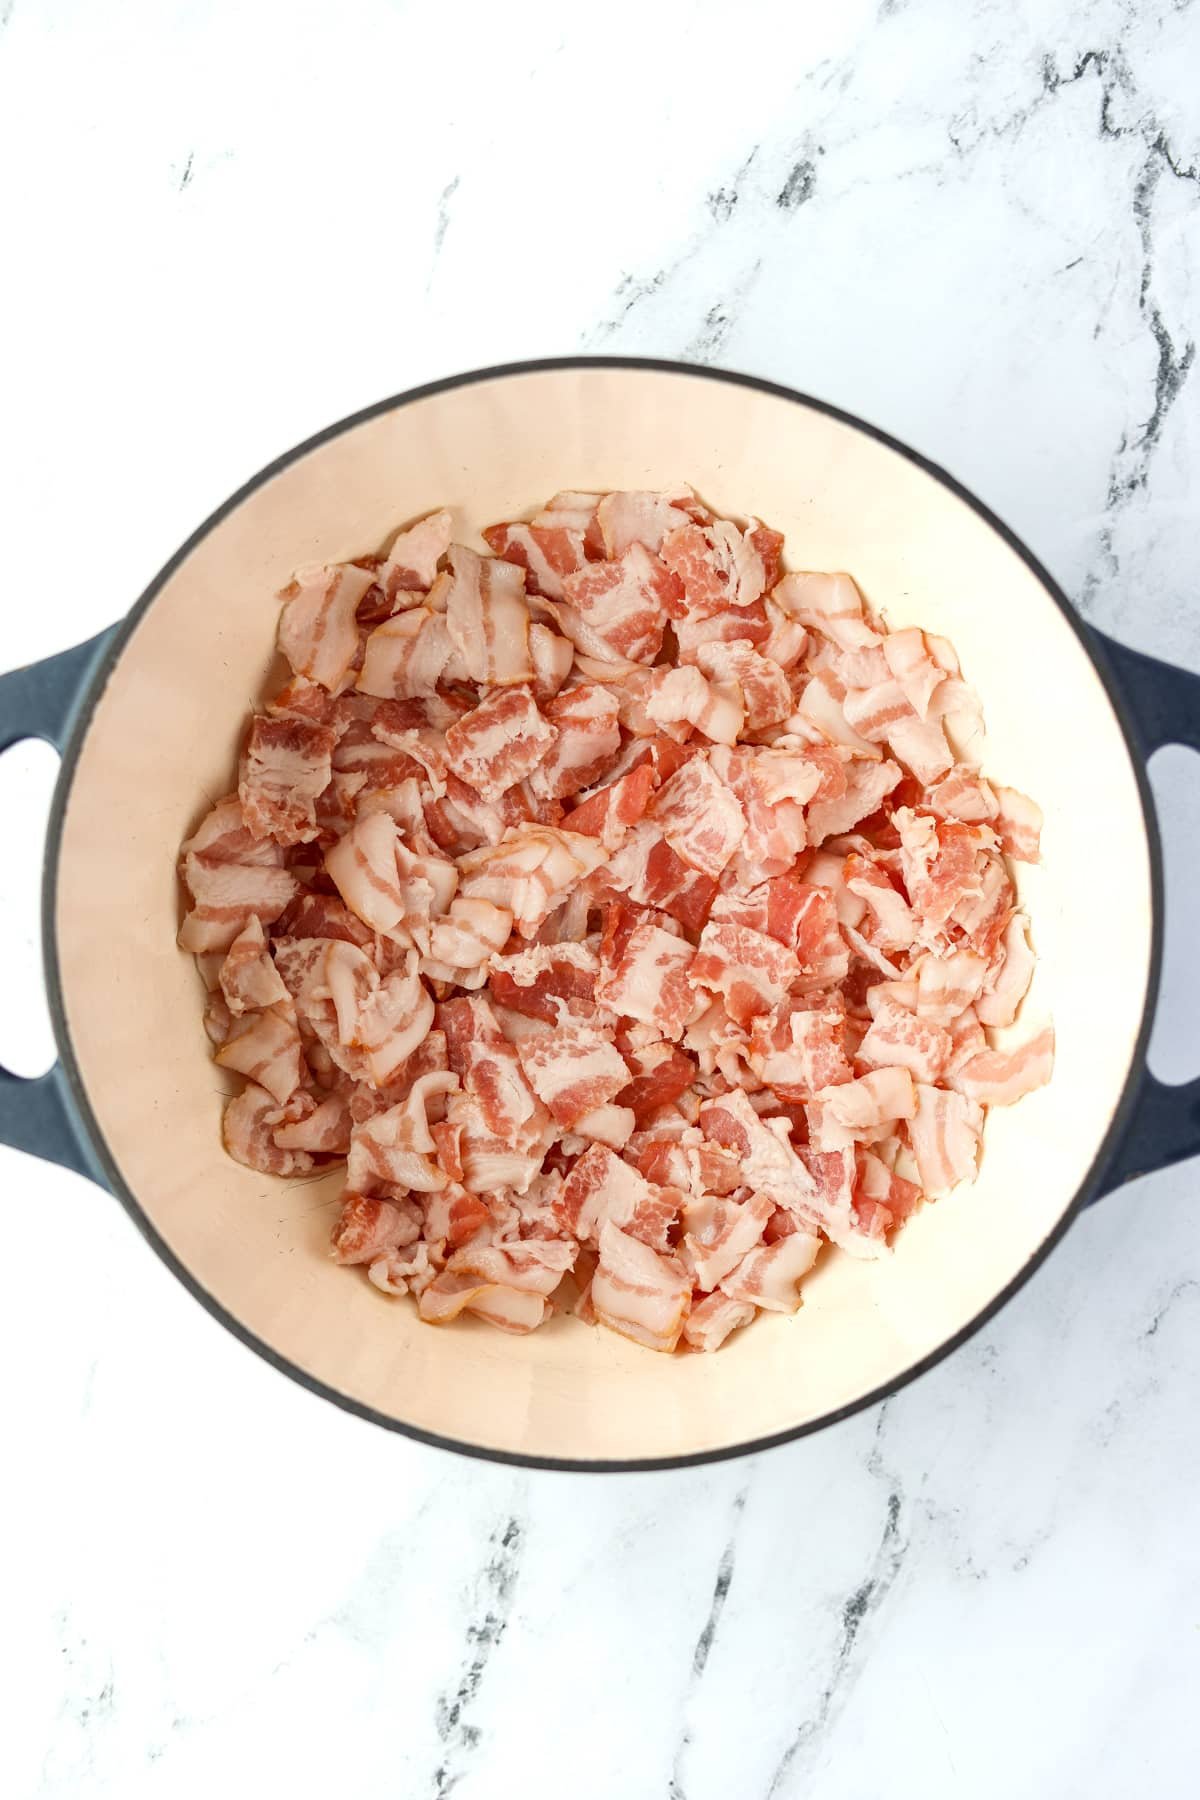
- Heat a Dutch oven or large, high-sided skillet over medium heat.
- Once the surface is hot, add the bacon pieces, and stir to break them up.
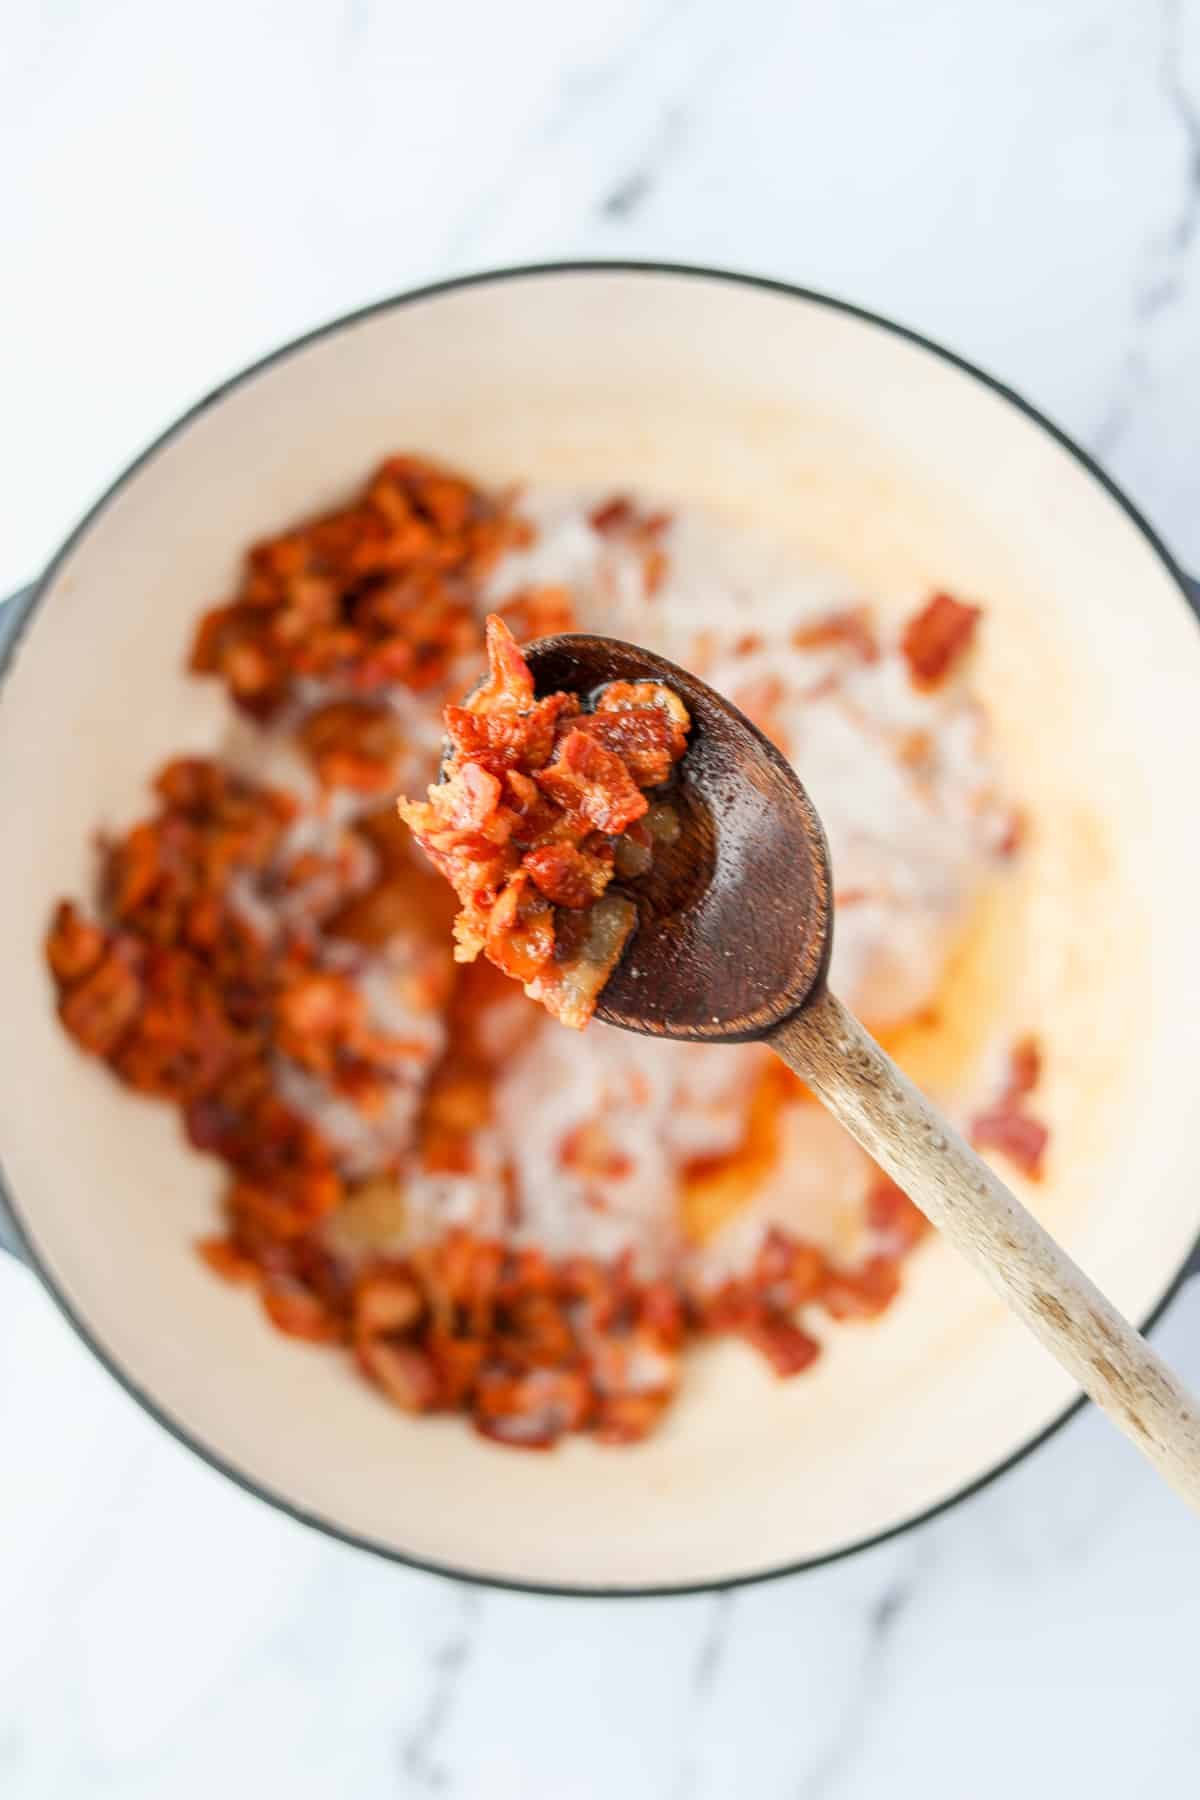
- Cook, stirring often, until the bacon pieces are crisp enough for your liking. You may need to remove them in batches, as some may cook fast than others.
Top tip: Stirring frequently will promote even cooking, which makes it more likely that all of the bacon will be ready at the same time.
Draining
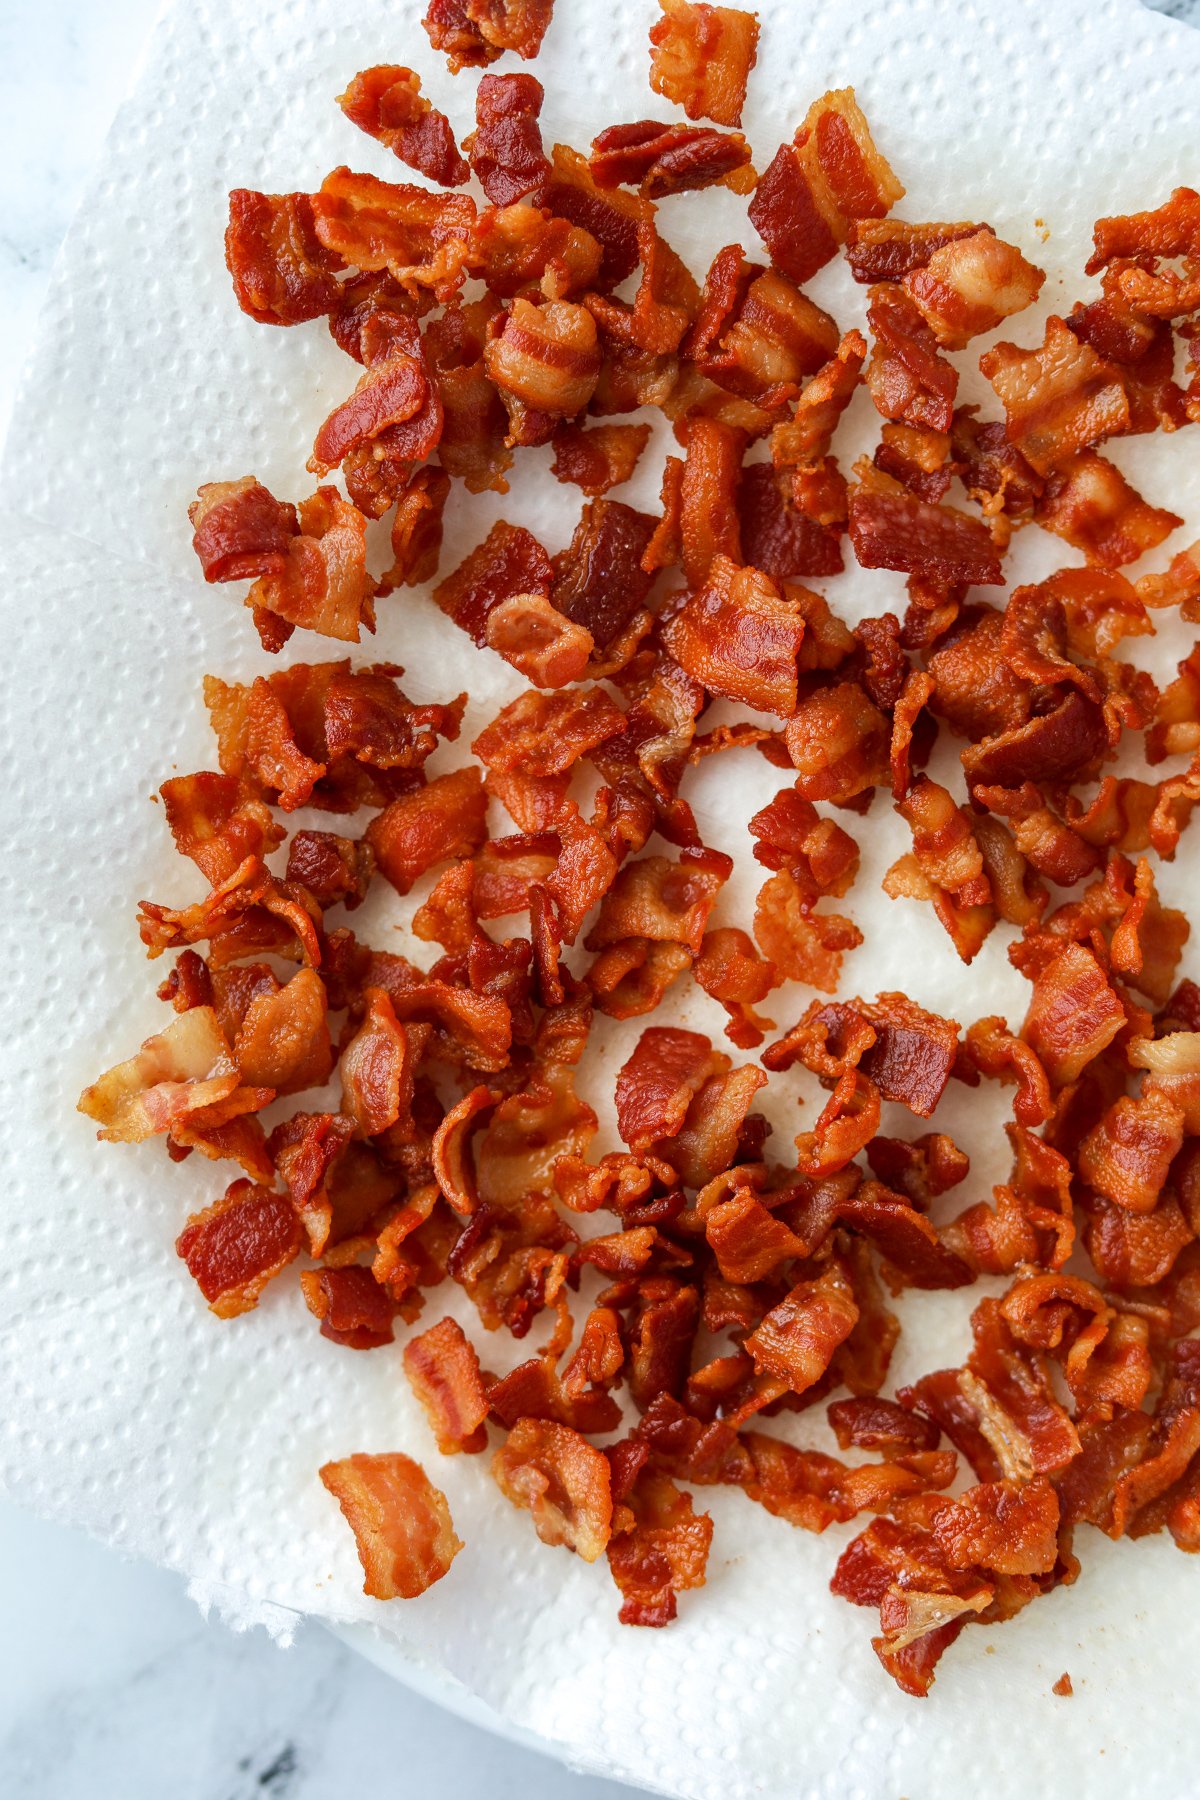
- Line a plate or tray with several layers of paper towel.
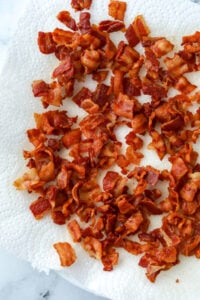
- Remove the cooked bacon bits with a slotted spoon (or wooden spoon) and place on the paper towels to drain any excess grease.
- Once the bacon has cooled and drained for several minutes, it should crisp up and be ready to use right away!
Ways to Use Bacon Bits
- In salads (like my Amish broccoli salad)
- Dips
- Casseroles
- Soups
- Mashed potatoes
- Roasted potatoes (try it with my recipe for ranch roasted potatoes!)
- Baked potatoes
- Appetizers
- As garnish or topping
Storing and Freezing Homemade Bacon Bits
- Allow the bacon to cool completely before transferring to storage.
- Store in an airtight container or freezer bag.
- Keeps in the refrigerator for up to 3 days, or freeze for longer storage.
- Re-crisp the bacon by heating it in a dry skillet, air fryer, or microwave.
- Drain warmed bacon on paper towels, and cool for 2-3 minutes before serving.
- Draining and cooling will help with crispiness.
- Freezing: Allow to cool and place in a freezer bag, label, and remove excess air. Freeze for up to 3 months. Re-crisp bacon as needed (can be from frozen).
Expert Tips
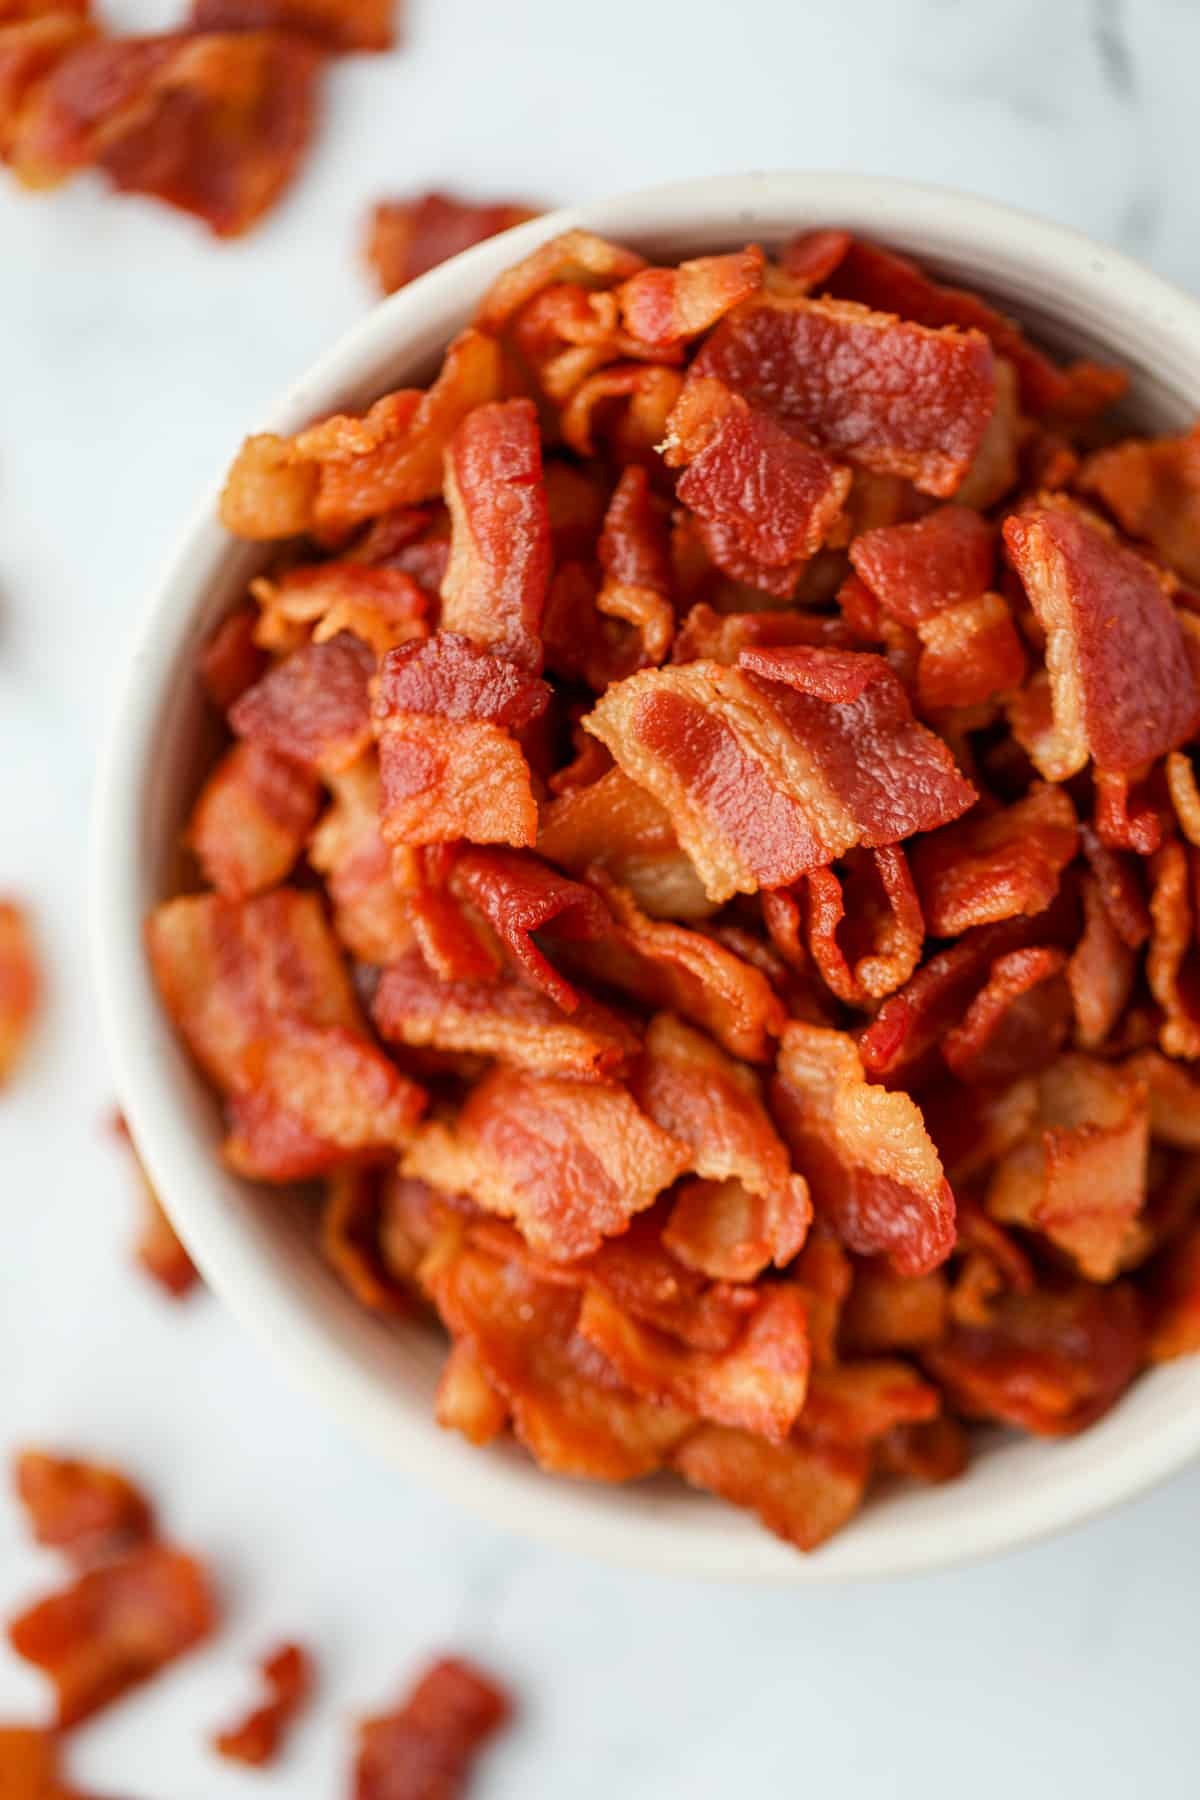
- Slice the bacon before cooking. The game-changer for me was discovering how much better bacon bits turn out when the raw bacon is sliced ahead of cooking. If you cook it first, then crumble it - you get bacon "flakes" more than true "bits".
- Work in batches if you need to. If making a small batch, it's easy to ensure everything is cooked evenly. If you're cooking a large amount, it's easier to work in batches of 8-12 slices worth at a time.
- Use the leftover bacon grease. You don't need to discard the bacon grease! Line a funnel with a coffee filter (or several layers of paper towel) and place it over a glass jar. Pour the grease through; the leftover debris will collect in the filter, and the pure grease will collect in the jar below. Use it to cook your favorite greens, add it vegetable dishes, or use it to brown chicken, beef, etc.
Recipe FAQs
The easiest way to make homemade bacon bits is to slice raw bacon into ½" pieces, and cook it over medium heat until crispy. Remove the crispy bacon bits with a slotted spoon and allow to drain on a paper towel lined plate.
It's not recommended to use a food processor to chop bacon, as it's hard to get consistent sizes and often creates more of a paste than anything else. If you have a very sharp food chopper, you may be able to get good results - but I recommend doing it by hand with a knife. It's the best way to ensure consistent size.
Slicing raw bacon before cooking results in bacon bits that are more consistent in size and crunch. They also resemble store-bought versions, while chopping cooked bacon results in larger, flatter pieces - which just aren't the same.
More Ways to Cook Bacon:
Favorite Recipes That Use Bacon Bits:
If you loved this recipe for homemade bacon bits, let me know by leaving a 5-star review in the recipe card or comment below! You can also tag me on Instagram @dashfordinner.

How to Make Bacon Bits
Equipment
- Dutch oven or large skillet with high sides
Ingredients
- 8-16 slices bacon regular or thick-cut
Instructions
- Use a sharp knife to cut your bacon into squares roughly ½-¾” in size. You can do this by lining up the bacon as packaged and slicing it into ½-¾” pieces vertically. Then, stack these rectangular pieces and slice them in half, making smaller squares. The particular shape of the bacon pieces doesn't matter as much - just aim for them to be roughly less than 1” on any side.
- Use your fingers to gently separate any slices that are sticking together. Don’t worry about this too much, as they will break apart as they cook, but separated slices make for more consistent and even cooking.
- Heat a Dutch oven (or a large skillet with high sides) over medium heat for about 2-4 minutes, or until it radiates heat when you hover your hand in the middle.
- Add the bacon pieces to the preheated Dutch oven or skillet, and stir them gently with a wooden spoon to break them up.
- As the bacon starts to cook, the fat will render and the pieces will start to crisp up. Continuing stirring occasionally to help them cook evenly.
- Remove pieces with a slotted spoon as they are crisp and cooked to your liking, and place them on a paper-towel lined plate to drain.
- Note: As the rendered fat increases in volume, your bacon pieces will cook more quickly, so watch them more carefully. If needed, turn down the heat if you find them cooking too quickly.
- Continue to remove batches of pieces as they are cooked to your liking, and drain them on paper towels. Refresh your paper towels or start another plate if needed.
- Allow the bacon bits to cool for 3-5 minutes before using; they will crisp up as they cool.
- Transfer any leftovers to an airtight container or freezer bag. Store in the refrigerator for up to 3 days, or freeze for up to 3 months. For the best results, recrisp your bacon bits in a skillet just until a small amount of grease is rendered. Then drain on a paper towel lined plate and use as desired.
Notes
- Salads (broccoli salad, caesar salad, etc)
- Dips (like my loaded baked potato dip)
- Soups
- Baked potatoes
- Appetizers
Nutrition
Please note that some of my blog posts here at Dash for Dinner may contain affiliate links. If you make a purchase through these links, I will get a small commission at no additional cost to you. Please see my Disclaimer for more information.






Leave a Reply