

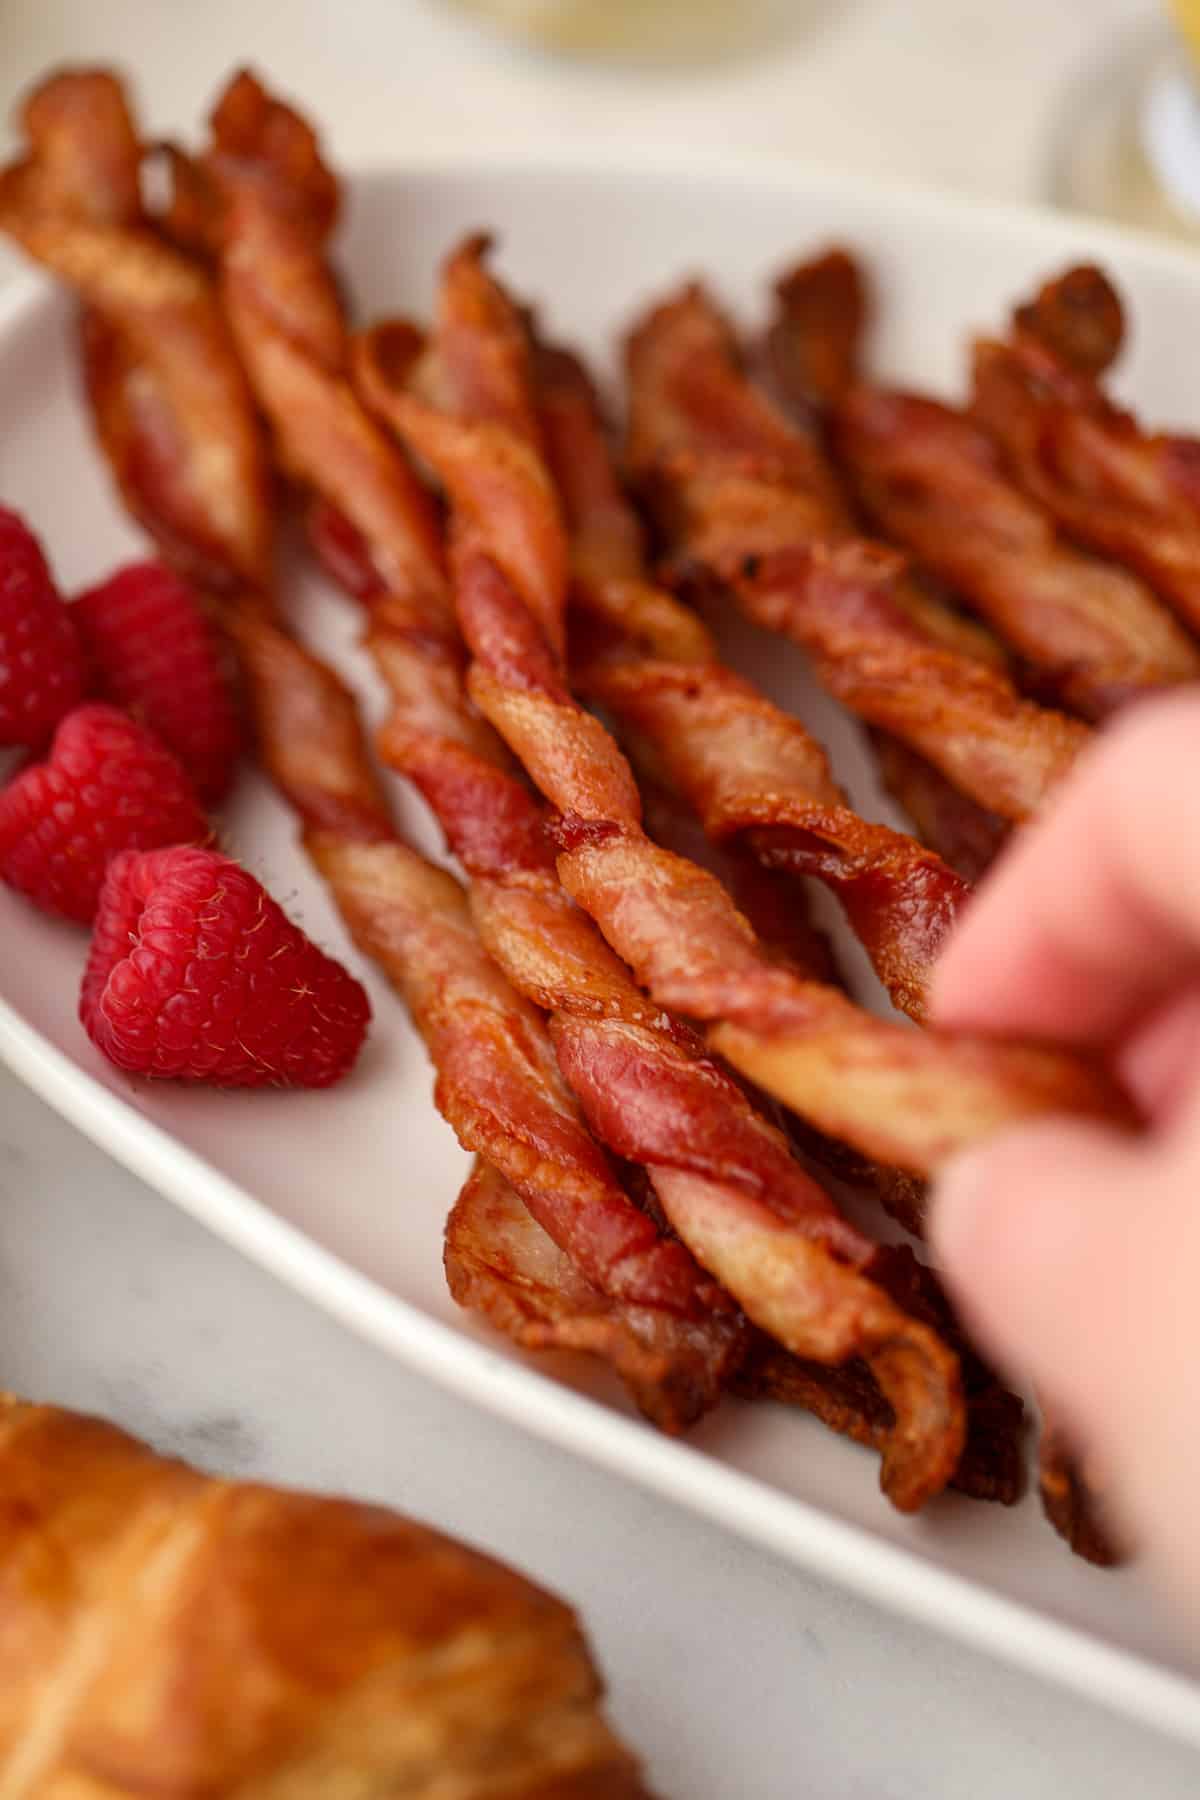
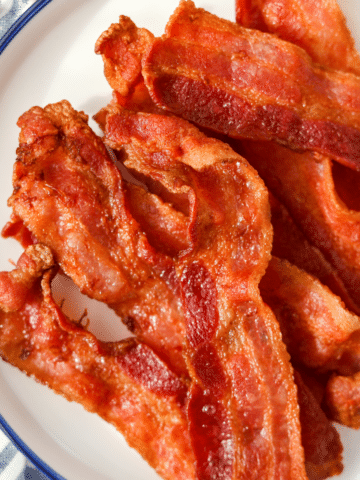
If you're looking for a fun "spin" on regular bacon, you need to try this easy recipe for Bacon Twists! Also known as twisted bacon, you'll need just 1 ingredient (bacon) to make this spectacular side dish.
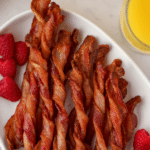
It's the perfect addition to your breakfast or brunch menu and makes a stunning appetizer for any event. Trust me, you won't have leftovers!

We love bacon here! If you haven't already tried our candied bacon, million dollar bacon, billionaire bacon, or homemade bacon bits, you're in for a treat with this simple (yet fun) twisted bacon recipe.
You need just one ingredient (surprise: it's bacon!), and it takes very little extra time compared to regular oven-baked bacon. All you have to do is tightly twist the slices, bake, and serve.
We've tested this recipe over and over again so we could give you the best tips and tricks for getting bacon that is crisp, slightly chewy, and absolutely delicious every single time!
Why You'll Love Them:
- Perfect for breakfast or brunch. Pair with your favorite breakfast foods for a fun dish that adds interest to any spread.
- Easy to make. Twisted bacon LOOKS amazing, but it only takes a little more work than regular bacon. Your guests will love it!
- Holiday breakfast anyone? Whether it's Easter, Christmas, or Mother's Day, this easy recipe adds the perfect touch to your holiday brunch menu.
- Great for snacking and potlucks. Don't limit yourself to just breakfast and brunch! Serve them as a salty snack for Super Bowl parties, 4th of July, or Summer BBQS.
Ingredients
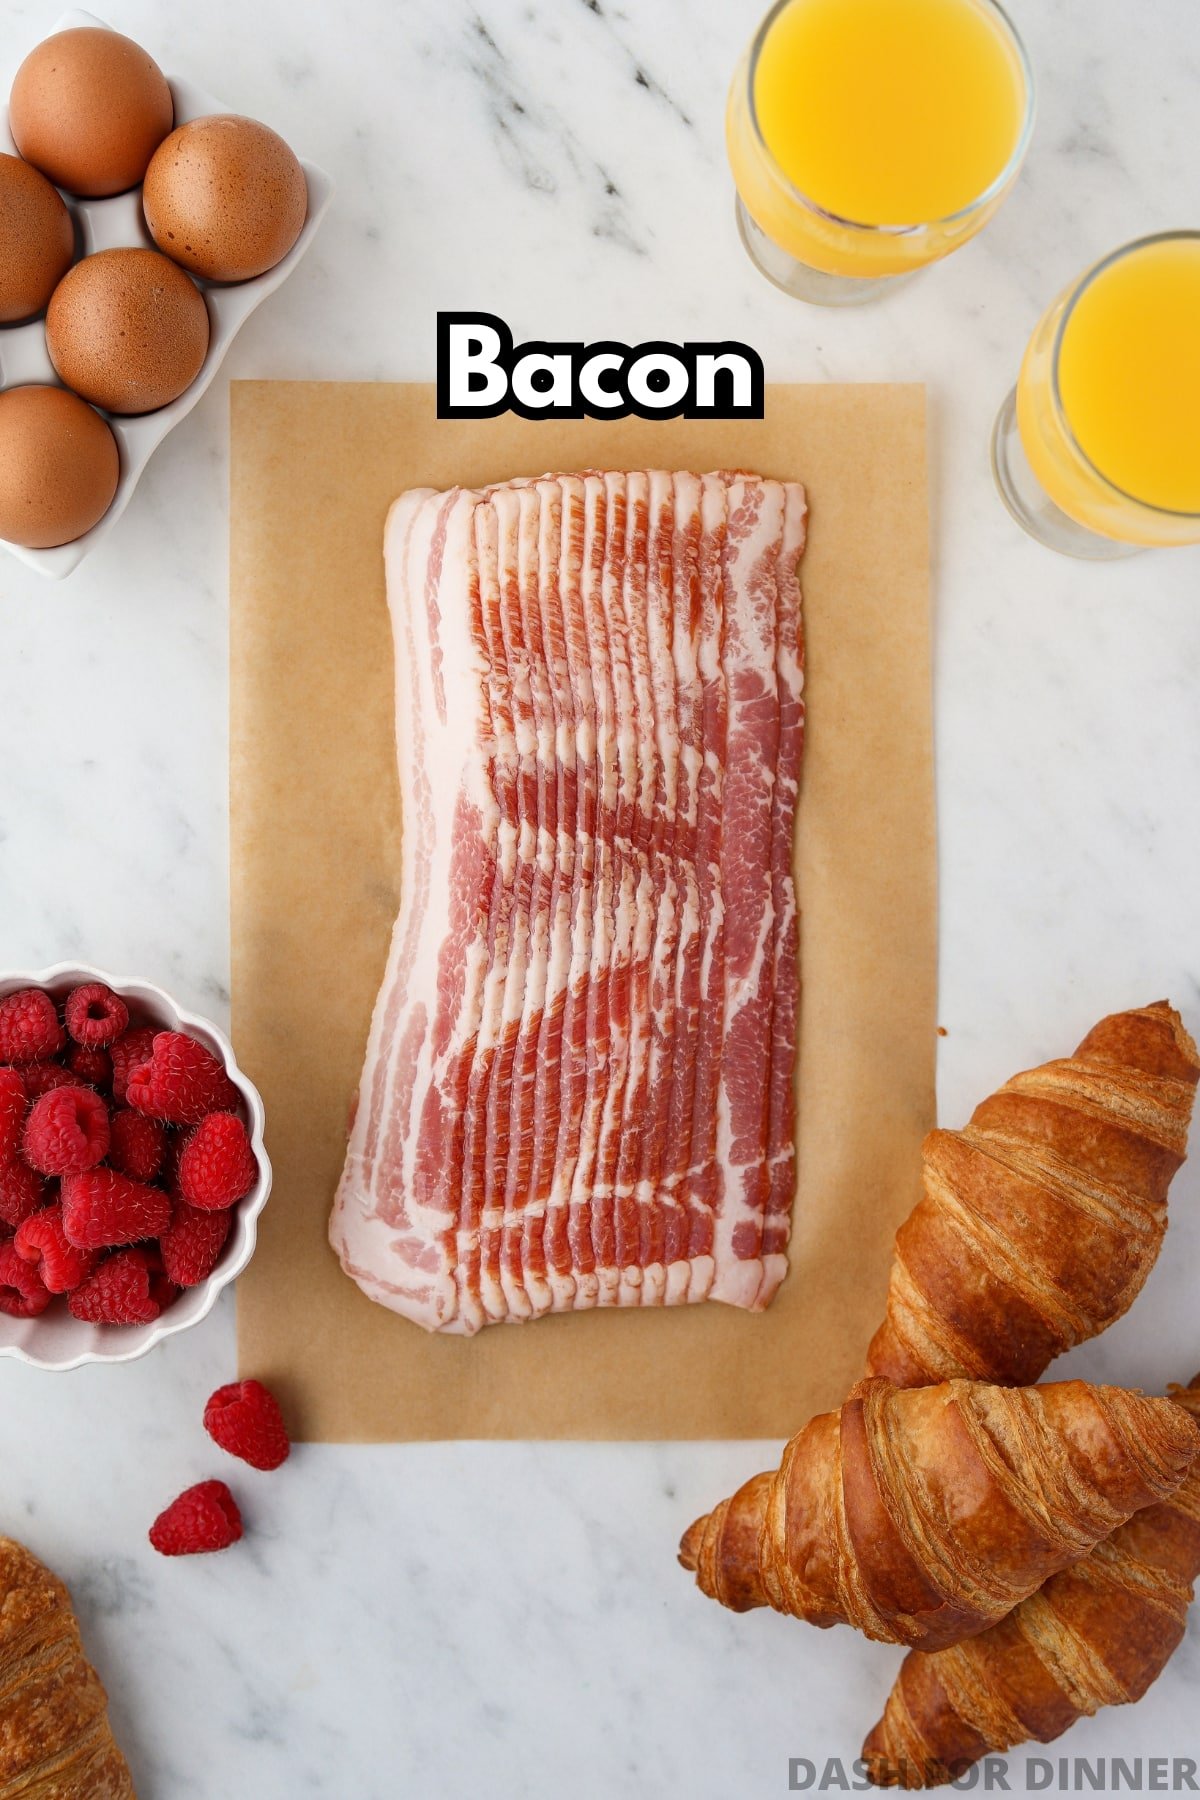
- Bacon: Yes! That's it! If you want to make different flavors (or candied bacon twists), check out the recipe card for variations.
- I recommend using regular-cut bacon. Thick-cut bacon does not cook through as easily once twisted.
Recommended Equipment
- Rimmed baking sheet
- Wire baking rack
- Parchment paper
- Tongs (for flipping the hot bacon!)
How to Make Twisted Bacon
Before you get started: Prepare a large rimmed baking sheet by lining it with parchment paper or aluminum foil. Once lined, place an oven-safe wire baking rack inside (optional, but recommended)
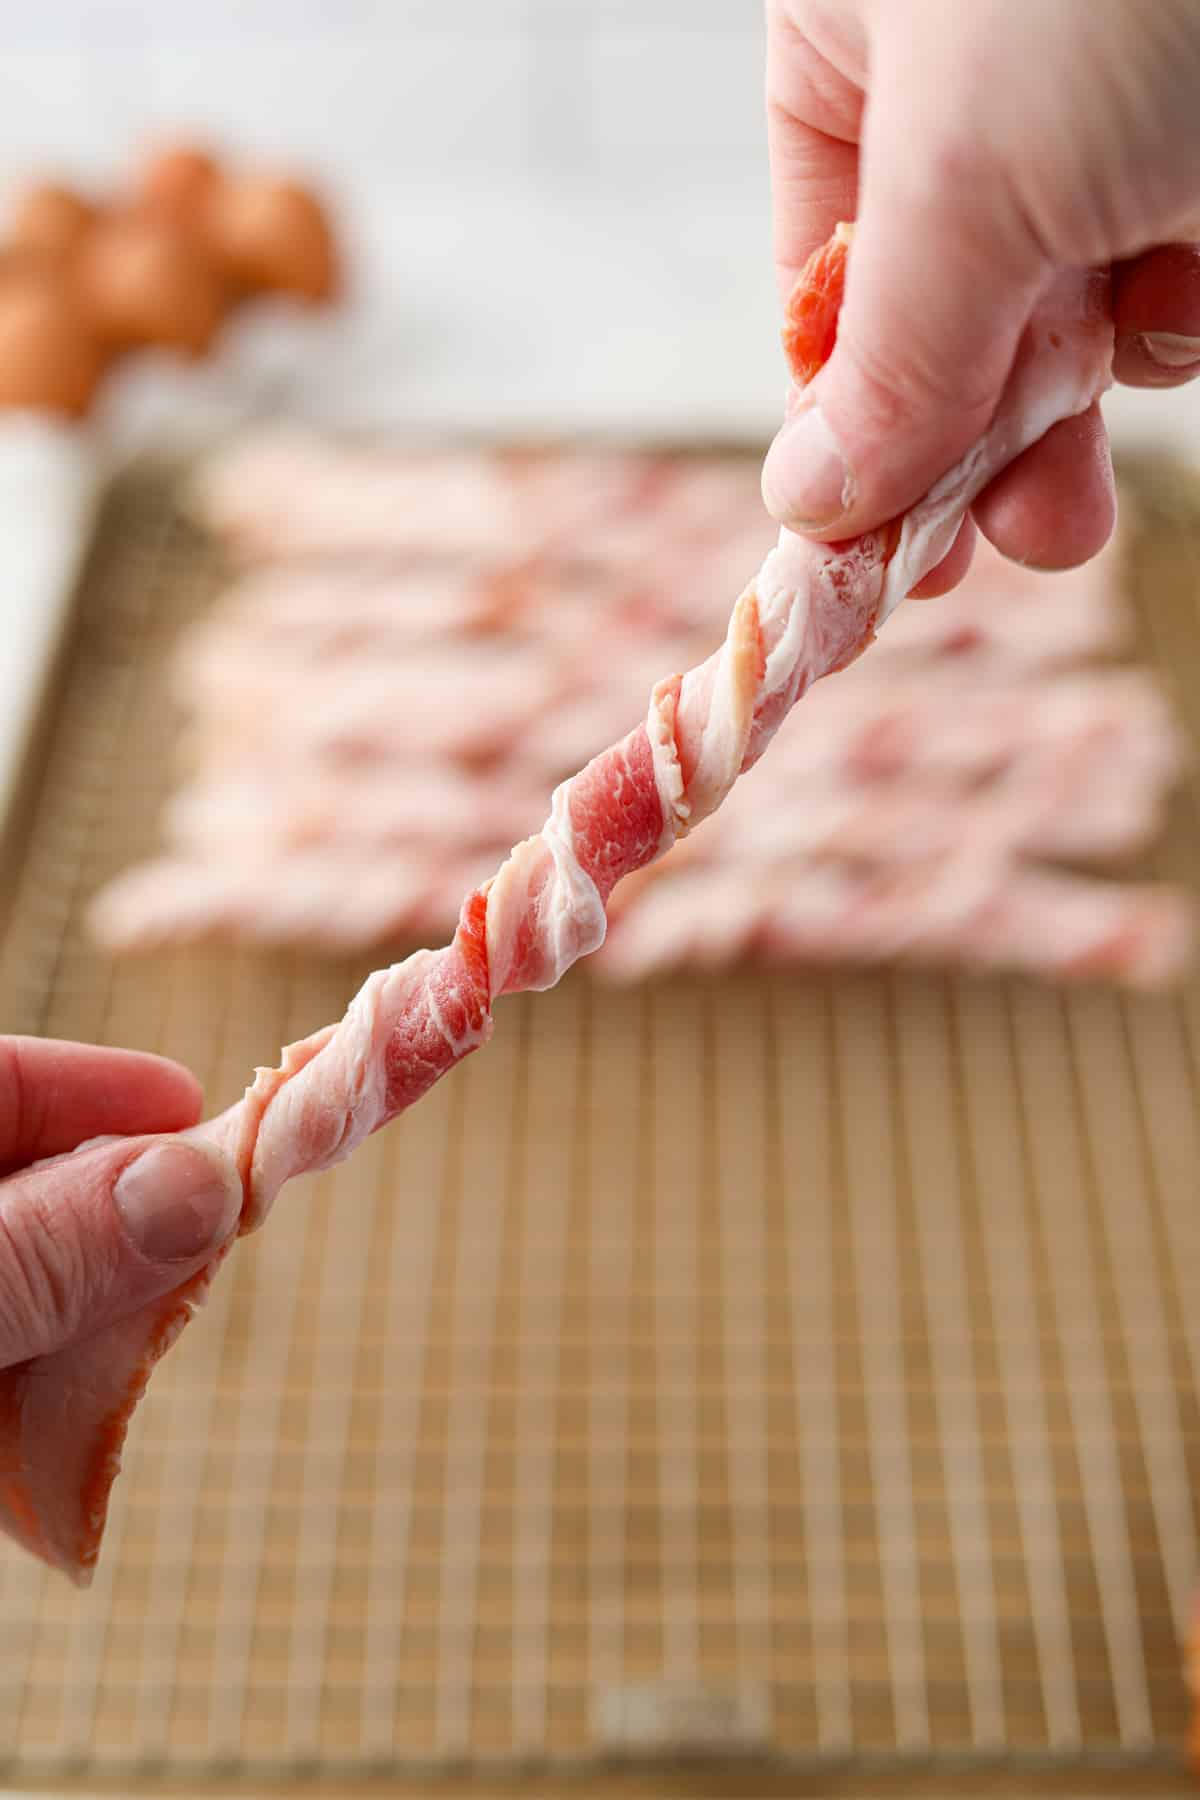
- Twist each slice of bacon. Using both hands, start in the middle and begin twisting outward until the full slice is tightly wound.
Tip: Twist them tighter than you would like the end result to be, as the spirals will loosen during the cooking process.
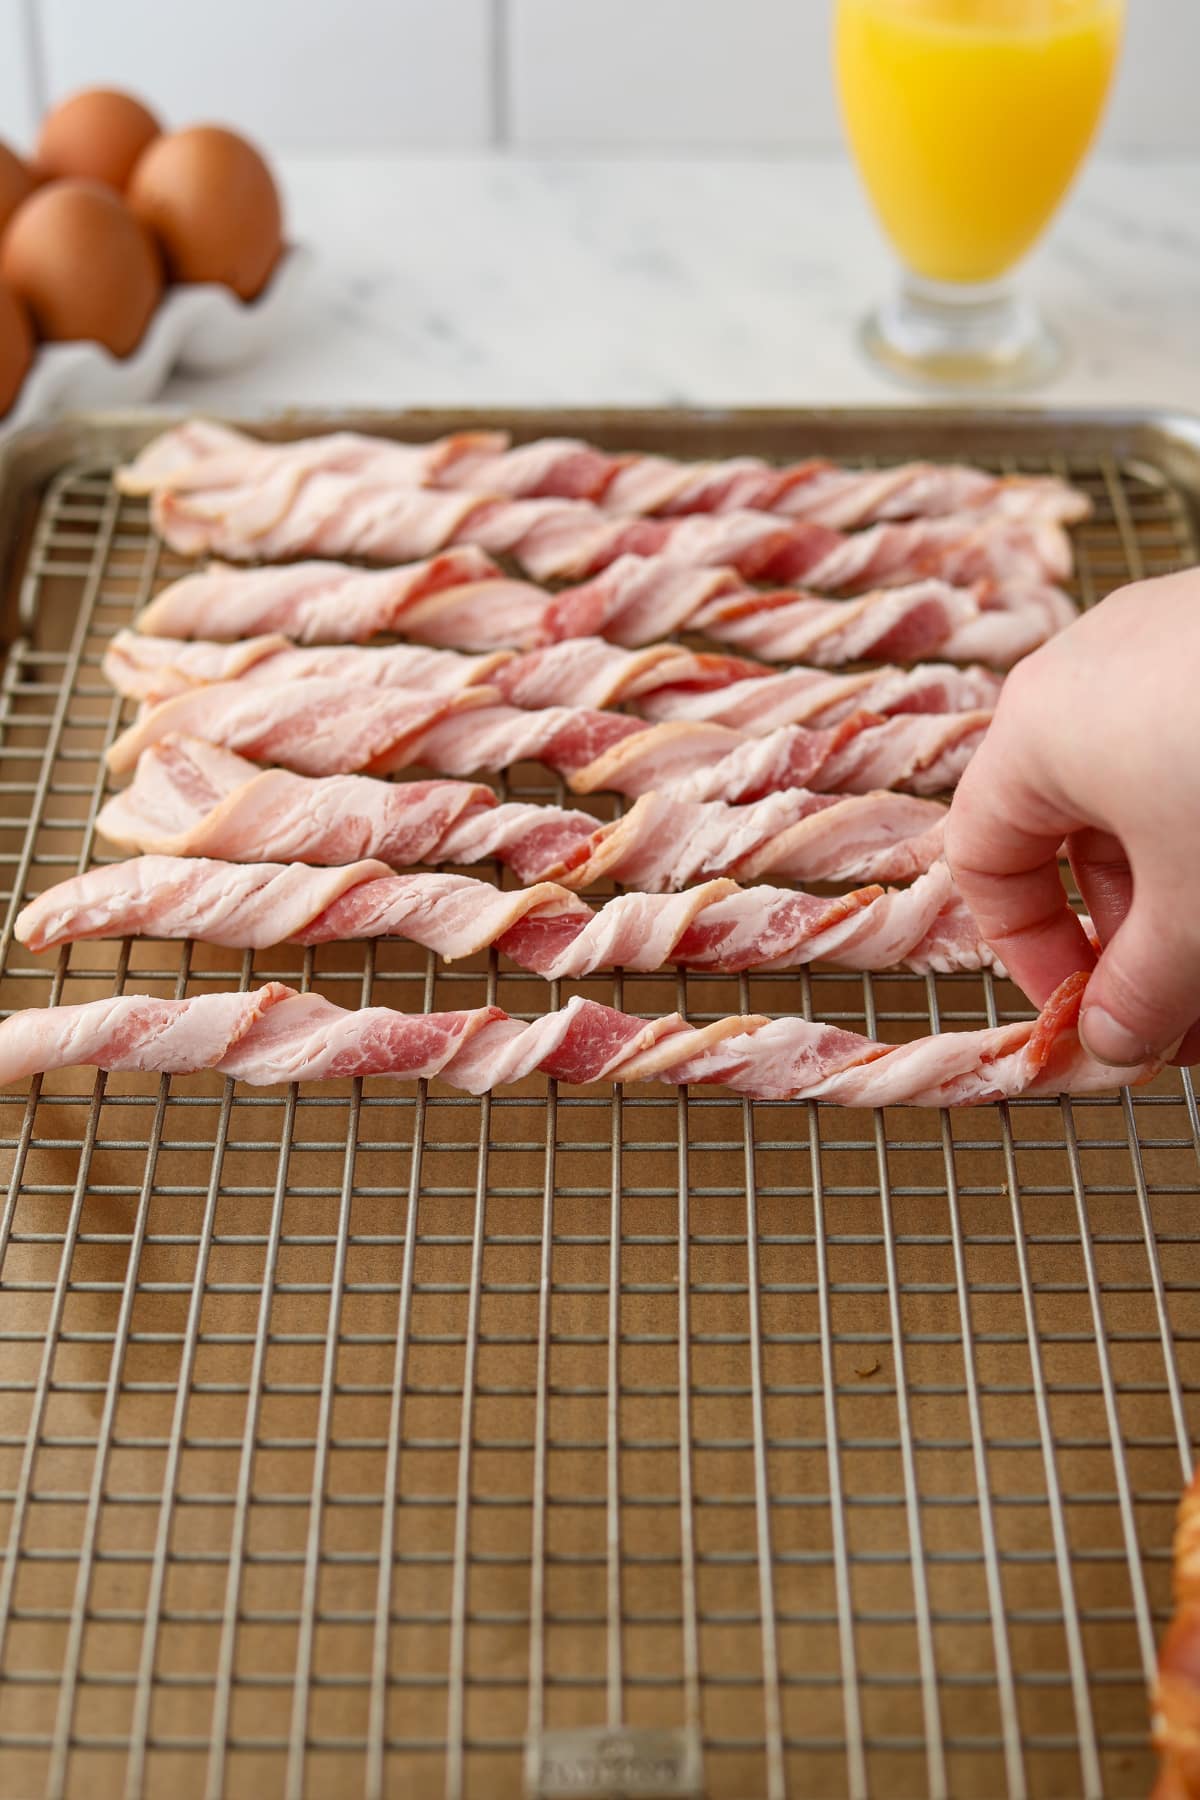
- Carefully transfer each piece of twisted bacon to the baking sheet. After you've completed each slice, gently place it (using both hands) on the wire rack (if using). You may need to touch them up if they start to unravel.
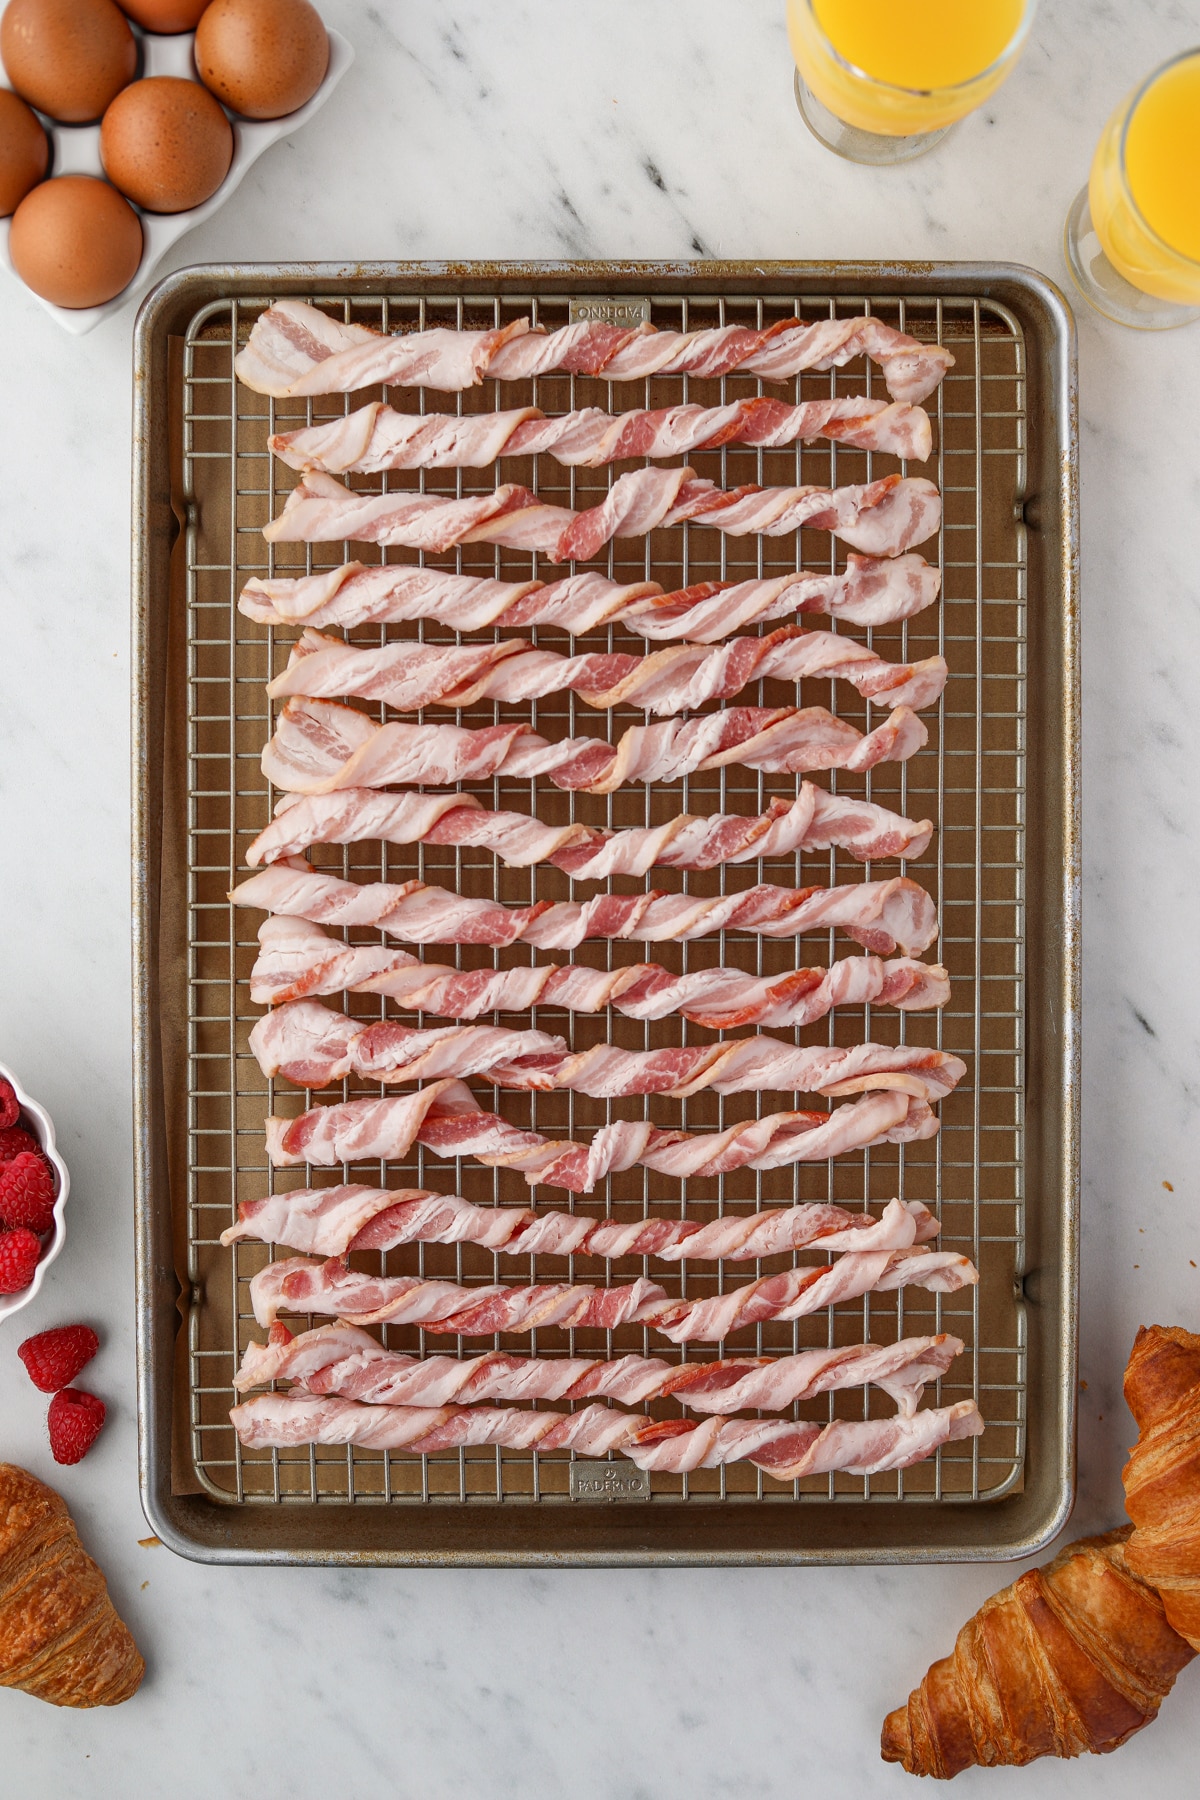
- Bake at 400ºC (200ºC). Once all the bacon is twisted, place the baking sheet in the preheated oven and bake for 20 minutes.
- After the first 20 minutes is up, remove them from the oven and bake for an additional 15-20 minutes, or until crisp.
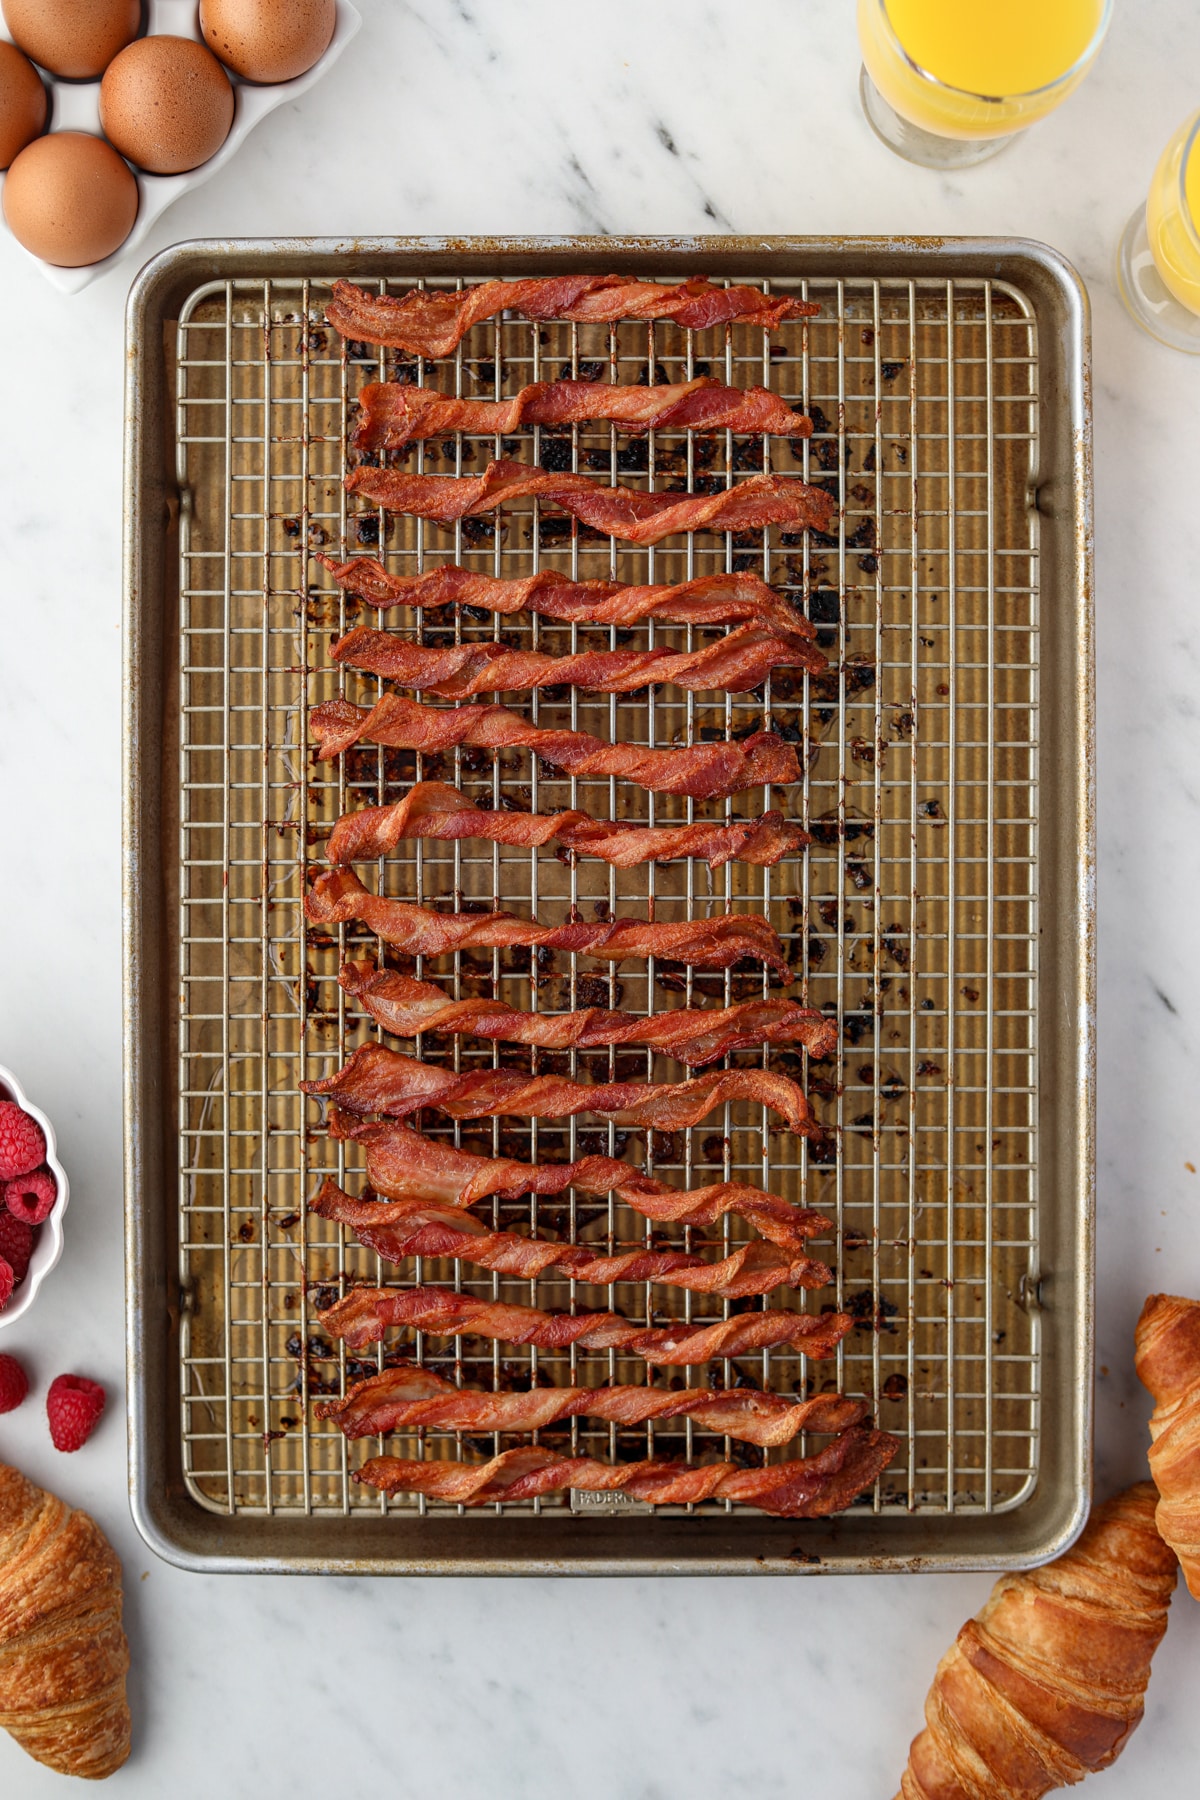
- Remove from the oven. Once the bacon is crisp and cooked through, remove it from the oven.
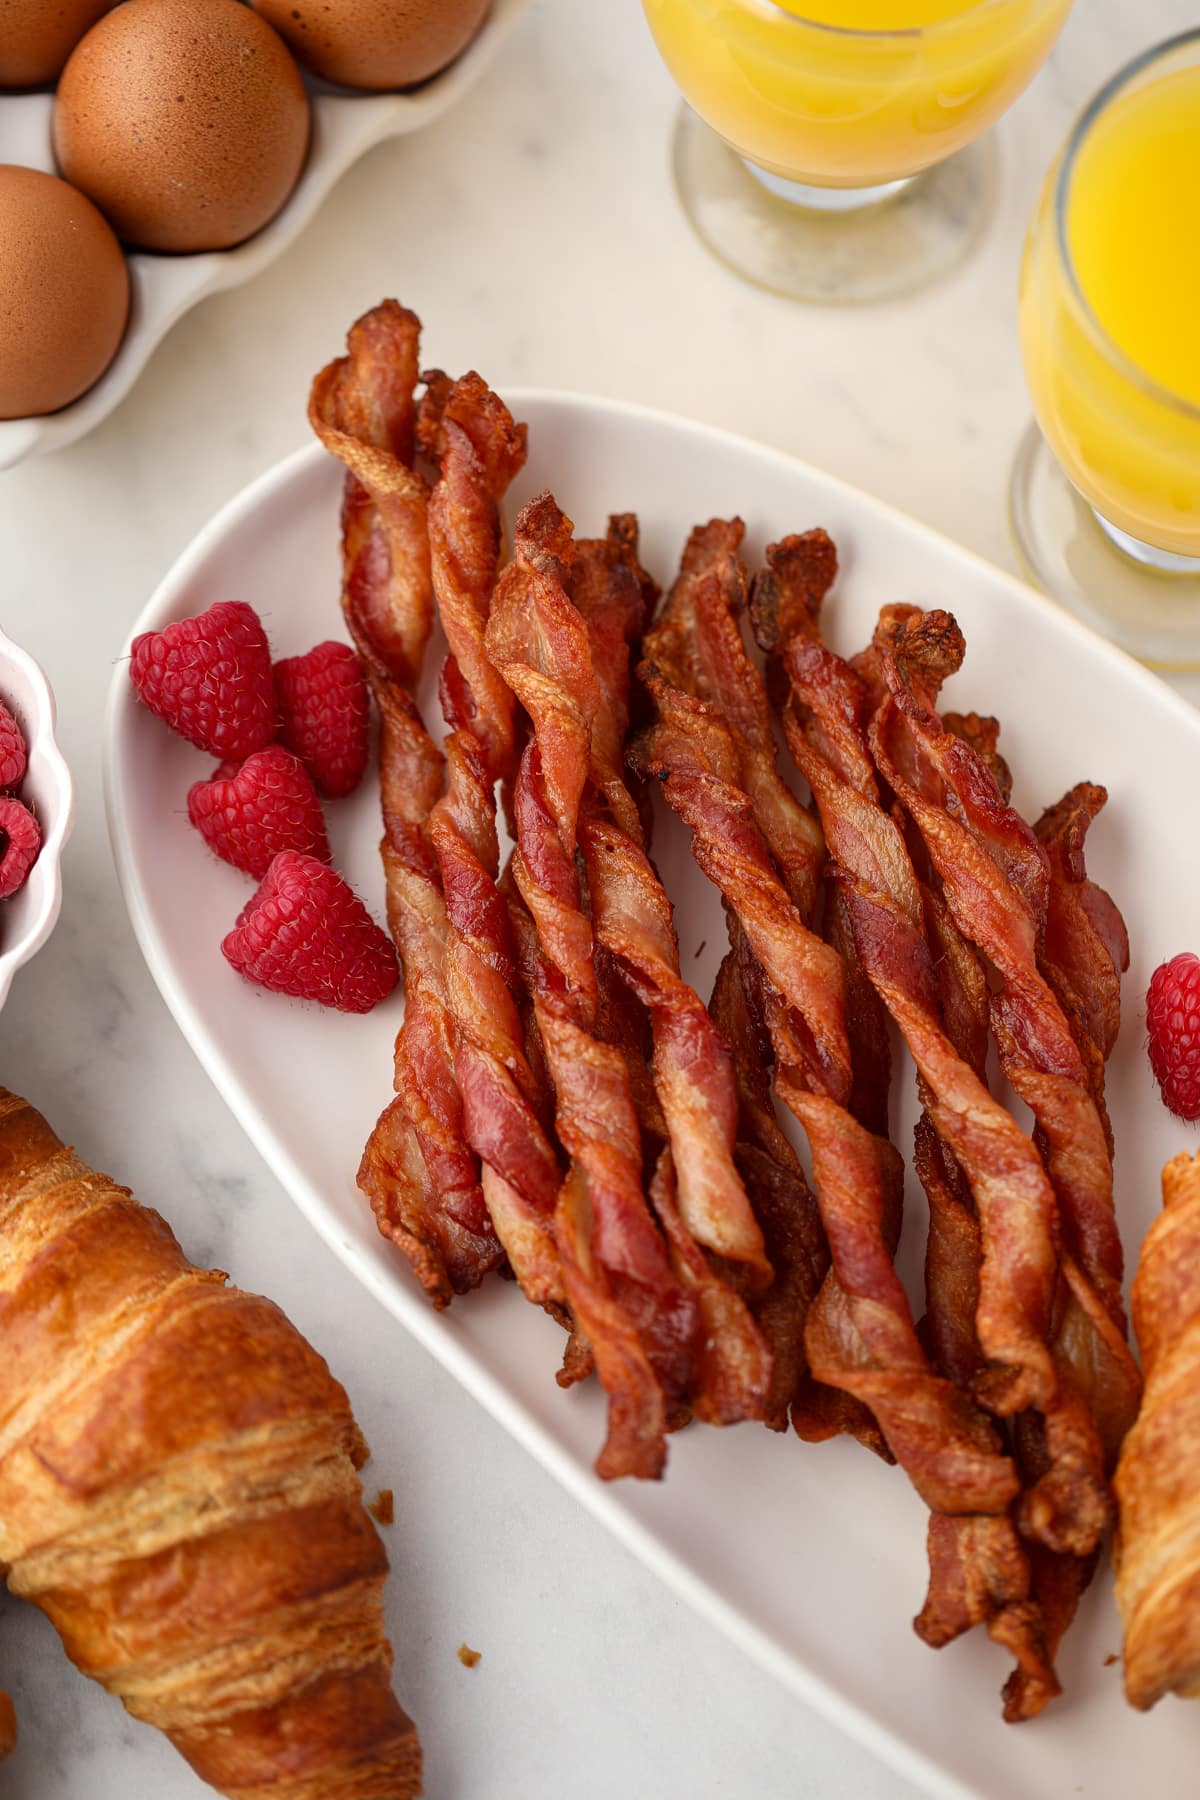
- If desired, drain the bacon twists on a paper-towel-lined plate to remove excess grease before serving.
Without a Wire Baking Rack
I've tested this recipe side-to-side with a baking rack versus placing them directly on a baking sheet (lined with parchment).
Results were crispier (and less greasy) for bacon cooked on a wire baking rack compared to the sheet pan only method. That being said, the results were good either way!
If you don't have an oven-safe wire rack, feel free to just use a rimmed sheet pan. You may need to bake it for a bit longer (I did).
Storing Leftovers
You can store these like you would any leftover bacon! Just allow them to cool, then transfer to an airtight container and keep in the refrigerator for up to 5 days.
Reheating: Use the microwave, air fryer, or oven. If you like them to keep their crispness, I recommend the air fryer or oven method - plus draining on paper towels. Removing excess grease always helps with crispness!
Can I make them ahead of time?
If you have an upcoming party or brunch, you may be wondering if you can prepare these ahead of time. The answer is yes!
I recommend cooking the bacon, then storing in the refrigerator until needed. Reheat the bacon in the oven (350ºF/180ºC), then drain briefly before serving. Watch the oven carefully when reheating - it doesn't take long!
Can they be made in an air fryer?
Yes! Bacon twists are super easy to make in the air fryer, and it's an especially good method for smaller amounts. I recommend working in batches of 4 for the best results.
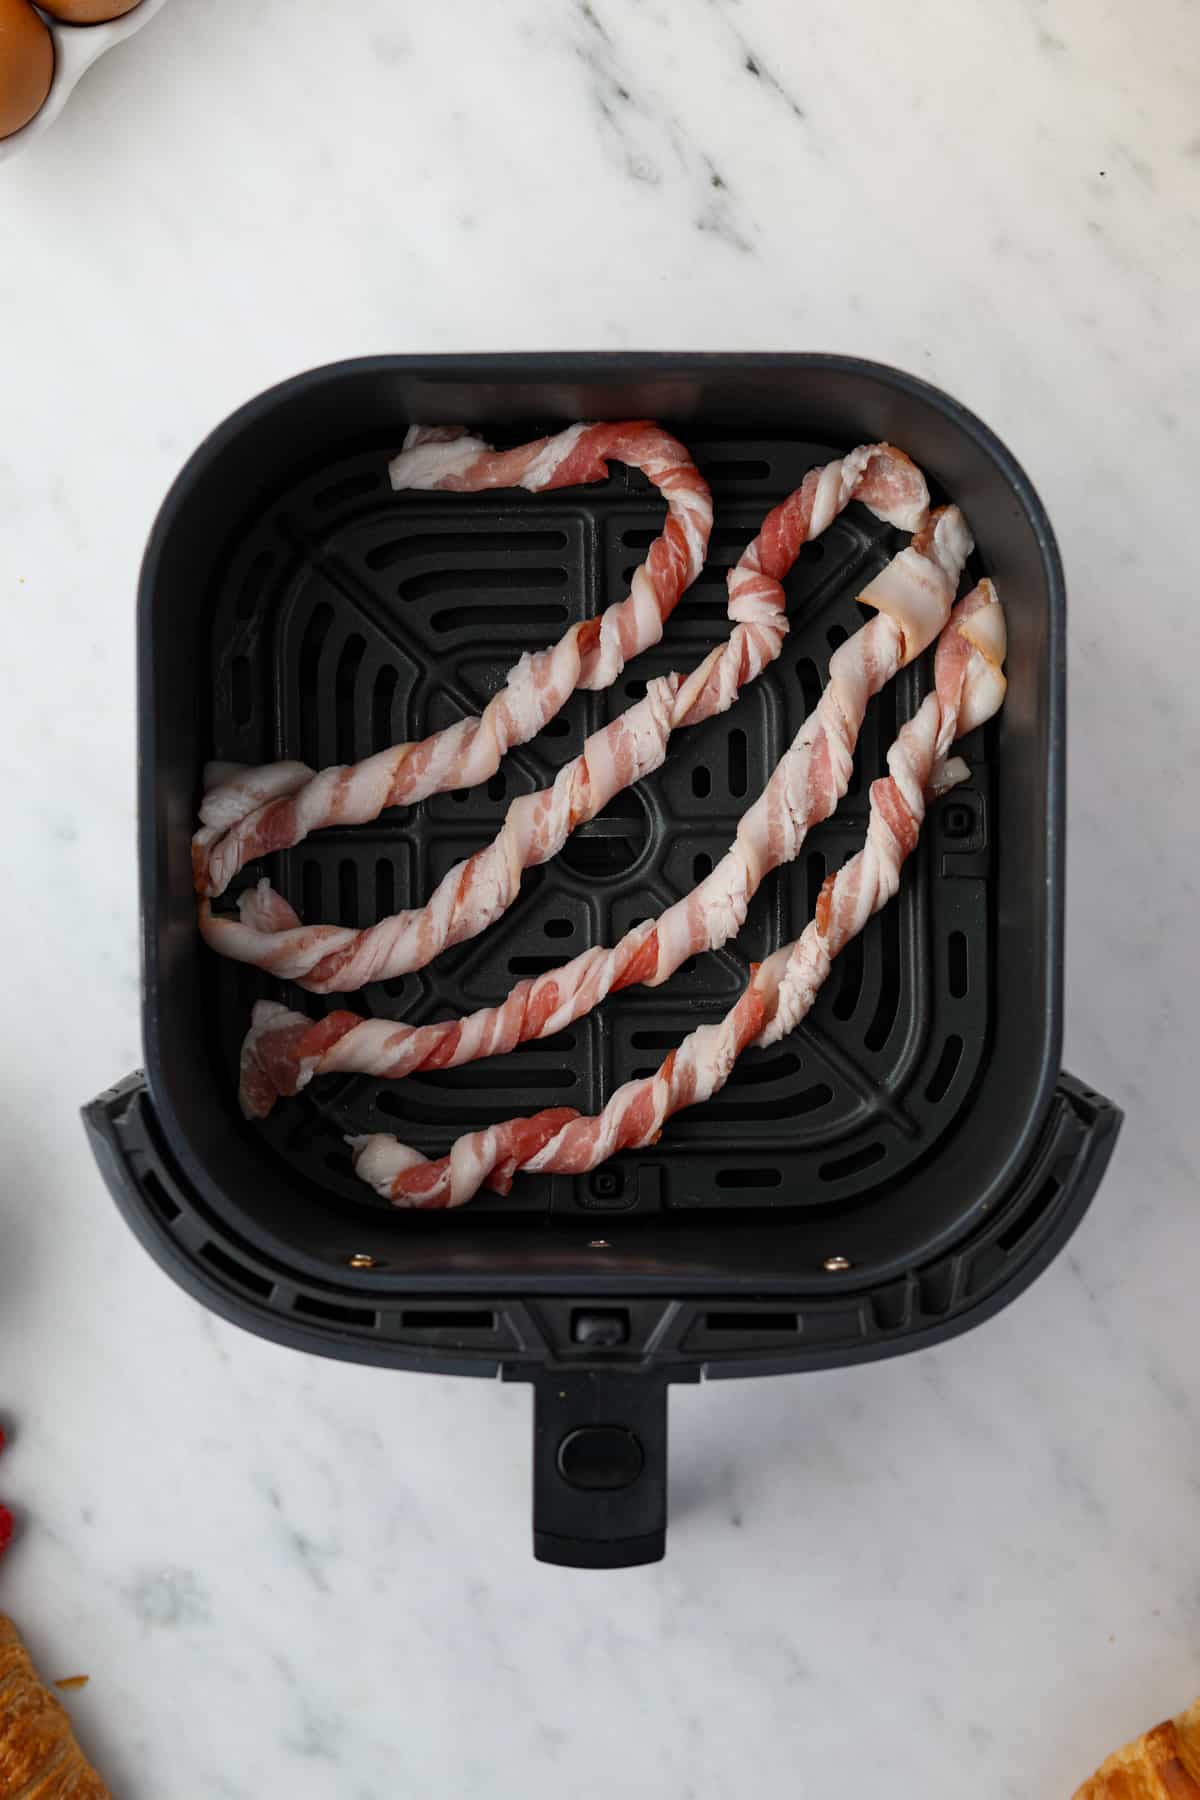
- Preheat your air fryer to 350ºF (180ºC).
- Tightly twirl 4 slices of regular-cut bacon.
- Place them in the air fryer basket. They are long, so you will need to curve them up the sides or bend them slightly in order to fit.
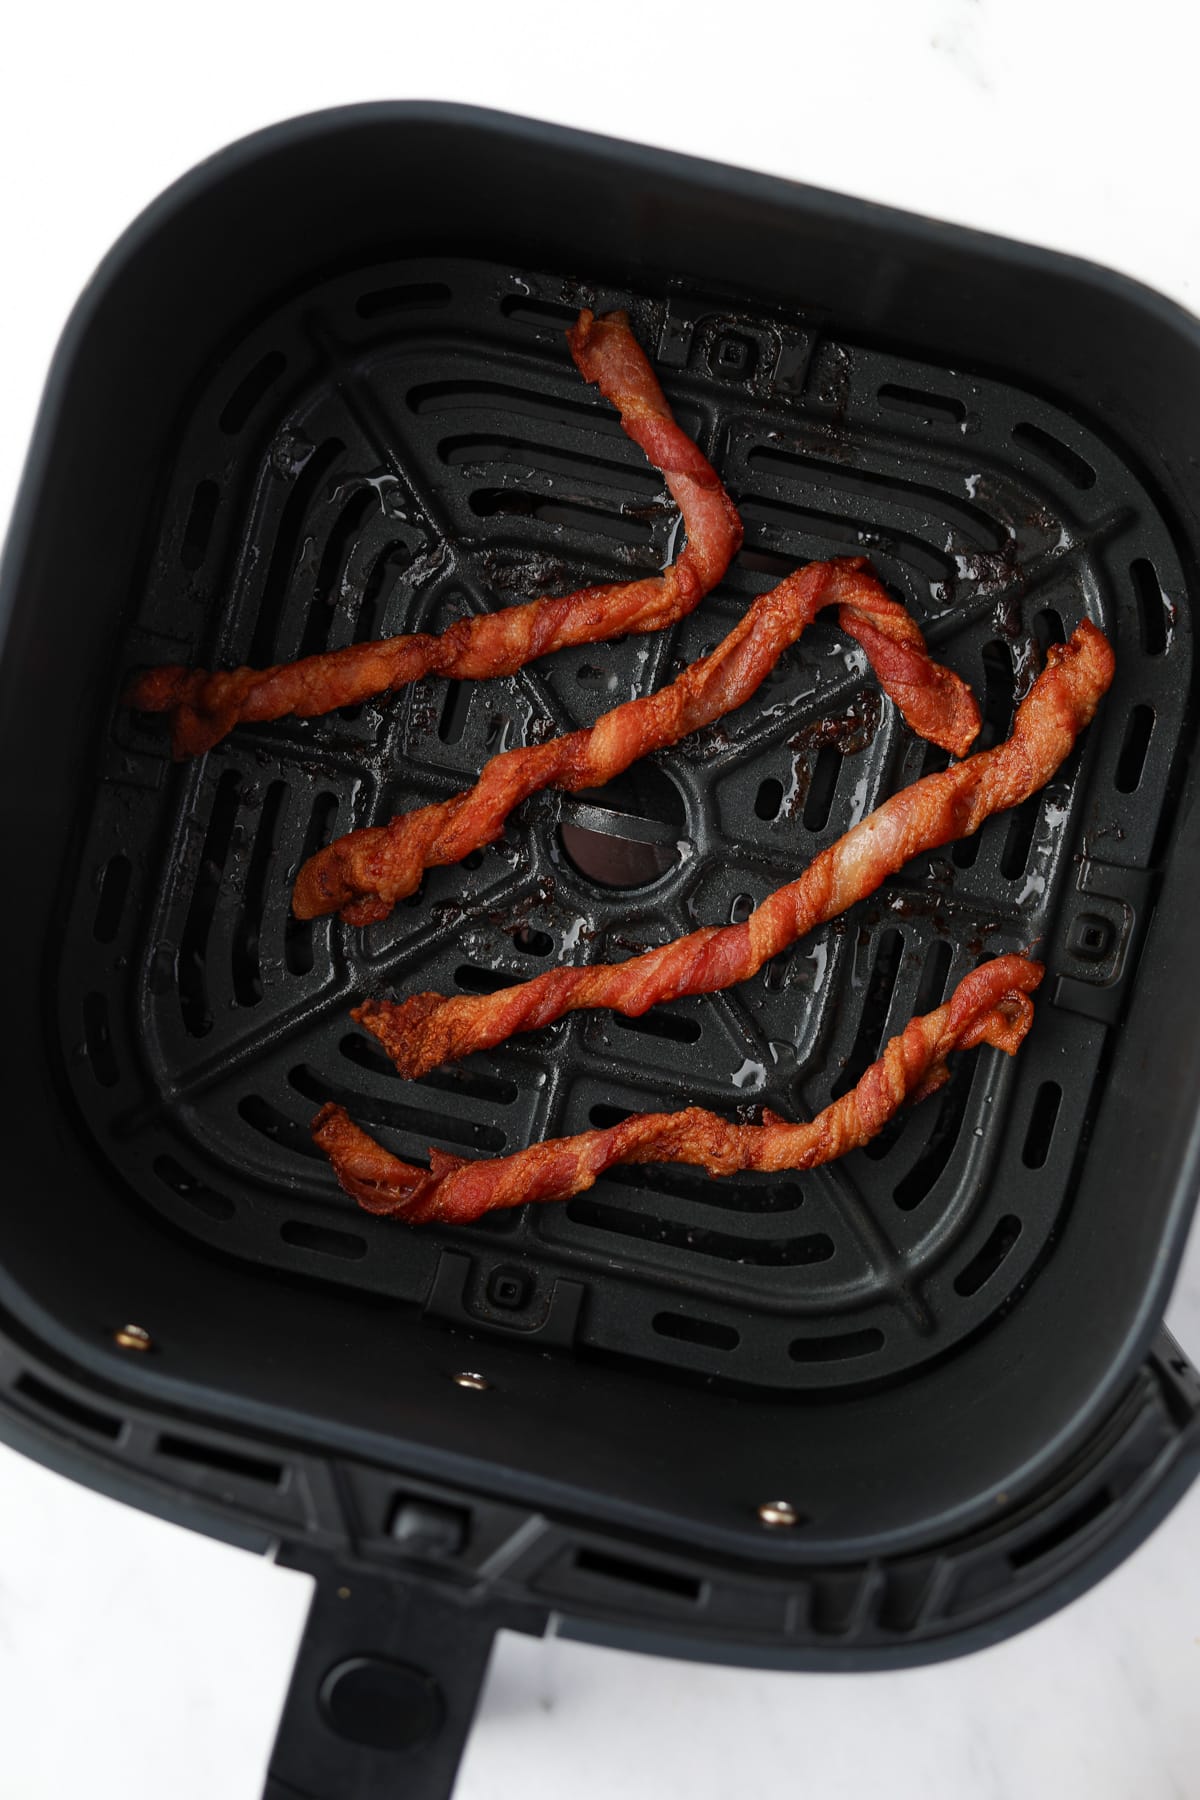
- Air fry for 11-14 minutes or until crisp enough for your liking. Do not flip!
- Remove from the air fryer basket and briefly drain on paper towels before serving.
- Repeat with any remaining bacon slices.
Flavor Variations
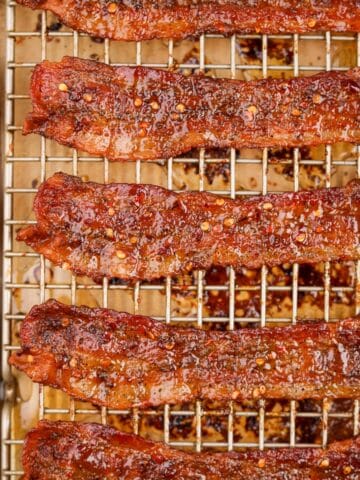
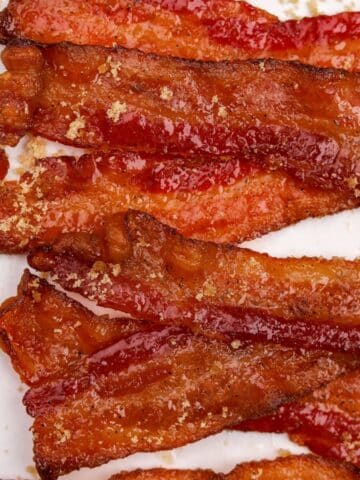
- Candied bacon twists: Whisk together brown sugar and black pepper, and sprinkle on both sides of each slice of bacon before twisting. See the recipe card for more details!
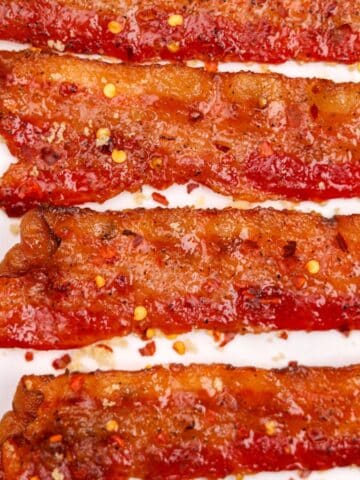
- Millionaire or billionaire bacon twists: Add a few pinches of cayenne pepper and some red pepper flakes to the brown sugar mixture mentioned above.
- Maple bacon twists: Either use maple flavored bacon or brush the slices with pure maple syrup before twisting - or do both!
Expert Tips
- What kind of bacon should I use? I recommend using regular bacon for this recipe and strongly advise against using thick-cut bacon. Thicker pieces take longer to cook, which can be complicated by the fact that the meat is twirled tightly together. I also recommend against using turkey bacon - it tends to be very wide and (of course) lean, which can burn quickly.
- Use a wire baking rack (if possible). I tested this twisted bacon recipe using both a regular rimmed sheet pan and one with a baking rack. The results were much better when a baking rack was used, and the bacon had a much crispier texture with less cooking time. It also retained less grease since the rendered fat was able to easily drip below. If you don't have one that is oven-safe, that's fine. Just watch your bacon closely, drain it well, and adjust the baking time as needed to get the results you want.
- Watch them closely near the end. Some of us like our bacon crispy, some of us like it chewy, and some of us like it somewhere in between. I recommend watching your bacon closely for the final 5 minutes or so, and reduce (or add) baking time as needed to get your perfect level of doneness.

More Bacon Recipes:
If you loved this recipe for easy bacon twists, let me know by leaving a 5-star review in the recipe card or comment below! You can also tag me on Instagram @dashfordinner.

Bacon Twists
Equipment
- Baking sheet rimmed
- Parchment paper (or foil)
Ingredients
- 1 pound bacon (14-16 slices; not thick-cut)
Instructions
- Preheat the oven to 400ºF (200ºC).
- Line a rimmed baking sheet with parchment paper and a wire baking rack (optional, but recommended).
- Using both hands, twist the bacon, starting in the middle and working out with each hand until completely twirled. Twist them a bit tighter than you would like them to be, as the twirls will loosen during cooking.
- Carefully place the twisted bacon strip on the wire baking rack or parchment-lined baking sheet.
- Repeat until all of the bacon is twisted, leaving a little space in between each piece.
- Bake in the preheated oven for 20 minutes, then flip the bacon pieces and cook for another 15-20 minutes, or until crisp enough for your liking. Twisted bacon cooked on a wire baking rack will crisp up more quickly, while those that are cooked directly on the sheet will need a little more time (and tend to be a bit softer).
- Remove the cooked bacon twists and drain them on a paper towel-lined plate to absorb excess bacon grease.
- Serve and enjoy!
Notes
- Whisk together 1 cup of brown sugar and 1 teaspoon of ground black pepper.
- Distribute the brown sugar and pepper mixture on both sides of each slice of bacon, pressing it in with your fingers.
- Twist each slice into a tight spiral and place it on a wire baking rack (this is a must to keep the candied sugars from burning onto the bacon).
- Bake as directed in the recipe, but be certain to line the pan with parchment OR foil as the sugars burn very easily with the extended oven time. There WILL be some smoking when you remove it from the oven.
- Watch closely during the final 5-10 minutes and remove them when they are crisp enough for your liking.
- Cool for about 5 minutes before serving.
Nutrition
Please note that some of my blog posts here at Dash for Dinner may contain affiliate links. If you make a purchase through these links, I will get a small commission at no additional cost to you. Please see my Disclaimer for more information.


Dorothy Bigelow says
We have enjoyed this recipe as a fun way to elevate weekend breakfast! It's delicious, crunchy, and a great way to show your family how much you love them.
I also happen to think it makes the best bacon bits when crumbled!