


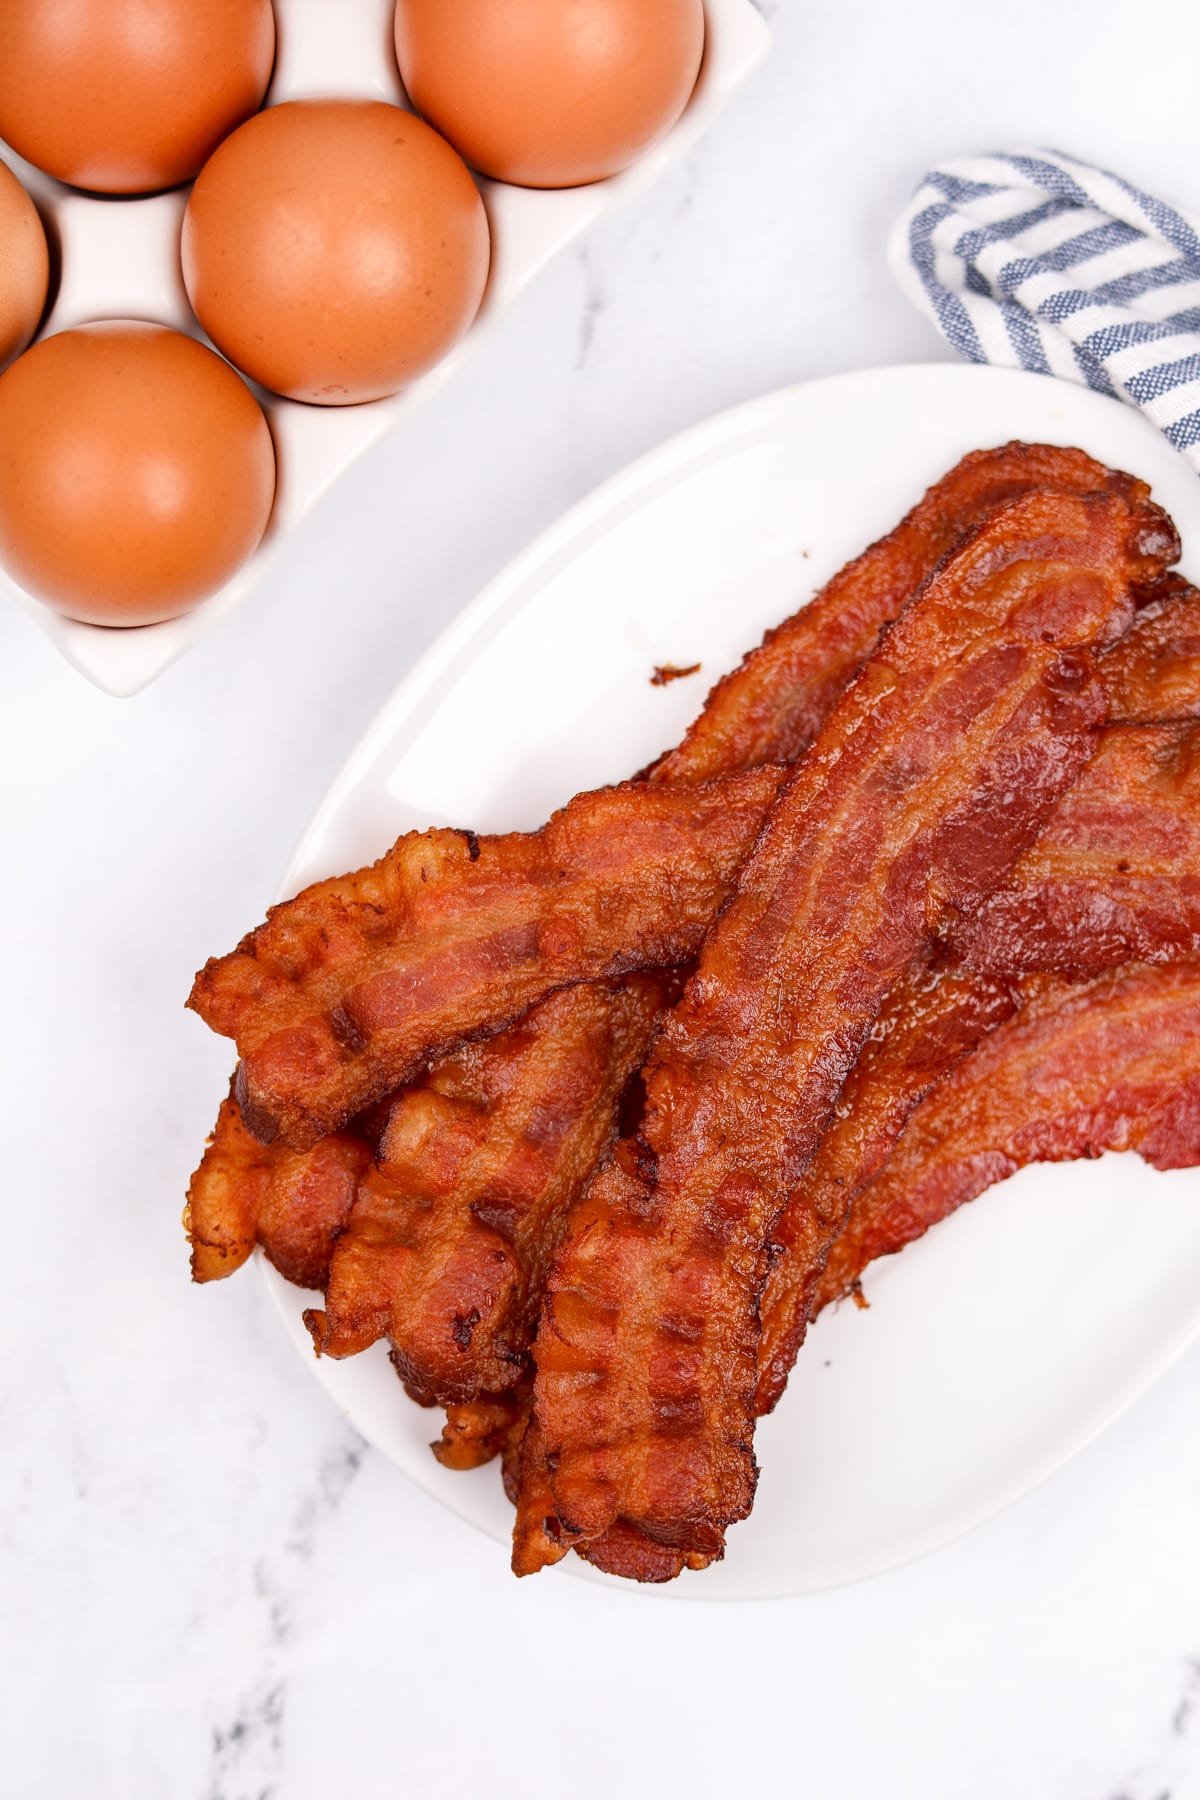
This easy method for making Crispy Oven Baked Bacon is the best way to prepare perfect bacon every single time. There is less mess, it's deliciously crispy, and frees up your hands for other tasks in the kitchen (like scrambling eggs or making toast).
It's simply the best way to cook bacon for a crowd or batch cook a lot of bacon for meal prep!
Jump to:
Of all the ways I've cooked bacon in my life, my favorite method has to be oven-baked bacon. If you haven't tried it yet, it's an absolute game changer!
Not only does the oven method reduce the grease splatter to nearly zero, it also makes the best, crispiest bacon every time. No fuss, no babysitting - just simply the best bacon.
Why You'll Love Oven Baked Bacon:
- Perfect crispy bacon every time. All of the slices cook evenly in the heat of the oven, which results in consistently crispy and delicious bacon each time.
- Easy cleanup. Compared to the traditional skillet method for cooking bacon, this sheet pan method is SO much cleaner. No grease splatter - period!
- Big batch cooking. Whether you scored a great sale, or want to cook ahead for the month, the oven method is a great way to prepare it efficiently.
- Budget-friendly. If you're a busy home cook like me, chances are you've picked up a pack of frozen or pre-cooked bacon. While it's convenient, it's also pricey. Making your own and freezing in bulk is a great way to save money.
Ingredients
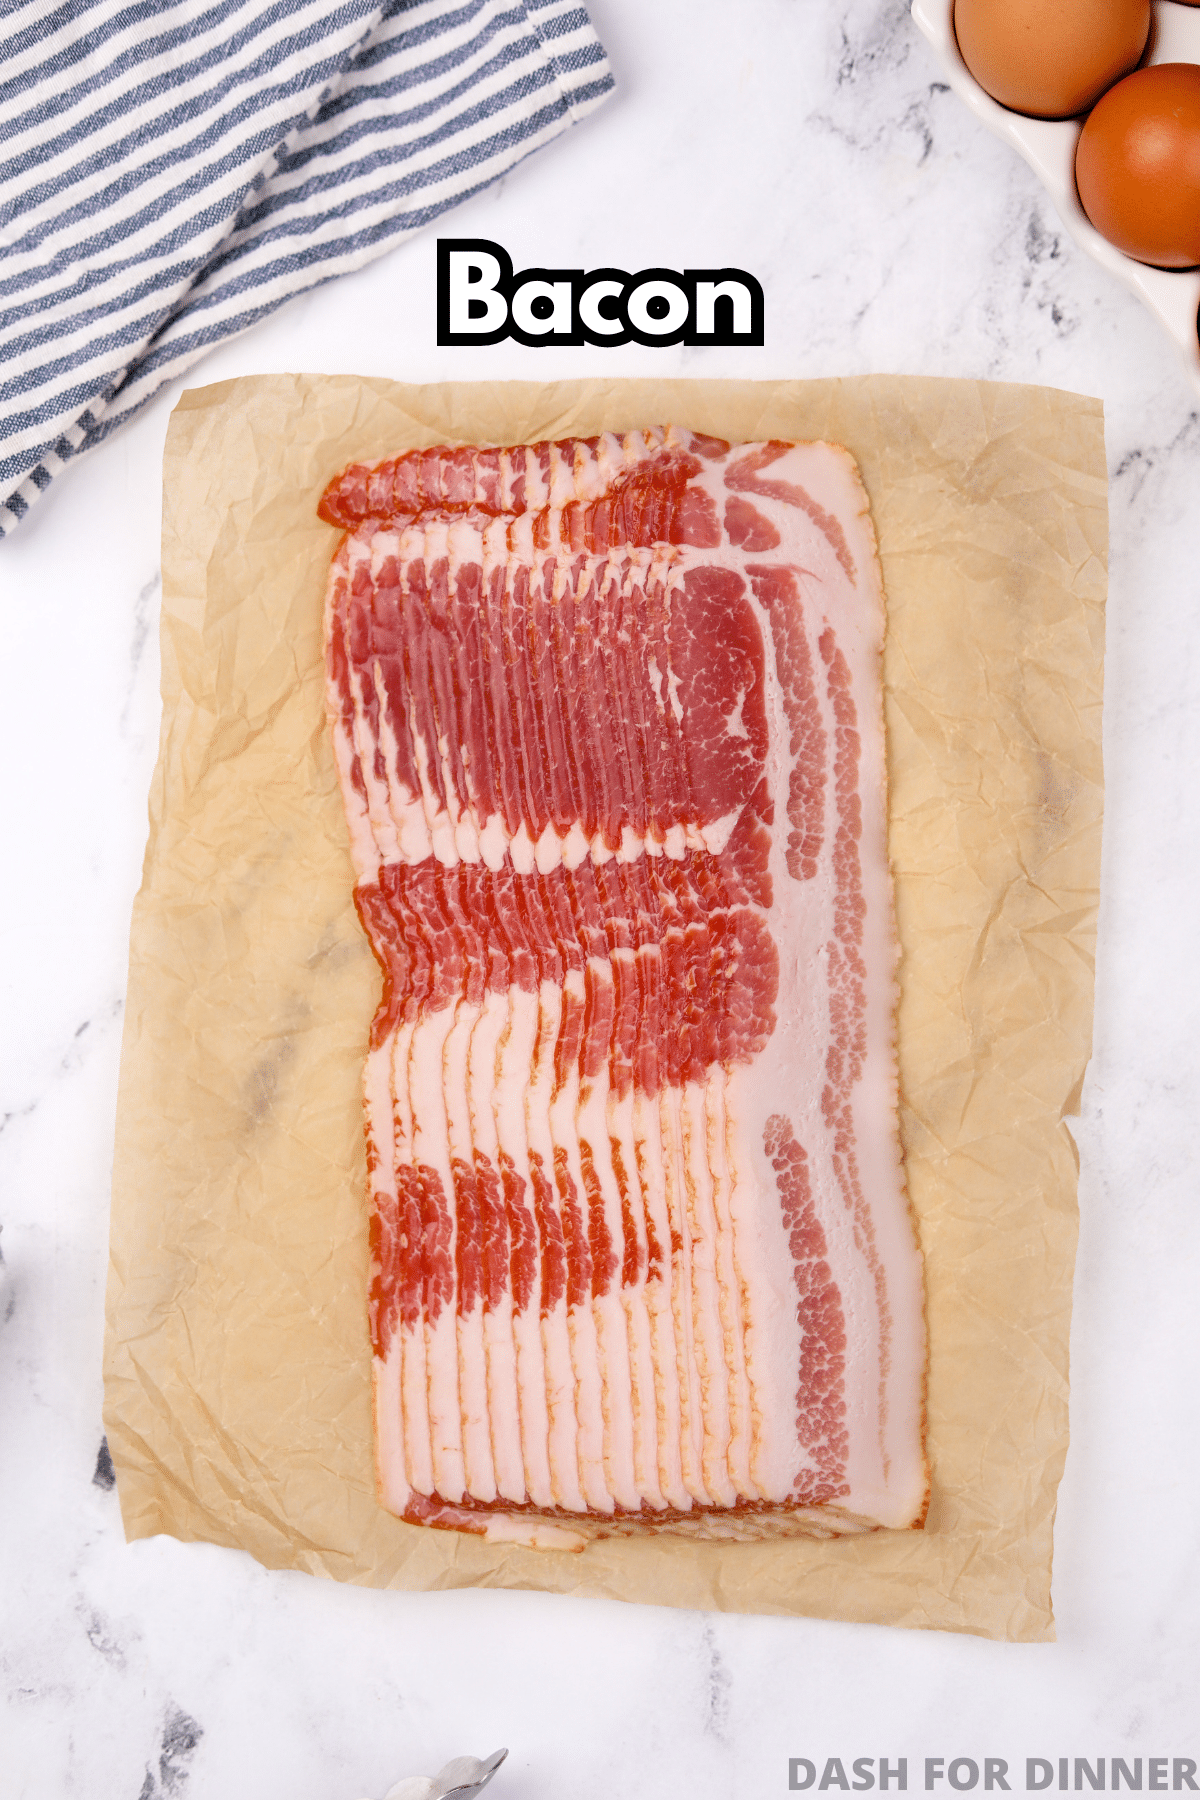
- Bacon: You can prepare just about any amount of bacon this way - you just need to work in batches. I typically prepare 1-2 pounds at a time, using a regular cut bacon. If preferred, you can use thick cut bacon - just add a little more onto the cooking time.
Equipment
- Sheet pan: You will need a baking pan with rimmed edges (to catch the grease). I use a half sheet pan, which is the standard sized sheet pan you'll find at any department store.
- Parchment paper: Lining the baking sheet with parchment paper makes for a much easier clean up. Alternatively, you could use aluminum foil.
How to Make Crispy Bacon in the Oven
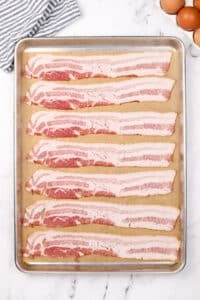
Step one: Preheat the oven temperature to 425ºF (218ºC) and line a rimmed baking sheet with parchment paper (or foil).

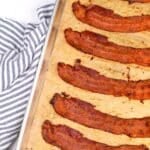
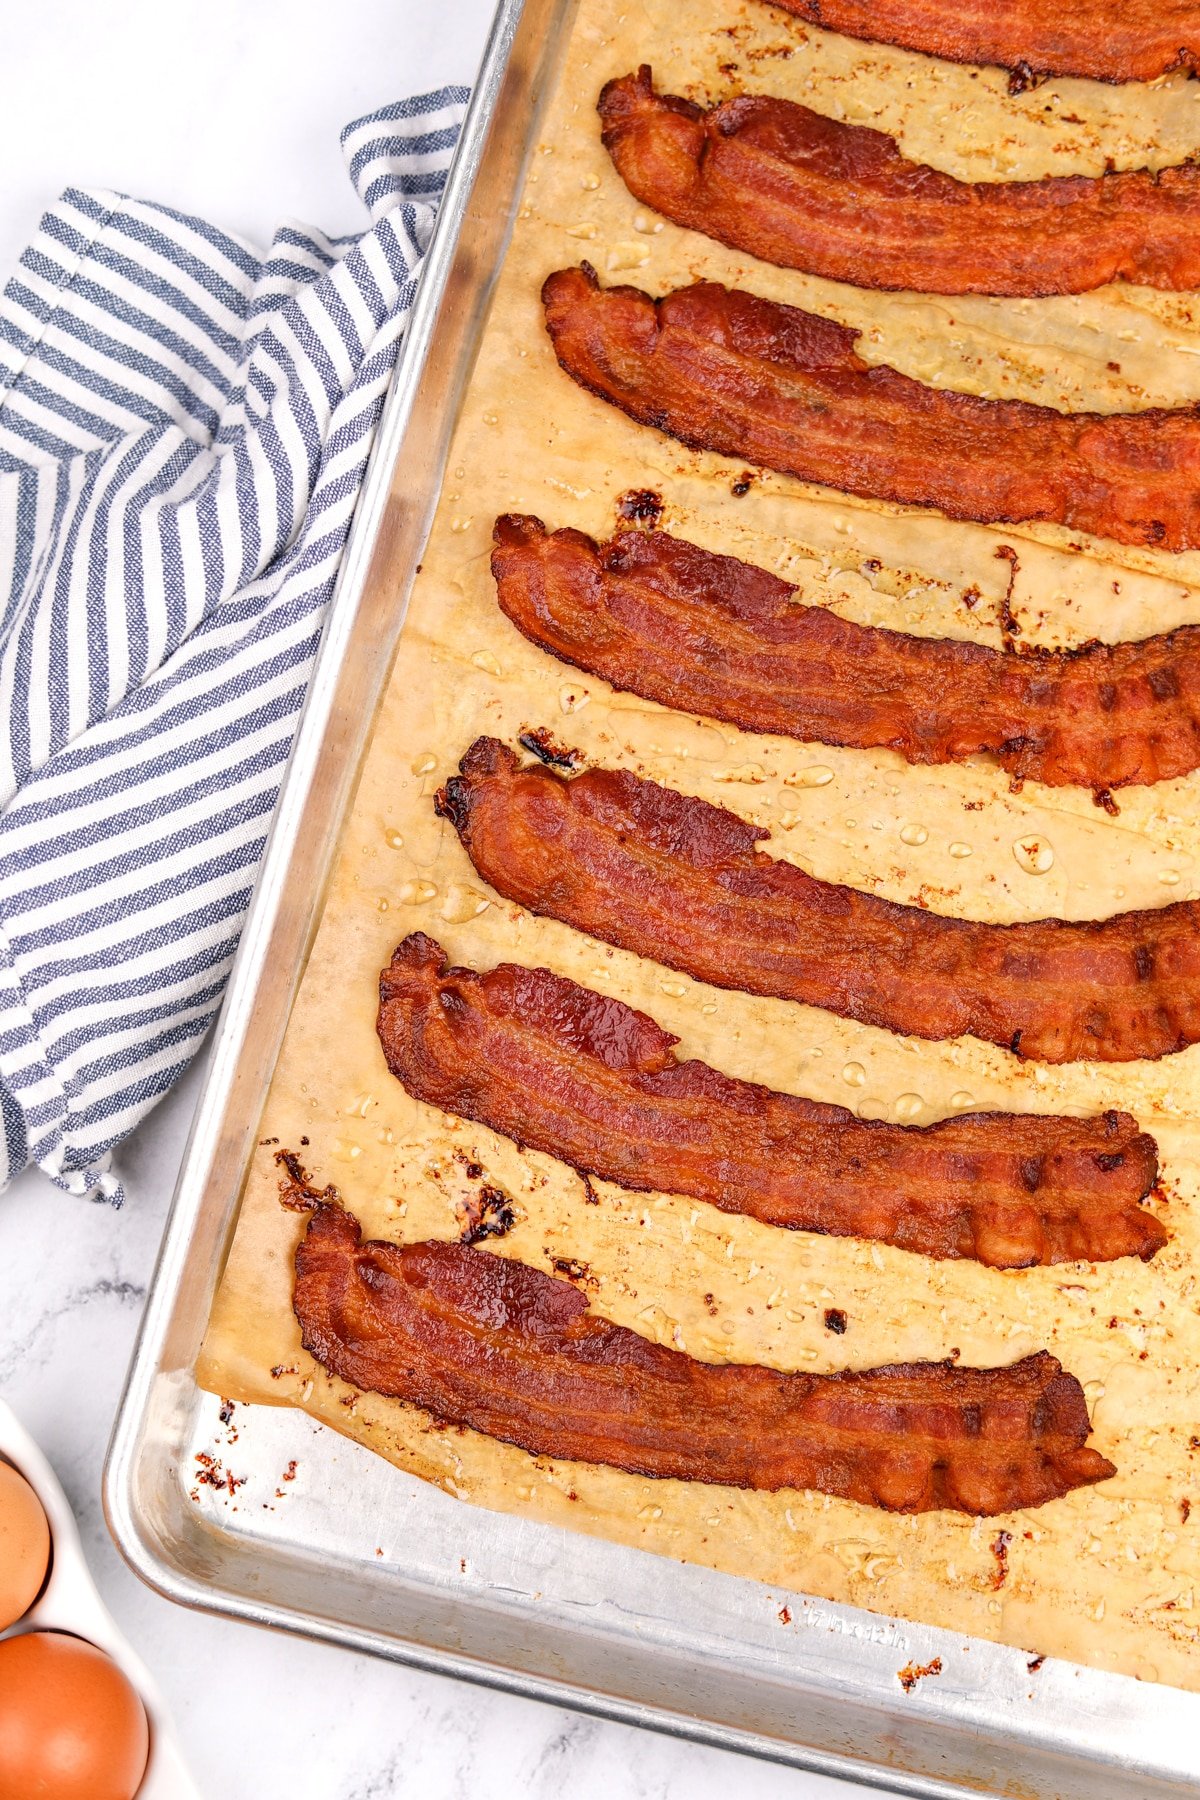
Step two: Evenly space 7-8 strips of bacon in a single layer on the prepared baking sheet.
Note: Make sure that none overlap. This will prevent them from sticking together and help them to cook more evenly.

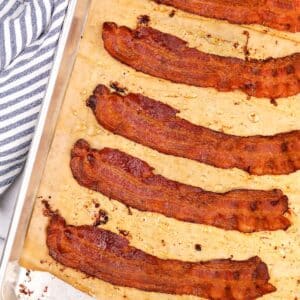
Step three: Bake in an oven that has been preheated to 425ºF (218ºC) for 16-22 minutes, flipping the pieces halfway through (about 10 minutes in).
Once the bacon is cooked to your liking, remove the baking sheet from the oven.
Draining
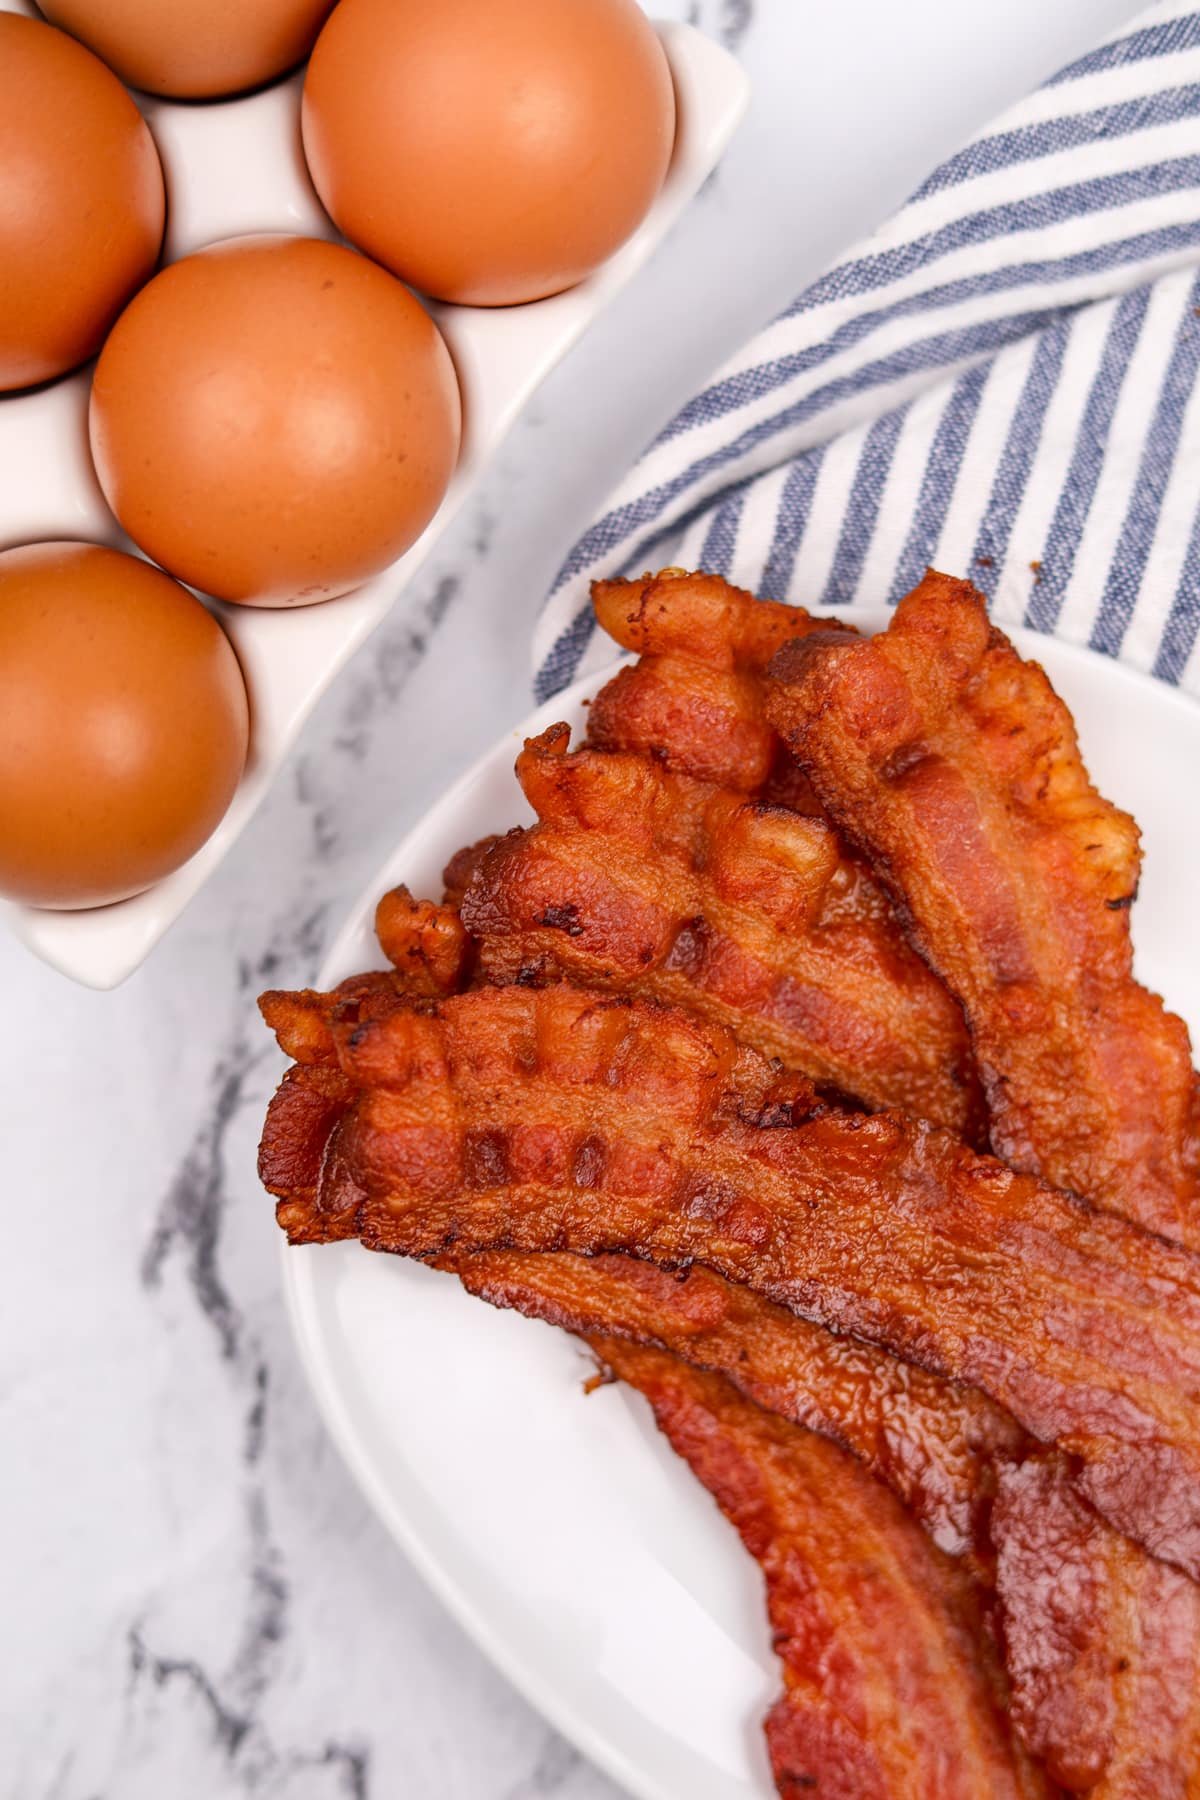
Most people like the texture of bacon best once it's been drained. This process absorbs excess grease, and helps crisp it up all the more.
- Line a plate with a double layer of paper towel.
- Add the cooked bacon pieces to the paper towel.
- Allow to drain for a few minutes before serving.
Bacon Thickness and Cooking Time
The thickness of the bacon can have an impact on how long it has to cook before it's perfectly crisp. Thinner slices require less time, while thicker slices require more time.
- Thick-cut bacon: Add 2 minutes to the total baking time (so 18-24 minutes instead of 16-22).
- Regular cut: Follow the recipe as directed.
- Thin cut: Reduce the cooking time by 2 minutes (so 14-20 minutes instead of 16-22 minutes).
Less crispy: If you don't like you bacon super crispy, keep a close eye on it and remove it as soon as it is done to your liking (12-16 minutes, depending on your oven).
Expert Tips
- Flip for even cooking. Although it's not necessary, it's highly recommended that you flip your bacon halfway through the cooking time. This helps both sides to brown evenly and promotes crispiness.
- Drain the fat. Especially if working in batches, take care to drain the fat from the pan in between batches. Remaining rended fat can cause the bacon to cook more quickly, and it smokes, meaning you bacon may take on a burnt flavor.
- Work in batches. It's better to take your time, working in batches, than to overcrowd the pan. Trying to cook too much at once results in more steam in the oven, as well as overlapping pieces. Neither of which are good for consistently crispy bacon slices.

How to Store Cooked Bacon
- Refrigerator: Once cooled, transfer the cooked pieces to an airtight container. Store in the refrigerator for 4-5 days. Reheat in a microwave, air fryer, or skillet if you want your bacon hot.
- Freezer: Transfer cooled bacon to a freezer bag. Remove the excess air, seal, and label with the date and contents. Freeze for 3-6 months, and reheat from frozen.
- Re-crisping: For the best results, re-crisping your prepared bacon is recommended. I like to drain the reheated pieces on paper towel to remove excess grease, which helps with crispiness.
- Skillet- Heat a skillet over medium heat, and warm for 30-60 seconds per side.
- Air fryer- Using the "reheat" option, heat for 1-2 minutes.
- Microwave- Heat in 30 second intervals until heated throughout.
What do I do with the bacon fat?
For the best results, I recommend draining the bacon fat from the baking pan after each batch has come out of the oven. This prevents subsequent batches from cooking too quickly.
The reserved bacon grease can be collected in a glass jar and kept in the refrigerator to use as a cooking fat. Rendered bacon fat is commonly used to cook greens, greasing cast iron skillets, or making cornbread.
Top tip: If you want your bacon grease to keep long, I recommend straining off any bacon solids. I do this by running it through a stainless steel funnel lined with a coffee filter.
Ways to Use Cooked Bacon
- To make BLT sandwiches
- Breakfast sandwiches
- Baked potatoes
- Meal prep
- Crumbled into homemade bacon bits
- Added to casseroles
- Dips (like my loaded baked potato dip)
- Added to subs, sandwiches, or salads
- Snacking
- Reheated and served with a classic breakfast spread
- Frozen for later use
Recipe FAQs
I've tested this recipe in many ways, and starting the bacon in a cold oven delivers very similar results when compared to adding it to an oven that has been preheated. I went with the preheated option, since this is the way the majority of home cooks operate and it ensures the instructions are clear for subsequent batches.
I've tested using an oven-safe wire cooling rack to cook the bacon, and really it doesn't make much of a difference (but does make clean-up a bit more difficult).
If you loved this tutorial for how to cook bacon in the oven, let me know by leaving a 5-star review in the recipe card or comment below! You can also tag me on Instagram @dashfordinner.
Crispy Oven Baked Bacon
Equipment
Ingredients
- 8 slices bacon regular - not thin or thick cut*
Instructions
- Preheat the oven to 425ºF (218ºC).
- Line a sheet pan with parchment paper.
- Place the bacon slices on the parchment-lined baking sheet, leaving a small amount of space between each piece. Do not overlap.

- Bake in the preheated oven for 10 minutes.
- Remove from the oven and flip over the bacon slices using tongs or a fork.
- Return the baking sheet to the oven for an additional 6-12 minutes, watching closely so you can remove them when they reach your desired level of doneness.
- Once they are crispy, remove the baking sheet from the oven and transfer the cooked bacon to a paper towel-lined plate or tray to drain.
- Repeat with any remaining bacon, working in batches until they are all cooked and crispy. I recommend draining off any bacon fat in between batches.

Video
Notes
Nutrition
Please note that some of my blog posts here at Dash for Dinner may contain affiliate links. If you make a purchase through these links, I will get a small commission at no additional cost to you. Please see my Disclaimer for more information.


Leave a Reply