


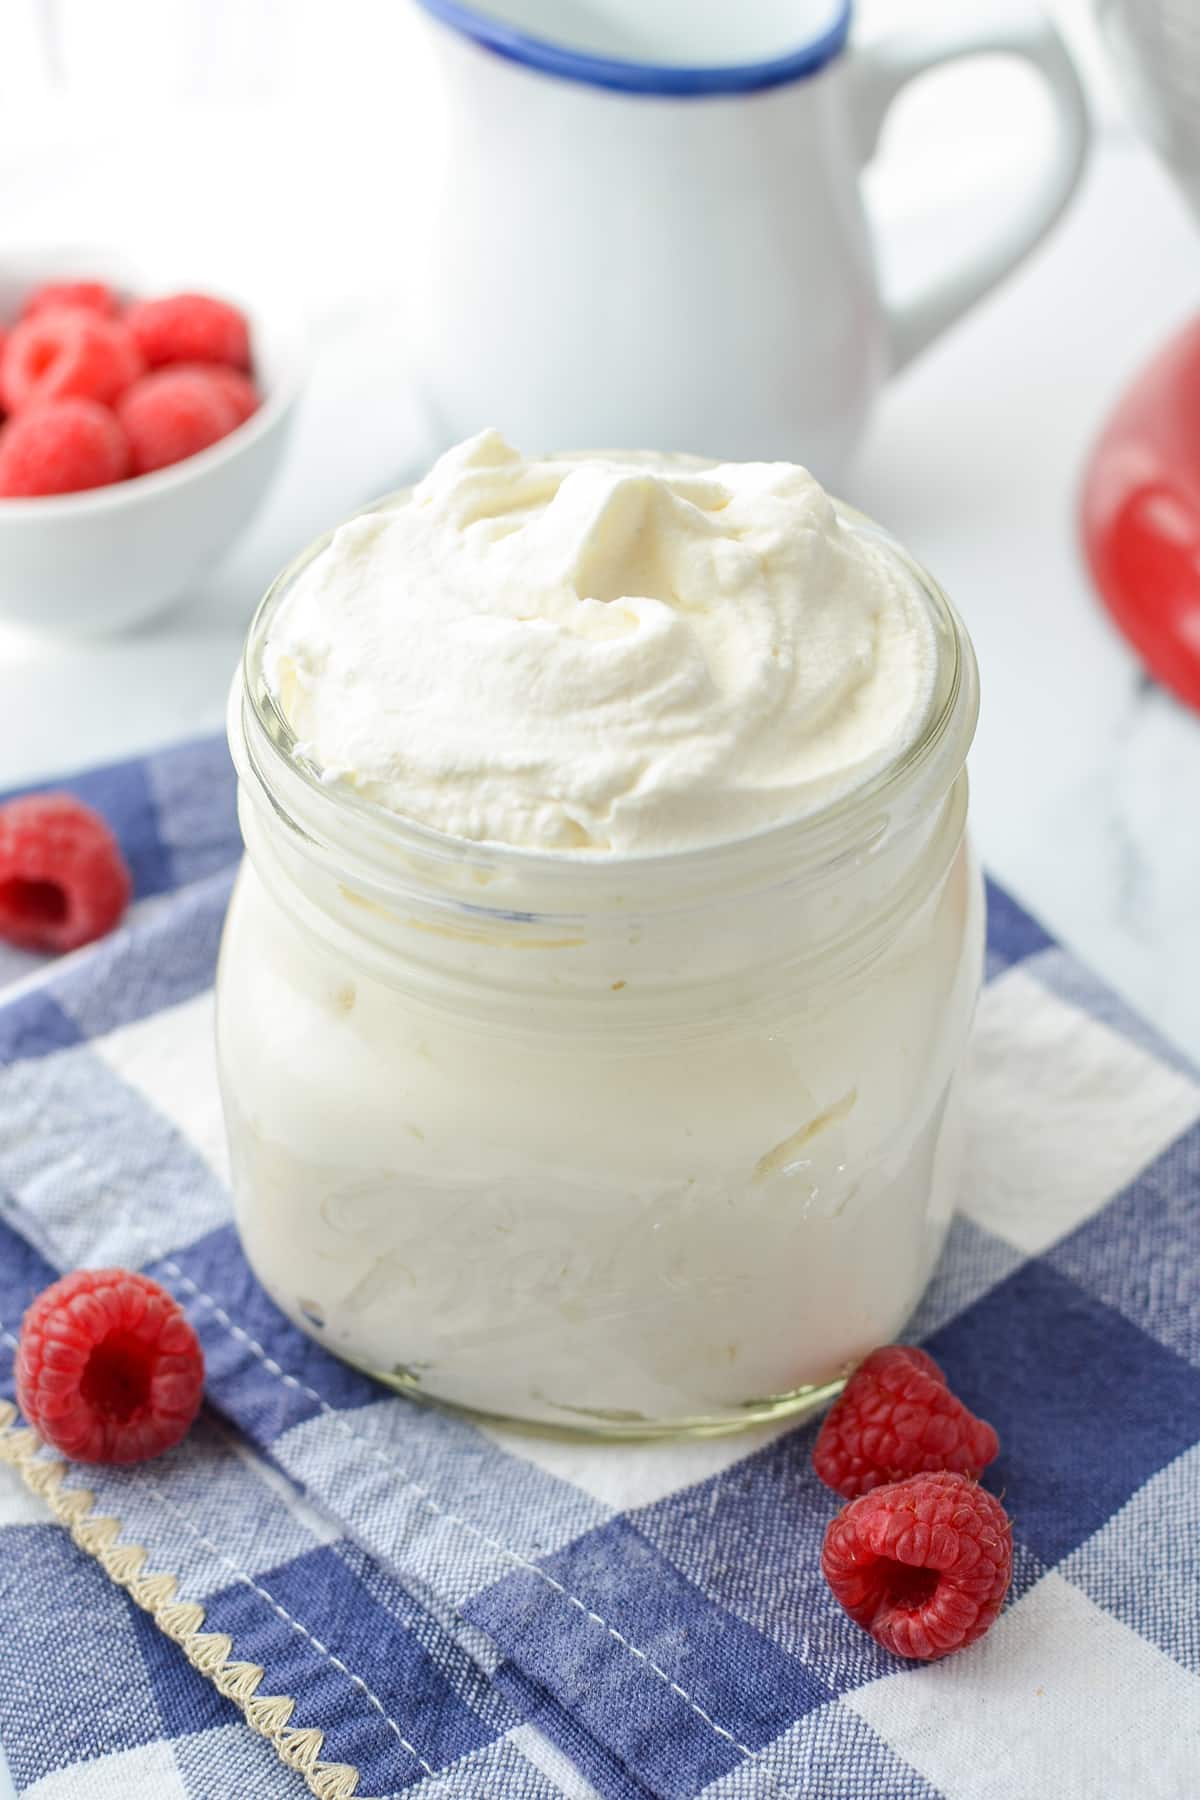
Whether you're an expert or a first-timer, you're going to love this simple, easy-to-make homemade whipped cream. Made with just 3 simple ingredients, this pillowy topping is perfect for a variety of uses; Including hot chocolate, fruit salad, strawberry shortcake, and more!
When I first started learning how to bake almost 15 years ago, one of the very first things I learned how to make was whipped cream. I had always bought a tub of Cool Whip or the canned stuff beforehand, and I had no idea how simple it was to make your own.
This was probably the time I fell in love with cooking and baking. Seeing the magic of transforming heavy cream into a sweet, vanilla-scented pillowy pile of whipped cream was eye-opening.
I thought good food had to be complicated, with lots of ingredients and lots of steps. Not so. In fact, some of the best food in the world is simple food. Like a ripe tomato served with a fresh basil leaf and a drizzle of balsamic vinegar. Pure deliciousness!
This homemade whipped cream recipe is easy for beginners to follow, and it's perfect for including in your favorite desserts or topping a steamy cup of hot chocolate. It's simple, it's satisfying, and it's definitely one you're going to make again and again.
Reasons to Make Your Own Whipped Cream:
- It's fresher and it tastes wayyyy better than the store-bought stuff.
- You can make it with just 3 simple ingredients.
- It's next level! Homemade is the BEST whipped cream, and you are going to love it.
- It's so easy to make. Just keep the basic ingredients on hand, and you have everything you need for a quick and easy dessert topping.
Oh, and it kicks Cool Whip's butt!
Ingredients
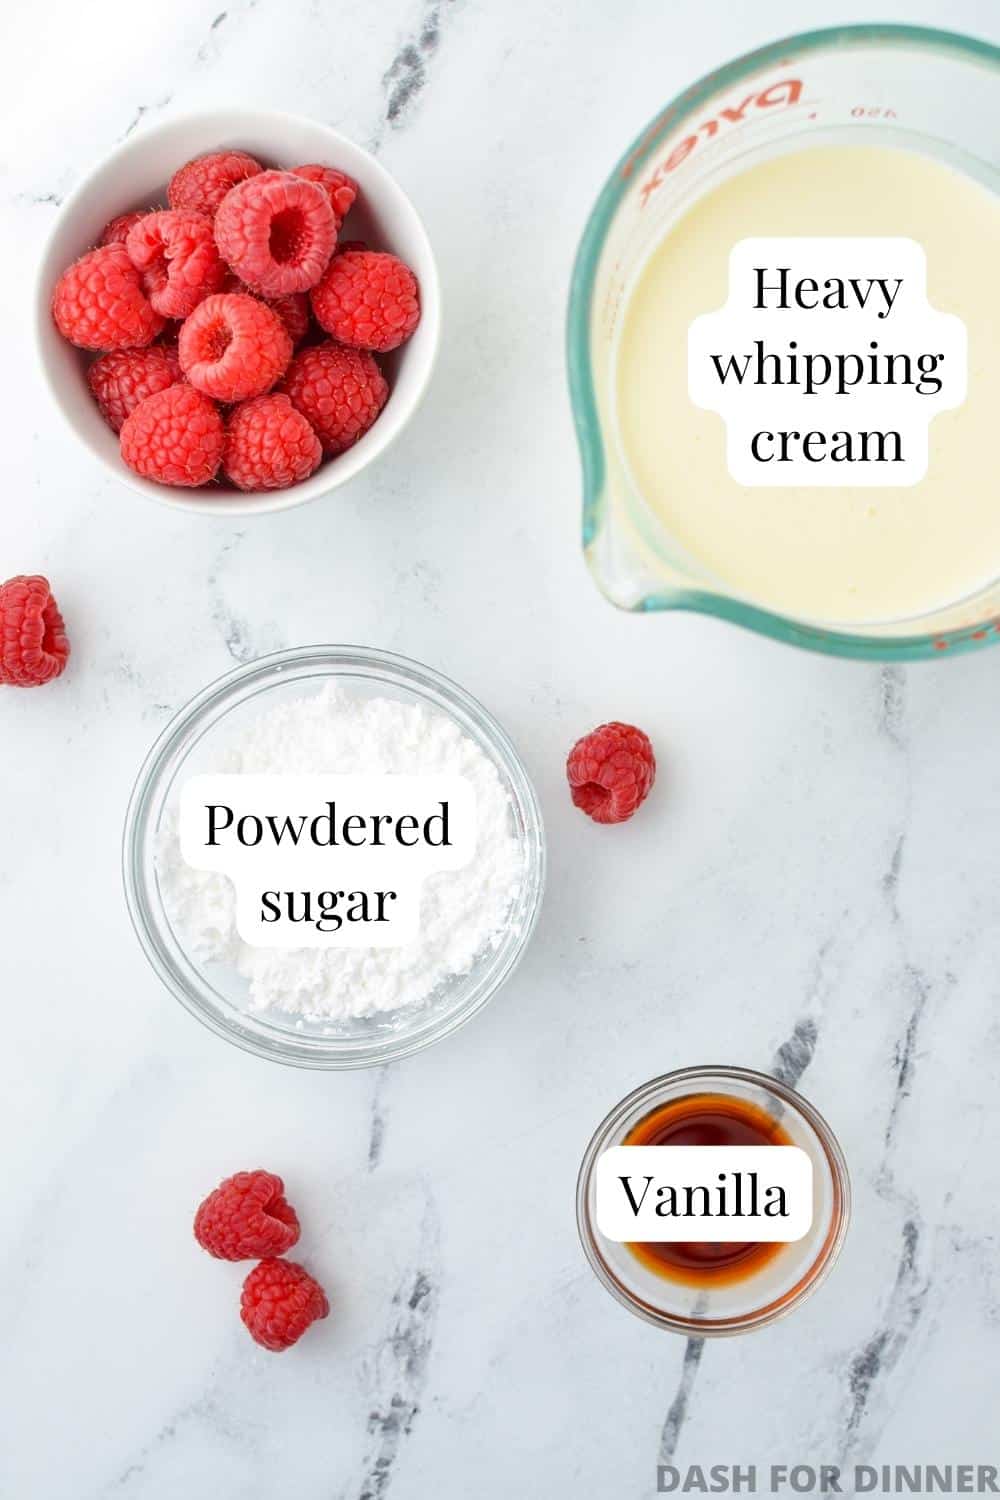
- Heavy cream: In order to get the cream to whip into pillowy clouds, you do need to use heavy cream (no light cream or half and half). This is sometimes labeled as "whipping cream" or "heavy whipping cream."
- Sugar: I recommend using powdered sugar in your homemade whipped cream because it acts as a minor stabilizer, which allows it to last a bit longer. It also makes for the smoothest texture.
- Vanilla extract (optional): Whipped cream with vanilla extract added is technically chantilly cream, but it's so commonly included that the two are basically one and the same.
Alternative Sweeteners
If you are on a keto or low-carb diet, you may want to make homemade whipped cream with a low-carb sweetener. This can be done by using anything that substitutes for sugar at a 1:1 ratio (such as monk fruit blends, erythritol blends, and stevia blends).
Note about Heavy Cream
This should have a high milk fat percentage (about 35-40%), which is what allows it to thicken into the fluffiest whipped cream. The higher fat content of whipped cream also makes for a creamy, luscious mouthfeel, which is what we all love about real whipped cream.
For the best results, keep your heavy cream chilled in the fridge just until it is time to whip it. For bonus points, chill a freezer-safe or metal bowl in the freezer for about 15 minutes beforehand.
How to Make Homemade Whipped Cream
Step one: Add cold heavy cream to a large bowl (or the bowl of a stand mixer fitted with the whisk attachment).
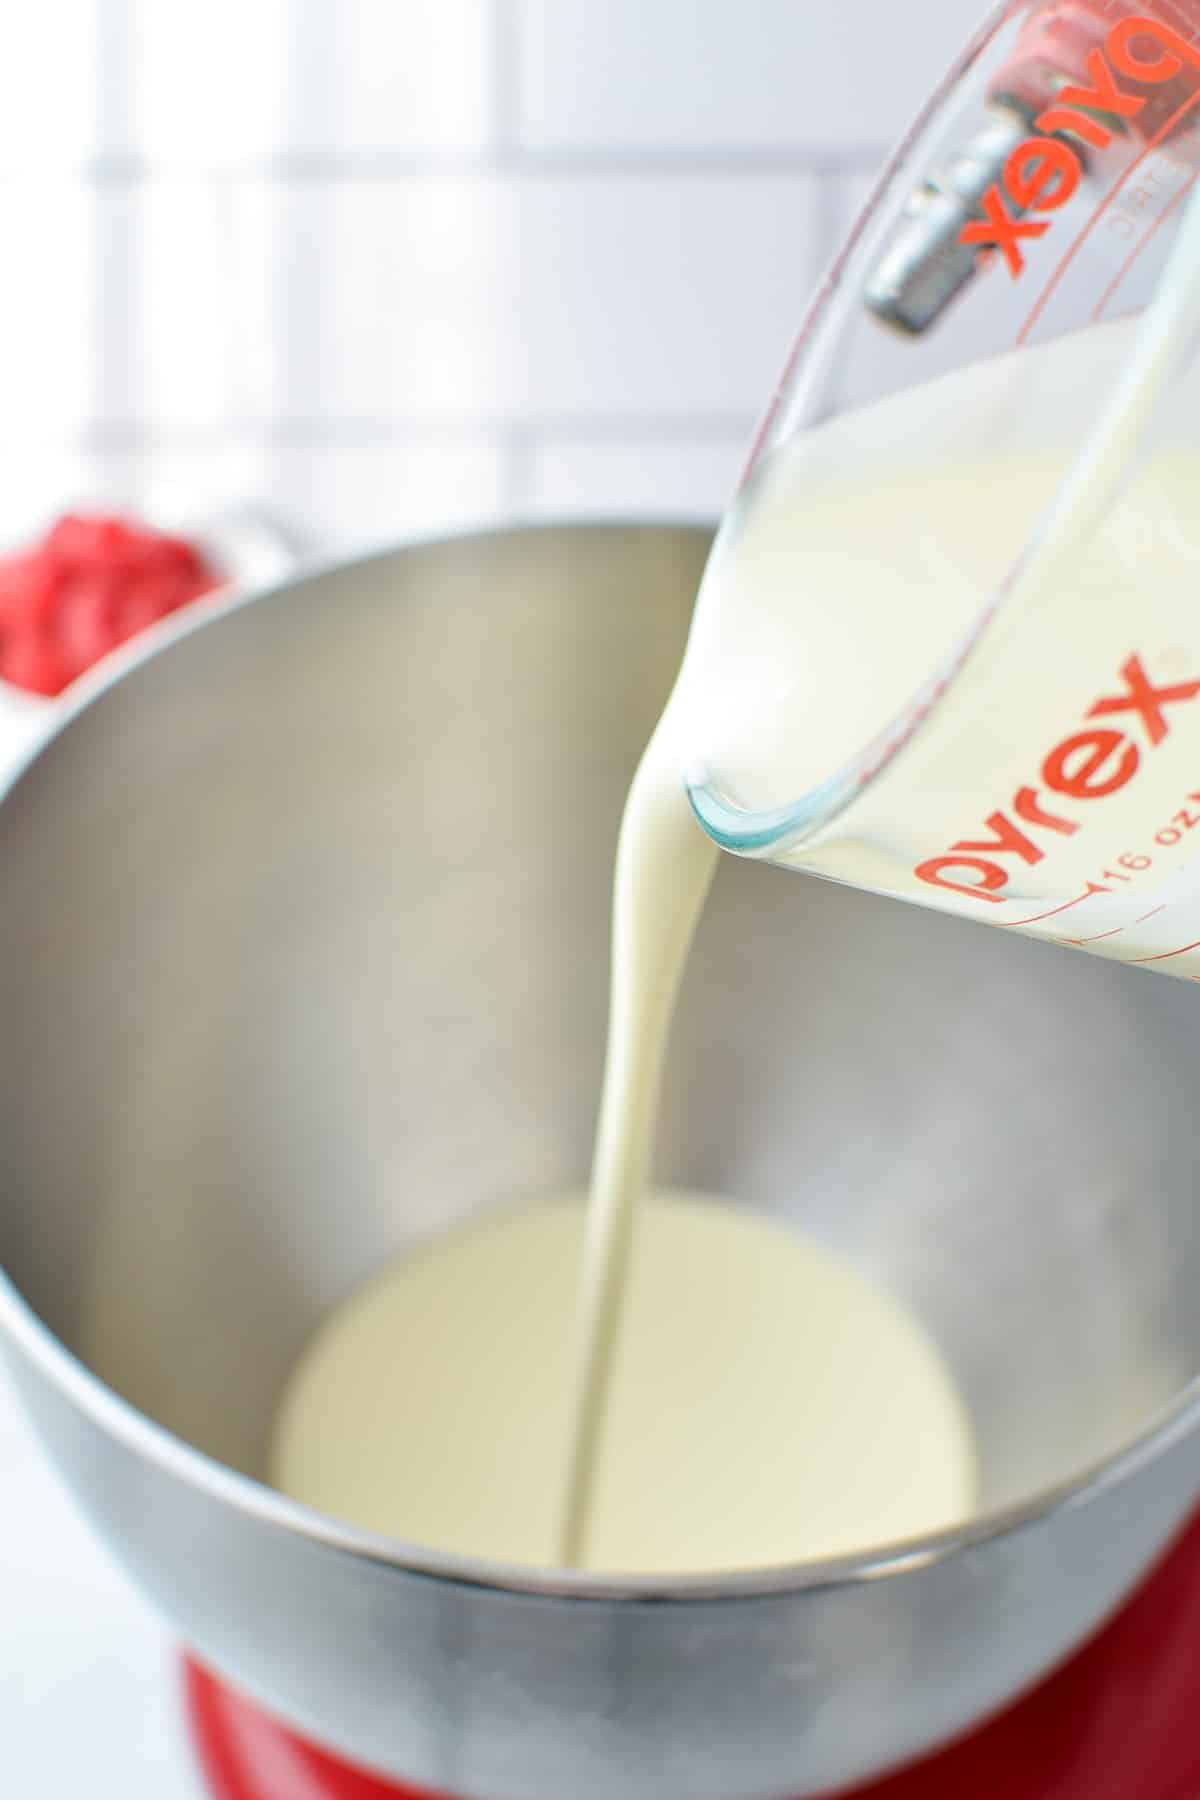
Step two: Add in the powdered sugar and pure vanilla extract (if using).
Step three: Beat the heavy cream on medium-high speed until it begins to thicken, forming very soft peaks.
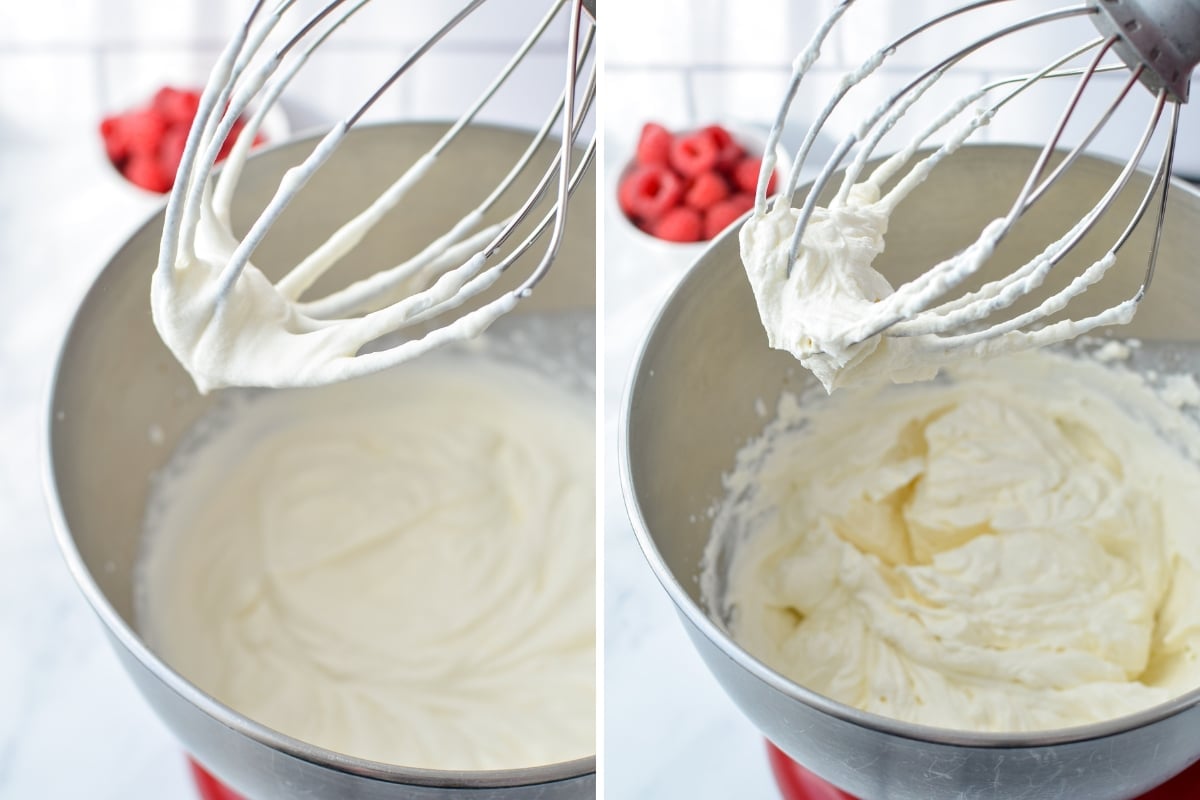
Step four: Continue to beat on medium-high speed, scraping down the sides of the bowl as needed.
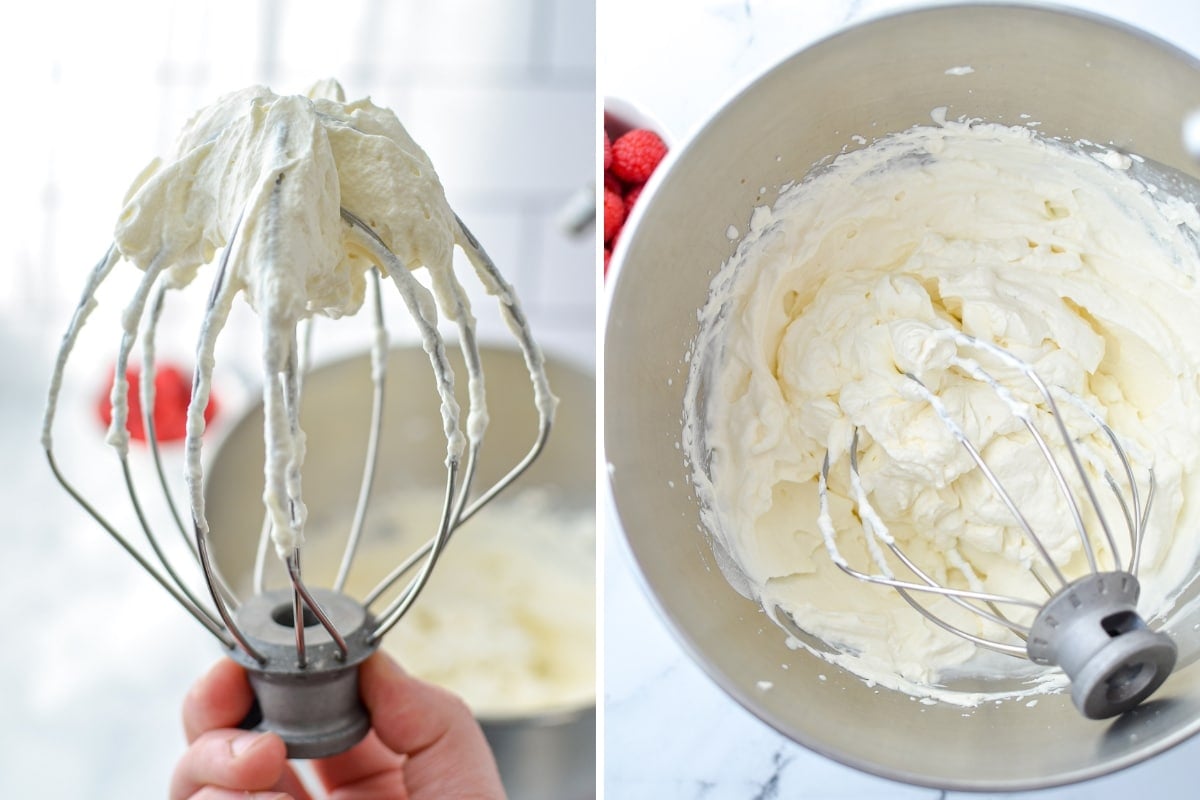
Step five: Continue to beat the cream until stiff peaks form. This is when the cream holds its shape when you pull the whisk out, forming a peak (or mountain) of cream that stays in place.
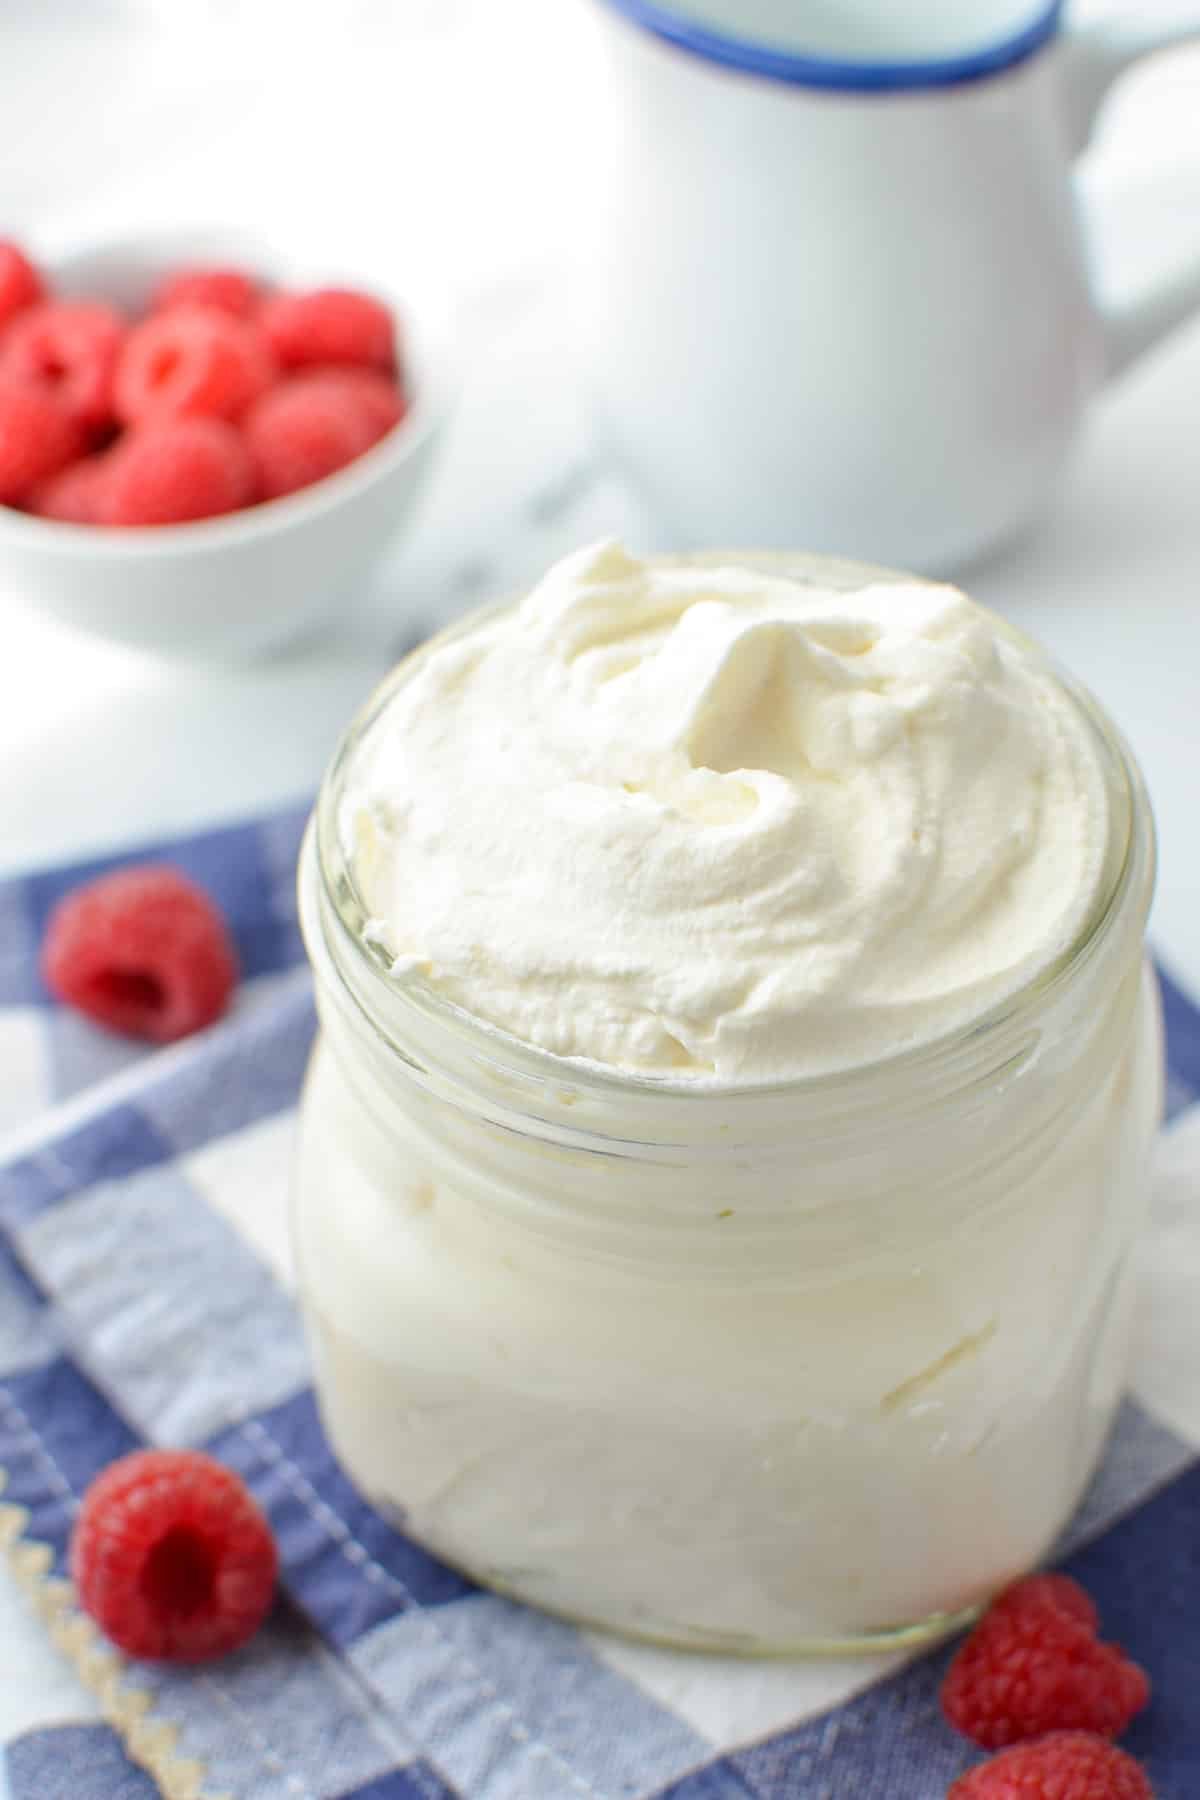
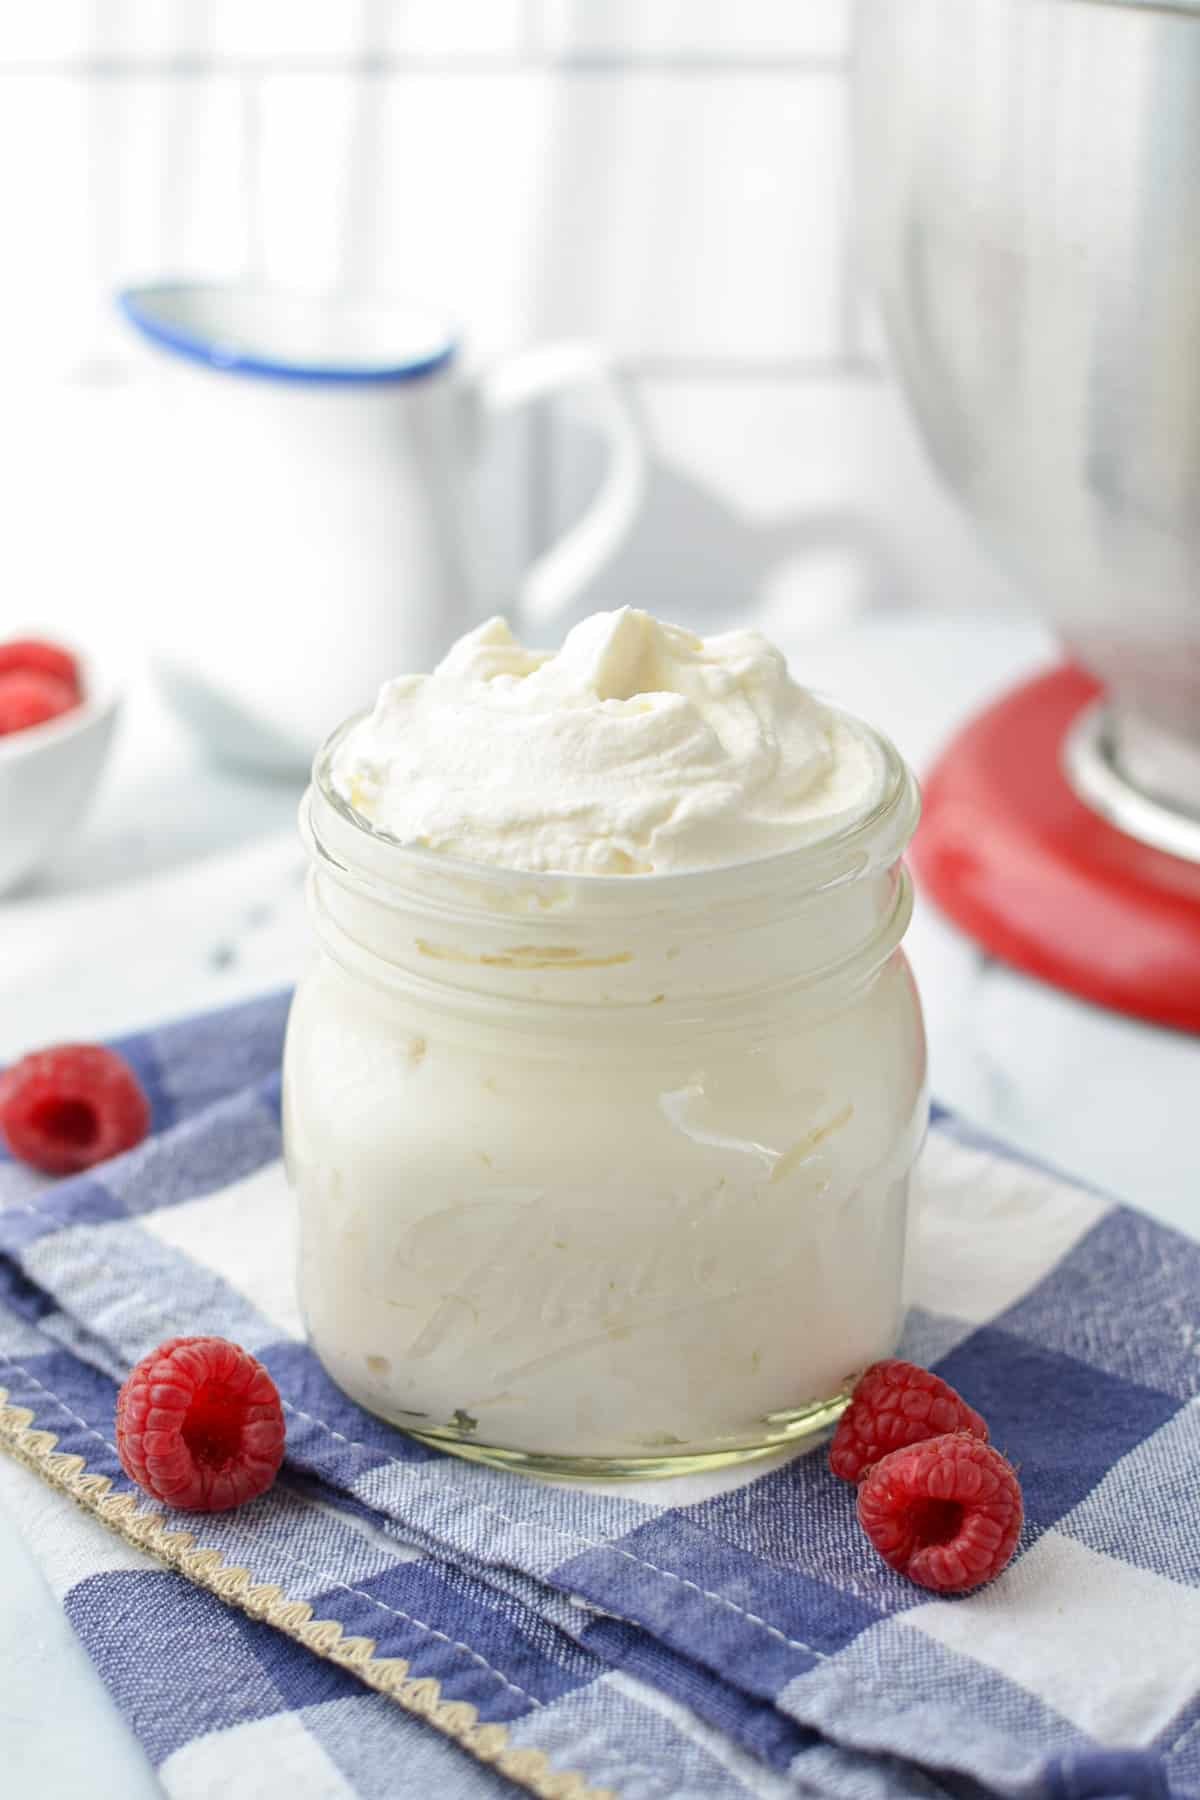
Step six: Transfer the whipped cream to a serving bowl, or serve it immediately.
If you're not using your homemade whipped cream immediately, transfer it to an airtight container or wrap it tightly with plastic wrap. For the best results, use it within 12-24 hours, although it should store for up to 3 days with minimal weeping or separation.
The Three Stages of Whipped Cream
- Soft peaks: This occurs shortly after the cream has begun to thicken. If you pull a whisk or beater up suddenly, you will see peaks that dissolve into mounds very quickly.
- Medium peaks: If you continue whipping after soft peaks, you will soon reach medium peaks. This is when the cream forms a peak, and then slowly dissolves into a much smaller peak.
- Stiff peaks: The final stage for whipped cream. When you pull a whisk or beater up suddenly you will see peaks that form, and stay their general shape and size. This is sometimes called firm peaks.
If you continue to whip after stiff peaks have formed, it will thicken before separating into butter and buttermilk. So it's important to check and watch your stand mixer carefully!
Ways to Use Homemade Whipped Cream
- For serving on top of pies (hellooo, pumpkin pie!)
- Layering with biscuits to make strawberry shortcake
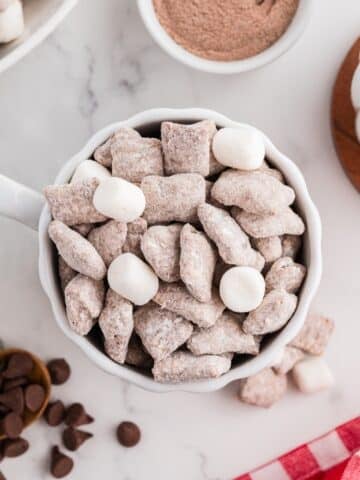
- With hot chocolate (aka hot cocoa)
- Serving as a dip for fresh fruit
- With fresh berries
- As the perfect topping for your favorite dessert
- In place of Cool Whip in any recipes that call for it
- Adding a dollop to a bowl of fruit salad, or stewed berries
- Anywhere you would use store-bought whipped cream!
And yes, you could totally eat it by the spoonful if you wanted to! You will get zero judgment from me.
Expert Tips for Perfect Whipped Cream
- Cold is Best. Make sure you are working with cold heavy cream before you begin to whip it. Room-temperature cream will not whip very easily, so I like to keep it in the fridge just until I need it.
- Use a Mixer. You can make whipped cream by hand, but it's definitely a workout! I recommend using either a stand mixer or an electric hand mixer for the best results.
- Use powdered sugar. While you can absolutely use granulated sugar (and many people do), I highly recommend using powdered sugar if possible. This is because the small amount of cornstarch in powdered sugar acts as a subtle stabilizer, preventing your whipped cream from weeping or separating for at least 24 hours.
BONUS POINTS: Chill your bowl! If you really want that cream to whip like a dream, the secret is chilling the bowl you're whipping in. This is done by sticking it in the freezer for about 15 minutes beforehand. It really helps, especially if it's your first time.
Troubleshooting
- Too thick? You probably whipped it just a bit past the point of stiff peaks. That's okay! Just add a touch more heavy cream and beat it again, just until incorporated. This should give you the result you're aiming for!
- Not thickening? Was your heavy cream adequately chilled? It should have been in the refrigerator for at least 6-8 hours before whipping. I don't recommend making whipped cream with a carton you've brought back from the grocery store unless you live very close.
- Separates after chilling? Homemade whipped cream doesn't store for a long time. If you use powdered sugar, you should be good for up to 24 hours, but if you used granulated sugar it is likely less than that. If you need longer storage, think about purchasing a whipped cream dispenser OR add a stabilizer to your whipped cream.
Easy Dessert Recipes:
- Chocolate Wafer Icebox Cake (Zebra Cake)
- Berry Cheesecake Salad
- No Bake Peanut Butter Bars
- Nutella Pie
- Lazy Cheesecake Salad
If you loved this recipe for Homemade Whipped Cream, let me know by leaving a 5-star review in the recipe card or comment below! You can also tag me on Instagram @dashfordinner.
Homemade Whipped Cream
Equipment
- Stand mixer or electric hand mixer
Ingredients
- 1 ½ cups heavy whipping cream chilled
- 3 tablespoons powdered sugar or granulated sugar
- 1 teaspoon vanilla extract optional
Instructions
- Add chilled heavy cream to a large bowl or the bowl of a stand mixer, along with the powdered sugar and vanilla extract.
- Using an electric hand mixer or the whisk attachment for a stand mixer, whip the cream and other ingredients on medium-high speed until moderate peaks form, about 3-4 minutes. Stop the mixer and scrape down the sides of the bowl as needed.
- You will know the whipped cream is ready when you can pull the whisk portion out of the whipped cream and it holds its shape for at least 30 seconds before falling.
- Serve immediately, or store in the refrigerator for up to 24 hours.
Notes
Nutrition
Please note that some of my blog posts here at Dash for Dinner may contain affiliate links. If you make a purchase through these links, I will get a small commission at no additional cost to you. Please see my Disclaimer for more information.


Jenn says
This recipe was easy to make and turned out perfectly. Thank you!!
Dolly {Dash for Dinner} says
So glad you liked it Jenn!