


This classic recipe for Deviled Eggs is always a hit at parties, family gatherings, and holiday dinners. This easy method results in easy-peel eggs and creamy bright yellow centers that are bursting with flavor.
Keep it simple with a sprinkle of paprika, or get creative and garnish with your favorite herbs and toppings - the choice is yours!

Jump to:
If there is any food as timeless as deviled eggs, I have yet to hear about it! Everyone from 9 to 90 loves this easy appetizer, and the whole plate can disappear in a matter of seconds if you're not careful.
This easy deviled egg recipe features a classic filling of egg yolk, mayo, and dijon mustard, making for simply the best deviled eggs. Period.
I've also included my instructions for easy-peel eggs, which is the best way to get perfect eggs every single time!
Why You'll Love Them:
- Simple. You need just a handful of ingredients to make this beloved appetizer.
- Great for special occasions. They fit in everywhere from a Summer BBQ to a fancy Thanksgiving dinner.
- Can be made ahead of time. Great for those of us on tight schedules!
- Crowd-pleaser. If you're ever wondering what to bring to a potluck - bring deviled eggs. They are a sure winner every time.
You Will Need:
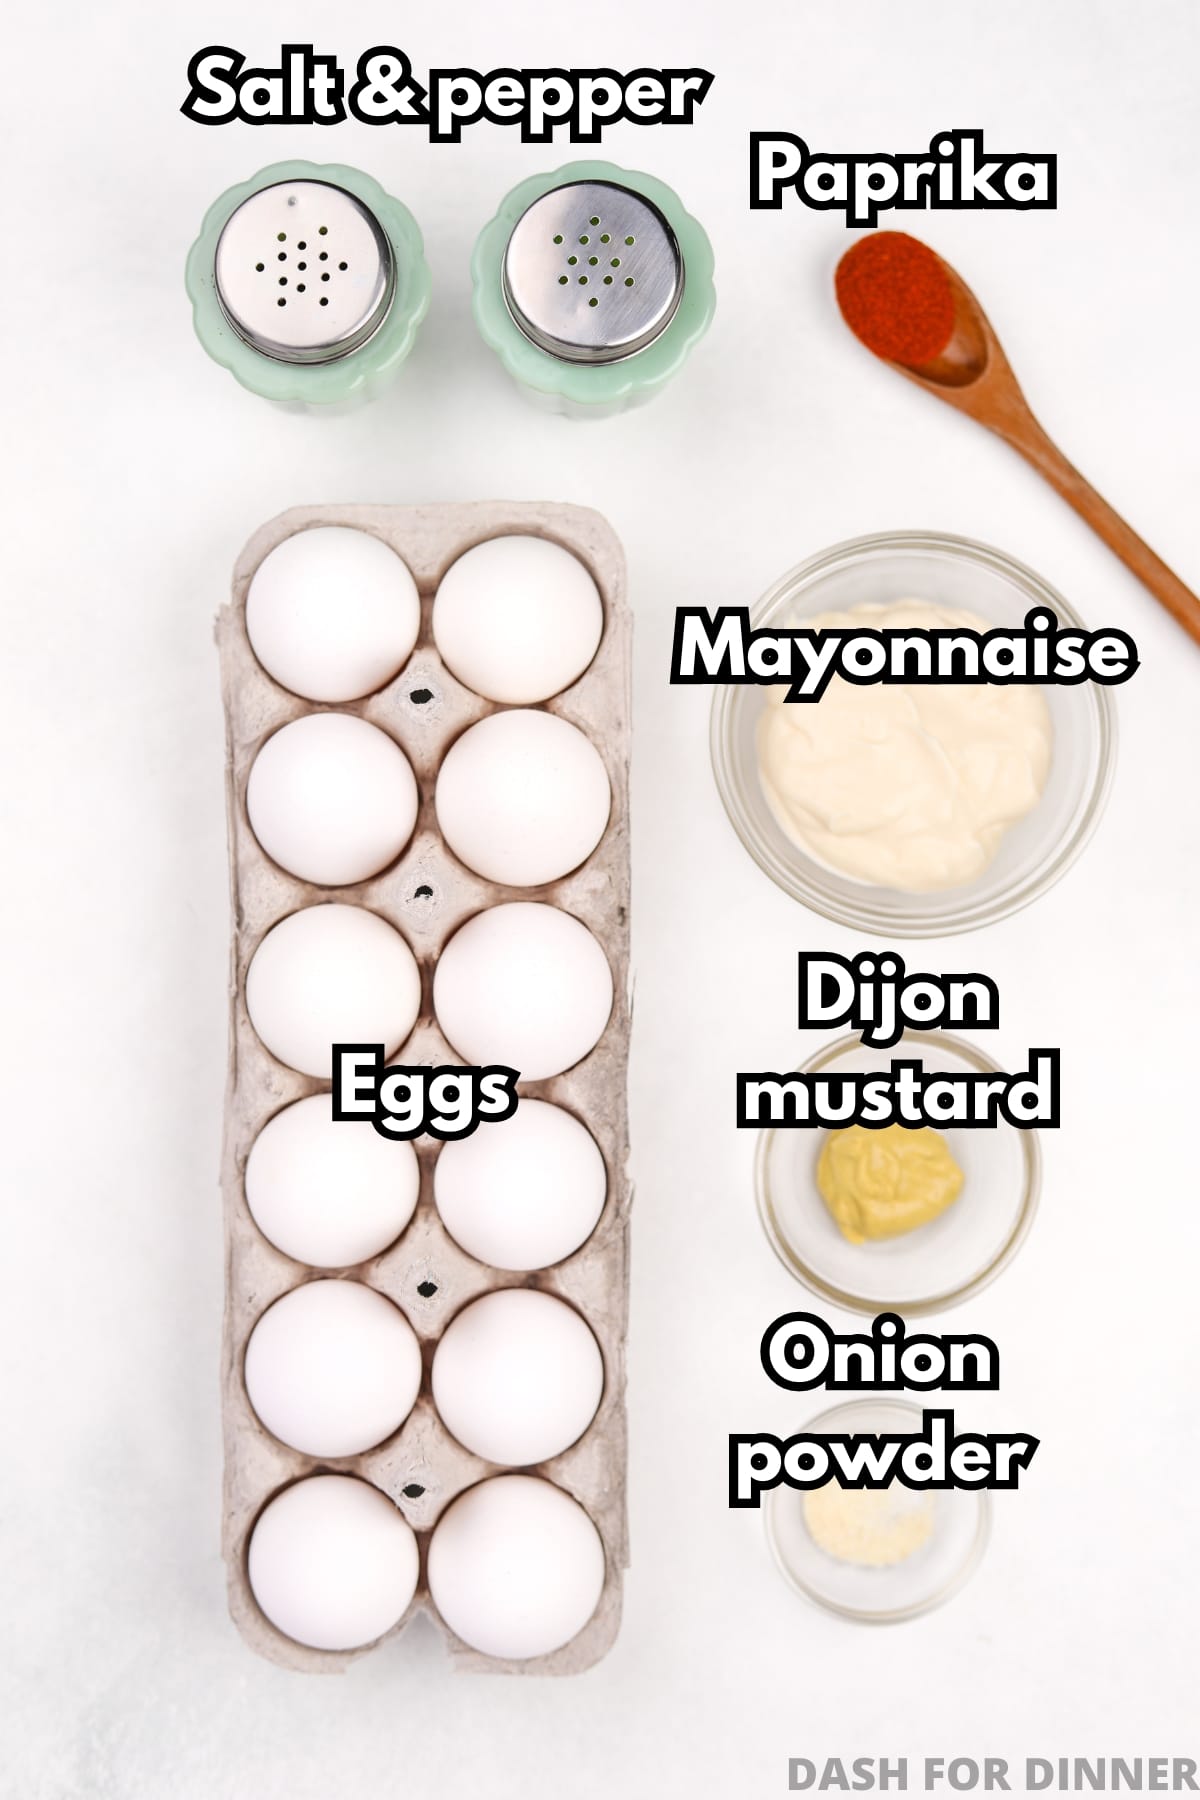
- Eggs: You will need 1 dozen (12) eggs for a single batch. Feel free to scale the batch up or down as needed.
- Mayonnaise: Real mayonnaise works best for this recipe. I recommend Hellmann's or Duke's.
- Dijon mustard: I recommend dijon because it has a sharp, yet balanced flavor. In a pinch, you can use regular yellow mustard.
- Seasonings: Salt, pepper, onion powder, and a little paprika for sprinkling (optional).
Check the recipe card for a full list of ingredients and the quantities needed.
Equipment
- Large pot
- Large bowl
- Deviled egg tray (or muffin pan). This is for keeping the egg halves still while you fill them. If using a deviled egg tray, you can also use it for serving.
- Piping bag. This is the easiest way to fill deviled eggs. If you don't have one, you could always use a plastic freezer bag with the tip cut off.
How to Make Hard Boiled Eggs
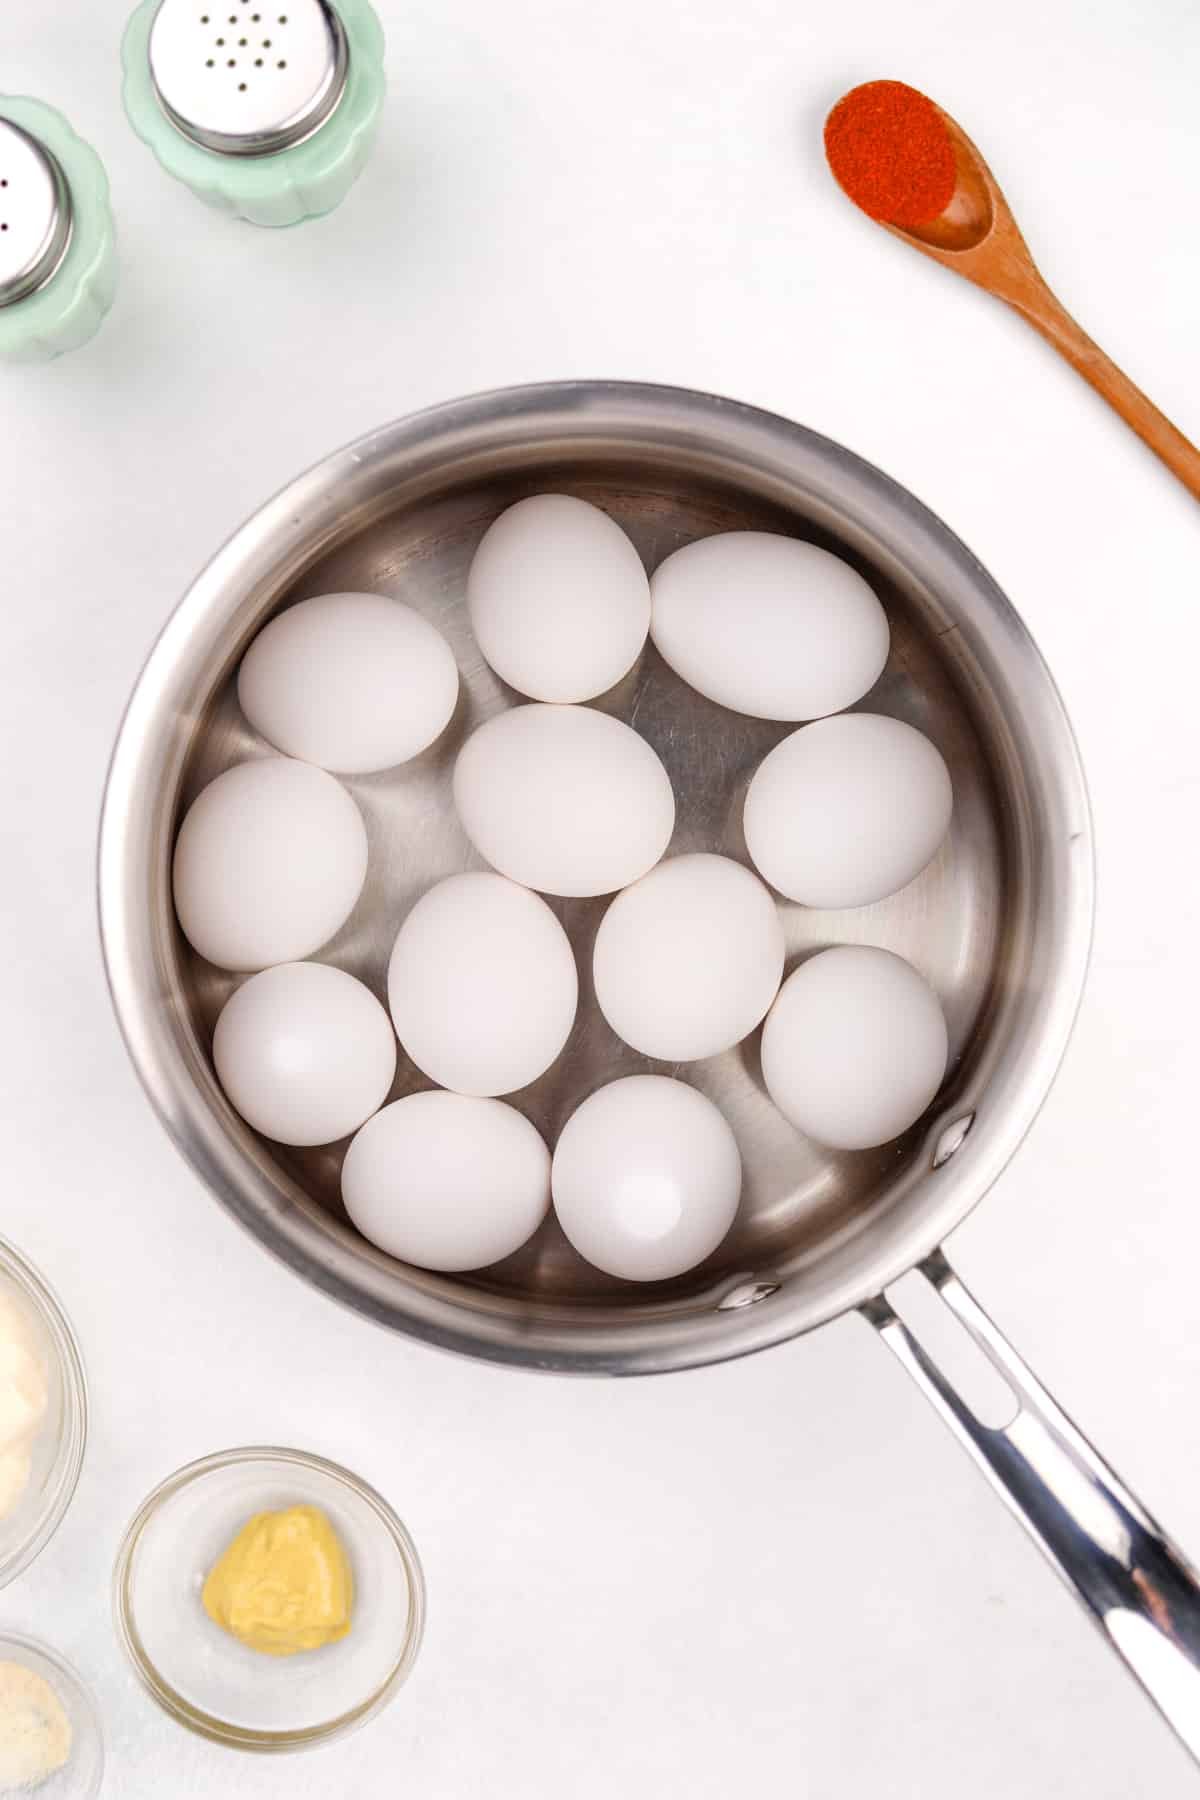
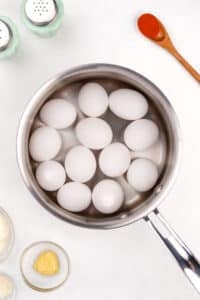
Step one: Bring a very large pot of water to a boil over high heat.
Carefully add the eggs with a spoon, and boil on high heat for exactly 10 minutes.
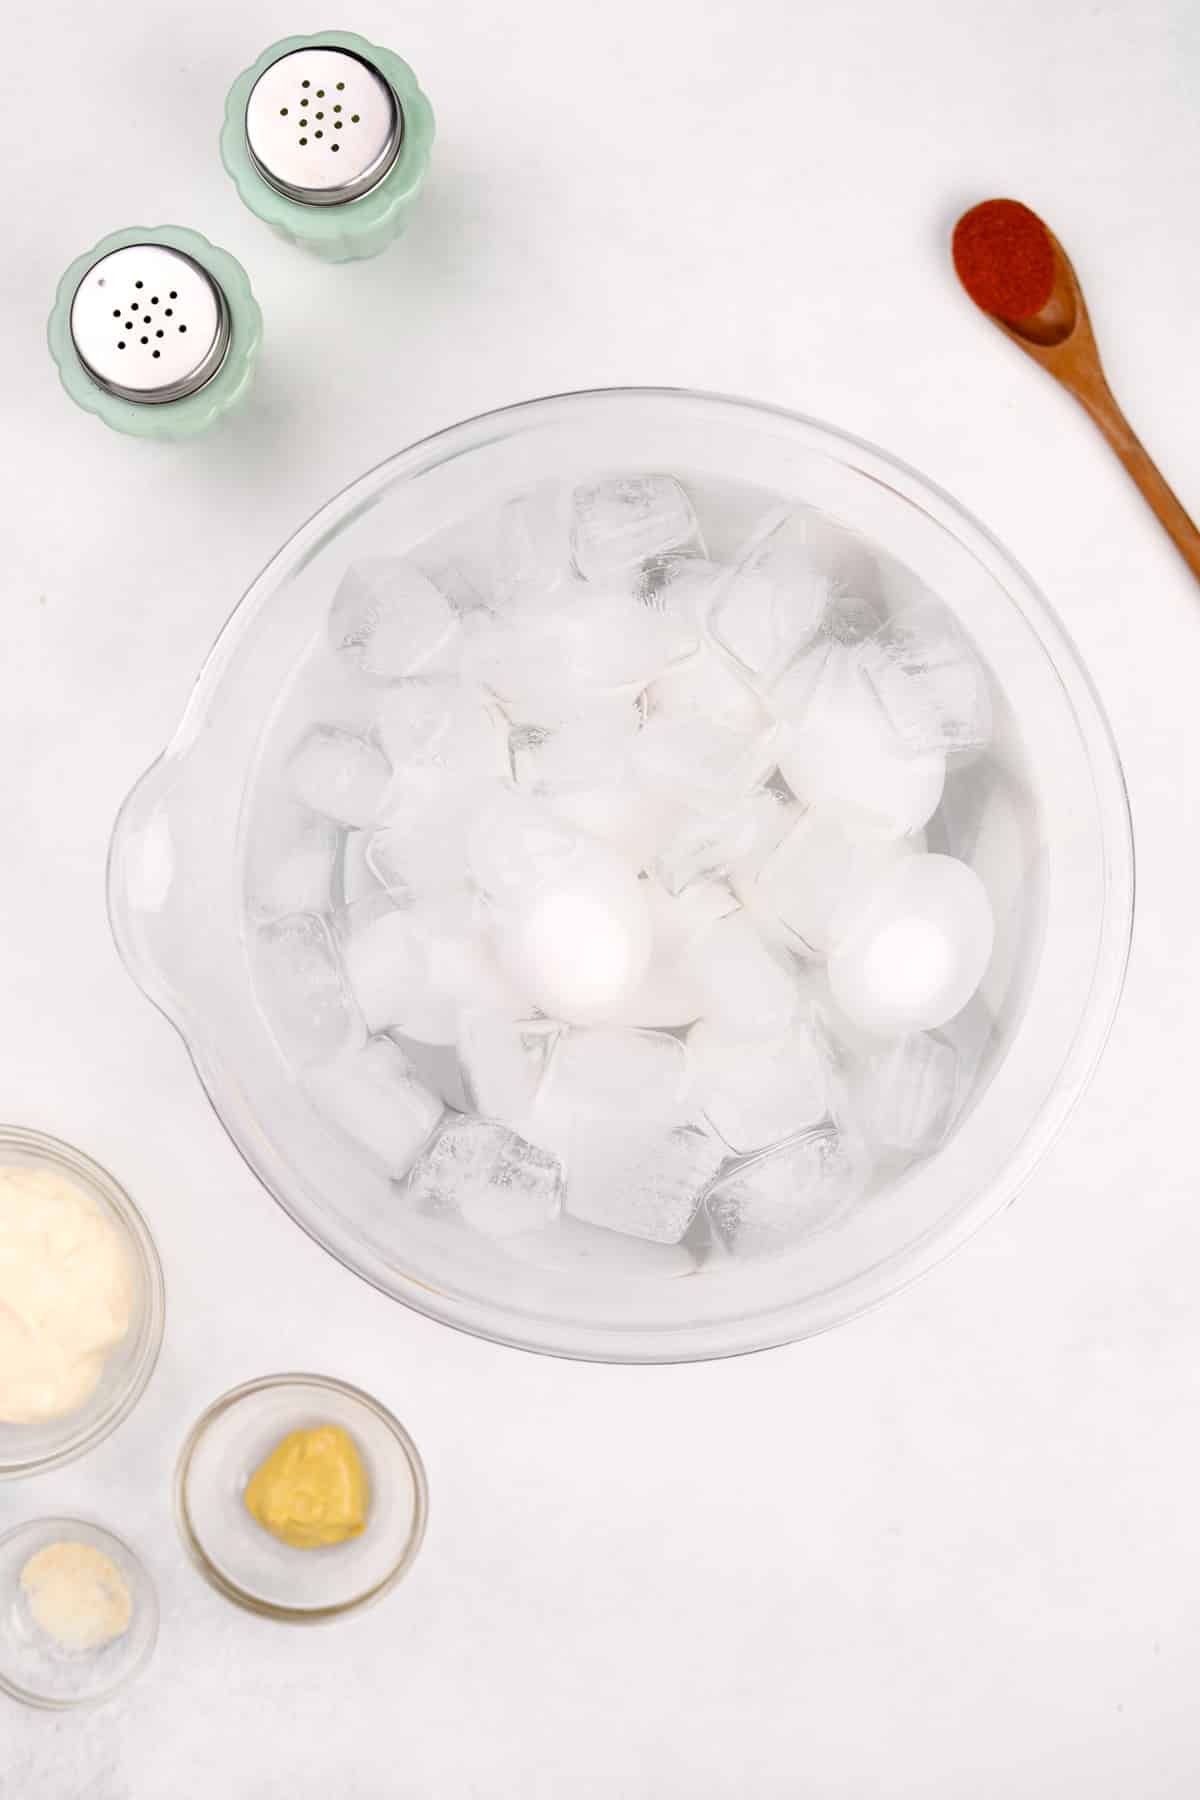
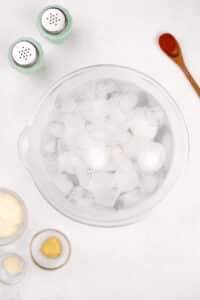
Step two: Once the eggs are done, drain the water and run cold tap water over the pot while you prepare an ice bath.
Place the cooked eggs in an ice bath and allow them to rest for 3-4 minutes.
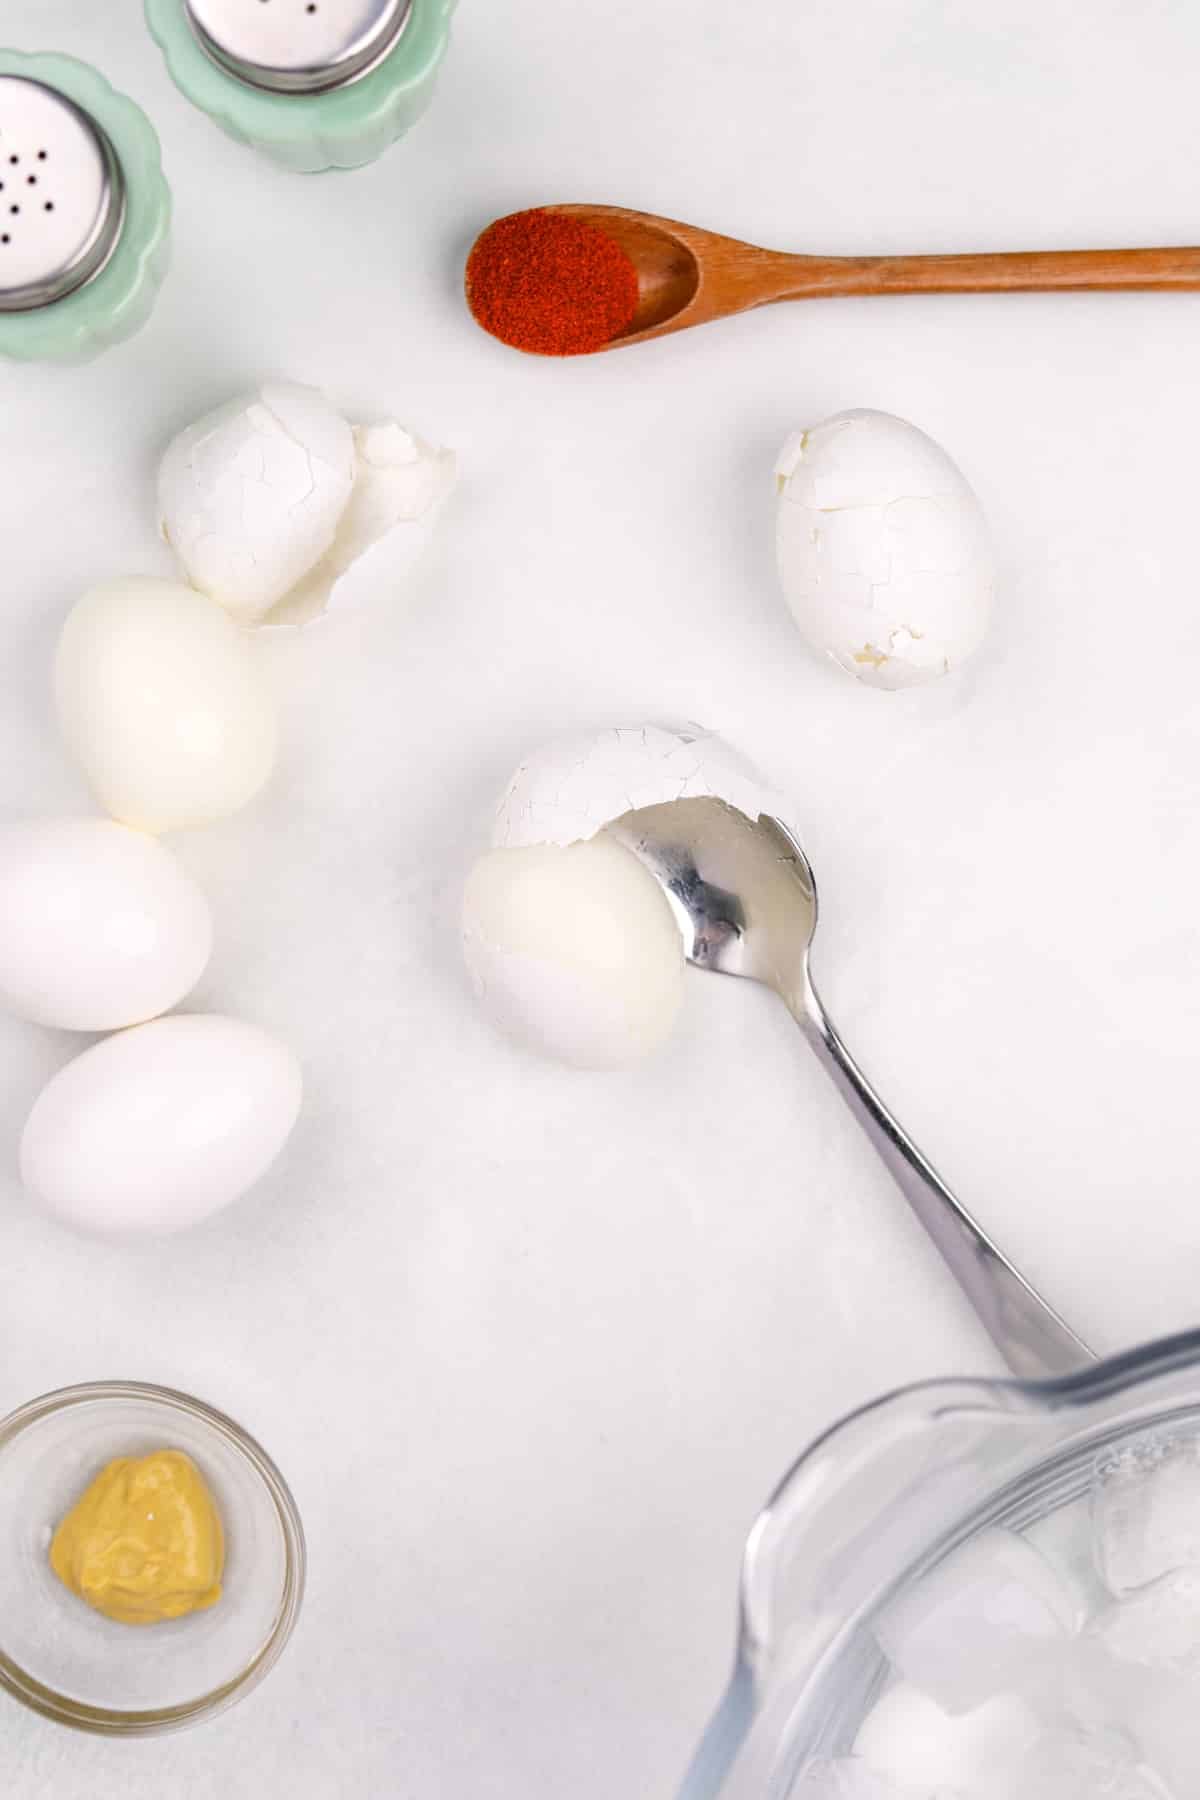
How to Peel Hard Boiled Eggs
Anyone will tell you the most difficult part of making deviled eggs is peeling them! Well, I have an easy method that results in perfectly peeled eggs every single time.
Let me show you how it's done.
- Add the boiled eggs to an ice bath and allow to rest for 3-4 minutes.
- Using the back of a spoon, hit the egg over the entire surface, making many tiny cracks.
- Once the entire egg is covered in cracks, make a tiny opening in the shell and membrane by removing some with your finger.
- Wedge a spoon under the shell and membrane, and slide it around the egg to remove the shell completely.
- Rinse well to remove any debris. Then shake off the excess water and set it on a clean plate.
Note: The process of cracking the shell keeps the membrane intact, meaning the many pieces of shell will come off easily and quickly when the membrane is removed as well.
How to Make Deviled Egg Filling
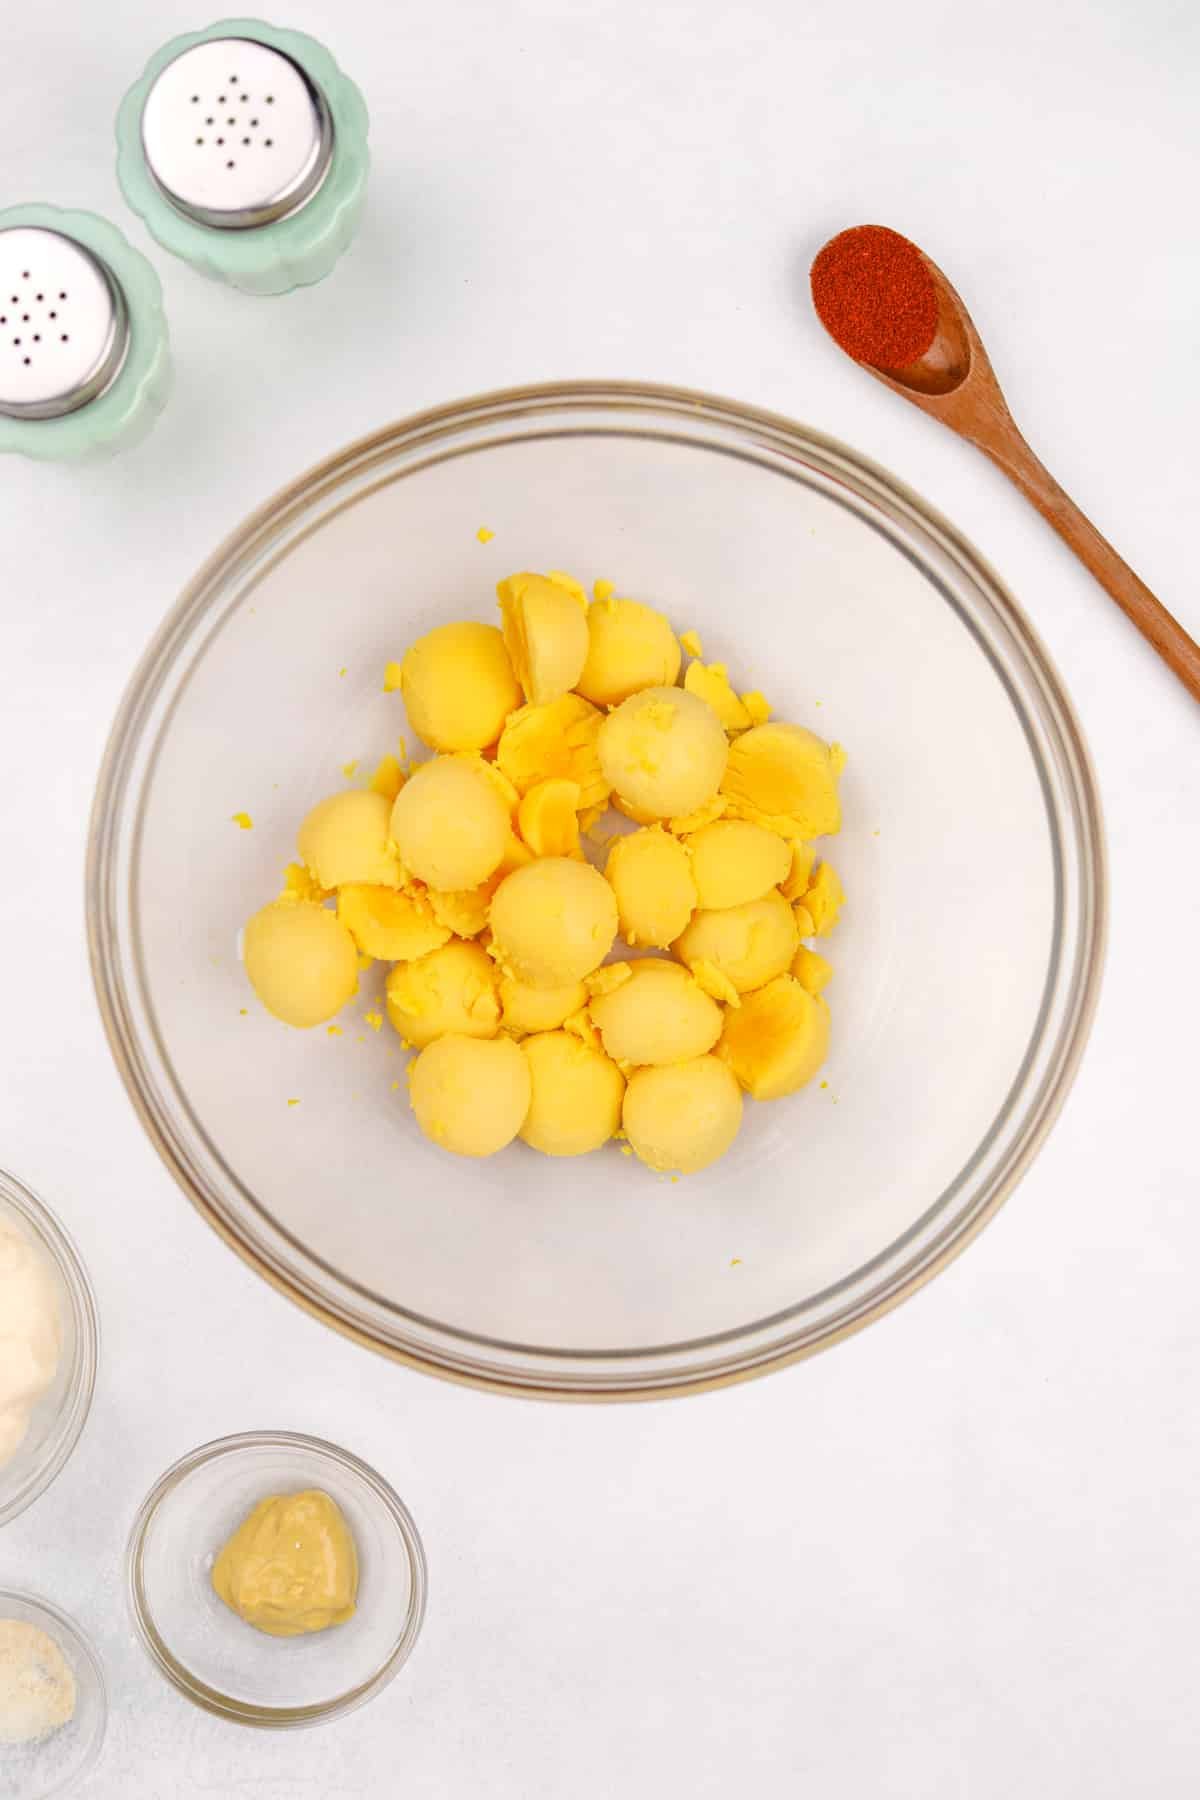
Step four: Use a sharp knife to carefully slice each egg in half, and remove the cooked egg yolk.
Add all of the cooked egg yolks to a medium-sized bowl.

Step five: Mash the egg yolks with a fork, OR blend in a food processor for a super smooth texture.

Step six: Add in 6 tablespoons of mayonnaise, salt, pepper, and onion powder.
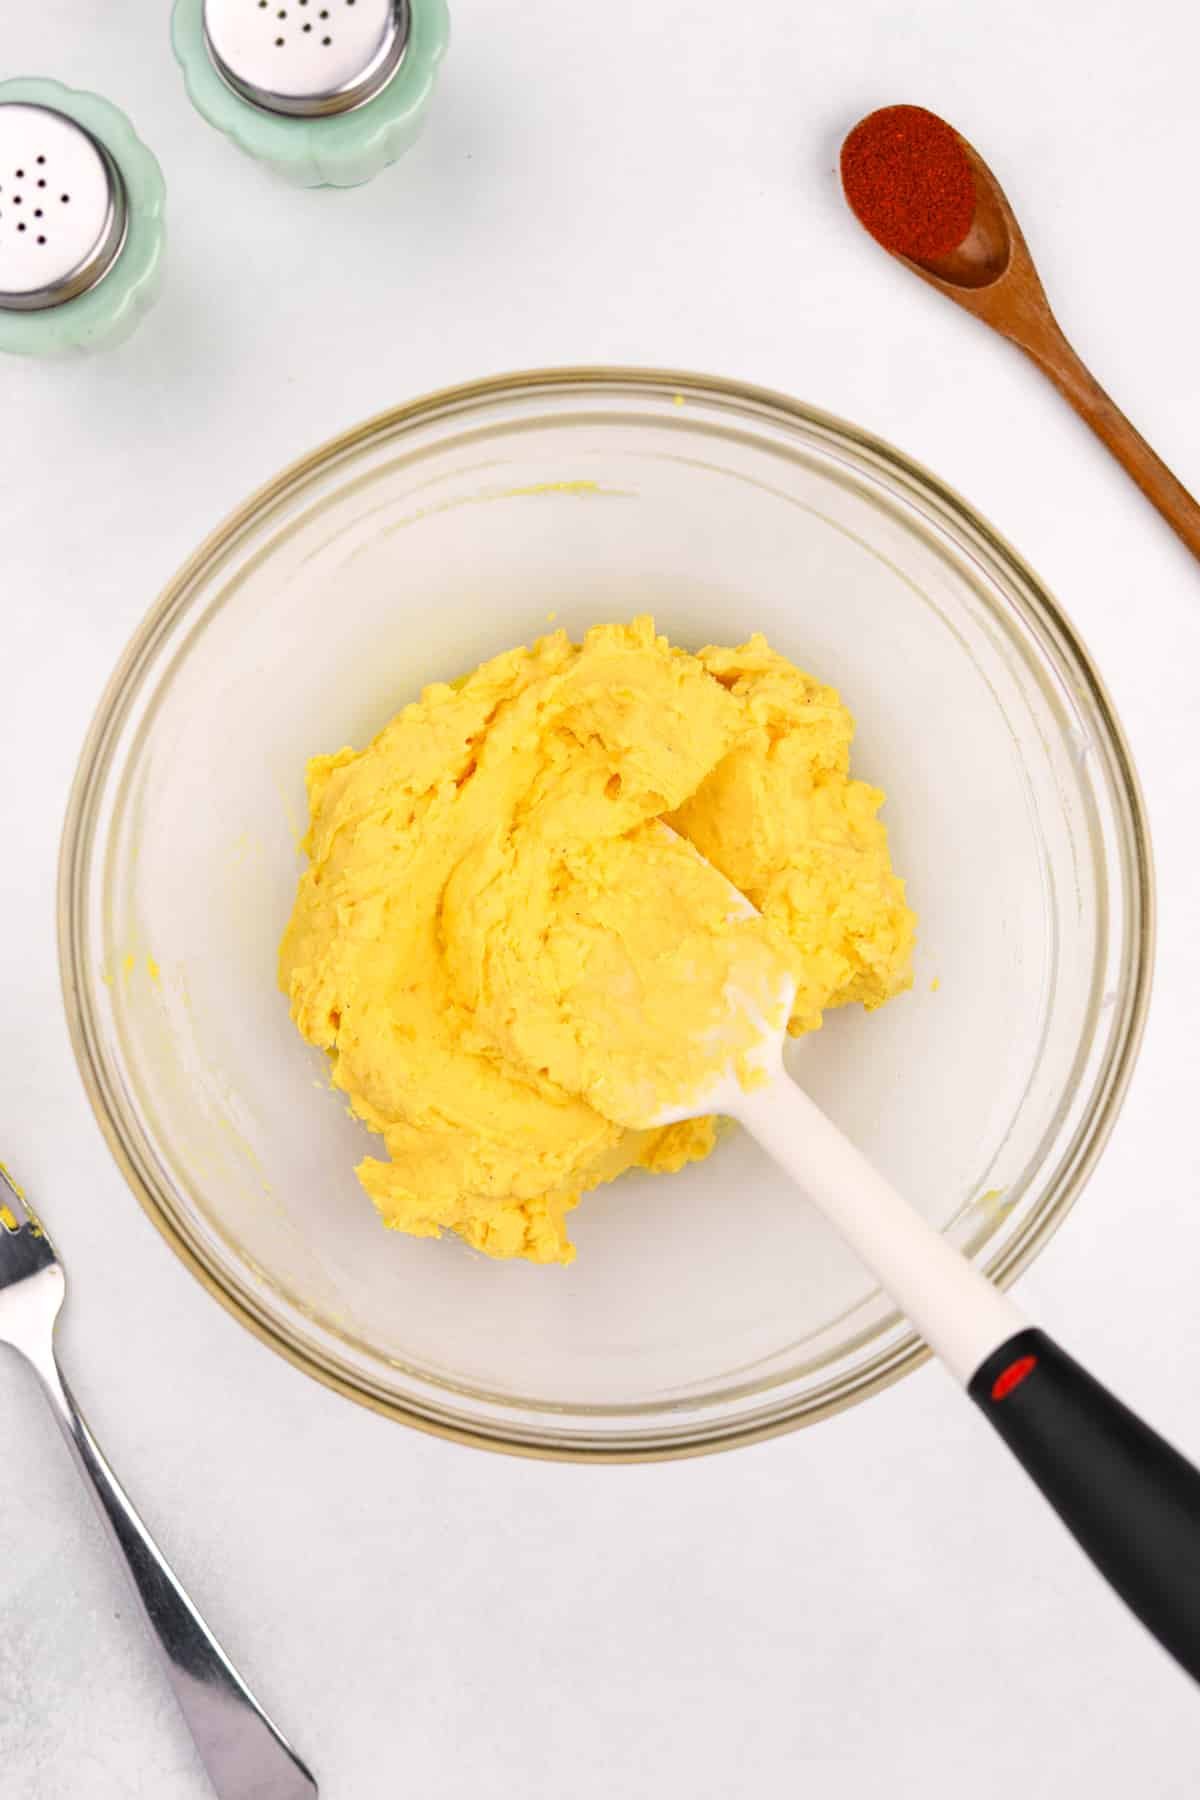
Step seven: Stir together until smooth and well combined.
Filling the Egg White Halves

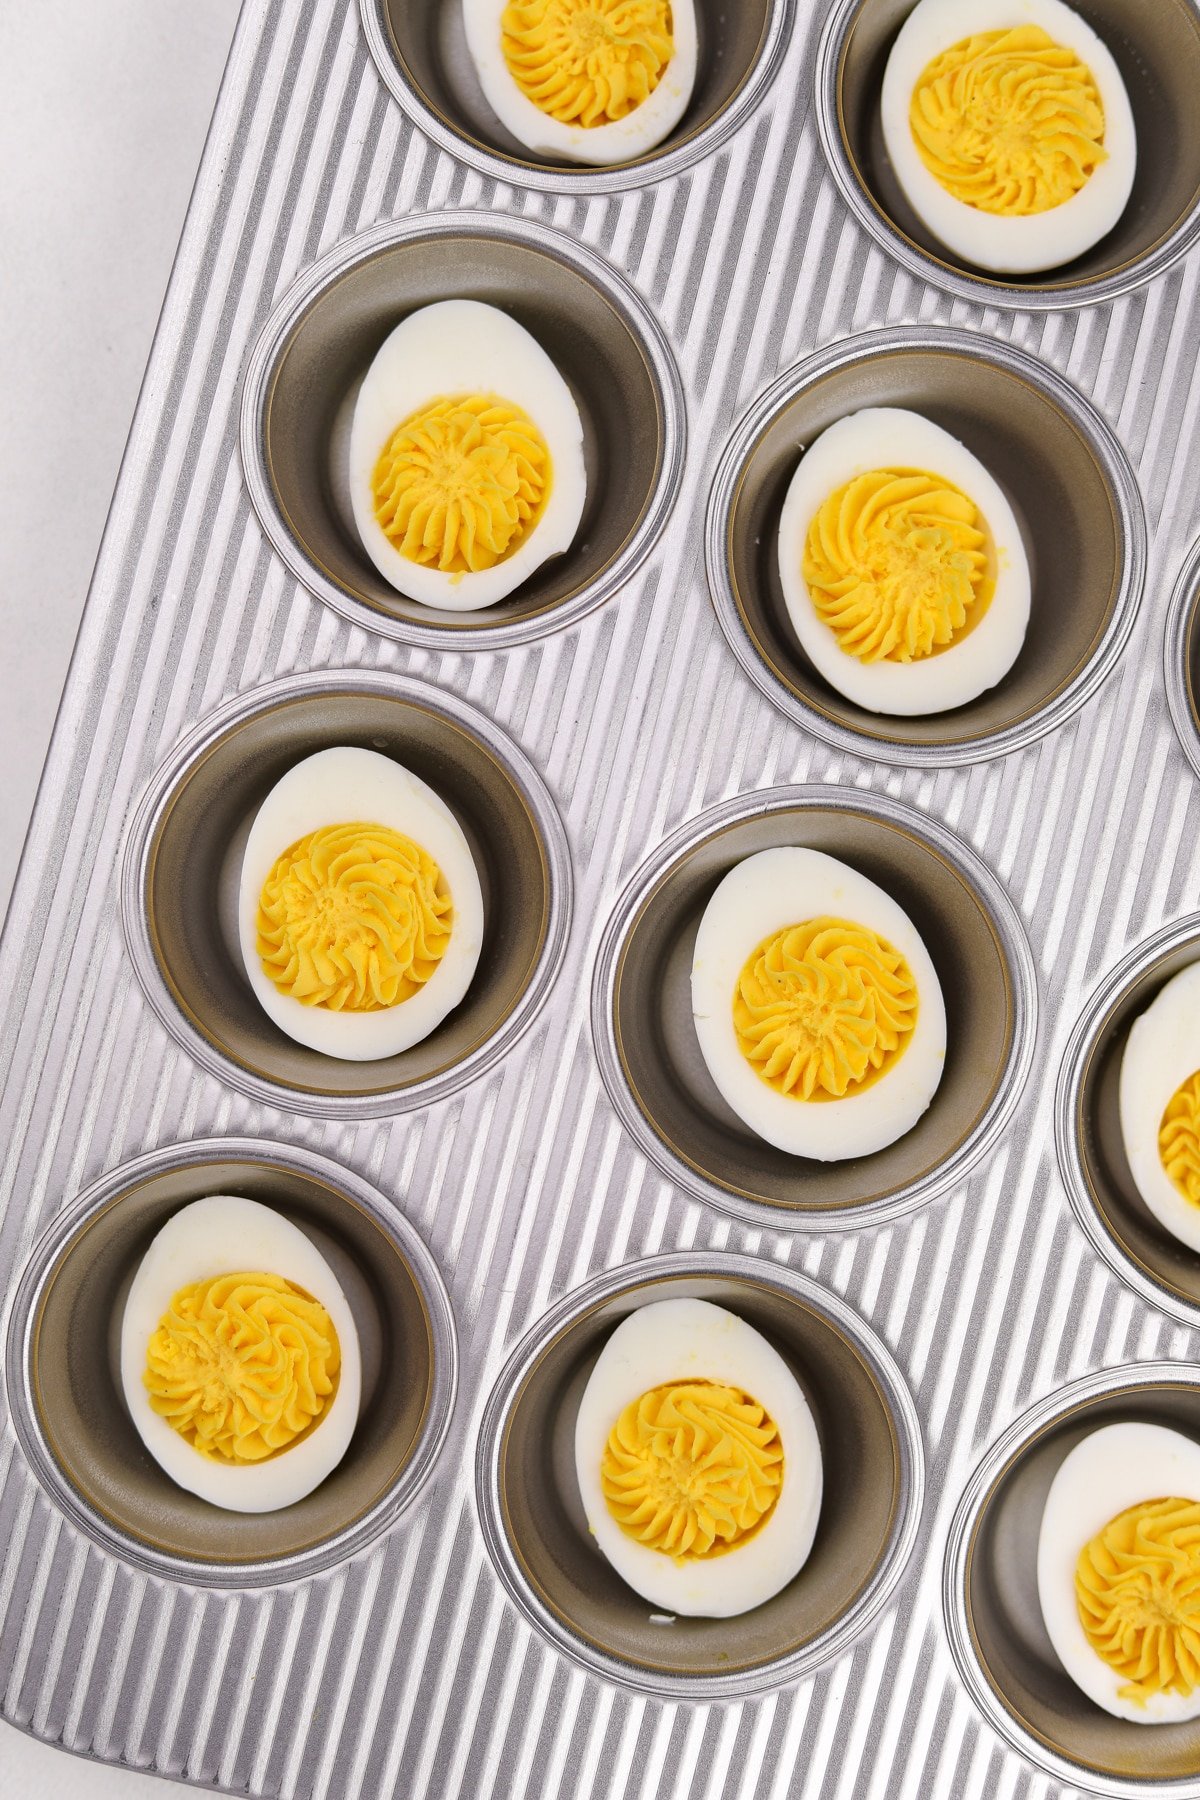
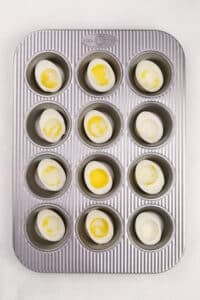
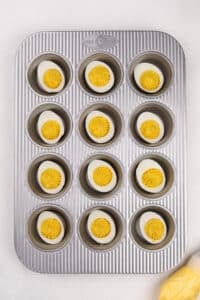
Step eight: Place the egg white halves on a platter (I like to use a muffin pan to keep them from slipping around).
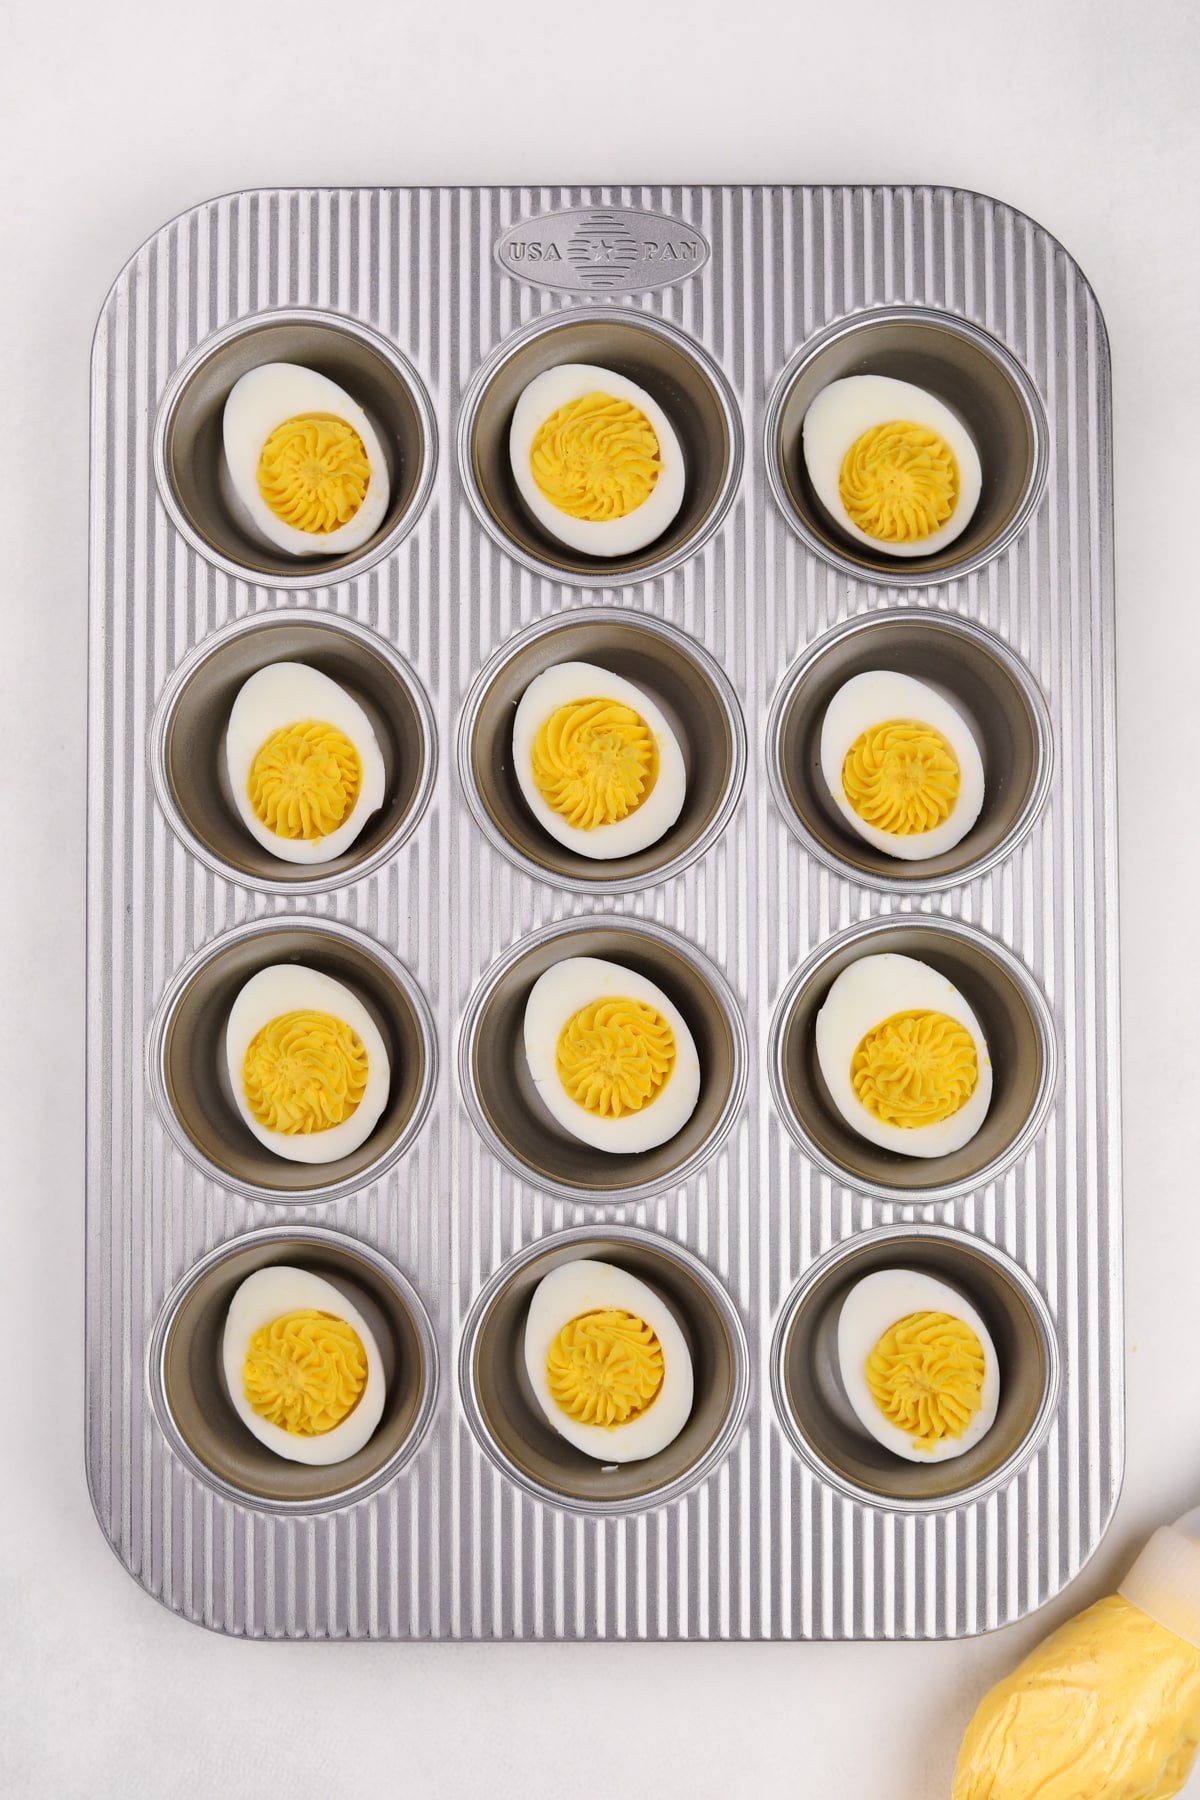
Step nine: Use a piping bag to fill each egg half with 2-3 teaspoons of filling.
Alternative: A freezer bag with the corner cut off (or, if you have a steady hand - a spoon).
Serving
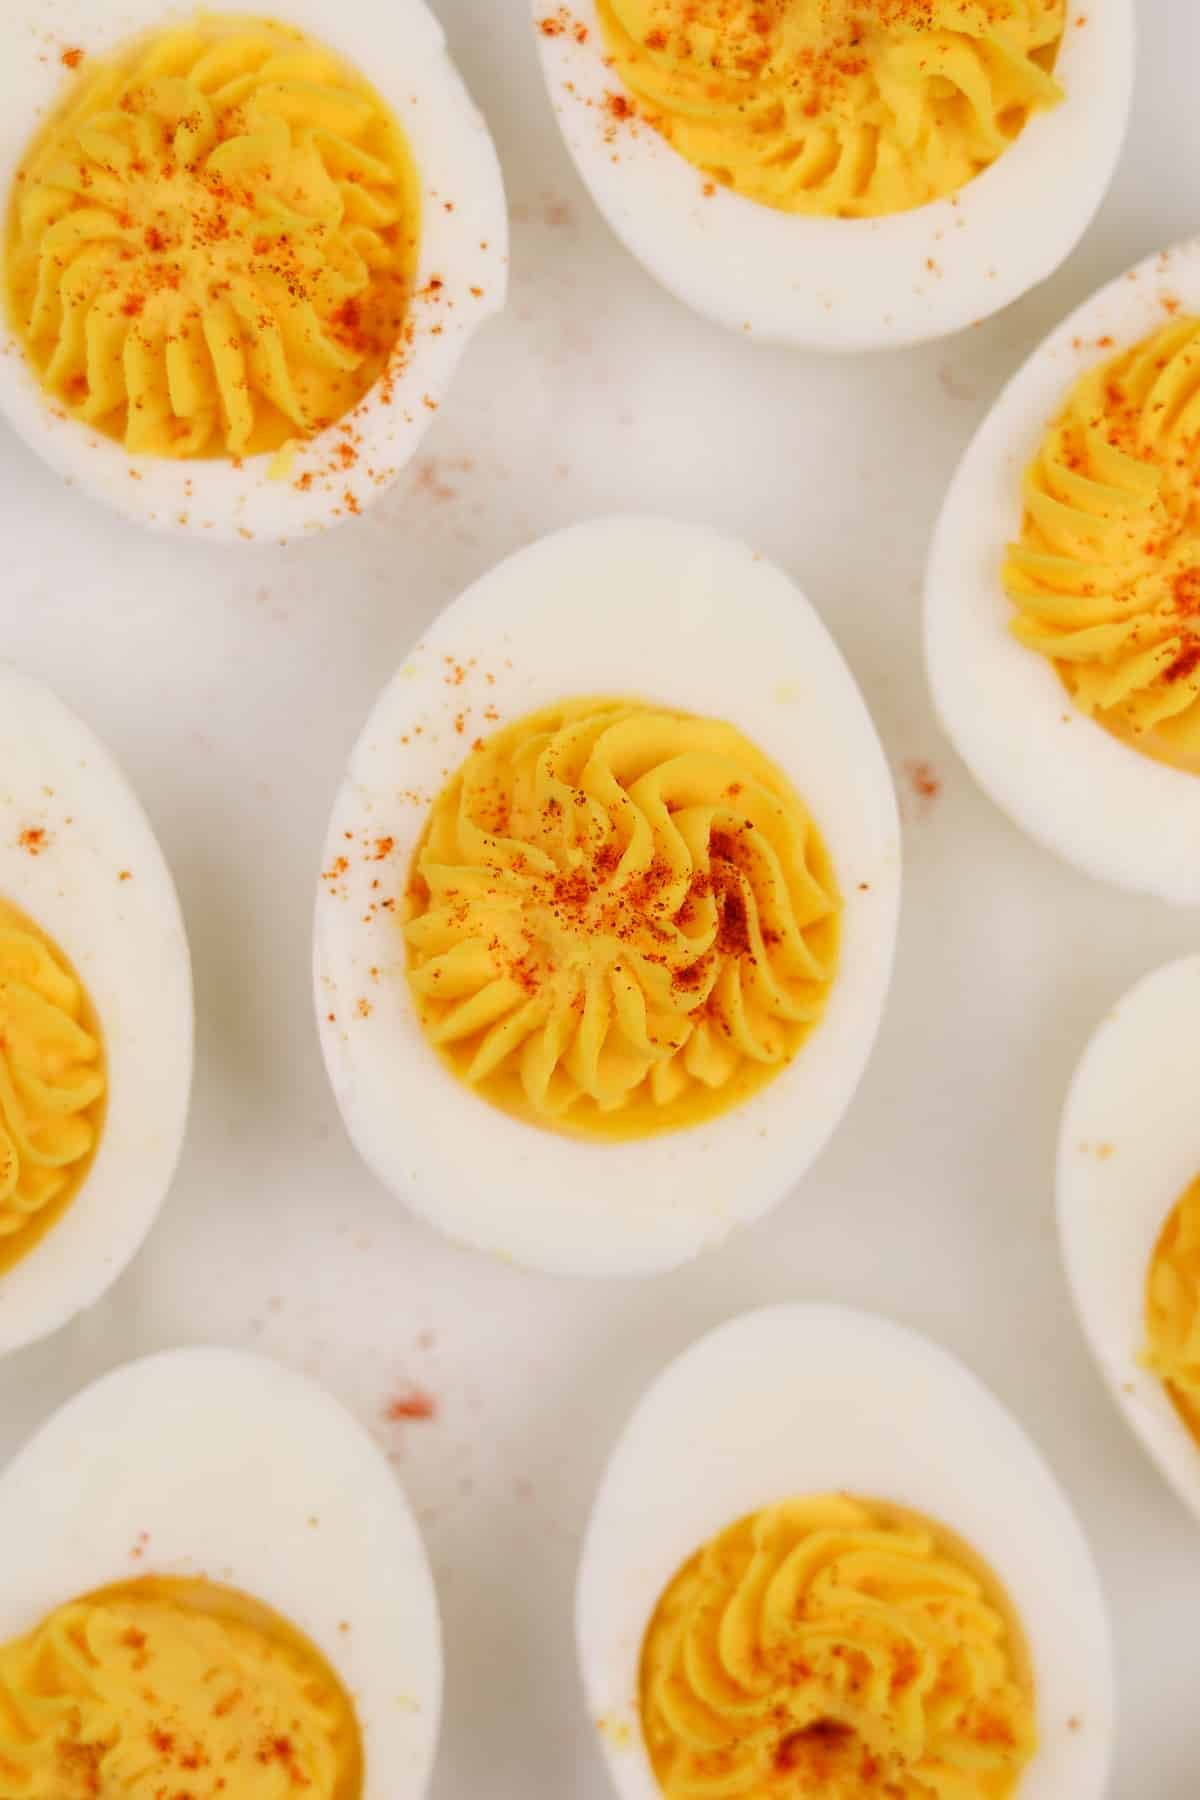
Step ten: Garnish the deviled eggs however you like! The classic deviled egg will normally feature a pinch of paprika, but chives, dill, or crumbled bacon are all very common.
Instant Pot Method
I have a full step-by-step Instant Pot Deviled Eggs recipe post, but here's the general rundown for making this delicious appetizer in the Instant Pot!
- Add 1 cup of water to a 6-quart Instant Pot (or 1 ½ cups to an 8 quart model).
- Place the eggs in a tiered trivet, or evenly over the trivet that came with your Instant Pot.
- Place the lid on the Instant Pot and set the valve to "sealing."
- Cook on manual pressure for 4 minutes.
- After the cooking time is done, allow the Instant Pot to do a natural pressure release (NPR) for 5 minutes.
- Once the 5 minutes is up, switch the valve to "venting" and allow the pressure to release fully all the water.
- Transfer the eggs to an ice bath and rest for 5 minutes.
- Peel the eggs, and prepare as directed in the recipe.
How to Store Deviled Eggs
- Transfer any leftover deviled eggs to an airtight container, or wrap them tightly with plastic wrap.
- Store in the fridge for up to 3 days, although they are the freshest (and best for company) within the first 12 hours.
Substitutions
Greek yogurt: Replace the mayonnaise for plain Greek yogurt. This lightens up the calories and boosts the protein, making it a good meal prep option.
Avocado oil mayonnaise: The standard mayonnaise can easily be swapped for an avocado oil type (or homemade avocado oil mayo).
No mustard: If you don't like mustard you can simply leave it out. Add a ½ teaspoon or so of lemon juice, apple cider vinegar, or pickle juice in its place.
With Miracle Whip. If you want to make your deviled eggs with miracle whip, you can certainly do so. Because it has a bit more tanginess to start with, I recommend scaling back the mustard slightly and then adding some back according to your taste.
Variations
- Dill pickle. Add a small amount of pickle juice and finely minced dill pickles to the egg yolk filling. One the deviled eggs are filled, top with a sprig of fresh dill and/or finely minced pickles.
- Bacon. Cook bacon until crisp, then slice into ½" squares. Wedge the squares into the filled eggs and serve. This also works with candied bacon or million dollar bacon.
- Curry. Make up a batch of my curry mayo and use it in place of the mayonnaise called for in deviled eggs. It also contains lemon juice, which gives it a little tanginess.
- Horseradish. Add a touch of prepared horseradish (to your taste) to the egg yolk filling.

Expert Tips
- Old vs. fresh eggs. The best hard boiled eggs (and deviled eggs) come from older eggs. That is because they are much easier to peel, as the shell does not cling like it does with fresh eggs.
- Float test. To make sure your eggs are still good, you can place them in a bowl (or glass) of water. Those that sink are good, while those that float should be discarded. If the egg is starting to float, but still making connection with the bottom of the bowl they are still fine to use (and are probably easier to peel).
- Not all of them will be perfect. Even in the most ideal batch of eggs, you'll have some problems with the whites being too thin, or splitting. It's just par for the course. The best you can do is take your time, and know that you'll have a few sloppy ones.
Recipe FAQs
Yes, you can make deviled eggs ahead of time. For the best results, make them no more than 12 hours in advance. If you want to get started even earlier, try cooking and peeling the eggs, then store them in the fridge for up to 2 days. You can then prepare the filling and fill the egg halves closer to when you will need them.
No, deviled eggs cannot be frozen, nor can hard boiled eggs.
Deviled eggs are at their freshest within the first 12 hours after preparation. That being said, they will keep well enough in the fridge for up to 3 days.
If you loved this recipe for classic Deviled Eggs, let me know by leaving a 5-star review in the recipe card or comment below! You can also tag me on Instagram @dashfordinner.

Deviled Eggs
Equipment
- Piping bag and tips or freezer bag with the corner cut off
Ingredients
- 12 large eggs
- 6 tablespoons mayonnaise
- 1 ½ teaspoons dijon mustard
- ⅛ teaspoon onion powder
- ⅛ teaspoon salt more to taste
- Pinch ground black pepper
- Paprika (for sprinkling)
Instructions
- Bring a very large pot of water to a boil over high heat.
- Use a large spoon to carefully place each of the eggs in the boiling water. There should be enough water to cover the eggs; add more boiling water if necessary.

- Boil for exactly 10 minutes. Meanwhile, prepare an ice bath by combining ice cubes and water in a large bowl.
- Drain the water, then run cold tap water over the eggs.
- Transfer the cooked eggs to the ice bath and allow them to rest for 3-4 minutes.
- After the eggs have rested, remove one at a time for peeling. The best method for peeling is to hit it all over the surface with the back of a spoon, creating a cracked appearance. Then use your finger to remove a small piece of shell and membrane. Carefully wedge a small spoon under the shell and membrane, and rotate it around the egg to remove the shell. Rinse any excess shell off, then shake dry and set aside. Repeat with all of the eggs.
- Once all of the eggs have been peeled, use a very sharp knife to slice each of them in half.
- Carefully remove the cooked yolk from each egg, placing it in a medium-sized bowl.
- Place all of the egg white halves on a platter OR in a muffin tin (to keep still). Set aside.
- Mash the bowl of cooked yolks with a fork (or use a food processor for a smooth texture).
- Add the mayonnaise, dijon mustard, onion powder, salt, and pepper to the bowl of mashed yolks and mix well to combine. Taste and adjust seasonings as needed. This will be used to fill your eggs.
- Transfer the filling mixture to a piping bag fitted with a large piping tip, OR a freezer bag with the corner cut off.
- Add approximately 2-3 teaspoons of filling into each egg half.
- Sprinkle the filled eggs with paprika, or garnish with chives, parsley, crumbled bacon, or the topping of your choice.
- Serve and enjoy!


Notes
Nutrition
Please note that some of my blog posts here at Dash for Dinner may contain affiliate links. If you make a purchase through these links, I will get a small commission at no additional cost to you. Please see my Disclaimer for more information.


Leave a Reply