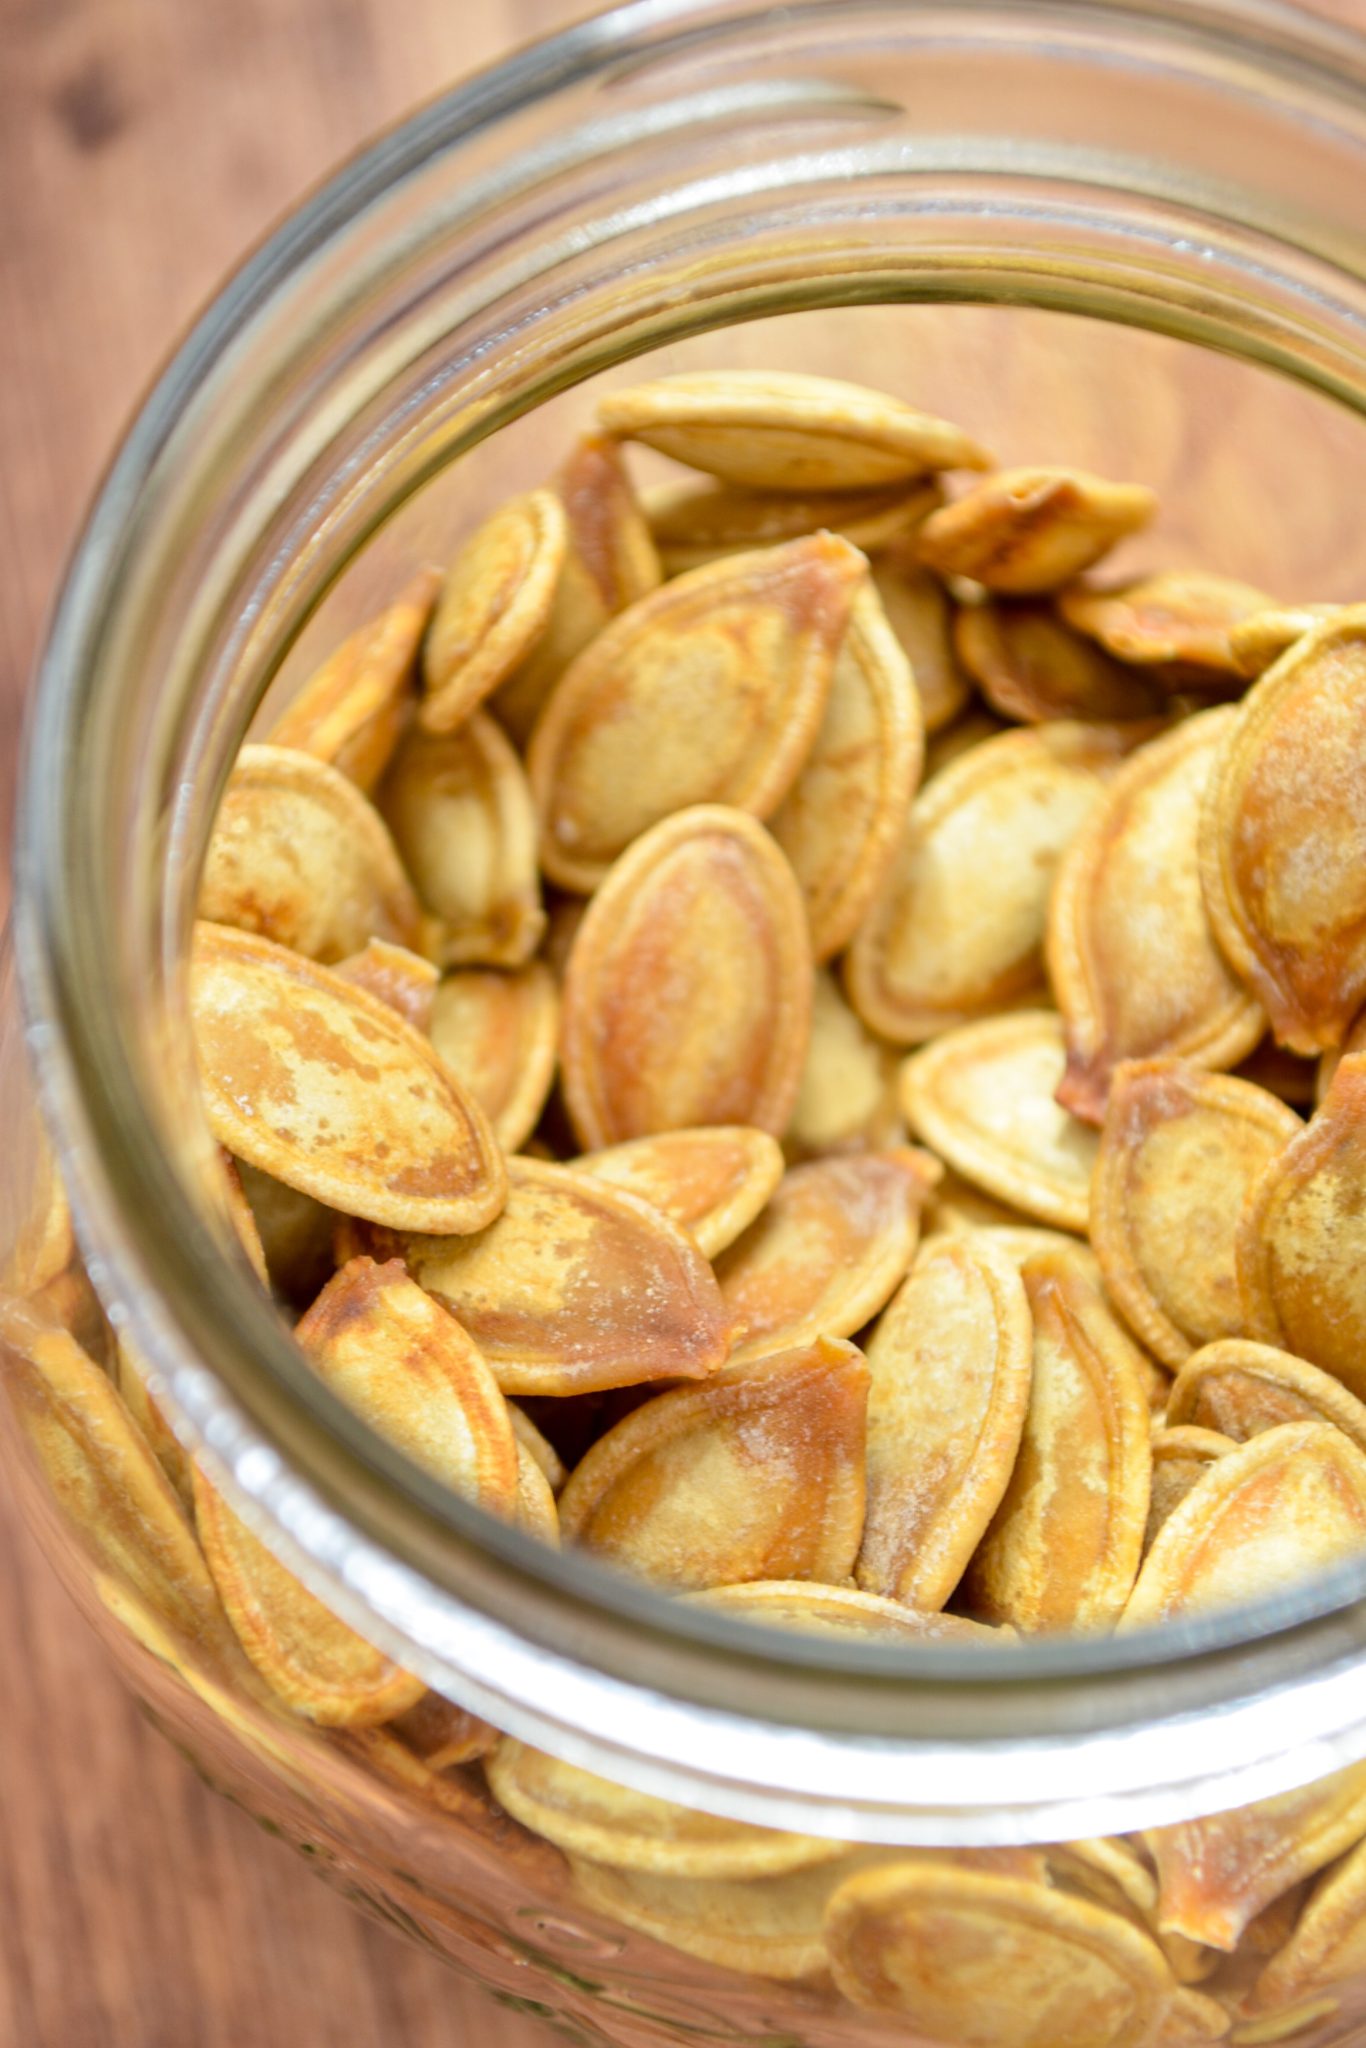
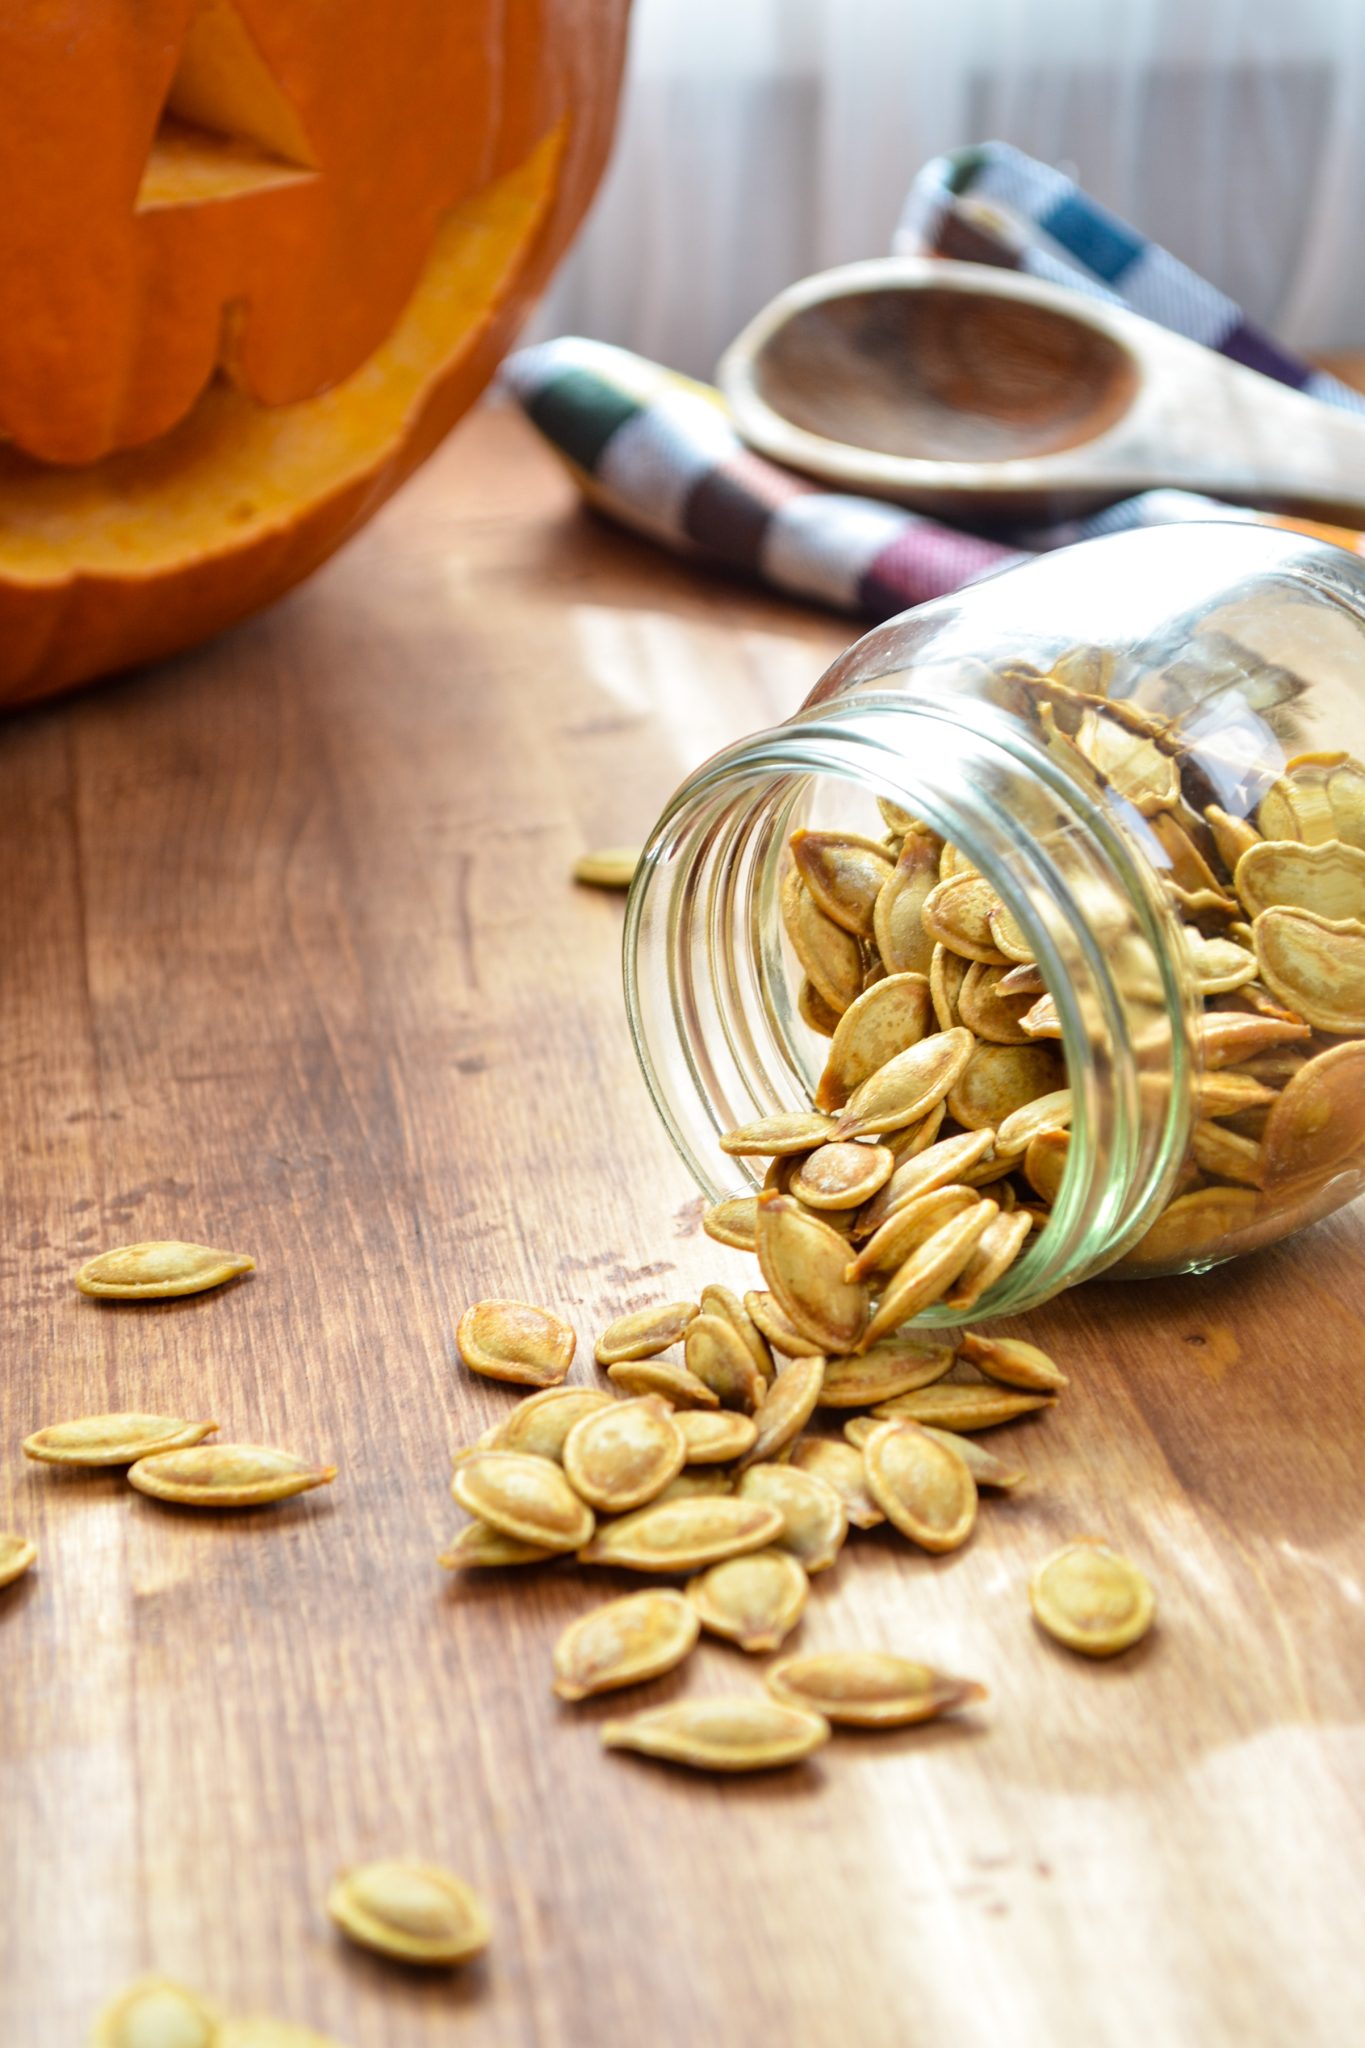
Make this Fall time favorite in your favorite new appliance: the air fryer! These roasted air fryer pumpkin seeds are the perfect easy snack, and great for making with kids. Healthy, simple, and a great way to make the most of your Halloween pumpkin carving! Low carb, keto, dairy free, gluten free, AND vegan.
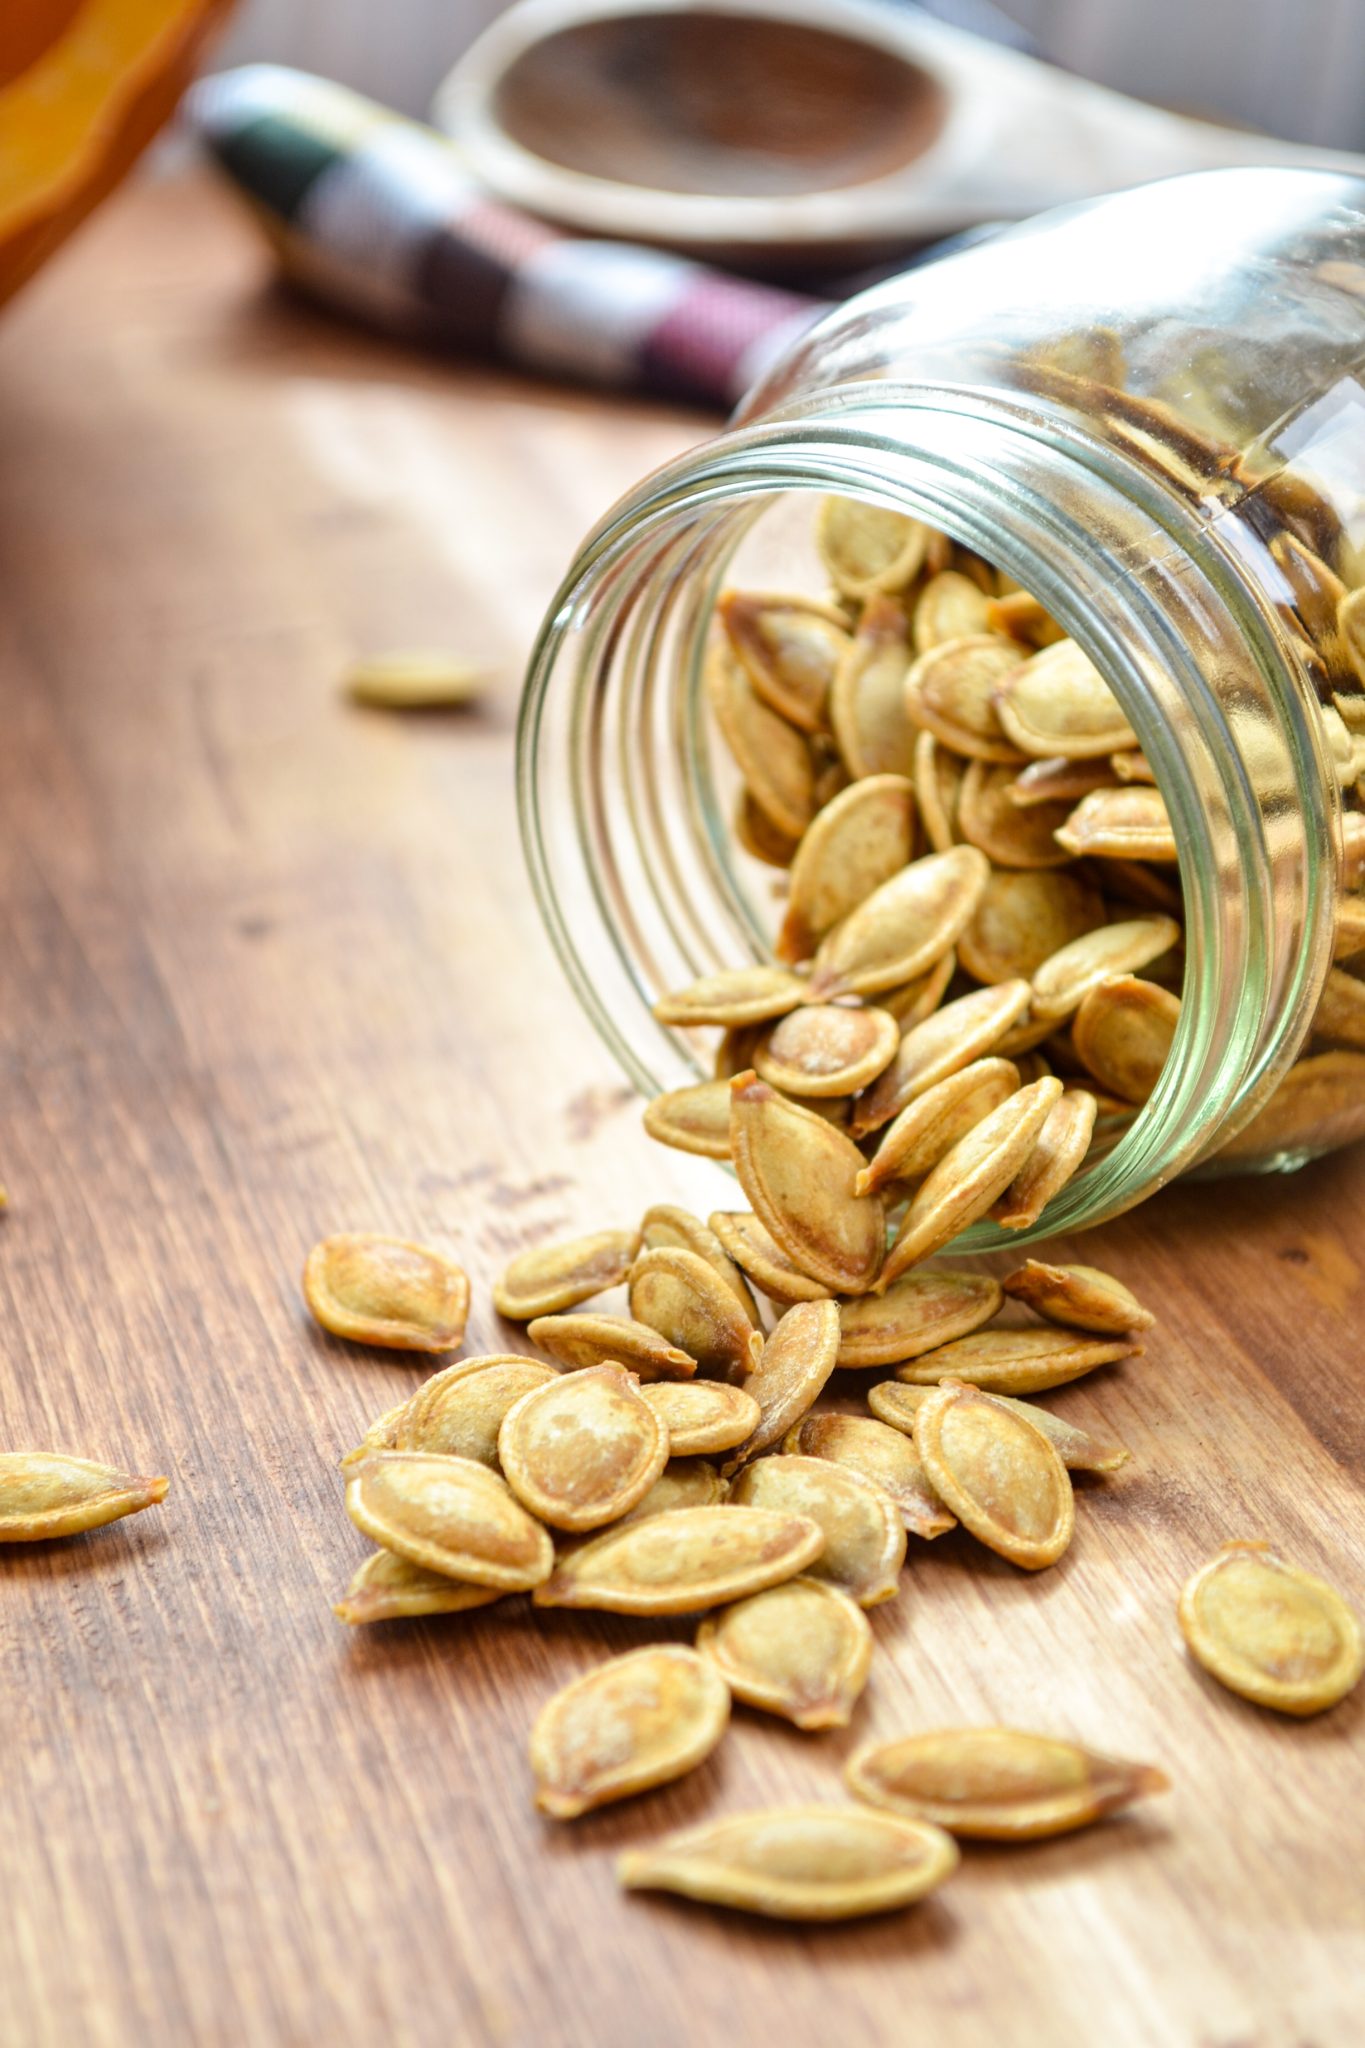
Spooky season is here, and it's time to start carving up some pumpkins! We recently purchased a pumpkin, and decided to make a fun family activity of carving it and making some yummy roasted pumpkin seeds. Since I'm an absolute air fryer fanatic (see my Air Fryer archives as proof), I just had to create my own version using our favorite countertop helper.
And so I enlisted the help of my husband and my son (he's featured in the pumpkin pics below) to help clean and carve the pumpkin, and then roast some pumpkin seeds in the air fryer. The results were so great, and I'm pretty sure this will be the only way we make them going forward!
P.S. My 2 year old named his pumpkin "Seedy" 🤣
Ingredients
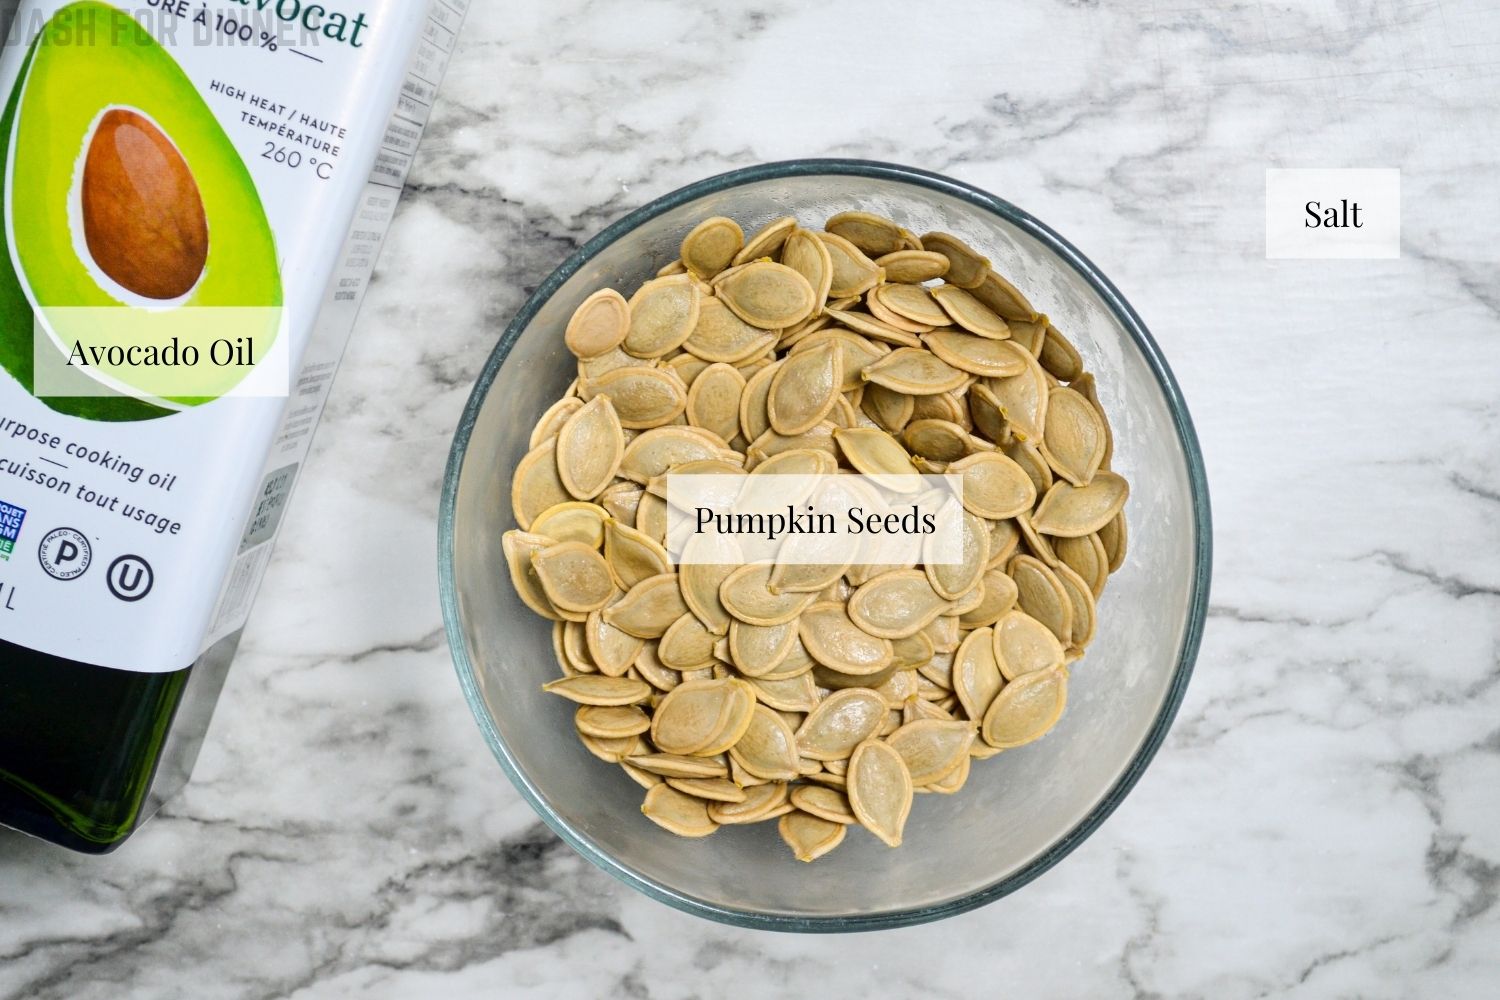
- Pumpkin seeds: You will need the seeds from one medium sized pumpkin, which should be anywhere from 1 ½ cups to 2 cups of cleaned seeds.
- Salt: I like to use kosher salt for this recipe, but you can use table salt if desired. See my substitution notes.
- Avocado oil: This provides a neutral taste and is my preferred oil for cooking in an air fryer. You can use any neutral tasting oil with a relatively high smoke point. You can even use melted butter if desired, but you may want to reduce the cooking temperature to avoid burning.
How to Save Pumpkin Seeds
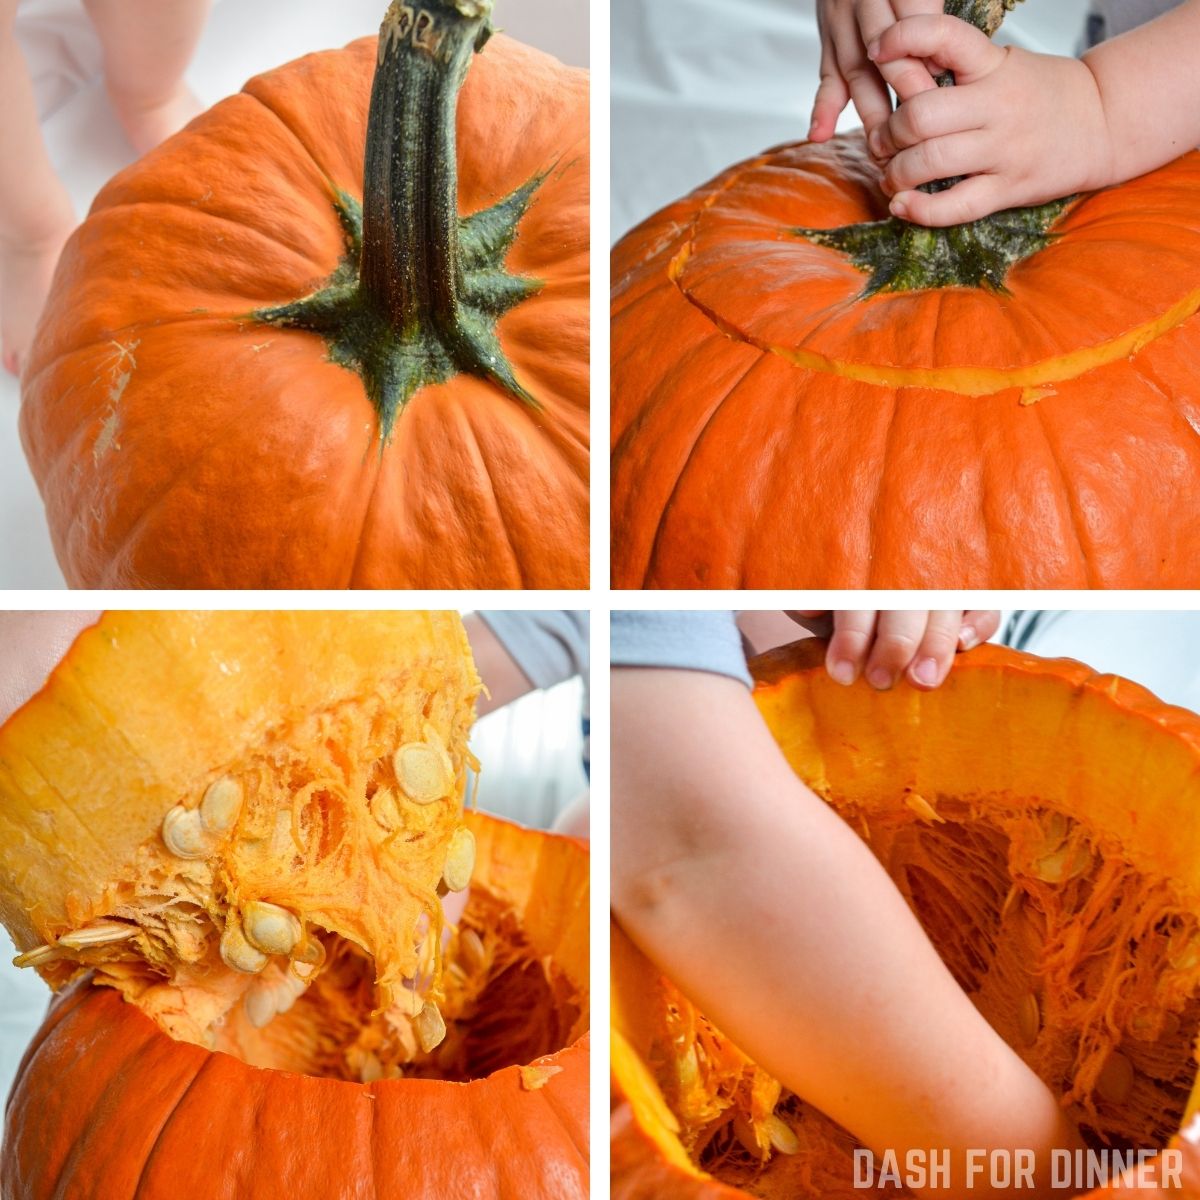
First, select a round pumpkin without any blemishes or signs of rot.
Use a sharp knife to cut around the top of the pumpkin, making a circle.
Pull the circle out using the stem as a handle, and cut off any excess pulp and seeds with your knife.
Separate the seeds from the pulp and place into a bowl.
Reach your hand into the pumpkin and scrape the bottom and edges, removing all of the seeds and pulp with your fingertips. Separate your seeds from the pulp as best as you can, and move to the next step of cleaning your seeds.
How to Clean Pumpkin Seeds
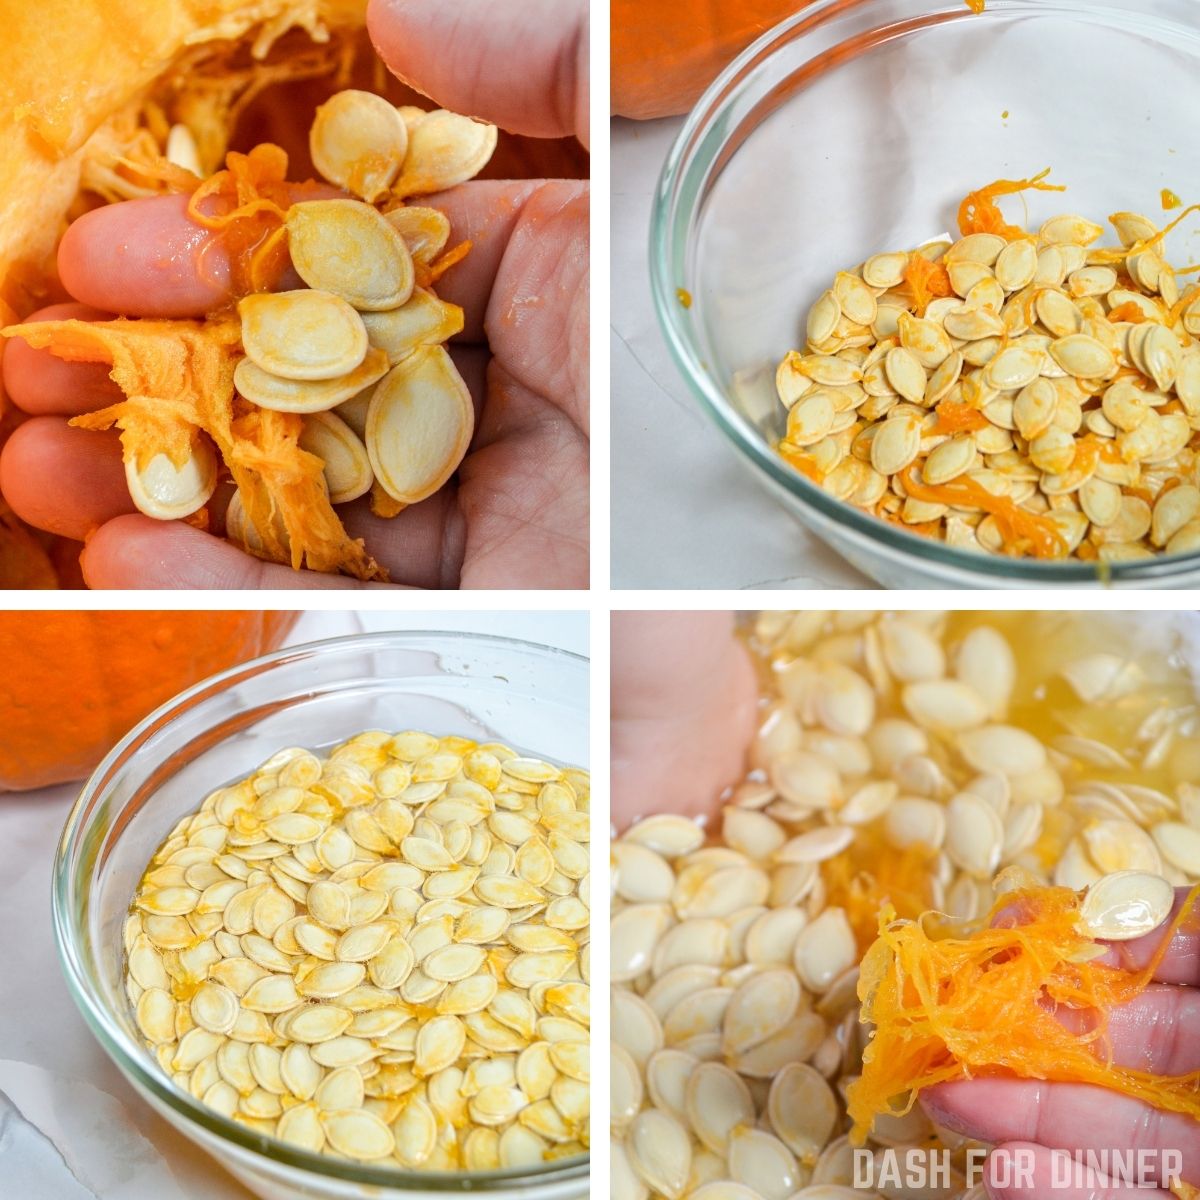
Once your seeds are removed from the pumpkin, separate the stringy pulp and place the leftover seeds in a bowl.
Add cool water to your pumpkin seeds, and remove any pulp that rises to the surface. Check all of your seeds for any pieces of pulp and remove them.
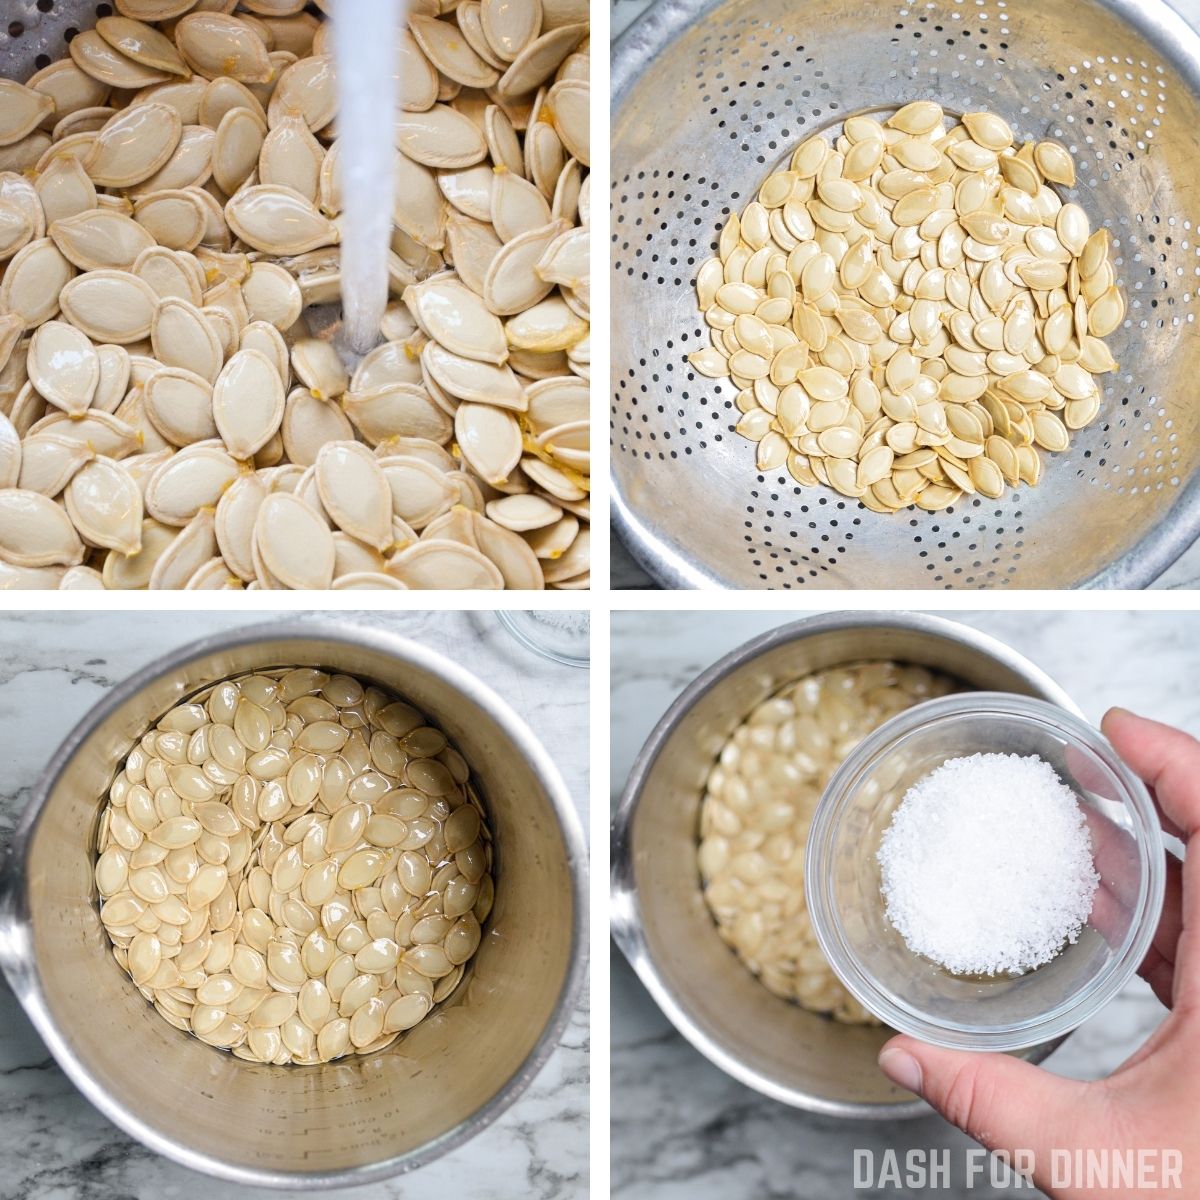
Drain your pumpkin seeds in a colander with running water.
Once all pulp has been removed, add your pumpkin seeds to a medium sized saucepan. Pour 2 cups of drinkable quality water into the saucepan and add 1 tablespoon of kosher salt. Stir well to combine.
How to Cook Pumpkin Seeds in an Air Fryer
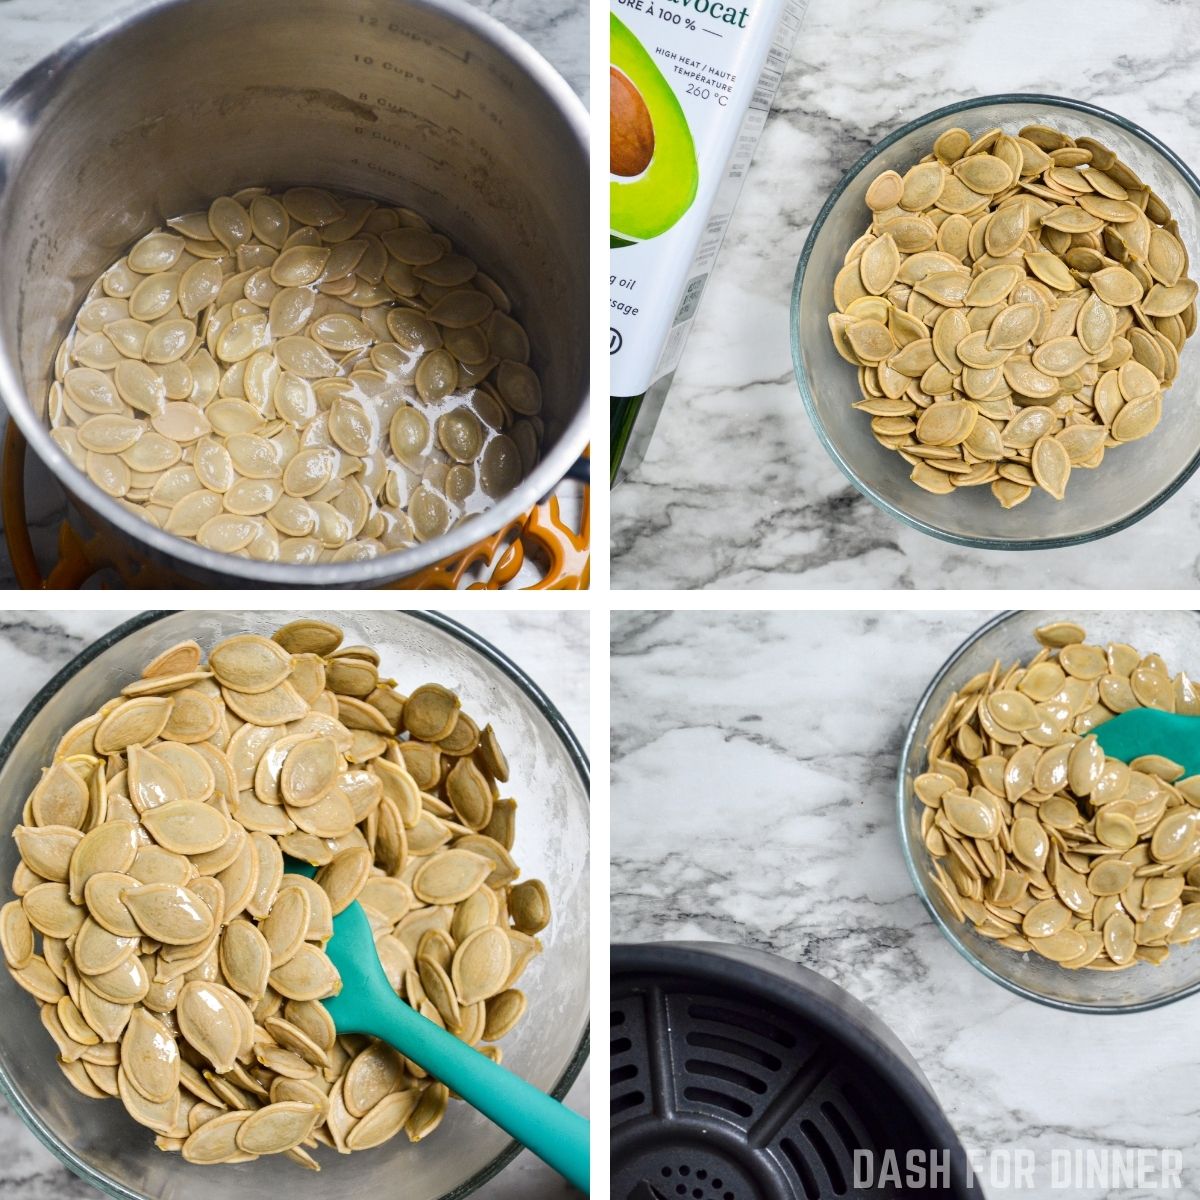
Bring the water, salt, and pumpkin seeds to a boil over high heat. Once the water is boiling, reduce the heat to medium and simmer for 10 minutes. Once the 10 minutes are up, drain your seeds using a colander.
Place your boiled seeds into a clean, dry bowl.
Pour in the avocado oil, tossing to coat the seeds evenly.
Preheat your air fryer to 375F for at least 3 minutes, or according to your manufactures instructions. Once the air fryer has preheated, add the pumpkin seeds, spreading them out in an even layer.
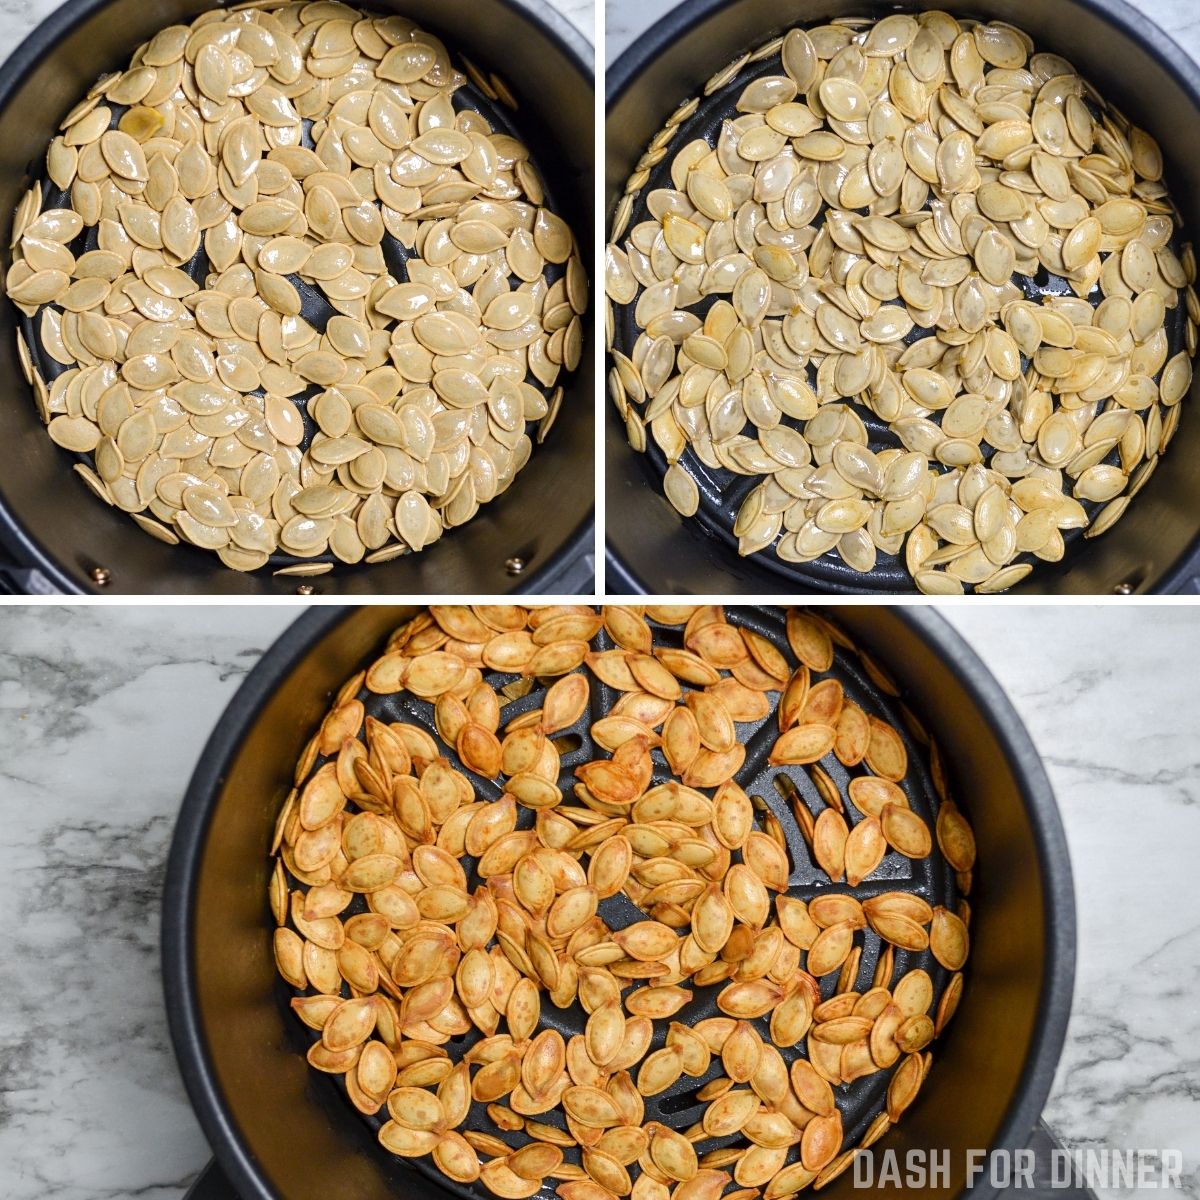
Place the basket back into the air fryer and cook for 5-12 minutes, or until your pumpkin seeds are golden and brown.
Shake the basket at the halfway point, or several times, to ensure even browning.
Spread the cooked, golden seeds out onto a baking sheet or plate lined with parchment paper. This will help them cool quickly and avoid condensation.
Taste your seeds and add any additional salt or seasonings while the seeds are still hot, as the seasoning will stick better.
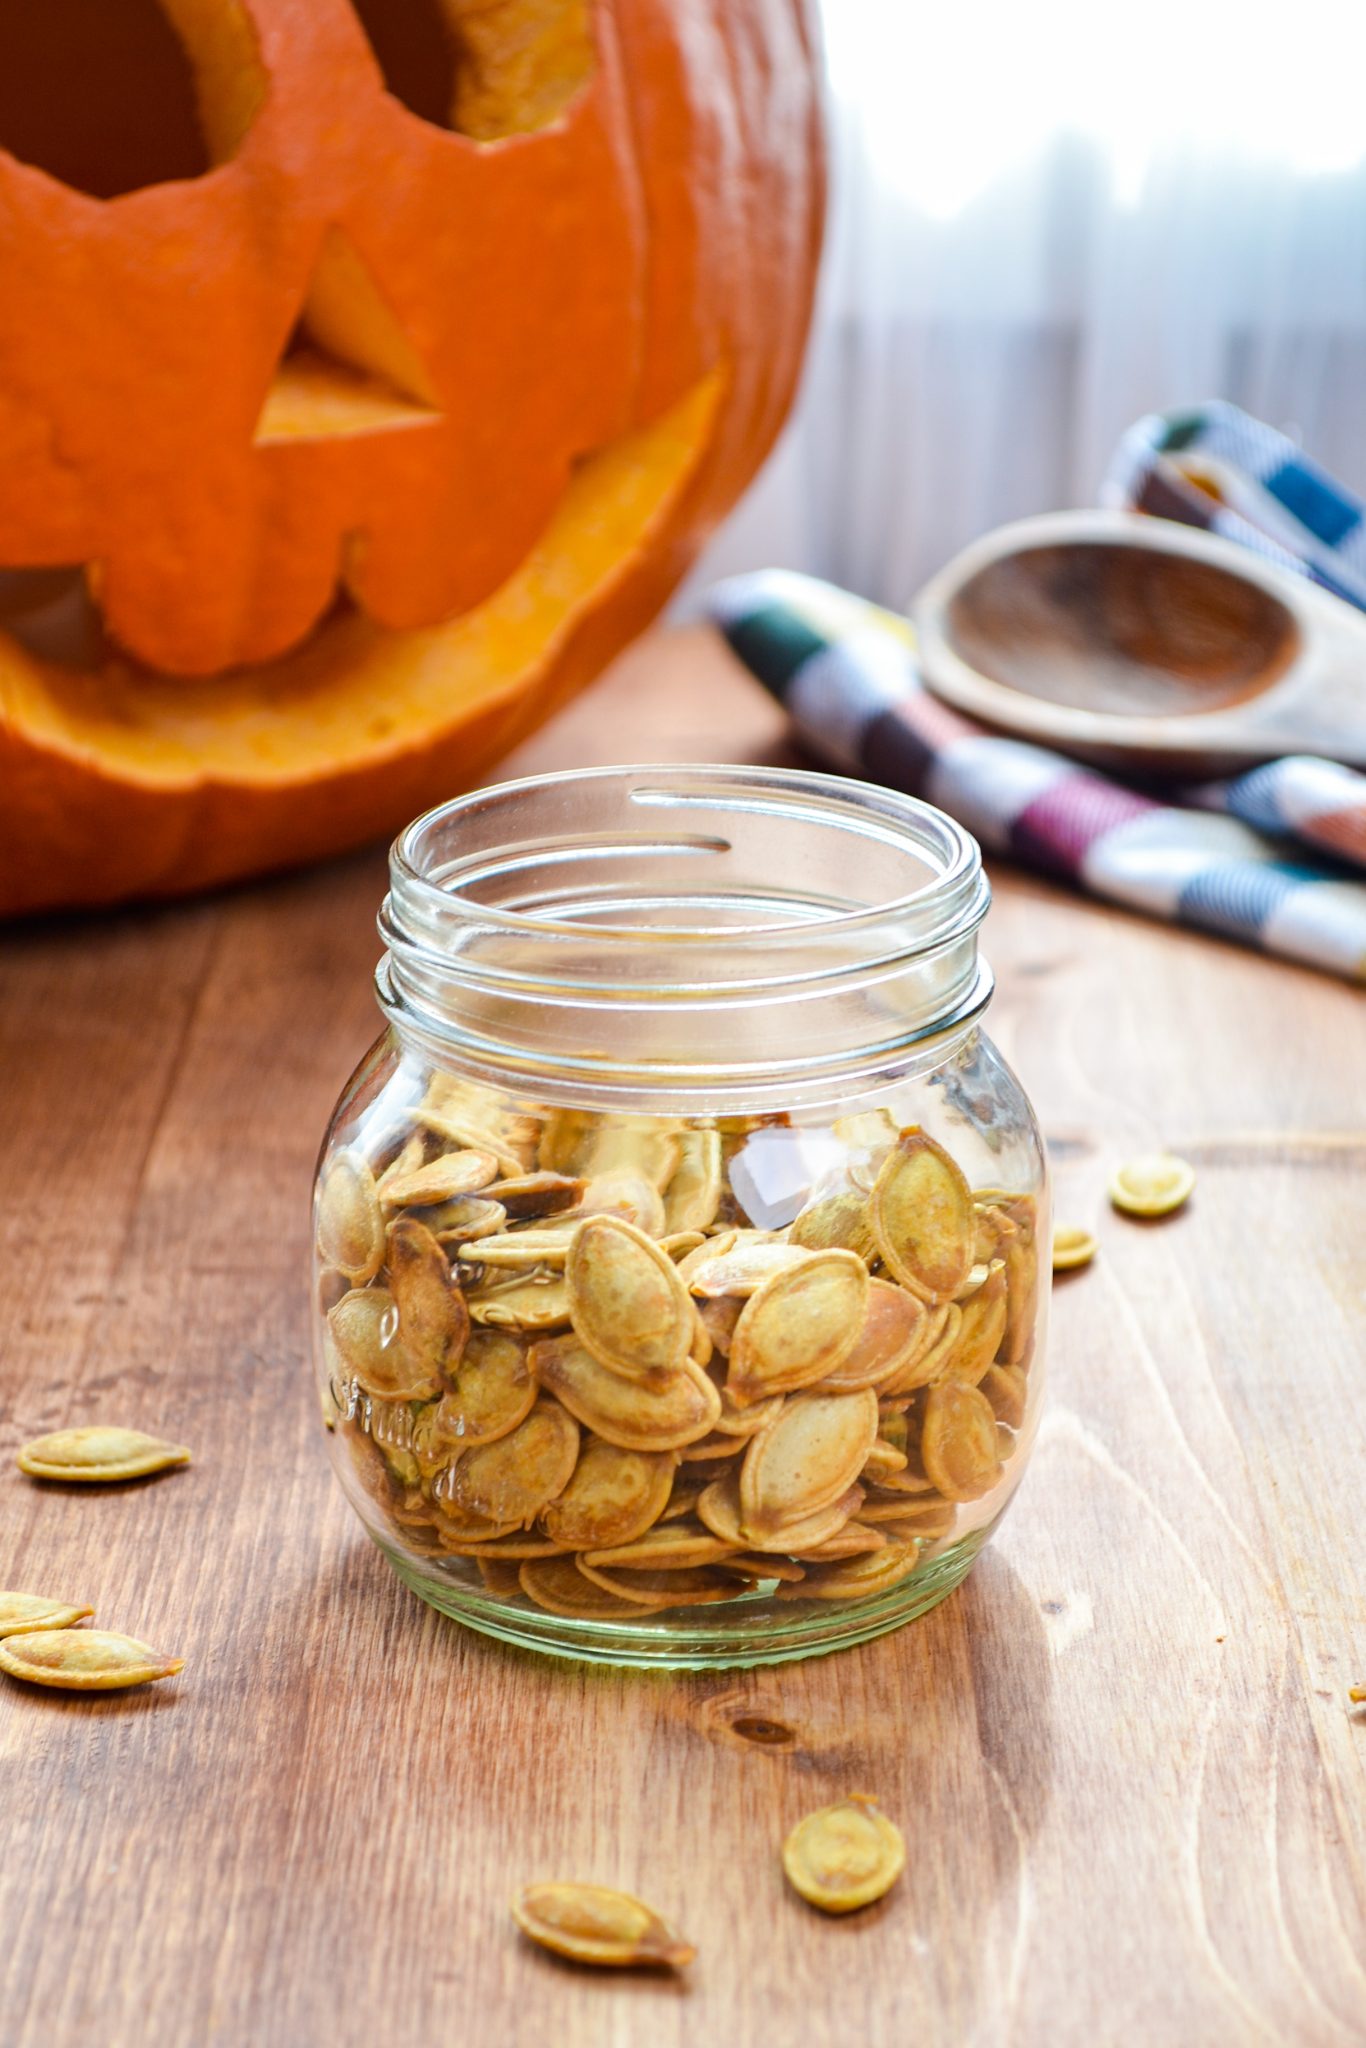
Serve once the seeds have cooled enough to be handled. They are best eaten on the same day, but you can transfer seeds that have been completely cooled to an airtight container and store them at room temperature for up to 1 week.
Tips for Success
- Smaller seeds will take less time than larger seeds, so if you know you have a smaller seed size, opt for a shorter cook time, and a longer cook time if your seeds are very large.
- Do not omit the oil in this recipe! The oil is needed so that the seeds do not burn. It is just a small amount of oil, and helps the seeds brown beautifully.
- Taste and adjust for salt at the end of cook time. The amount of salt called for in the brine will season your air fryer pumpkin seeds very nicely, but some may prefer more salt, or alternative seasonings. This is best to do after the seeds have cooked, but before they have cooled too much. Your seasonings will stick much better to hot pumpkin seeds.
- Do not store your pumpkin seeds until they are 100% cooled to room temperature or even chilled first. If you store warm pumpkin seeds in an airtight jar, condensation will build up, which causes moisture, and moisture causes premature spoilage and mold.
Substitutions:
Avocado Oil: You can use any high smoke point, neutral tasting oil in your air fryer pumpkin seeds. Olive oil, coconut oil, canola oil, vegetable oil, and sunflower oil are all great substitutes. You can also use 1 tablespoon of melted butter if you prefer.
Salt: If you don't have kosher salt, you can substitute the 1 tablespoon of kosher salt for 1 ½ teaspoons of table salt.
Variations:
Cinnamon Sugar Pumpkin Seeds: Instead of avocado oil, use 1 tablespoon of melted butter. Combine 2 tablespoons of granulated sugar with ½ teaspoon of ground cinnamon, and add it to the pumpkin seeds before baking in the air fryer. Reduce the heat to 350F and the time to 4-10 minutes.
Frequently Asked Questions
While you don't have to boil pumpkin seeds before roasting, it is highly recommended. If you prefer not to boil them in brine, you can soak them for approximately 3 hours instead.
Soaking pumpkin seeds before roasting helps them crisp up easier, while still staying soft in the middle. The result is a perfectly roasted, but not rock hard pumpkin seed. If you can't soak or boil your seeds, you can let them dry on lined baking sheets overnight or up to 24 hours before roasting. If you do this, I recommend reducing the temperature and increasing the time on your recipe.
Yes! Preheating your air fryer is such a simple, easy thing to do and takes just minutes. This means the food goes into a hot environment, rather than a cold one. Adding your food to a hot air fryer makes for crispy, yummy results. Adding it to a cold air fryer means your food could get soggy or cook unevenly.
More Easy Air Fryer Snacks
- Air Fryer Pepperoni Chips
- Air Fryer Roasted Almonds
- S'mores in an Air Fryer
- How to Make Quesadillas in an Air Fryer
- Air Fryer English Muffin Pizzas
- Air Fryer Dill Pickle Chips - The Creative Bite
Air Fryer Pumpkin Seeds
Ingredients
- Seeds from 1 medium sized pumpkin approximately 1 ½ cups
- 2 cups water
- 1 tablespoon kosher salt
- 1 tablespoon avocado oil or other high smoke point oil
Instructions
- Remove the seeds from your pumpkin and place in a bowl. Separate the stringy pulp from the seeds and discard the pulp.
- Add cool water to your pumpkin seeds, and remove any pulp that rises to the surface. Check all of your seeds for any pieces of pulp and remove them.
- Drain your pumpkin seeds in a colander with running water.
- Once all pulp has been removed, add your pumpkin seeds to a medium sized saucepan.
- Pour 2 cups of drinkable quality water into the saucepan and add 1 tablespoon of kosher salt. Stir well to combine.
- Bring the water, salt, and pumpkin seeds to a boil over high heat. Once the water is boiling, reduce the heat to medium and simmer for 10 minutes.
- Once the 10 minutes are up, drain your seeds using a colander.
- Pat the pumpkin seeds dry with paper towel (gently) or a clean dish towel.
- Place your boiled seeds into a clean, dry bowl.
- Pour in the avocado oil, tossing to coat the seeds evenly.
- Preheat your air fryer to 375F for at least 3 minutes, or according to your manufactures instructions.
- Once the air fryer has preheated, add the pumpkin seeds, spreading them out in an even layer.
- Place the basket back into the air fryer and cook for 5-12 minutes, or until your pumpkin seeds are golden and brown. Shake the basket at the halfway point, or several times, to ensure even browning. Smaller seeds will take less time than larger seeds, so if you know you have a smaller seed size, opt for a shorter cook time, and a longer cook time if your seeds are very large.
- Spread the cooked, golden seeds out onto a baking sheet or plate lined with parchment paper. This will help them cool quickly and avoid condensation. Taste your seeds and add any additional salt or seasonings while the seeds are still hot, as the seasoning will stick better.
- Serve once the seeds have cooled enough to be handled. They are best eaten on the same day, but you can transfer seeds that have been completely cooled to an airtight container and store them at room temperature for up to 1 week.
Notes
Nutrition
Please note that some of my blog posts here at Dash for Dinner may contain affiliate links. If you make a purchase through these links, I will get a small commission at no additional cost to you. Please see my Disclaimer for more information.









Leave a Reply