


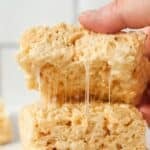
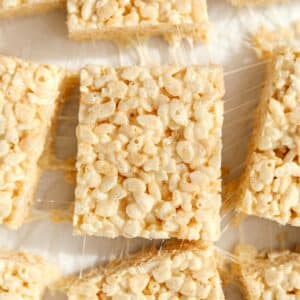
This easy recipe for Homemade Rice Krispie Treats are an extra gooey version of the original recipe. They can be made in the microwave OR on the stovetop, and call for just 4 basic ingredients!

Who doesn't love a homemade Rice Krispie treat!? While you could easily make the recipe from the back of the box, I urge you to try this one.
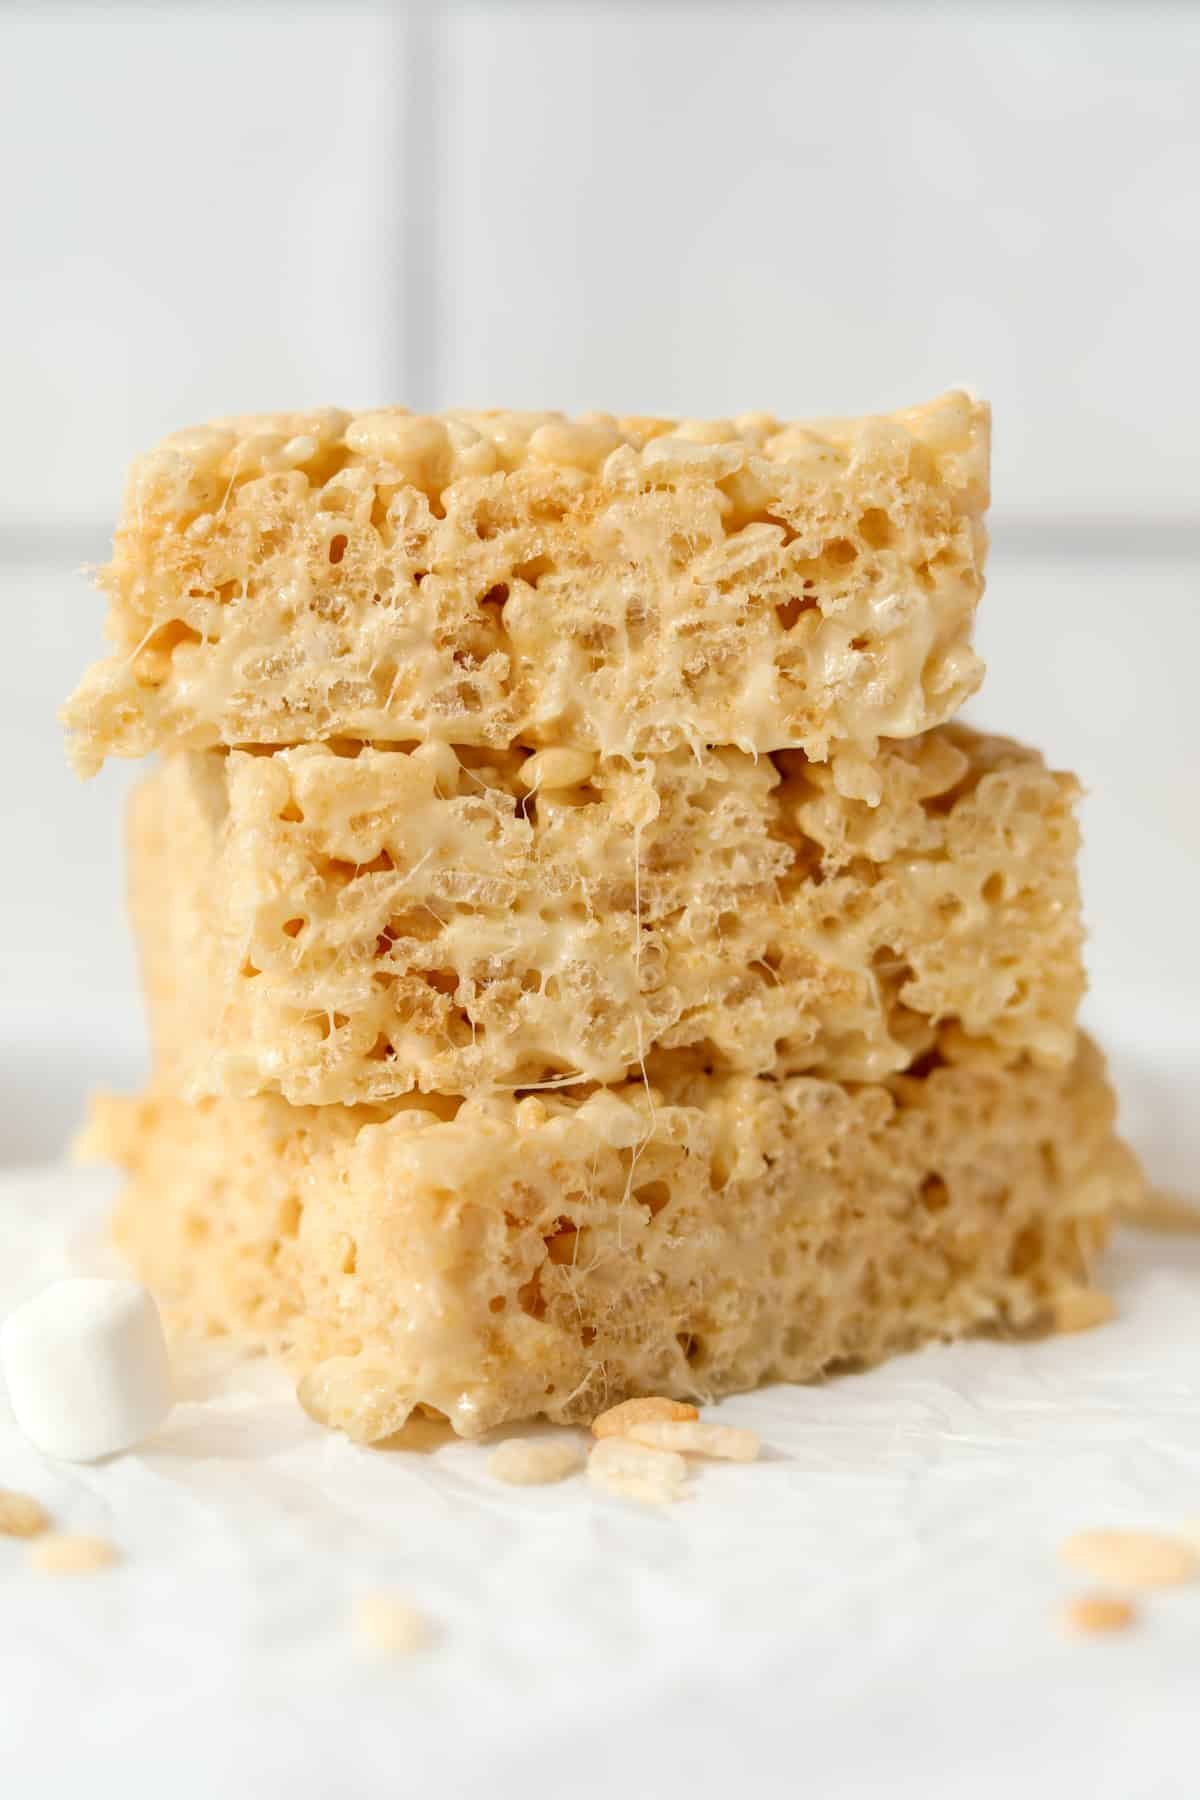
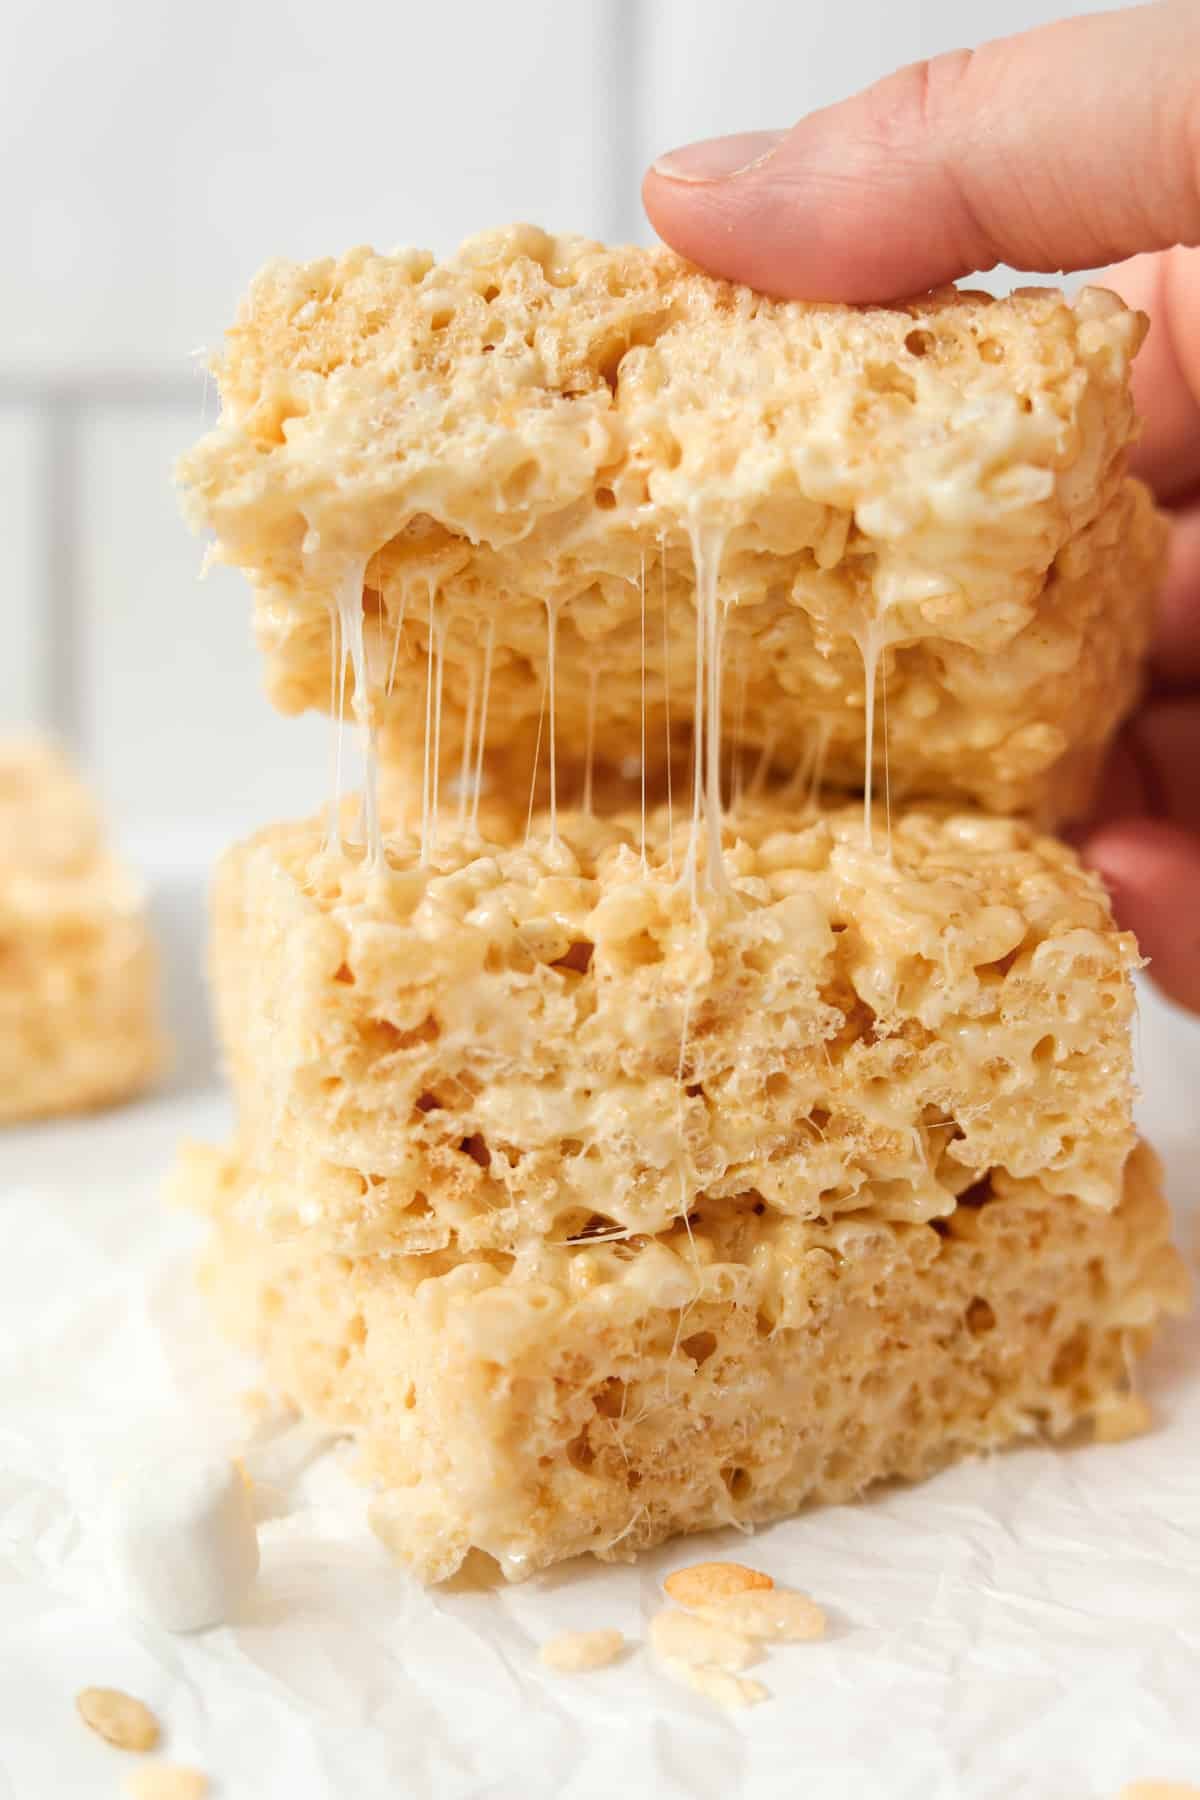
That's because it's extra buttery, extra gooey, and quite simply: the best!
Why You'll Love This Recipe:
- Made with simple ingredients. Cereal, butter, marshmallows, and vanilla - yup, that's it!
- Classic recipe. These crispy treats have been around for literally decades, and have earned a spot alongside chocolate chip cookies as a childhood rite of passage.
- Versatile. Whether you are looking for a bake sale treat or something for special occasions, Rice Krispies treats will always be a hit!
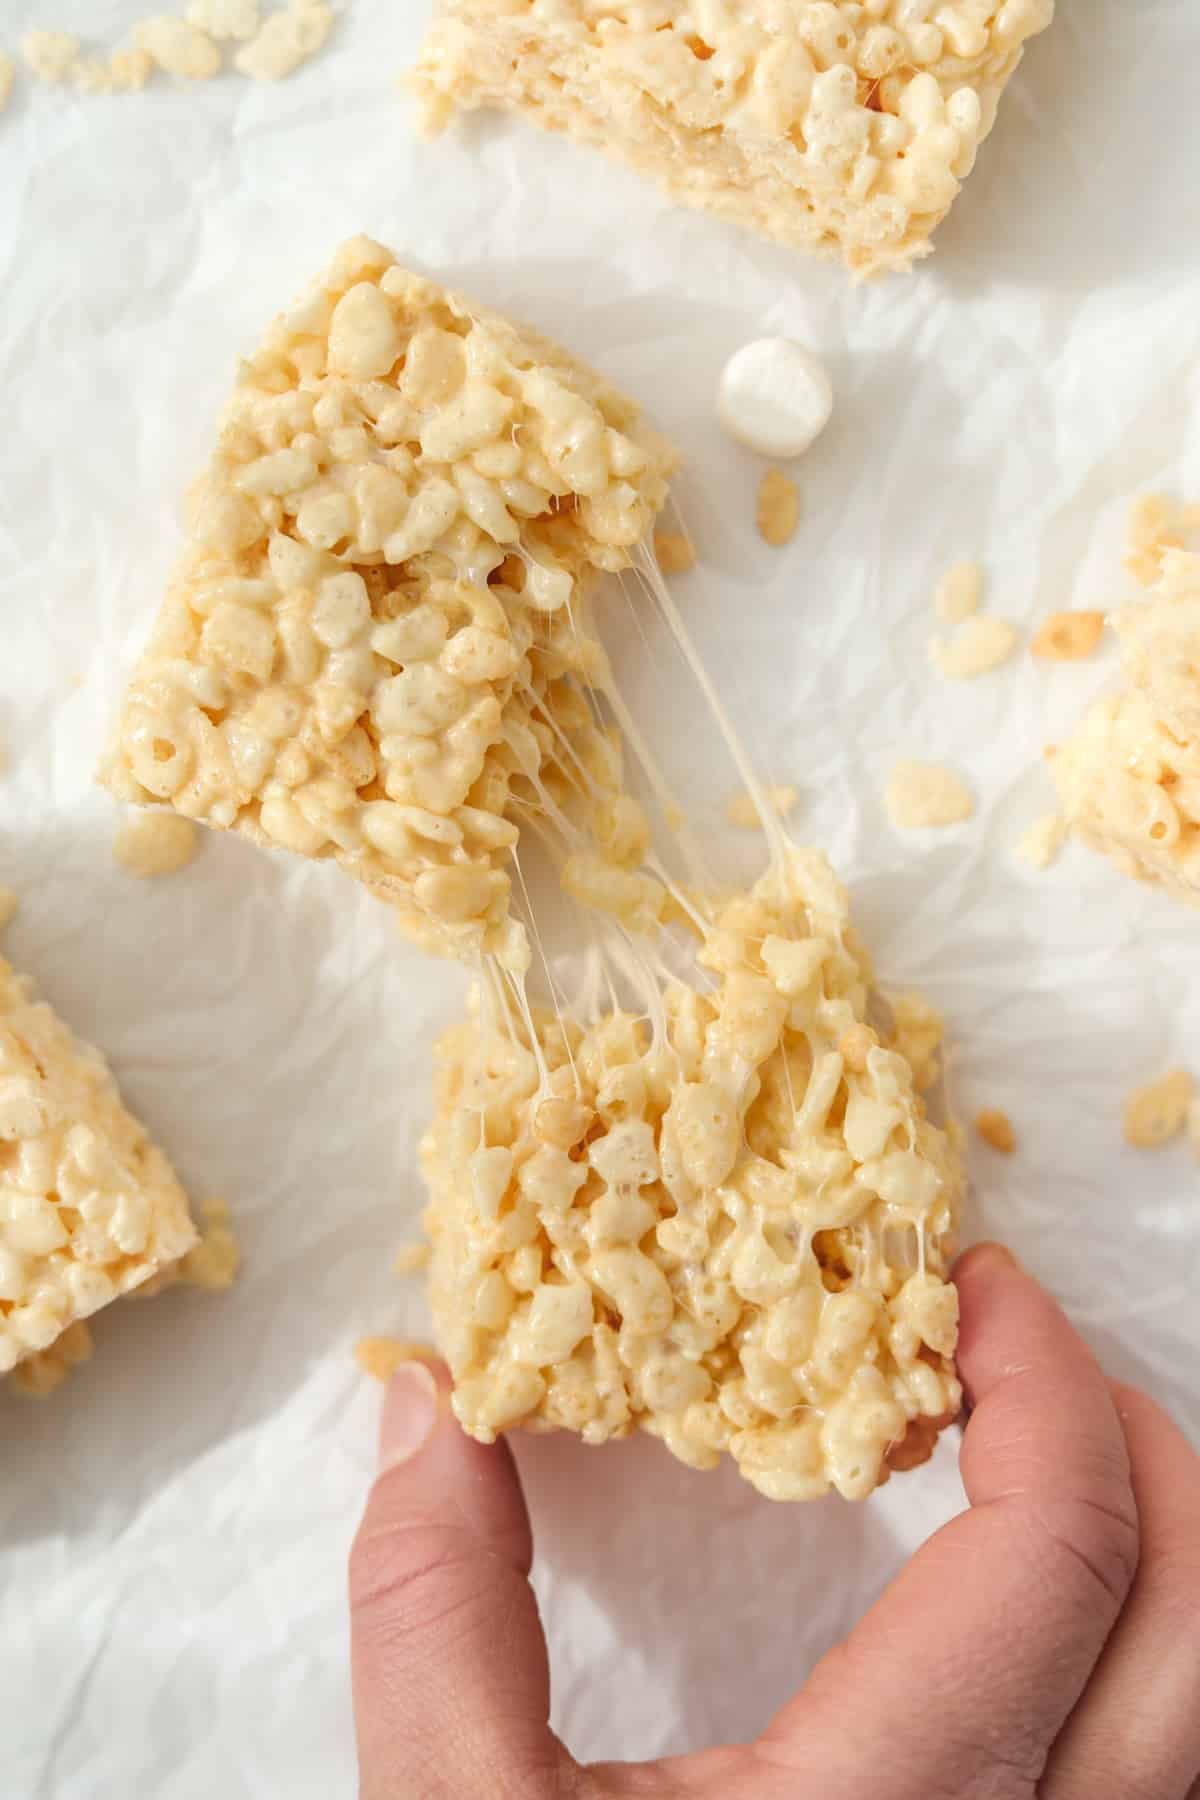
- Extra gooey. These treats aren't super firm and dry - they are gooey and delicious. Trust me, you're going to love them!
Ingredients

- Rice Krispies cereal: Also known as crispy rice cereal. Generic brands can be used as an alternative if you prefer, or a gluten-free version if that suits your needs.
- Marshmallows: I recommend using mini marshmallows because they melt easily. You will need a 10-ounce bag, which is about 6 cups total.
- Butter: I recommend using salted butter, but if you prefer to use unsalted, add a pinch or two of salt to the marshmallow mixture.
- Vanilla: This isn't commonly included in the original recipe, but it adds a nice flavor!
Check the recipe card for a full list of ingredients and the quantities needed.
Equipment
How to Make Rice Krispie Treats
You can make these easy cereal treats either in the microwave or on the stovetop.
For the sake of simplicity, the tutorial images include the microwave method, but you'll find stovetop instructions both in the post and in the recipe card. Both are easy!
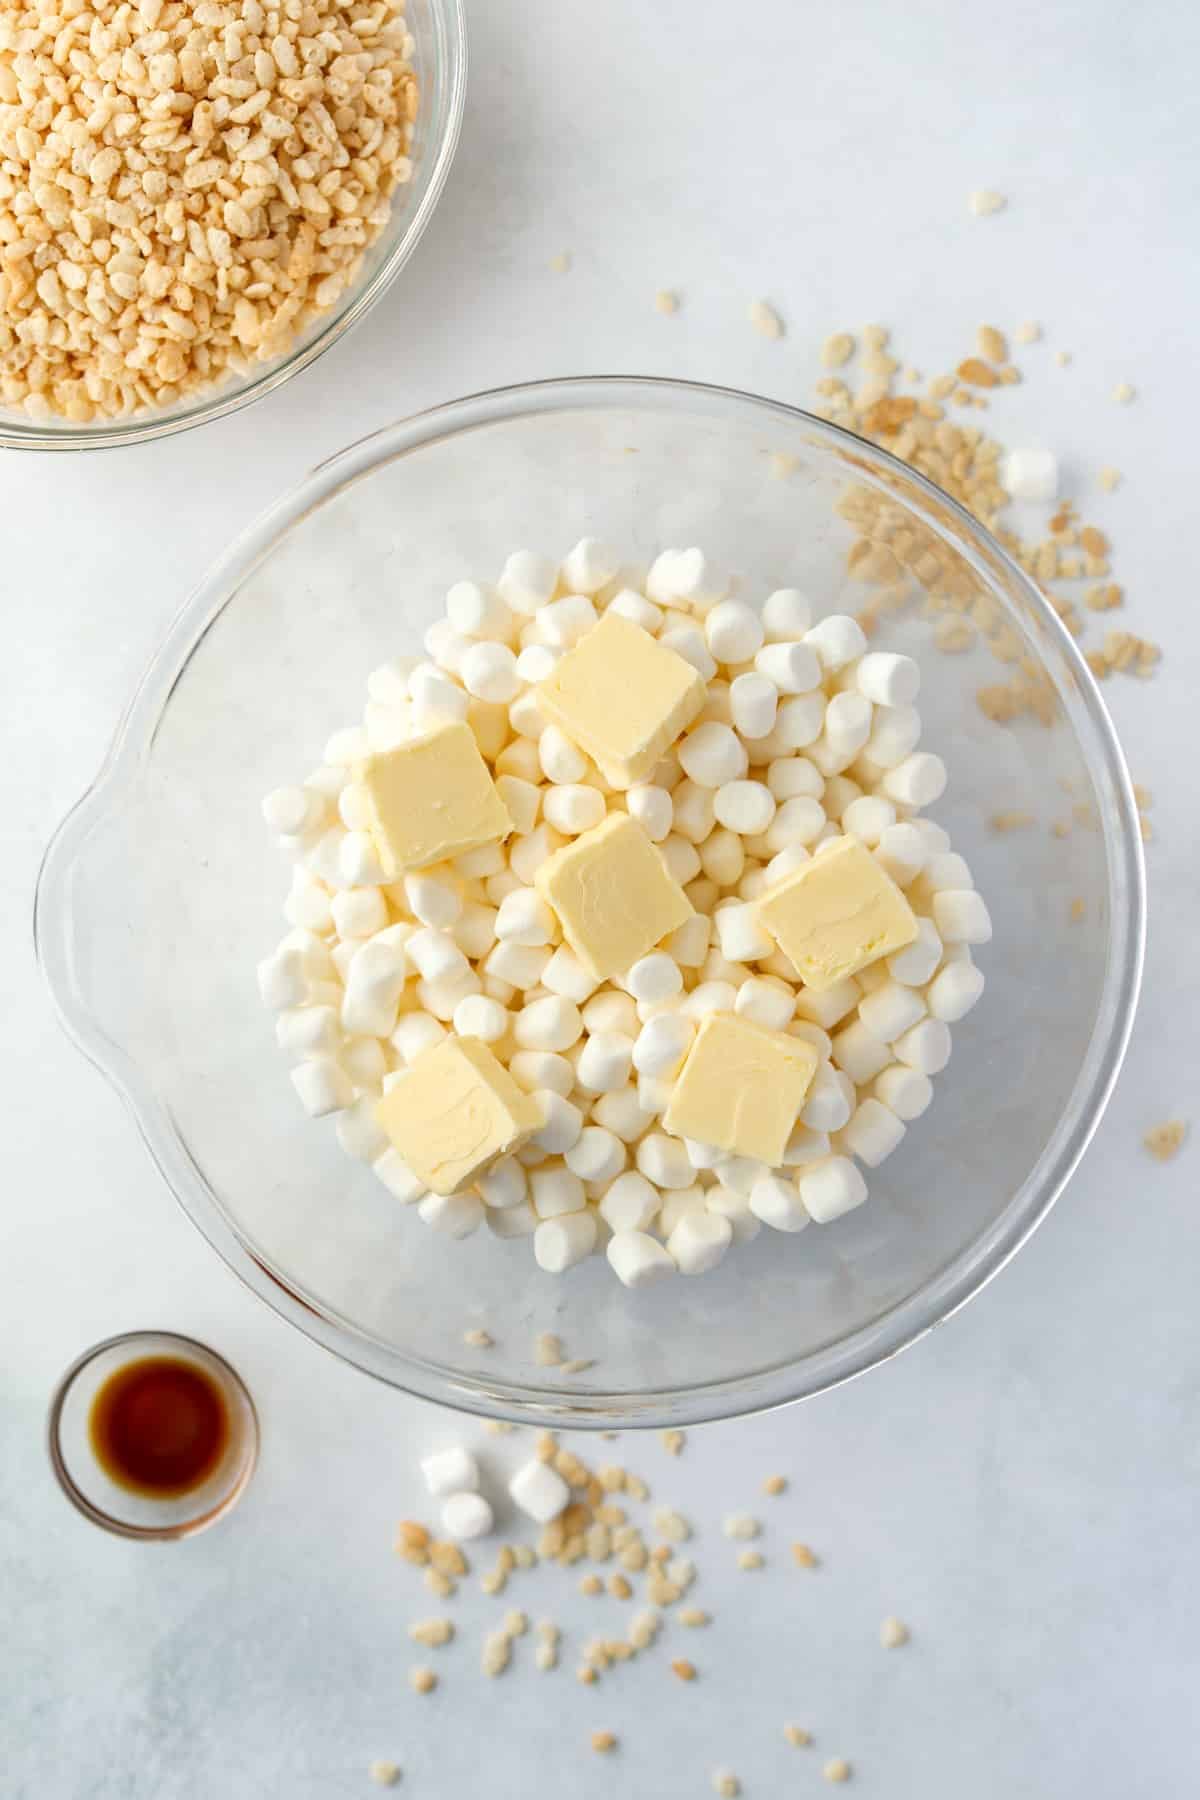
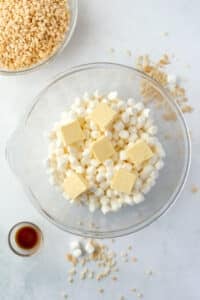
- Step one: Add the marshmallows and butter to a large bowl.
Stovetop: Use a large pot instead.

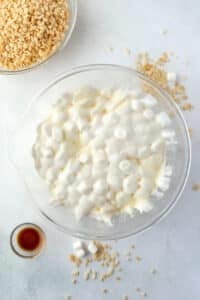
- Step two: Heat the marshmallows and butter in 30-second intervals in the microwave until fluffy and melted.
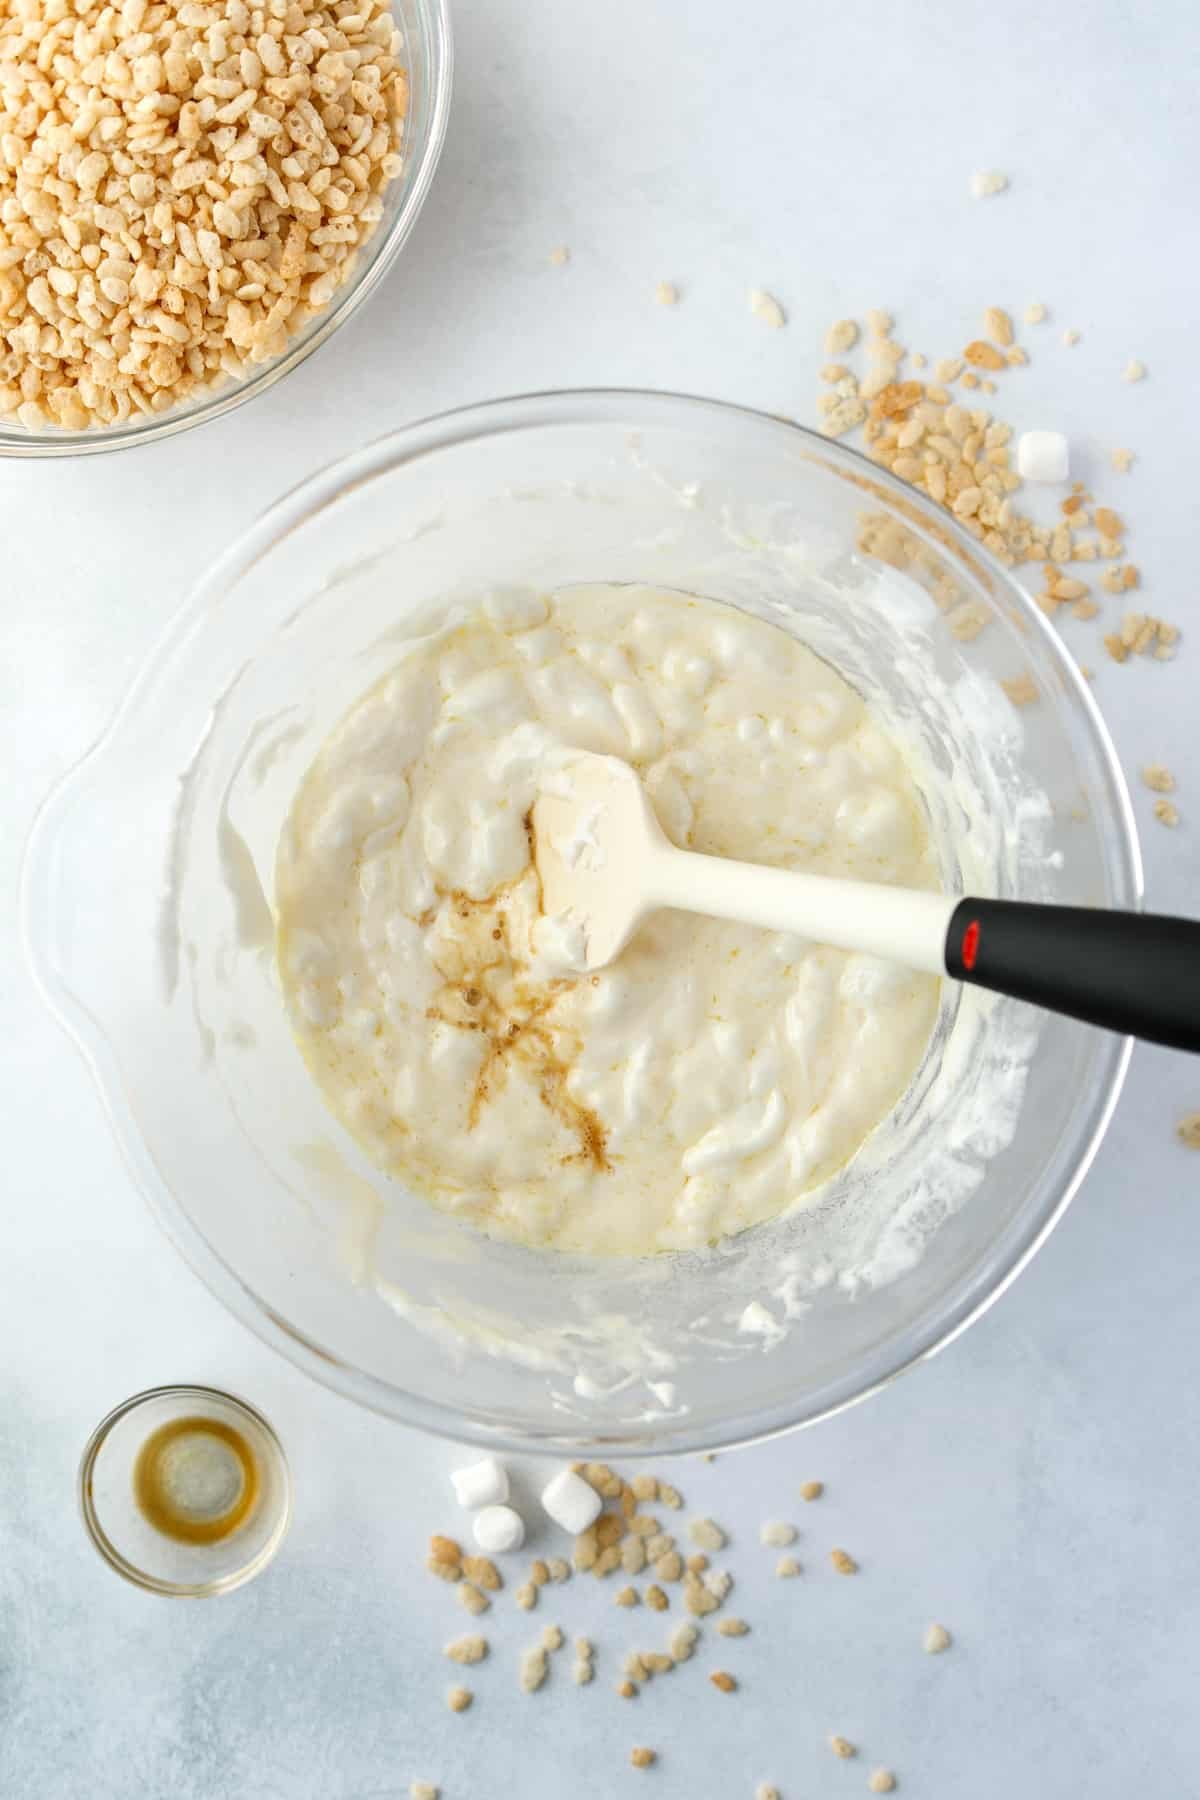
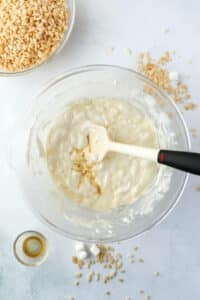
- Step three: Stir together the melted marshmallows and butter, then add in the vanilla extract and stir again.

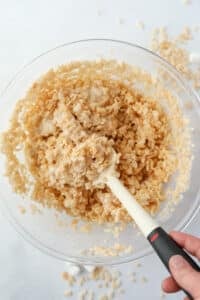
- Step four: Add the cereal and fold it in with a silicone spatula until completely coated.

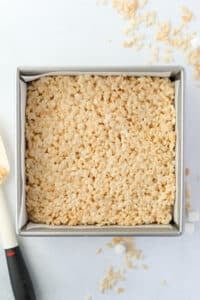
- Step five: Spread the cereal and marshmallow mixture into a parchment-lined square baking pan.
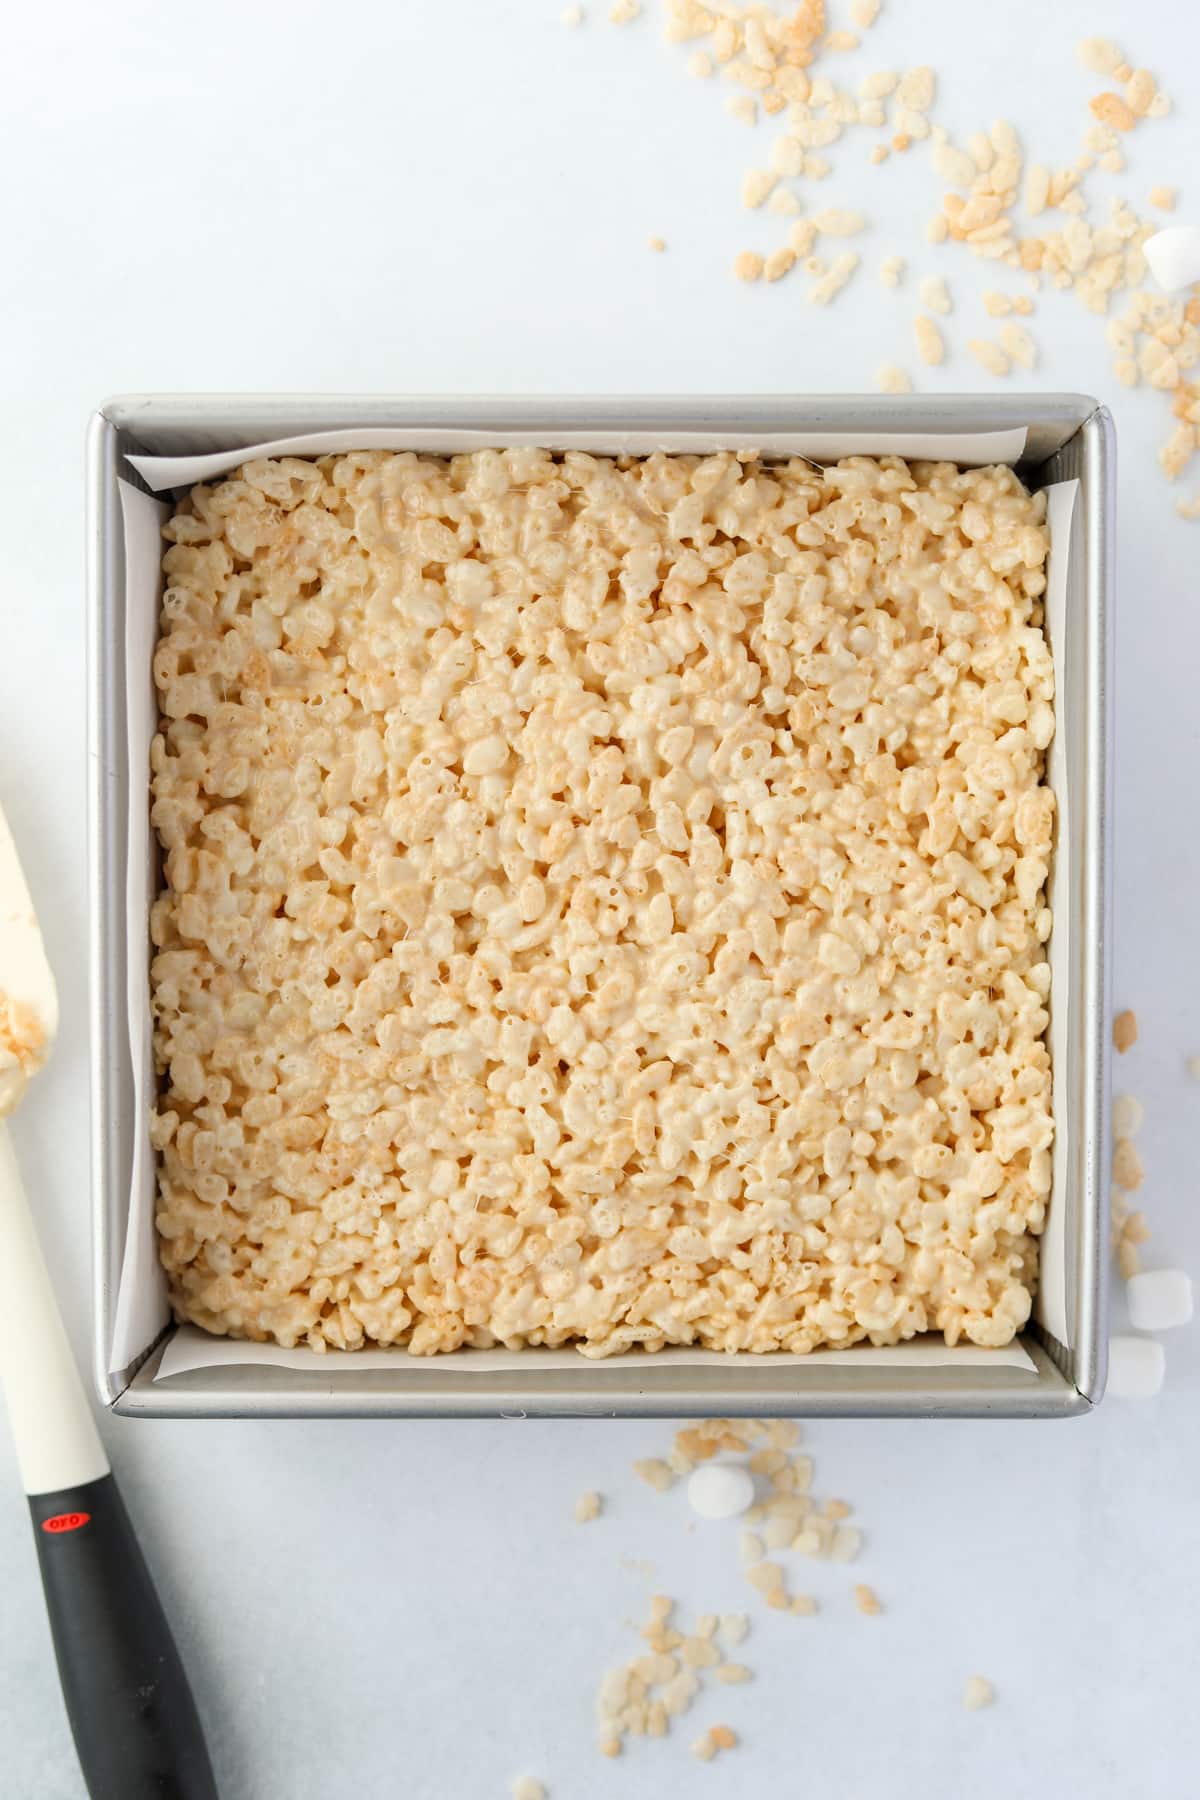
- Step six: Allow to rest at room temperature for 1 hour, or until set.
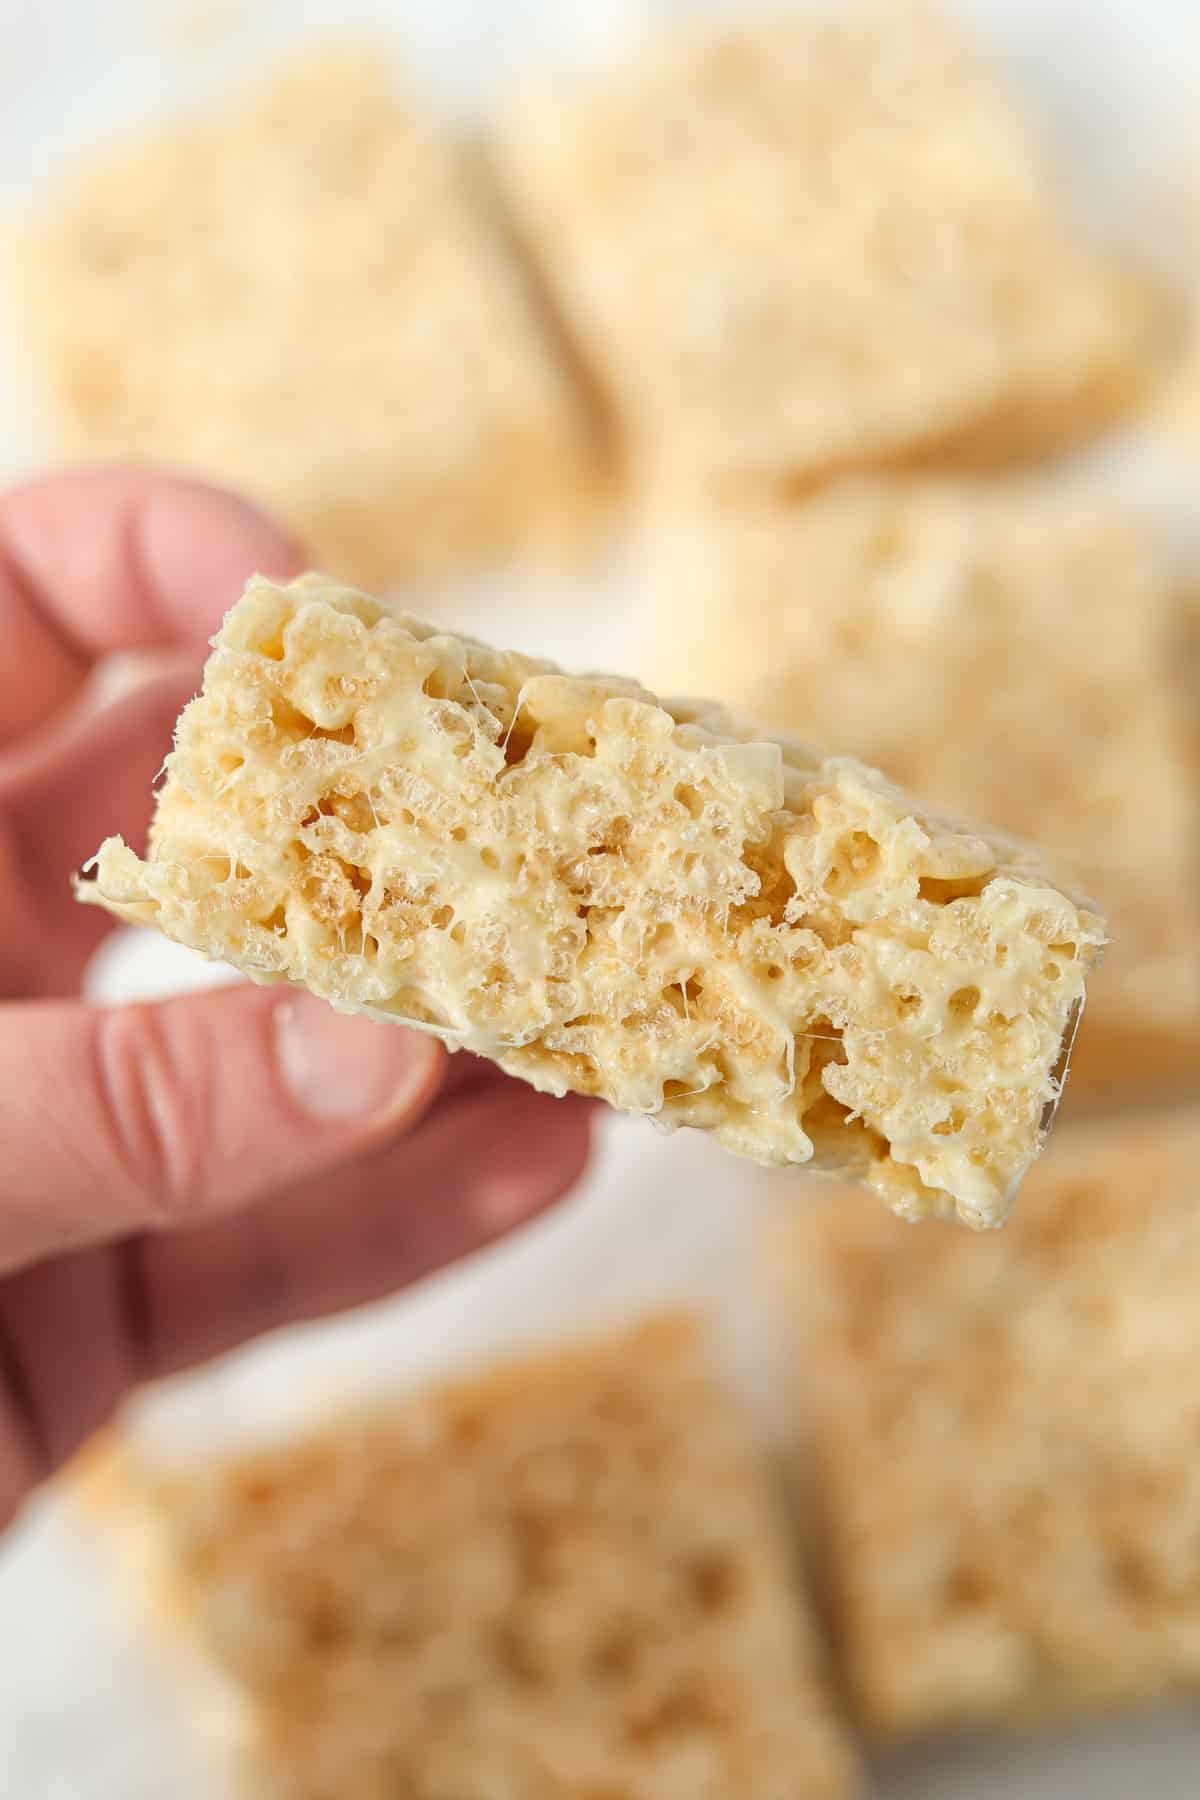
Then slice and serve, or store for later!
Stovetop Method
- Add the butter to a very large pot, and heat over medium to low heat until it melts.
- Sprinkle in the marshmallows and stir well, heating until the marshmallow melts completely into the butter.
- Remove from the heat and stir in the vanilla.
- Finally, stir in the cereal and fold it in until completely coated in the buttery marshmallow mixture.
- Spread into a parchment-lined 8X8" (20.3 x 20.3 cm) square baking pan.
- Allow to rest for 1 hour at room temperature before serving.
How to Store Rice Krispie Treats
Homemade cereal treats store best at room temperature, and can be stored for up to 3 days as long as they are in an airtight container.
Can Rice Krispie Treats Be Frozen?
Freezing does change the texture, but they freeze well enough that they are still enjoyable after thawing.
I like to wrap the treats individually in plastic wrap, then place them in a labeled freezer bag. Then, when I need a treat for a lunch box or sweet snack, I can take it out to thaw for 20 or 30 minutes.
Top tip: For the best results, store layers of treats in between sheets of parchment or waxed paper to prevent sticking.
Substitutions
- Gluten-free: The original Rice Krispies cereal is not gluten-free, but you can find a gluten-free type in some areas. A few brands (both national and generic) offer a gluten-free crispy rice cereal. My favorite is Nature's Path.
- Dairy-free: Substitute the butter for your favorite plant-based spread. A block-style is recommended, as it is the closest consistency to a stick of butter, but a regular spread will work in a pinch.
- Marshmallows: I recommend using mini marshmallows for this recipe, but you can use 10 ounces of regular marshmallows, fresh marshmallows (AKA homemade marshmallows), or vegan marshmallows (like Dandies) if you prefer.
Variations
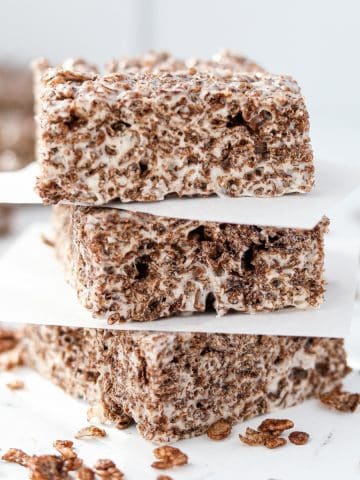
Brown butter. Heat the butter in a large pot over medium heat, whisking often until the butter browns. Turn down the heat if it is browning very quickly. Once the butter is caramelized, add in the marshmallows and stir until melted. Then, remove from the heat and stir in the vanilla extract and cereal.
- Recommended: How to Brown Butter - Simply Recipes
With chocolate chips. Since these can melt easily, I recommend adding them to the treats after the cereal has been added. For even better results, I recommend adding them in layers as you spread the treats into a square pan.
Extra marshmallows: Fold in some halved (or quartered) marshmallows after adding the rice cereal.
Recipe FAQs
Yes, this recipe doubles well! You'll just need to make sure you have a bowl or pot large enough, as it can be hard to stir in the cereal otherwise. You'll want to spread the cereal mixture into a 9X13" (23x33 cm) or two 8X8" (20.3 x 20.3 cm) baking pans.
Any cereal treat that uses classic Kellogg's Rice Krispies cereal is not gluten-free, as it contains barley malt extract. Cereal treats that were made with certified gluten free types can easily be gluten-free, as marshmallows and butter are naturally free from gluten and wheat.

If you loved this recipe for Rice Krispie Treats, let me know by leaving a 5-star review in the recipe card or comment below! You can also tag me on Instagram @dashfordinner.
Rice Krispie Treats
Ingredients
- 10 ounces mini marshmallows (approximately 6 cups)
- 6 tablespoons butter cut into 6 pieces
- ½ teaspoon vanilla extract
- 4 ½ cups crispy rice cereal (like Rice Krispies)
Instructions
Microwave method:
- Line an 8X8 (20.3x20.3 cm) square baking pan with parchment paper. Set aside.
- Add the marshmallows to a large bowl, and top with slices of butter.

- Heat in the microwave in 30-second intervals until the butter is melted and the marshmallows are puffy.
- Stir well to combine the butter and marshmallows, then add in the vanilla extract and stir again.
- Pour in the cereal and fold it in with a silicone spatula until completely coated in the marshmallow mixture.
- Spread the cereal treat mixture into the prepared baking pan, spreading it out to the edges and into an even layer.
- Allow to set at room temperature for at least 1 hour.
- Remove the treats from the baking pan and slice into 9 squares.


Notes
- Melt the butter and marshmallows together over medium heat in a very large pot, stirring often.
- Remove from the heat and stir in the vanilla extract.
- Pour in the rice cereal and fold it in with a silicone spatula until completely coated in the marshmallow mixture.
- Spread the cereal treat mixture into the prepared baking pan, spreading it out to the edges and into an even layer.
- Allow to set at room temperature for at least 1 hour.
- Remove the treats from the baking pan and slice into 9 squares.
Please note that some of my blog posts here at Dash for Dinner may contain affiliate links. If you make a purchase through these links, I will get a small commission at no additional cost to you. Please see my Disclaimer for more information.


KCJ says
I made them with the browned butter method you have noted and what a pleasant treat! Thank you!
Dolly {Dash for Dinner} says
So glad you liked them! I really love browned butter too - it makes them extra special.