

This easy recipe for Cocoa Pebbles Treats is a fun twist on the classic cereal treat. Made with just 4 ingredients, this no bake dessert is a fun way to use leftover cereal. Perfect for a bake sale, potluck, birthday party, or as a quick and delicious way to satisfy your sweet tooth!
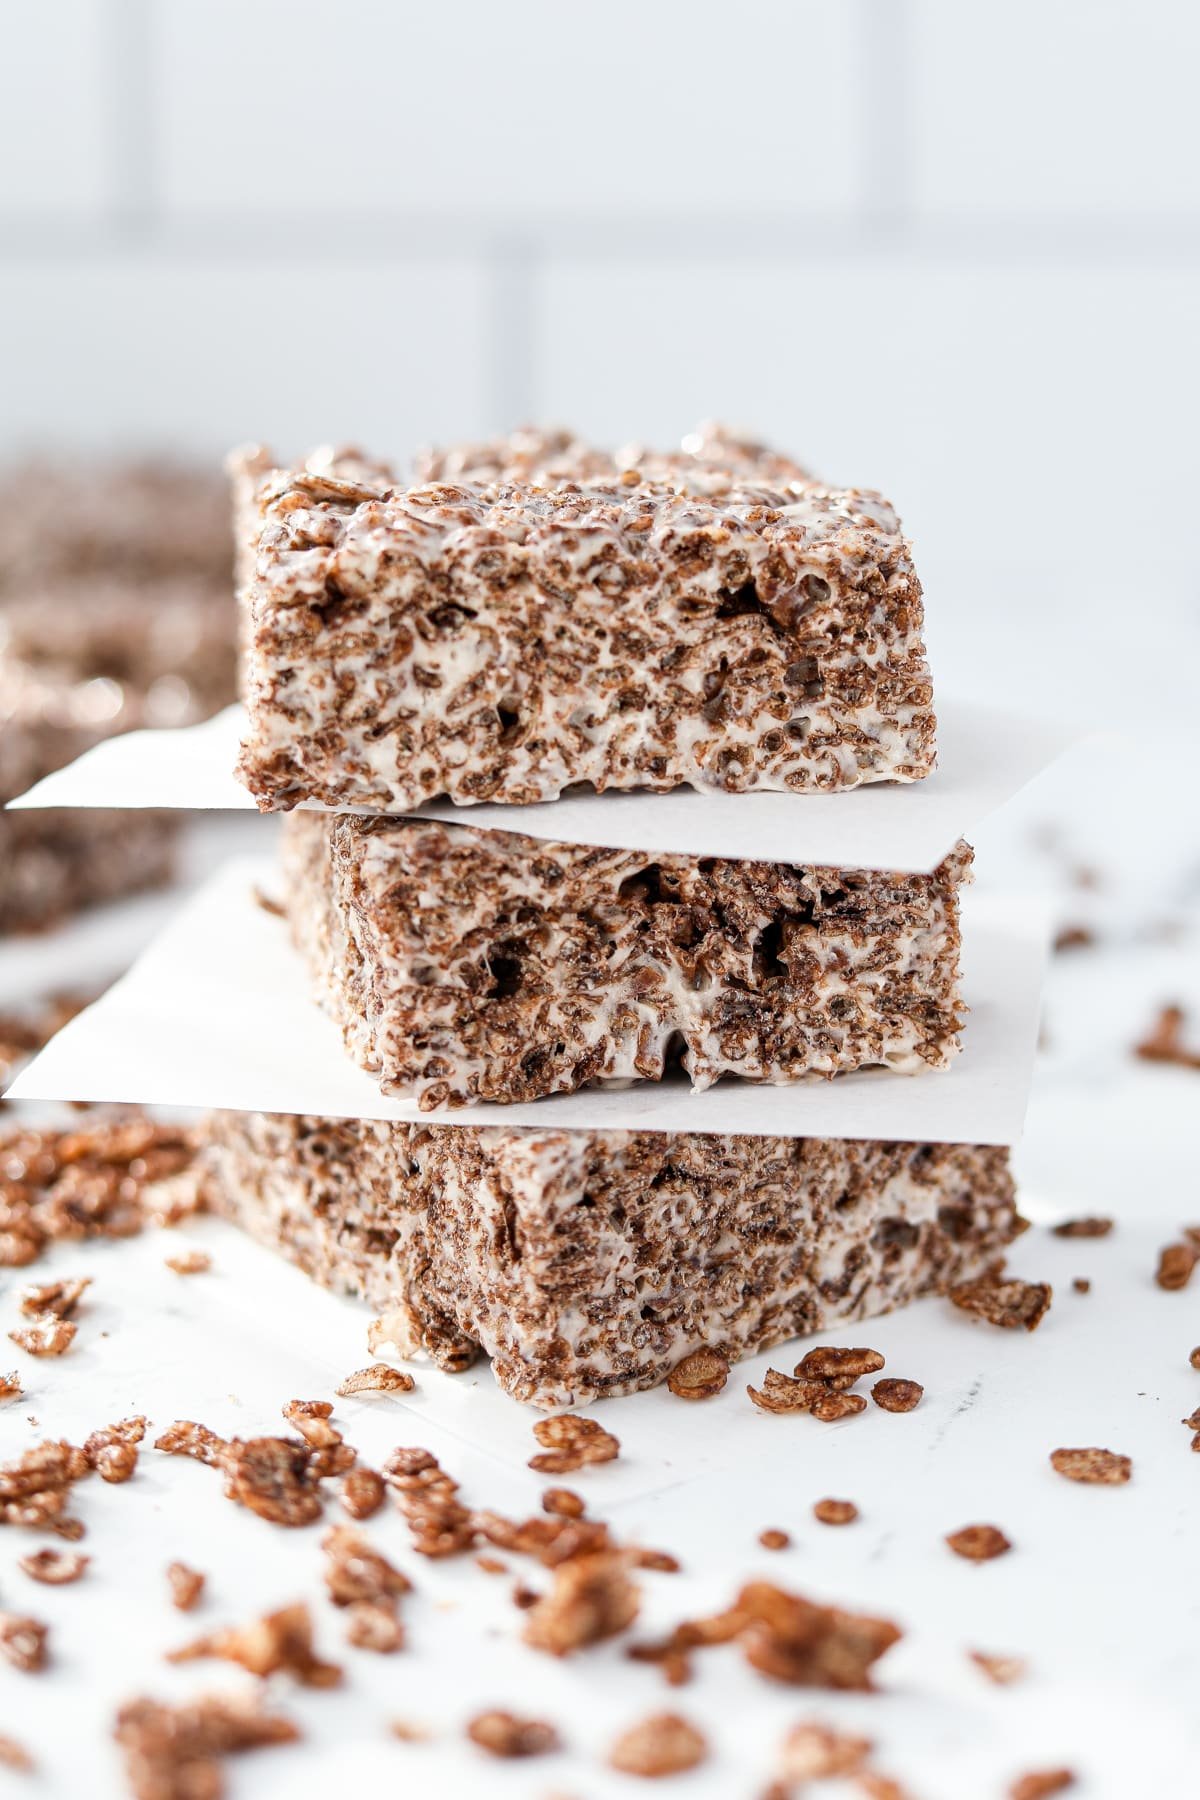
This fun and simple recipe for Cocoa Pebbles Treats has been a favorite since I first made them a few months ago. I first tested making Fruity Pebbles Treats based on my standard Rice Krispies Treats recipe, and after those were a sure winner I knew I had to try out Cocoa Pebbles too!
Boy, am I glad that I did! My family can't quite decide which one they like best, but I think my little guy is definitely leaning toward this Cocoa Pebbles version. I mean, who can deny the classic combination of chocolate and marshmallow!?
Why You'll Love This Recipe:
- These crispy treats are super easy to make with just 4 ingredients and less than 15 minutes of active time!
- A fun take on the classic Rice Krispie Treats - crispy, gooey, and a chocolatey twist.
- This recipe is great for those who are new to baking, and perfect for getting kids started in the kitchen.
- Cocoa Pebbles Treats are gluten free, making these the perfect no bake treats for the whole family to enjoy! There are also options for vegan and dairy-free substitutions in the post below.
Ingredients
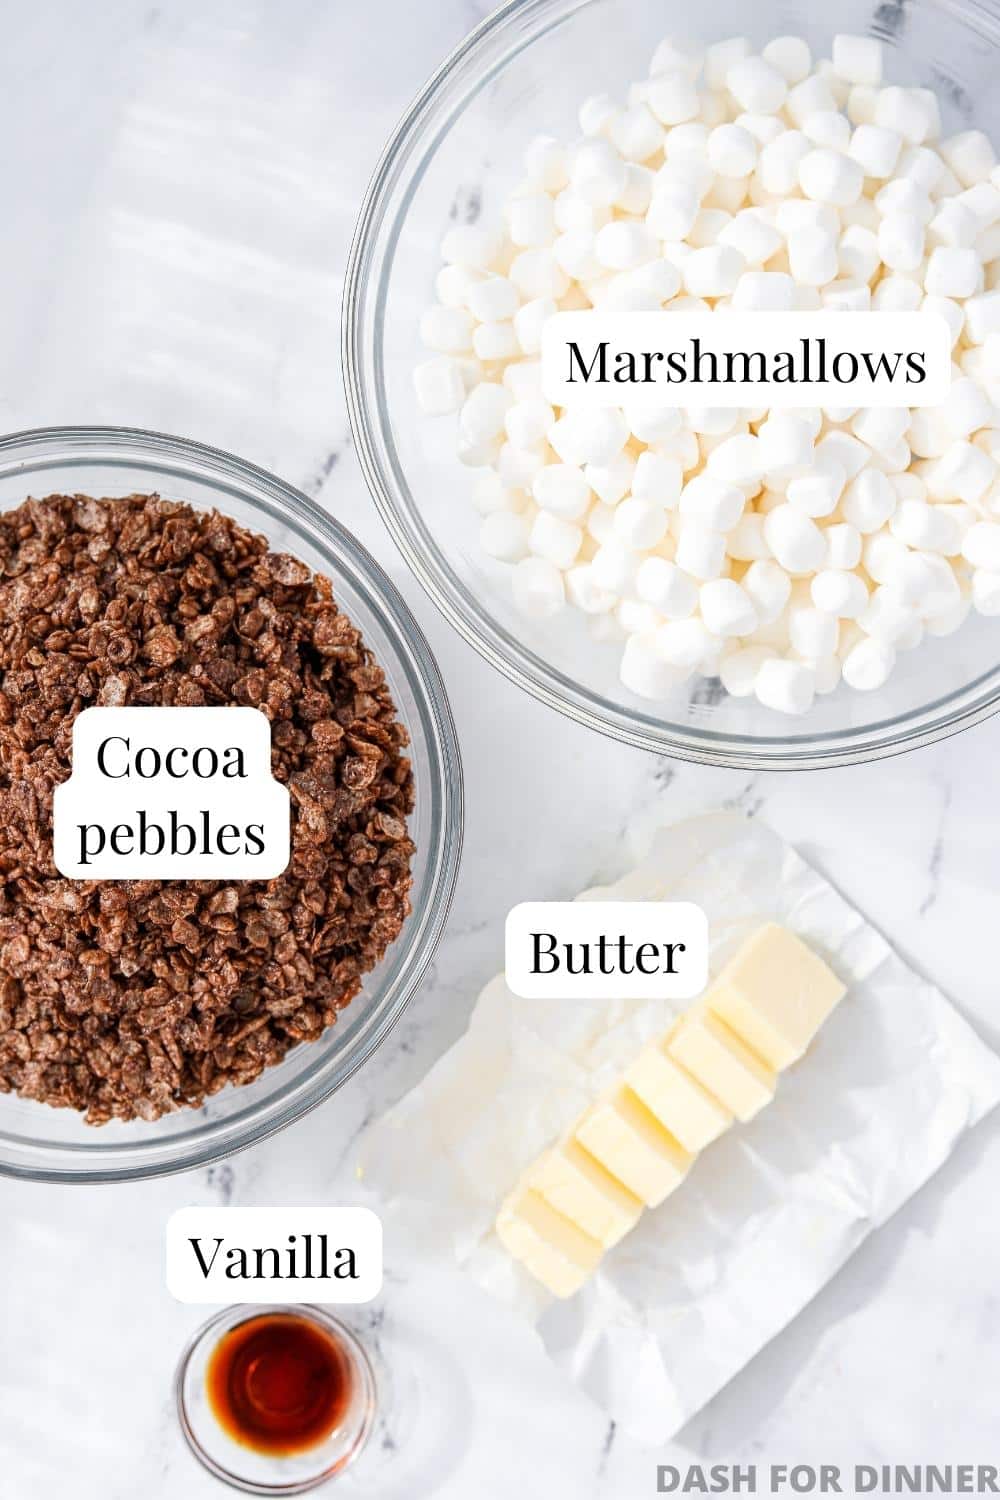
- Cocoa Pebbles: You will need 5 ½ cups of Cocoa Pebbles cereal, which is most of a standard-sized box.
- Marshmallows: I recommend using mini marshmallows, but you could use 10 ounces of regular marshmallows if you prefer.
- Butter: This recipe calls for ½ cup of butter, and you could use salted or unsalted. I like salted because it really creates a yummy "sweet and salty" flavor.
- Vanilla: This is my secret to ultra-delicious cereal treats! Just a touch of vanilla extract makes them so much better.
Equipment
- Baking pan: For a single batch of these cereal treats, I recommend using an 8X8" (20X20cm) baking pan (USA Pan is my favorite). If you want to double the recipe, use a 9X13" (23X33cm) pan instead. If you want a thinner bar, try using a 9X9" (23X23cm) pan.
- Parchment: Lining the pan with parchment paper helps makes the cereal treats easier to remove, and makes for an easy cleanup.
How to Make Marshmallow Treats with Cocoa Pebbles
This easy recipe for Cocoa Pebble Treats is the best way to use leftover cereal and makes the perfect batch of sweet treats for bake sales, potlucks, or for tucking into lunch boxes.
In the photos below, I'll show you how to make these using the microwave method, but the recipe card describes the stovetop method in detail. Go for whichever option works best for you!
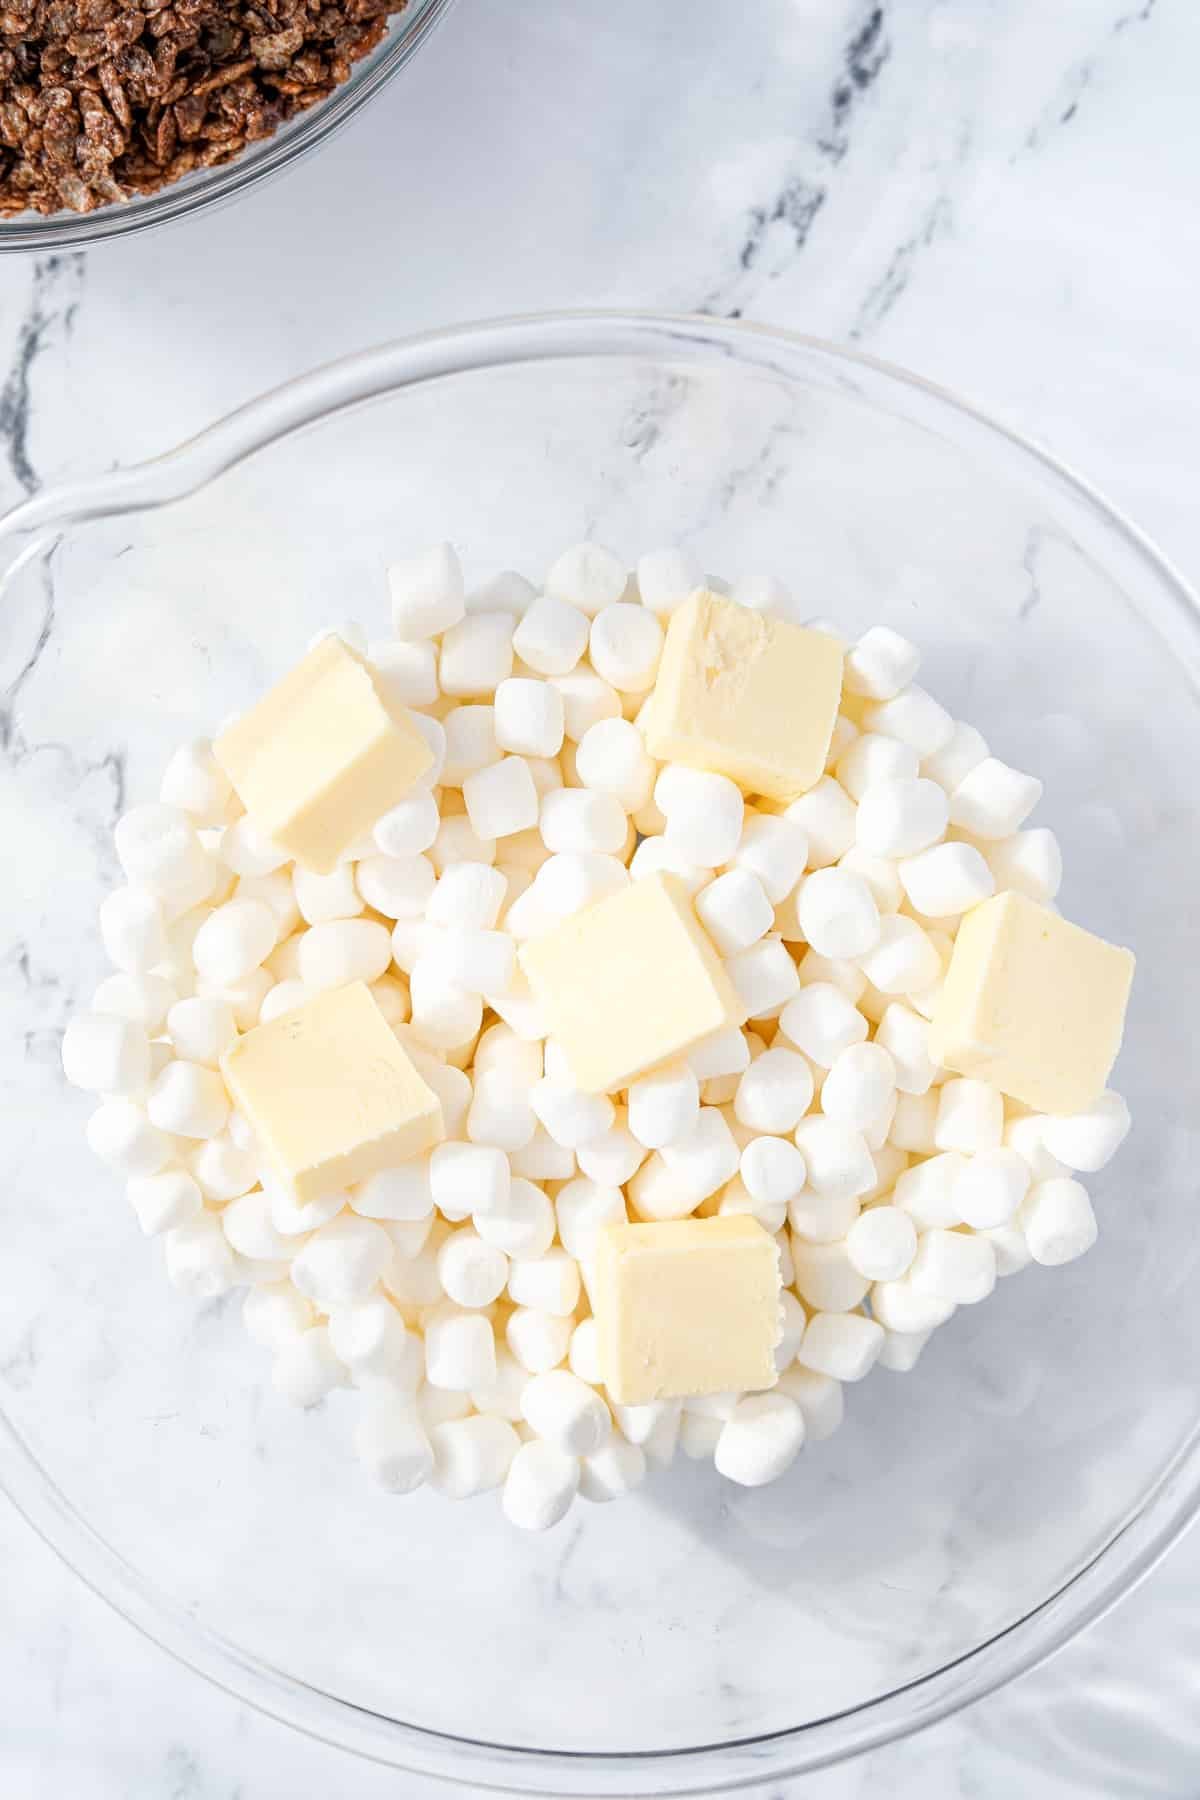
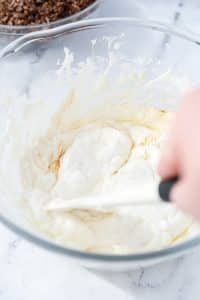
- Melt butter and the marshmallows together in a large mixing bowl that is microwave-safe, or in a large saucepan on the stovetop over medium heat.
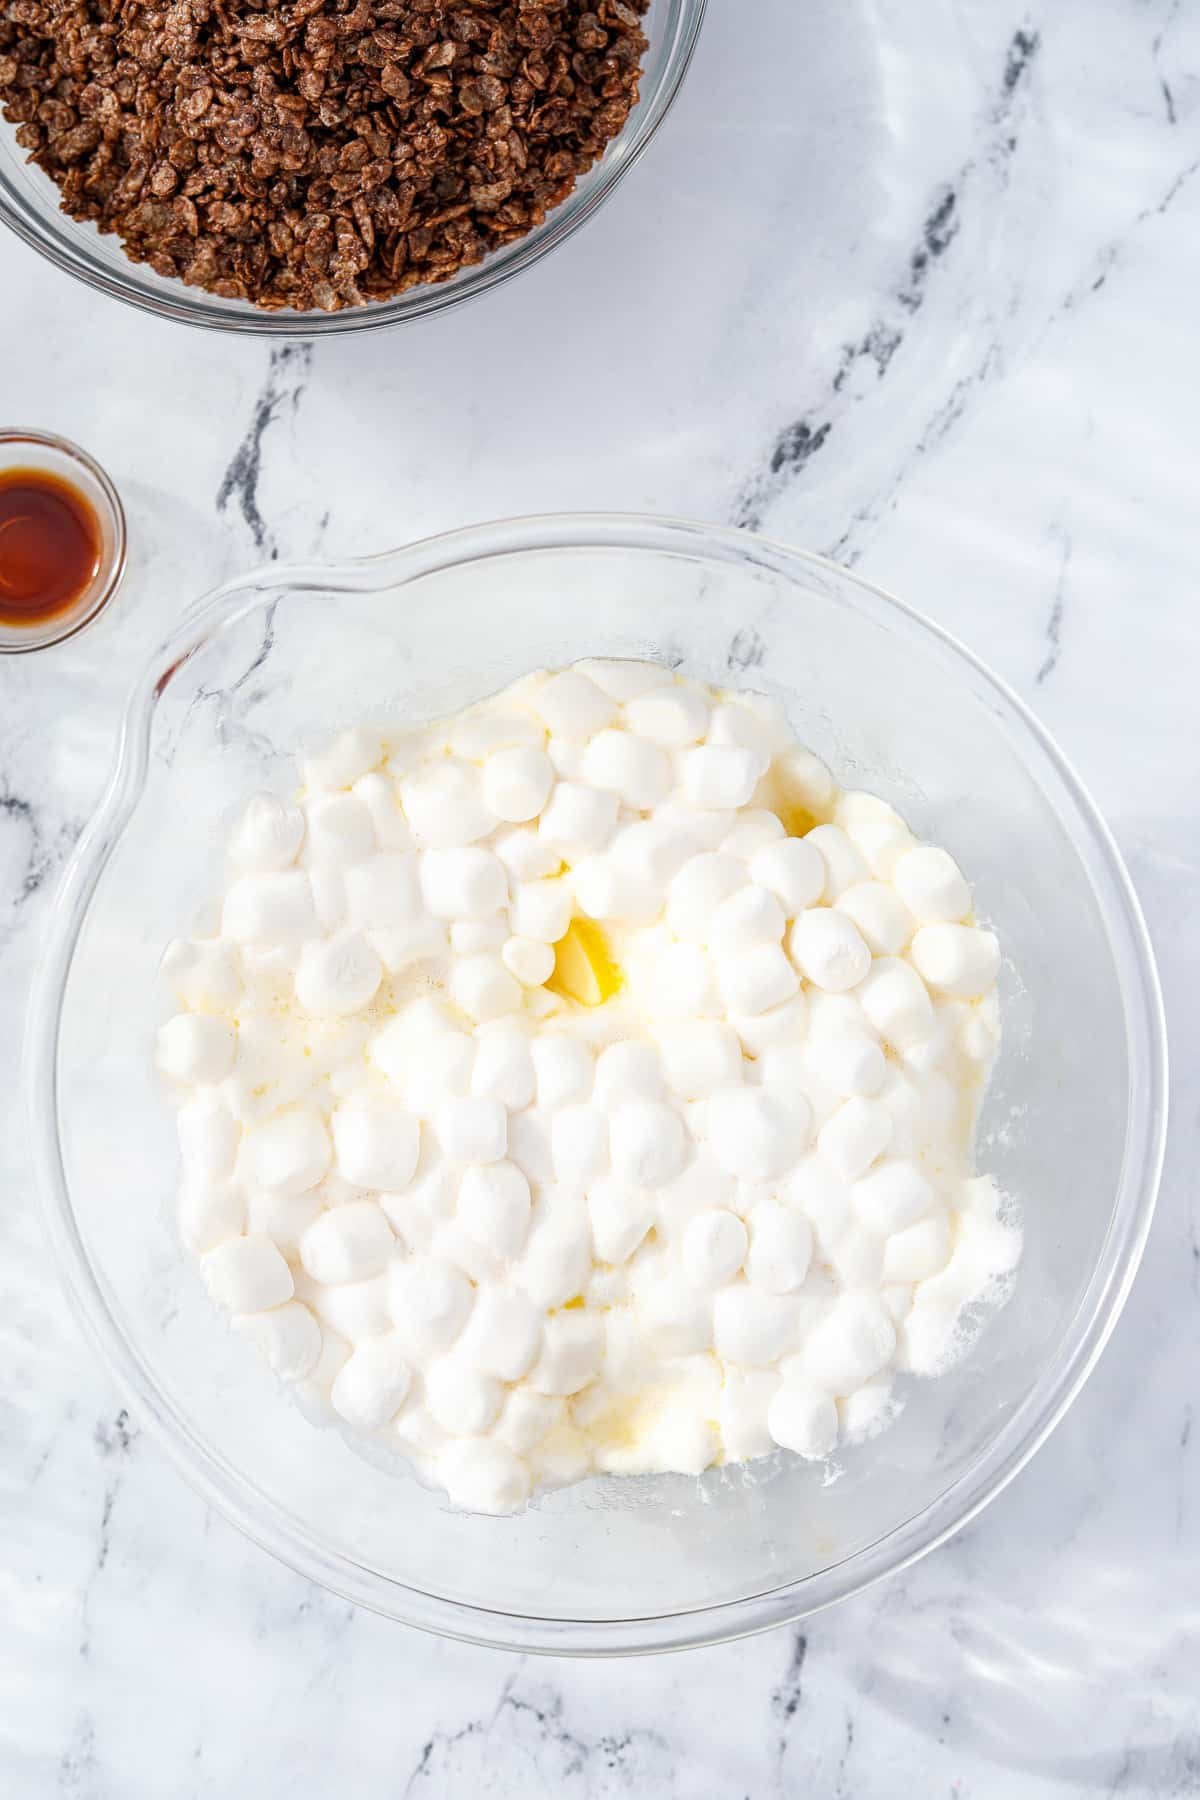
- Stir the melted marshmallows and melted butter together until well combined.
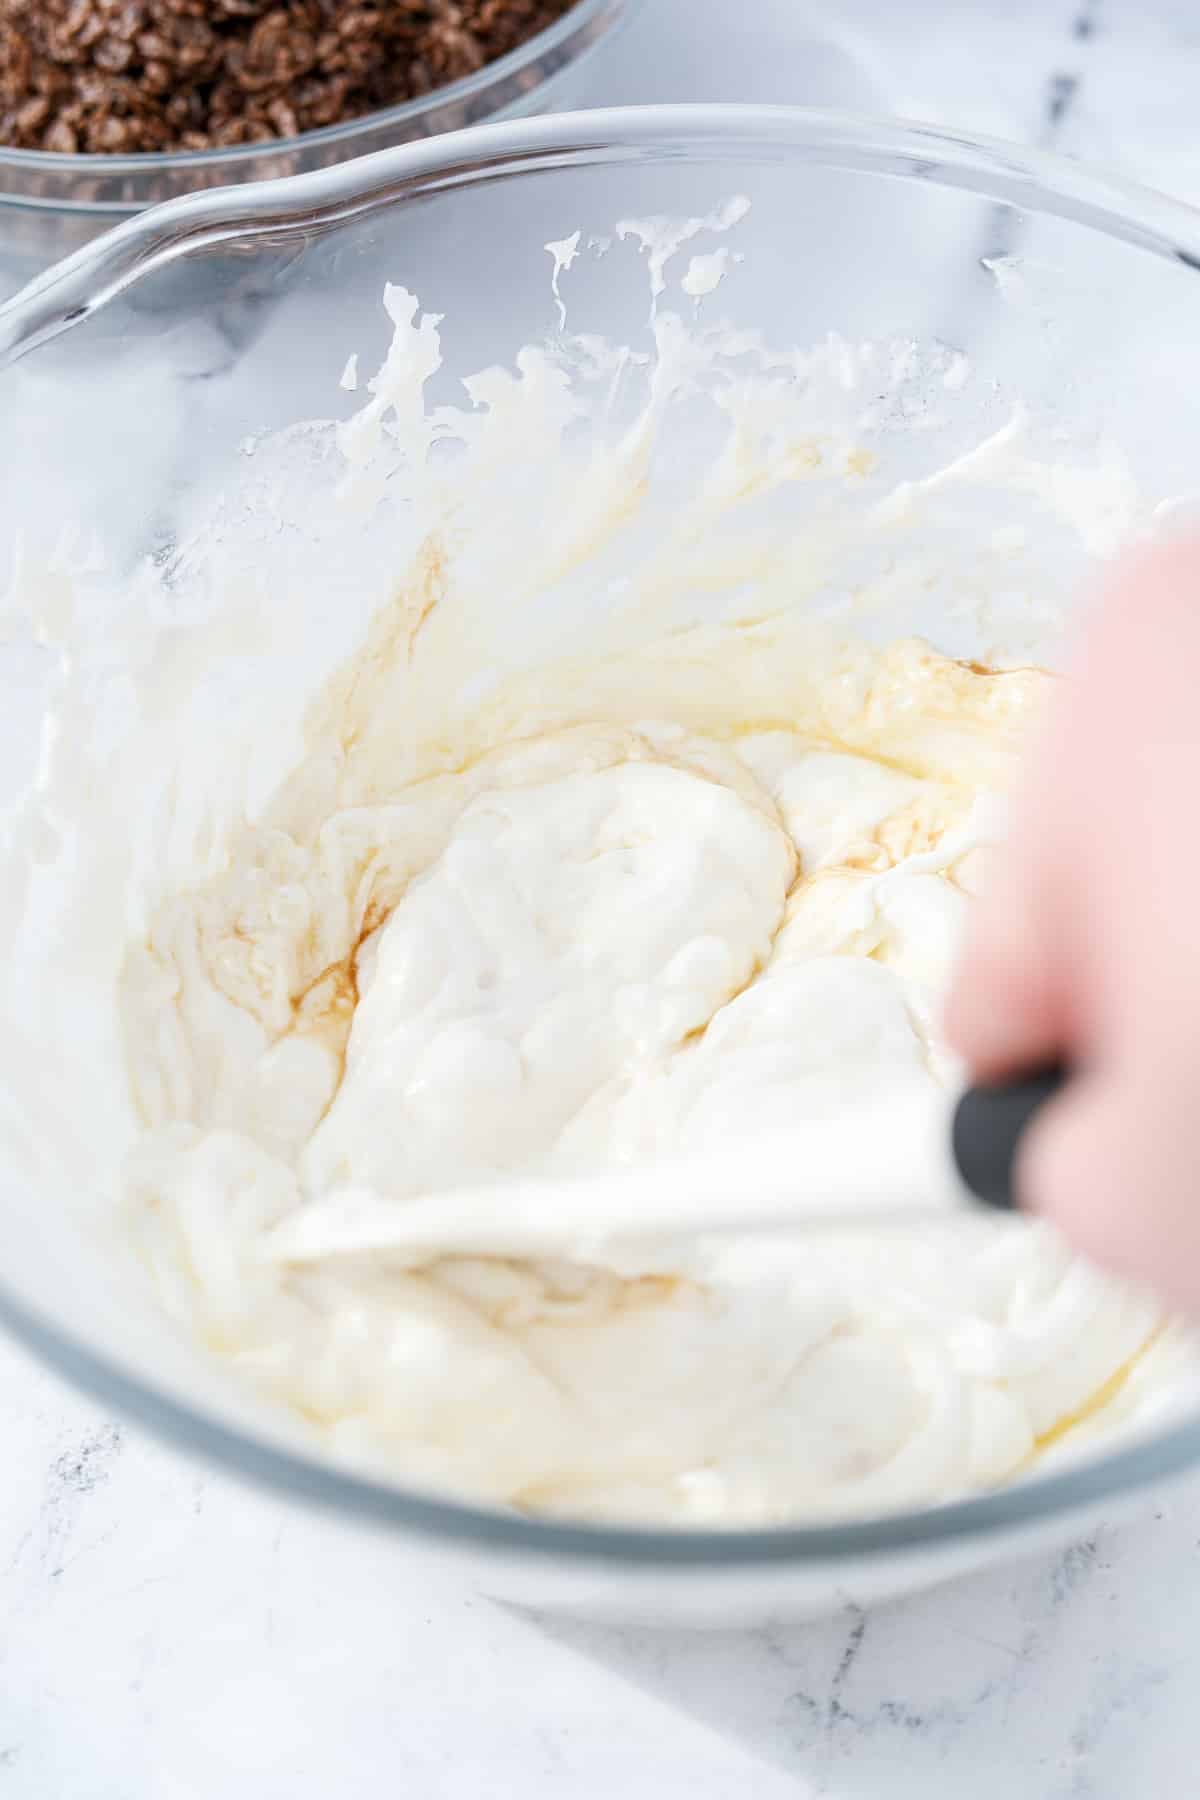
- Add in the vanilla extract and stir again.
Add the Cocoa Pebbles
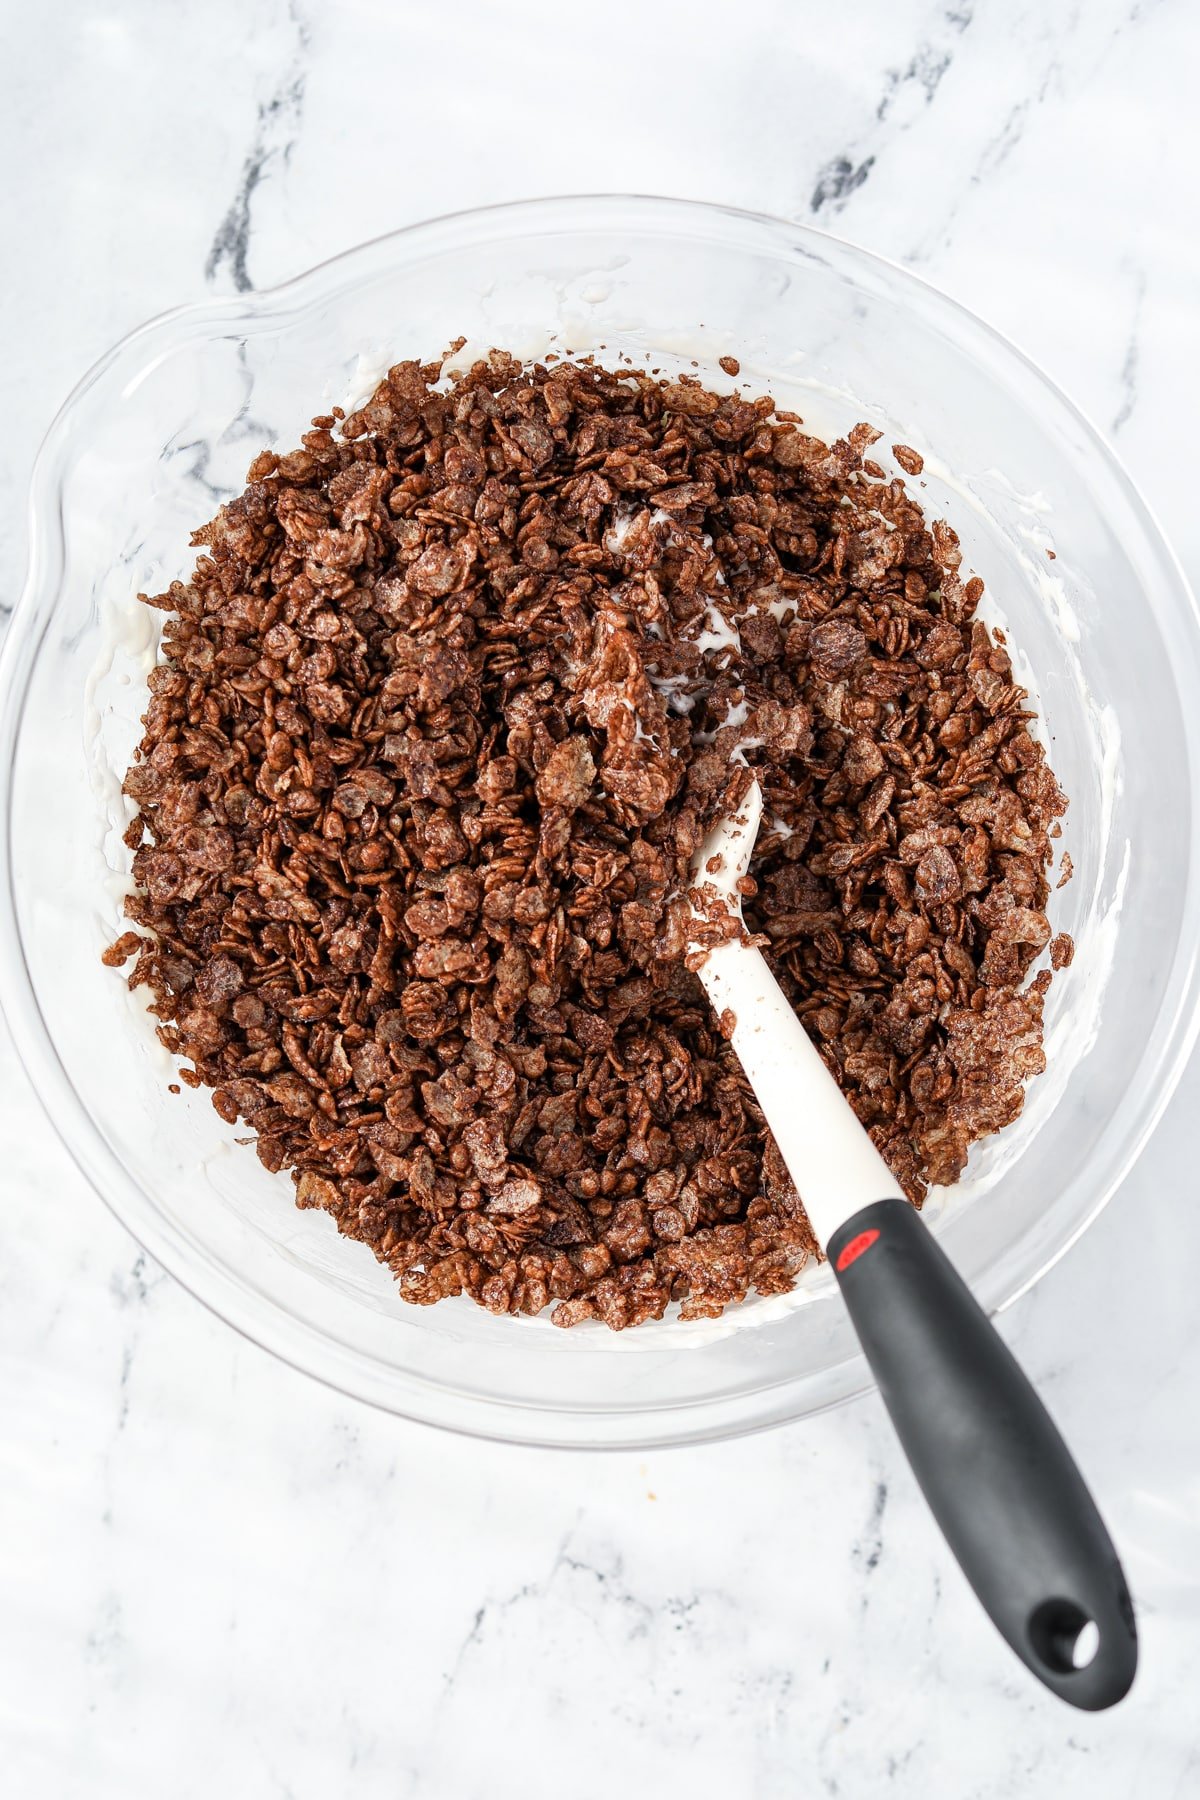
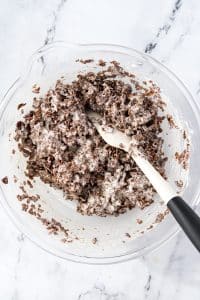
- Pour in the Cocoa Pebbles cereal.
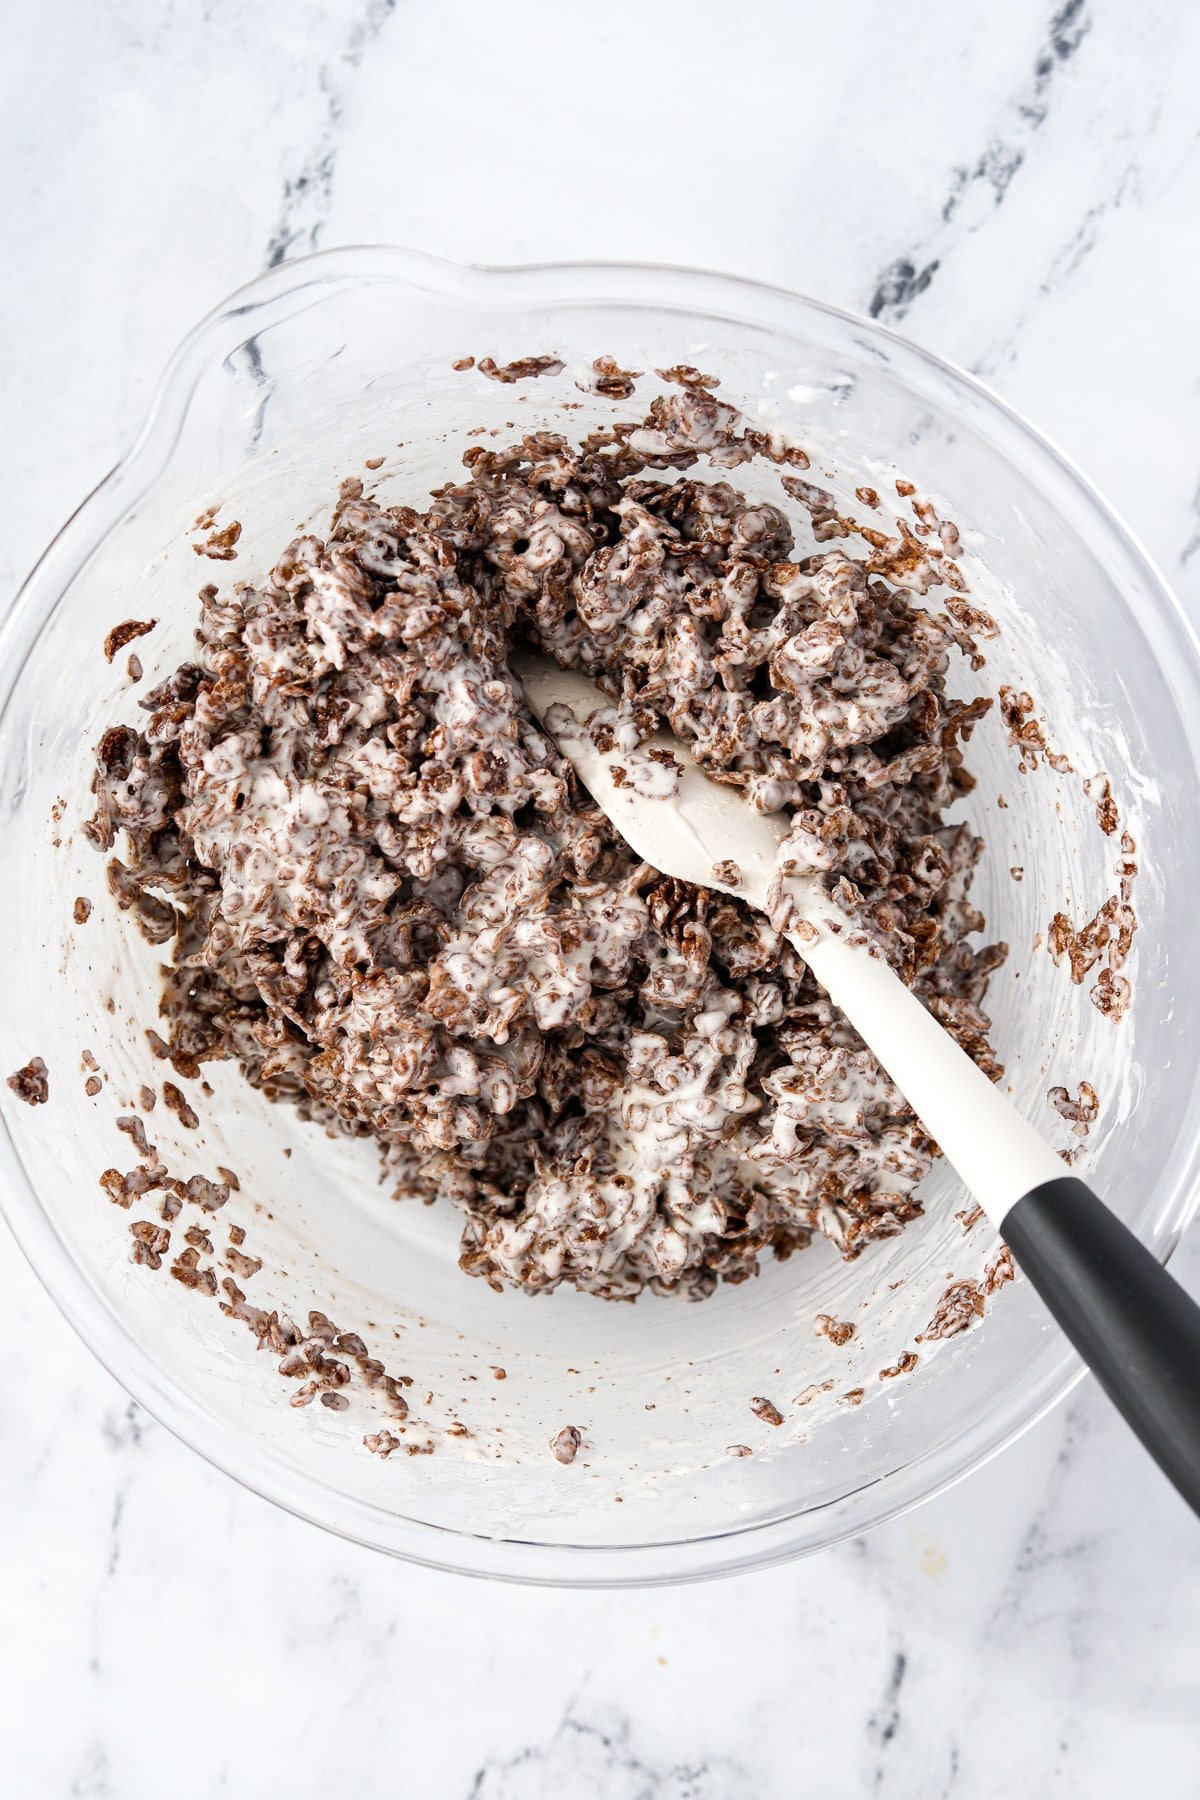
- Fold it in with the marshmallow mixture until fully combined.
Forming the Treats
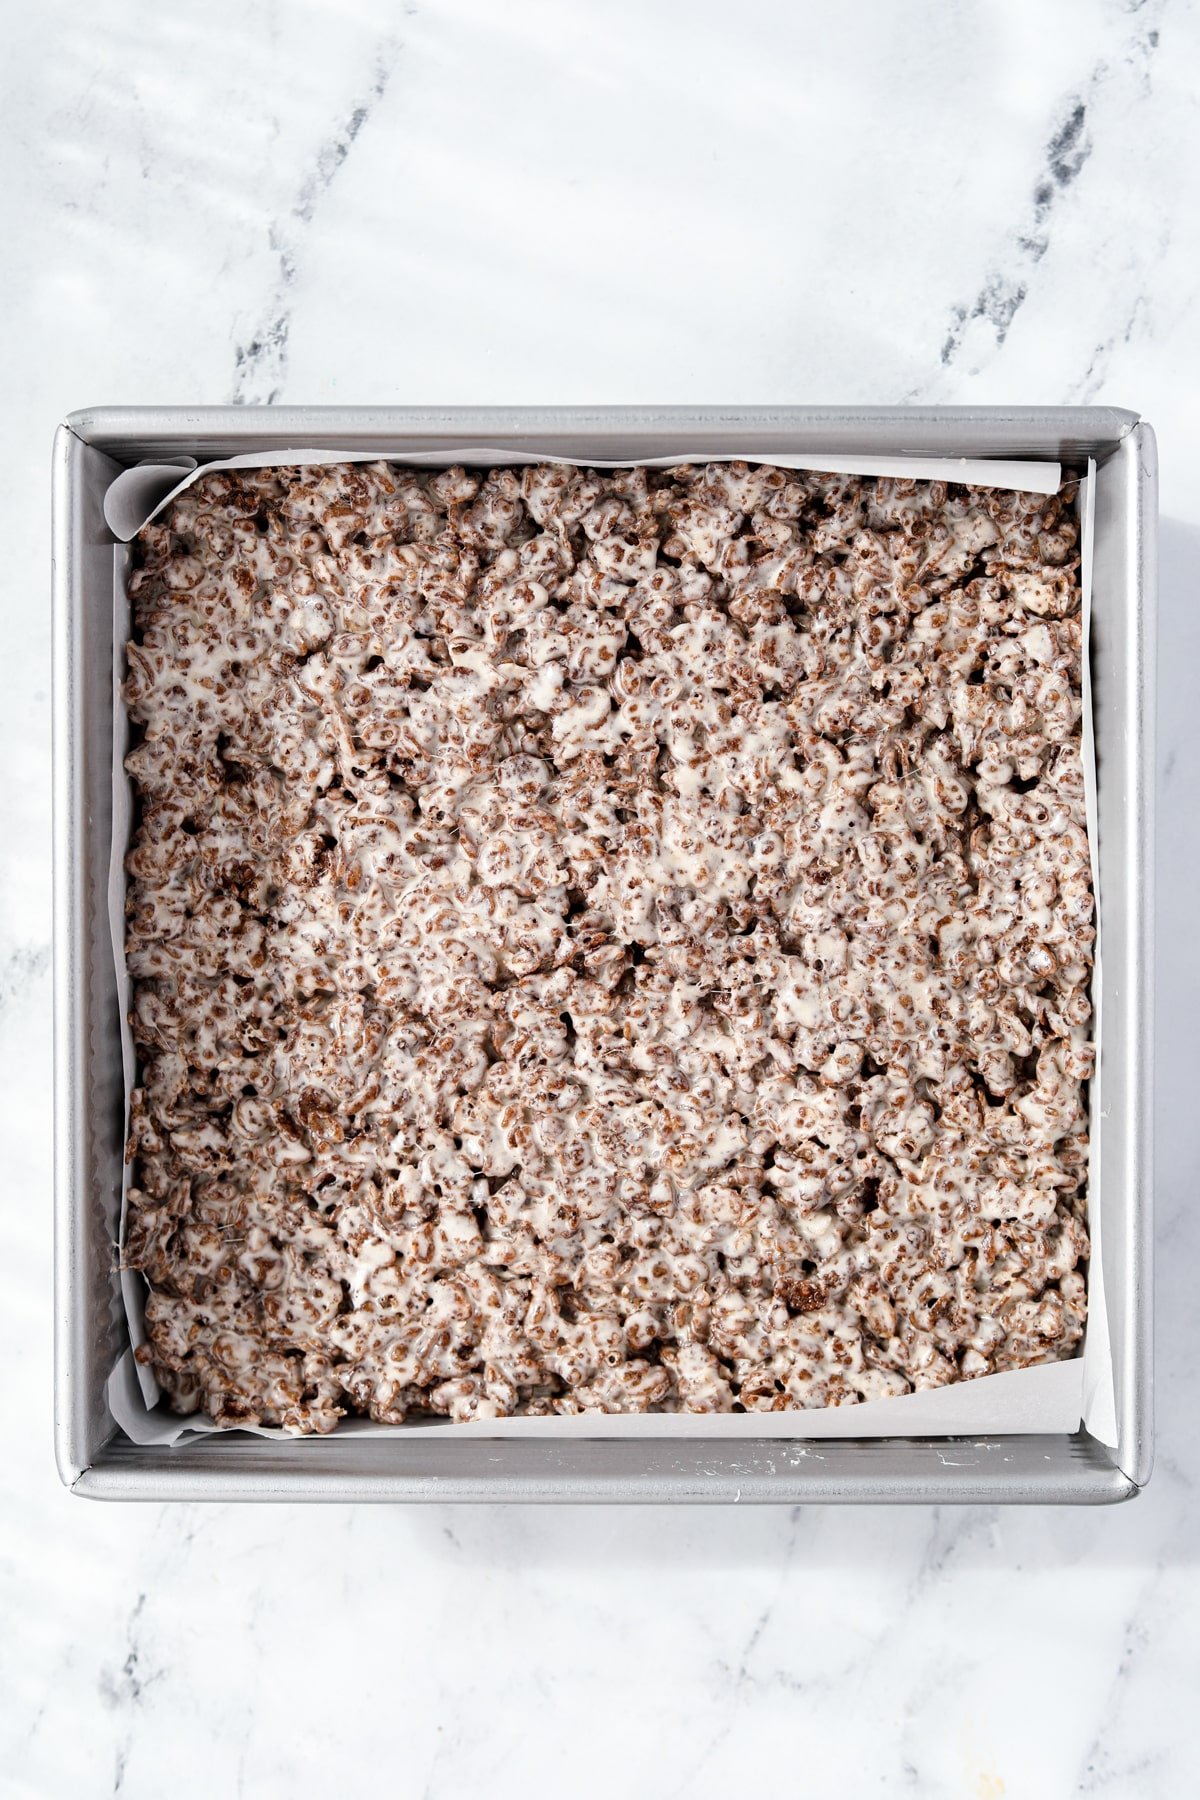
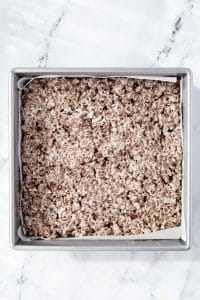
- Transfer the cereal mixture to an 8X8" (20X20cm) pan that has been lined with parchment paper.
Hint: It may be easier to press the treats into the pan with a buttered spatula.
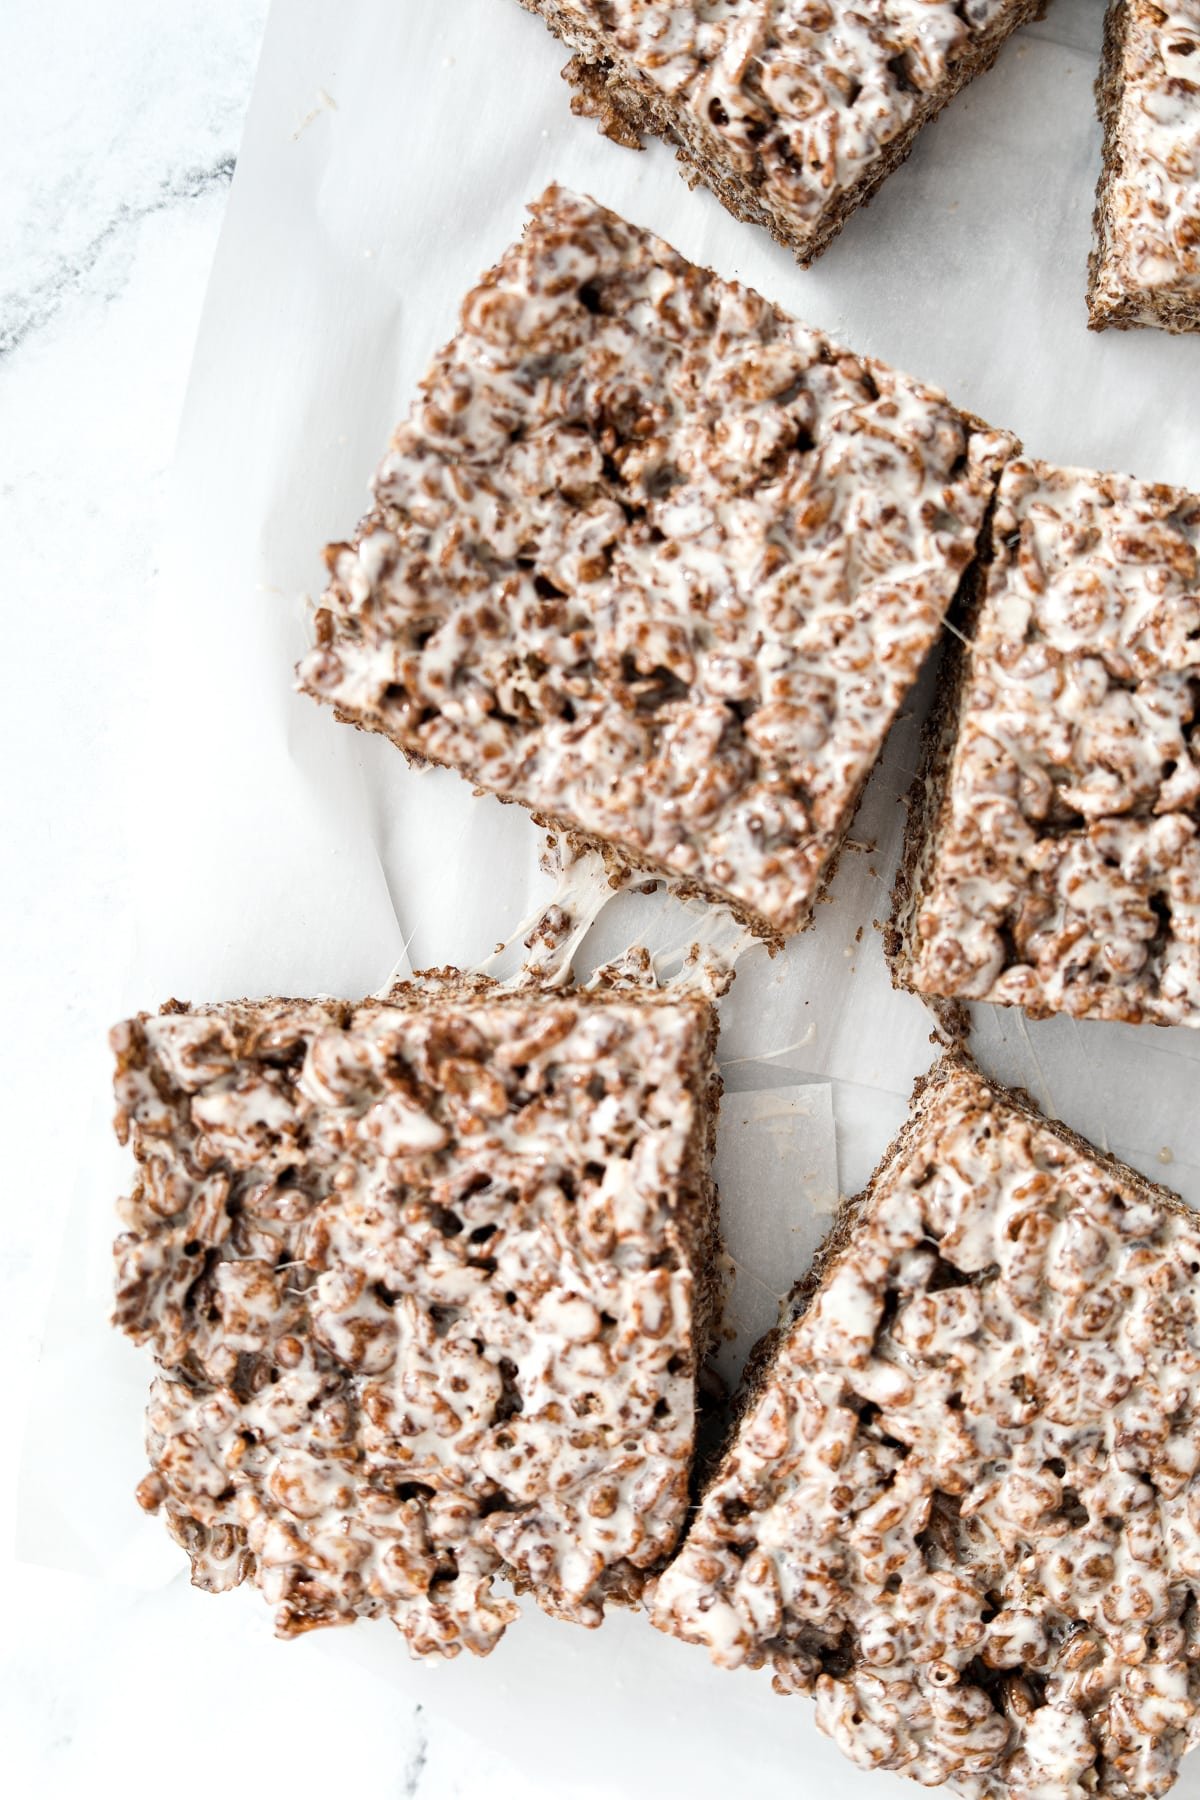
- Cover the pan and allow it to cool for at least 1 hour at room temperature.
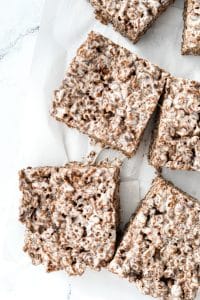
- Once the bars are cooled, remove from the pan and slice into 16 treats (4 sections vertically and 4 sections horizontally).
See the recipe card for detailed instructions for both stovetop and microwave methods.
Storing Leftover Treats
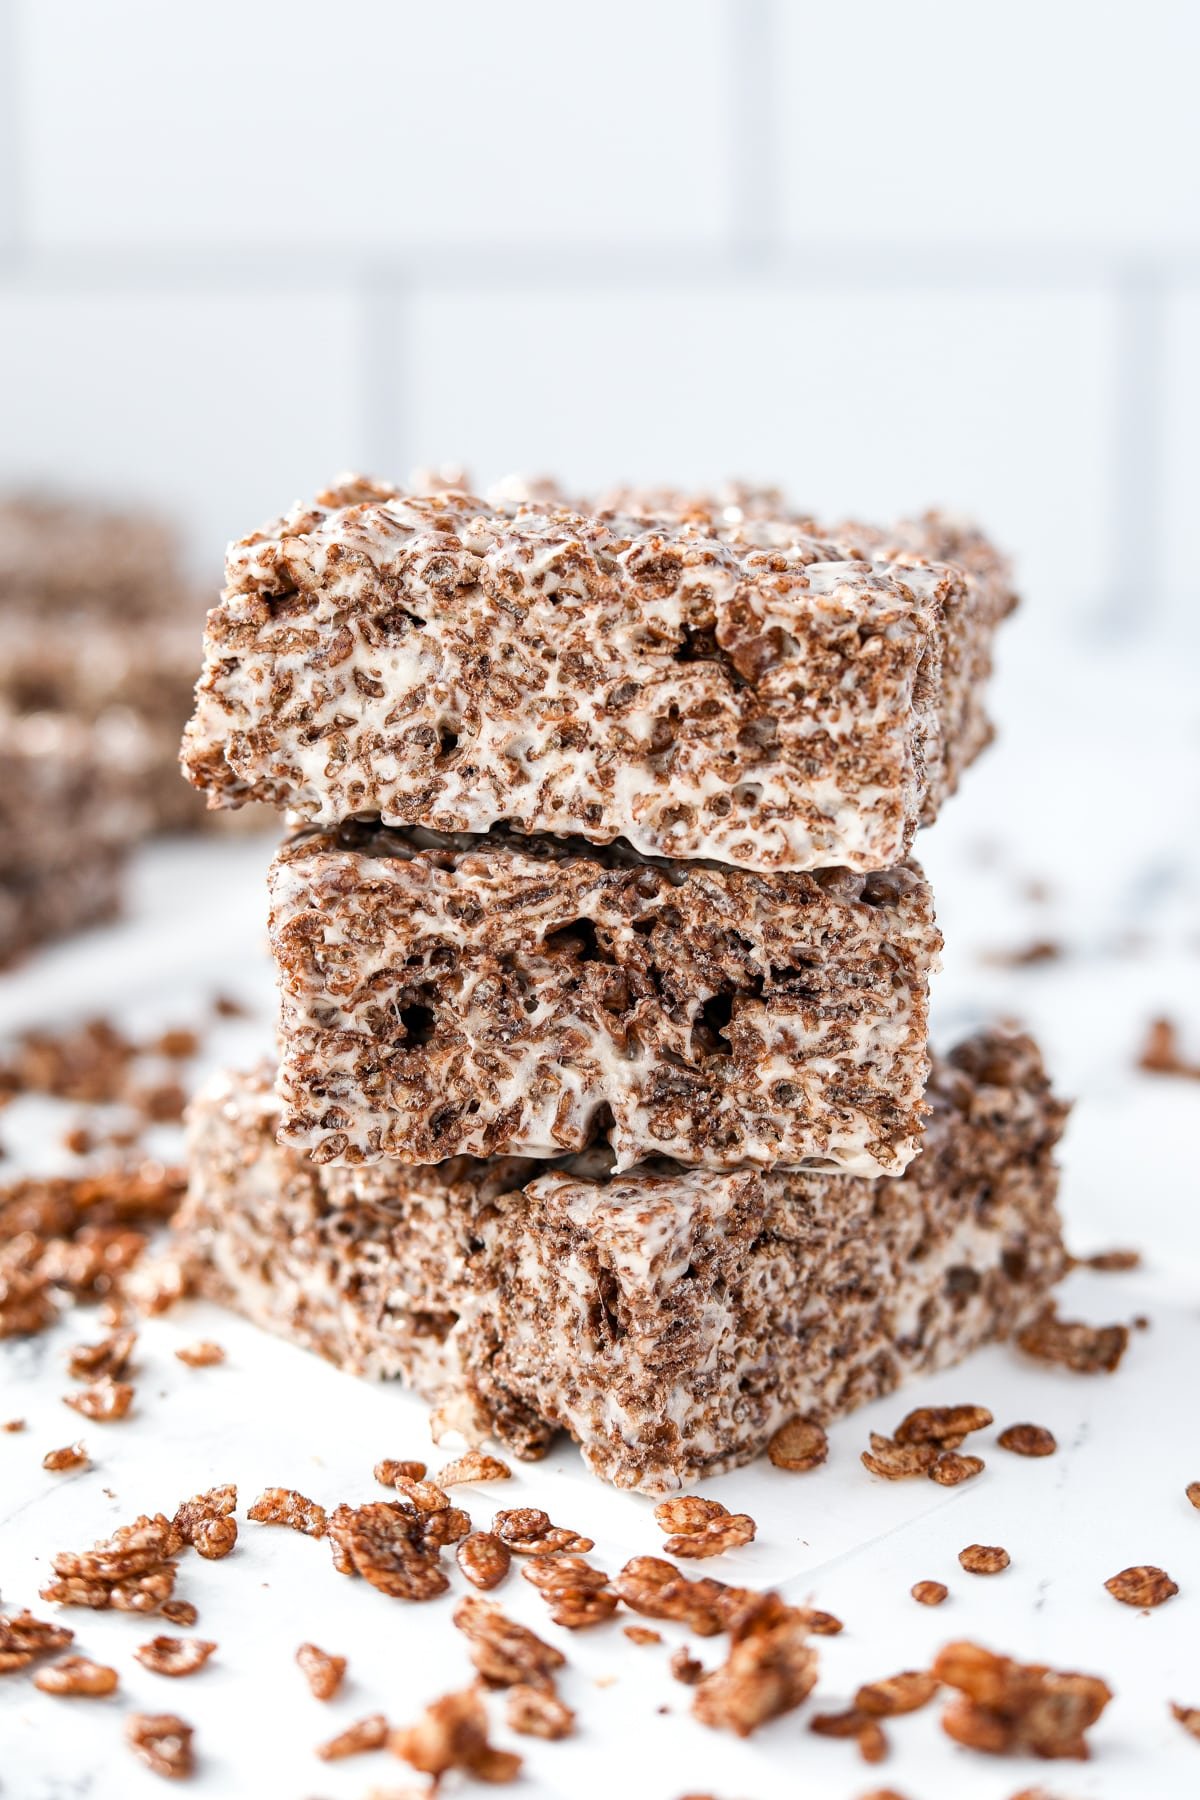
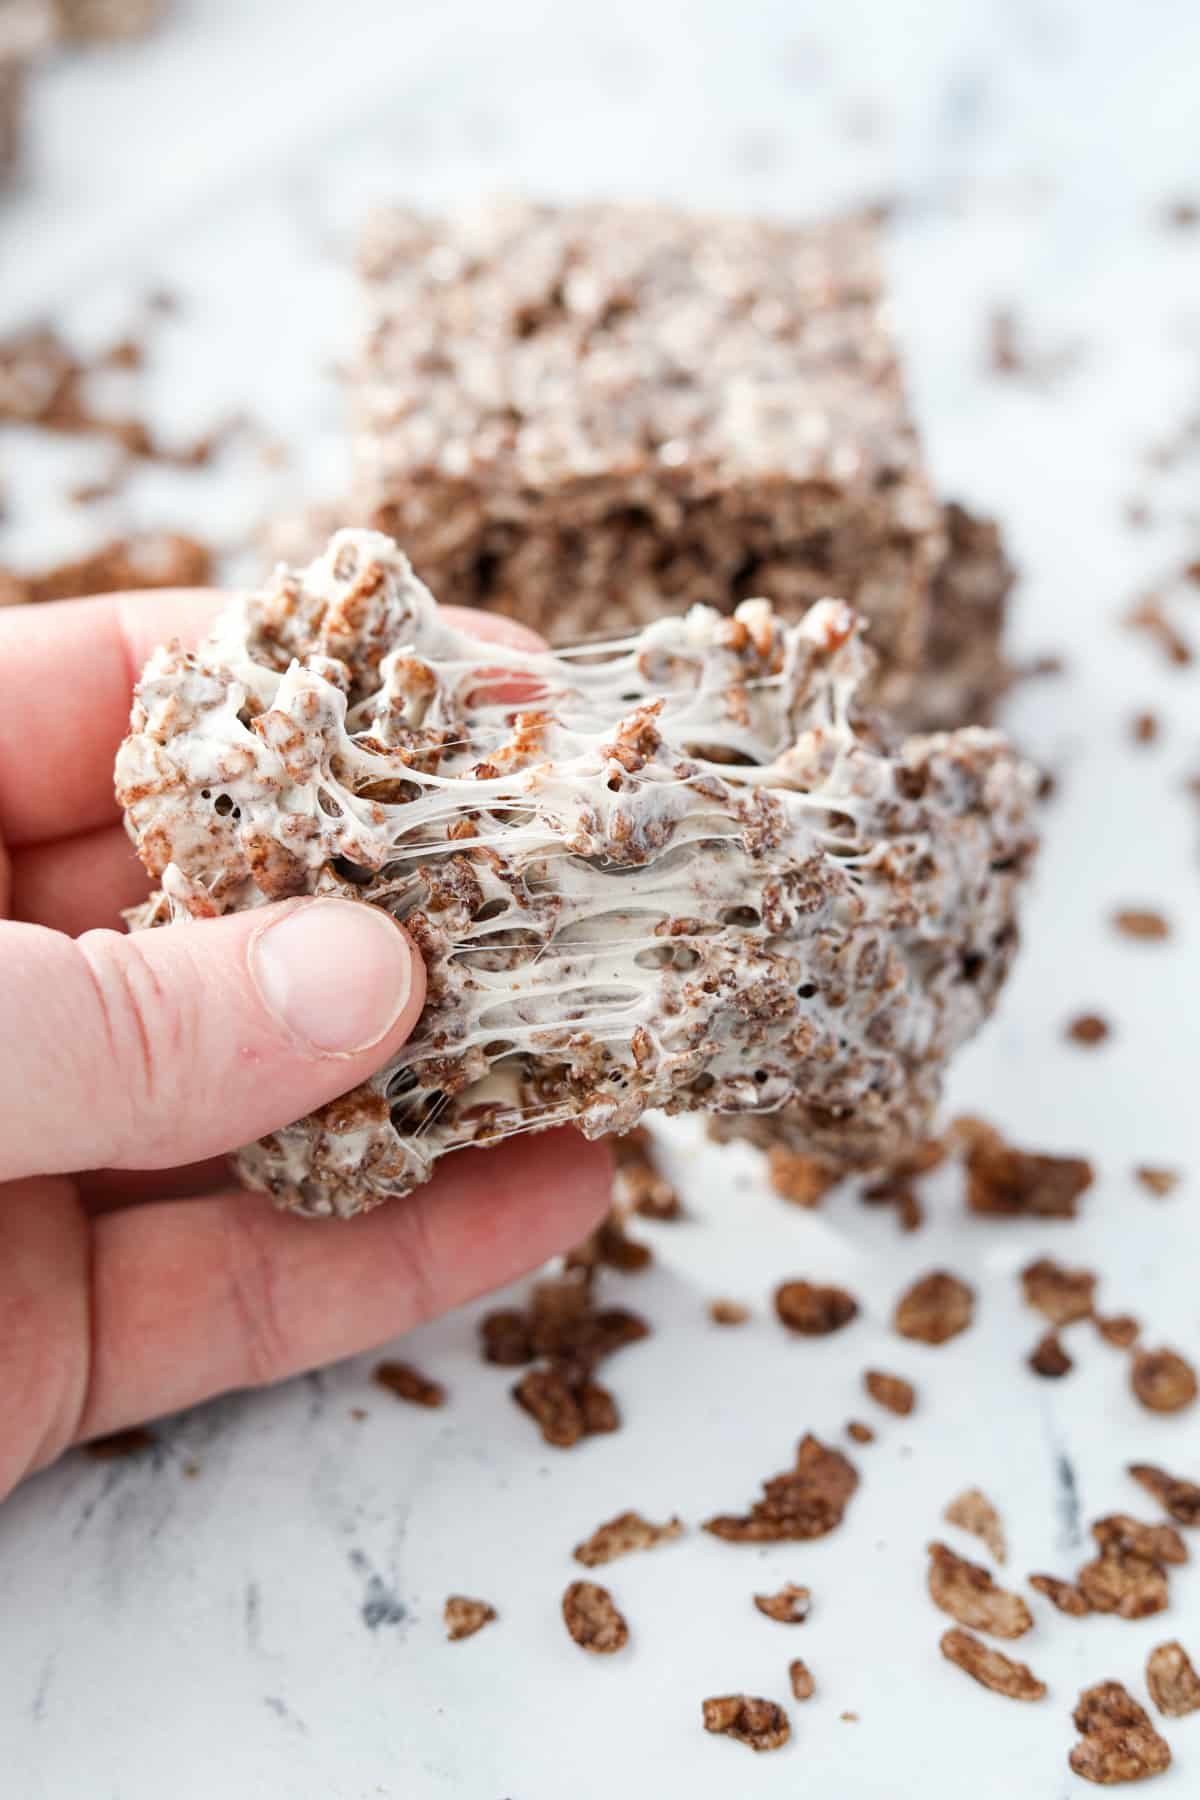
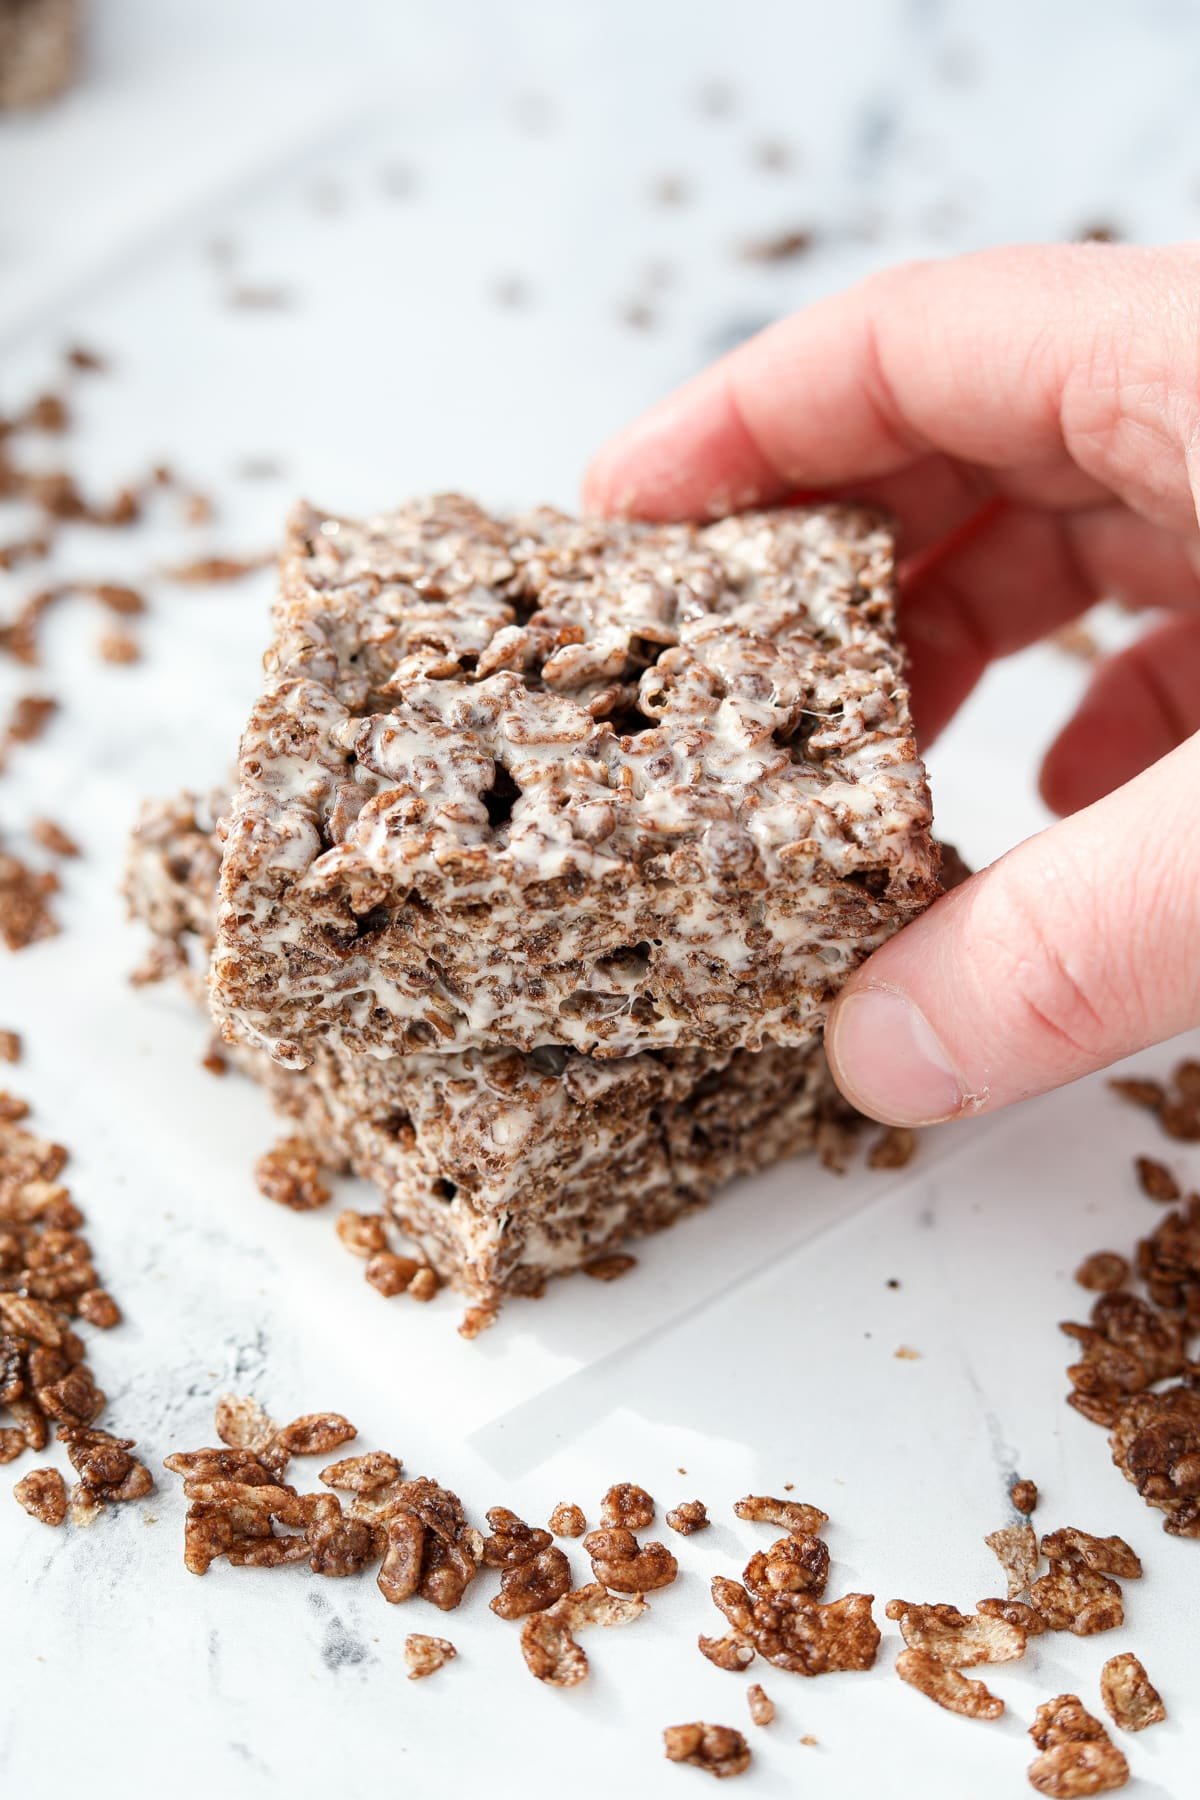
Leftover Cocoa Pebbles Treats are best when stored in an airtight container at room temperature (they maintain their gooey texture better), but they can be stored in the fridge if you want a longer storage time.
Storage Times:
- Room temperature: up to 3 days.
- Refrigerator: up to 1 week.
- Freezer: up to 2 months.
To freeze: wrap each treat individually in plastic wrap, then place the wrapped treats in a freezer bag or freezer-safe container. Label and freeze for up to 3 months.
Top Tip
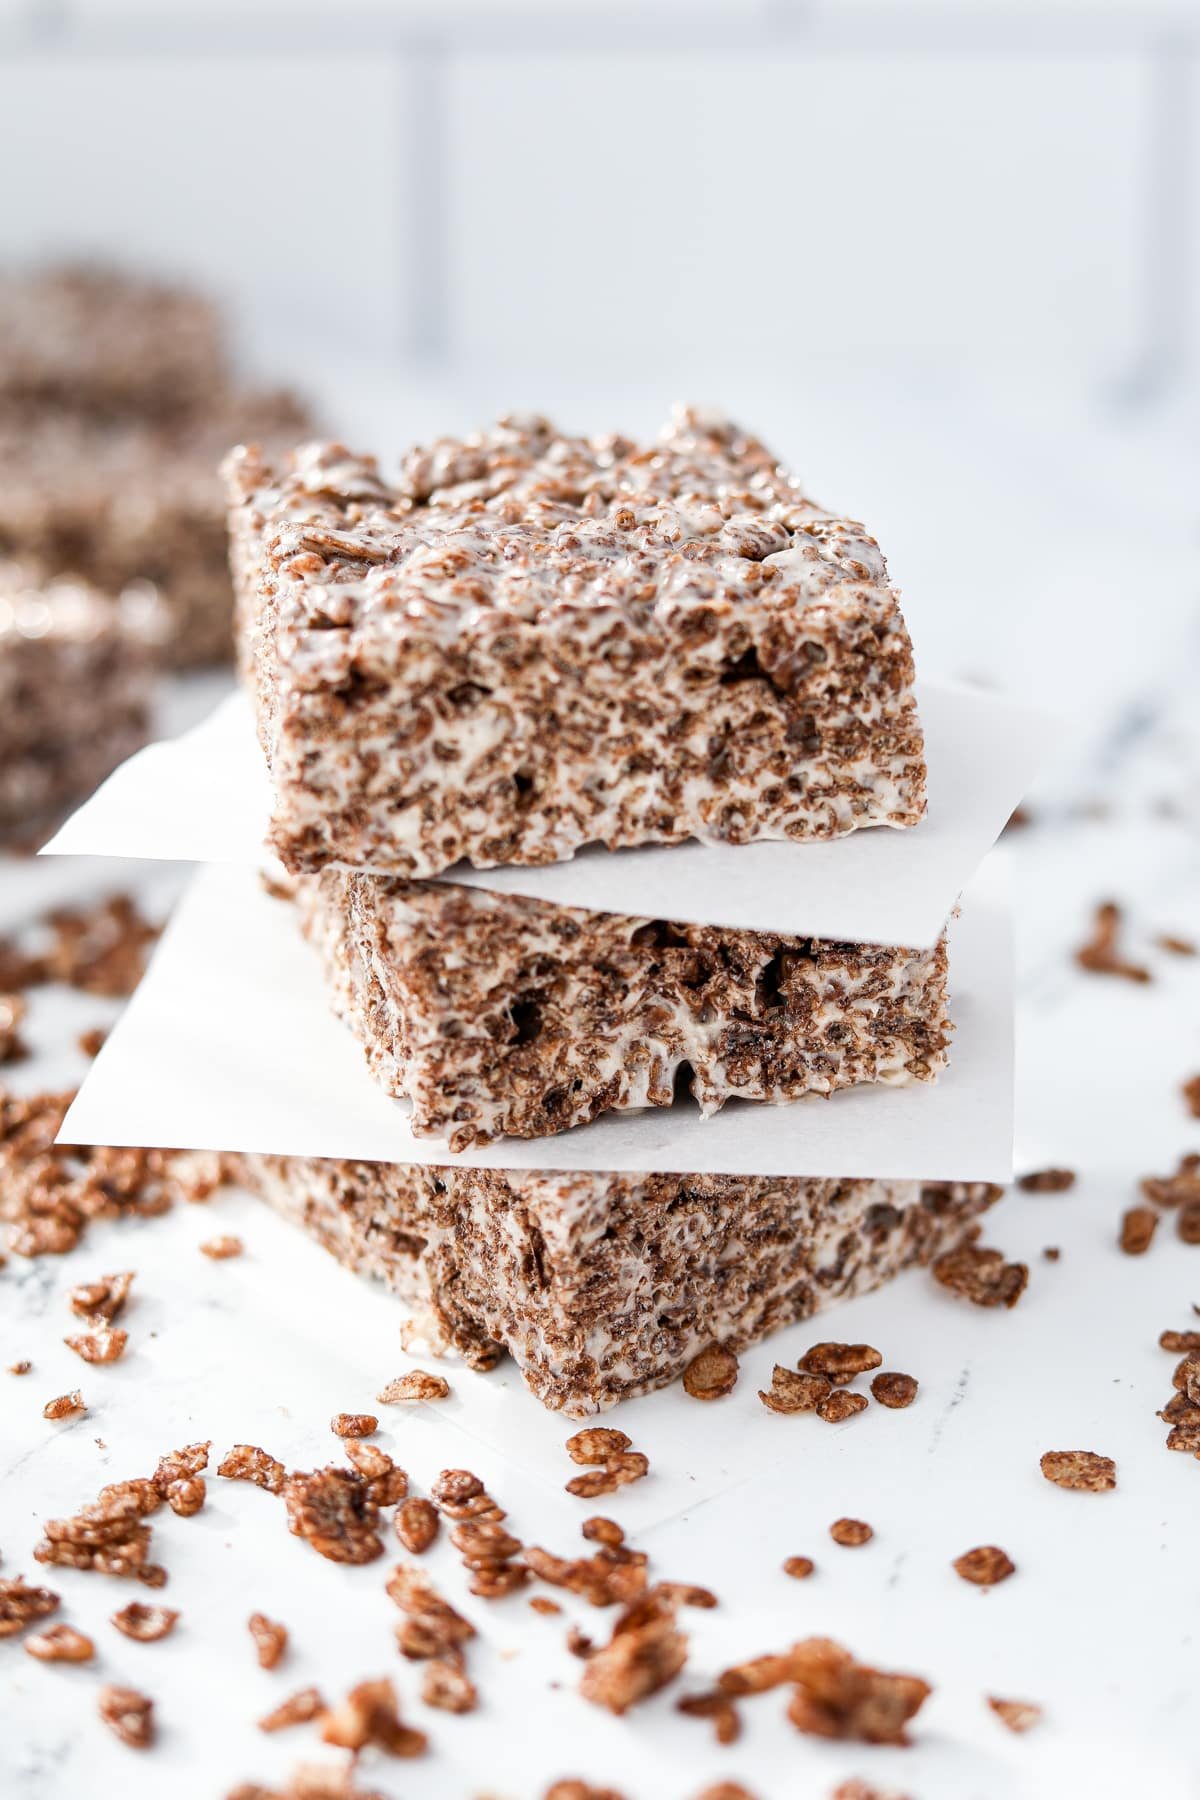
Store the Cocoa Pebble marshmallow treats between layers of parchment or wax paper to prevent sticking.
Expert Tips
- Use Parchment: Since cereal treats are very sticky, I highly recommend that you line the pan with parchment paper. I like to cut two pieces to the width of the pan and overlap them in the pan, creating "handles", which makes removing the treats easy.
- Room temperature is best: For both setting and storing the leftover treats, room temperature works best. Chilling the treats in the fridge makes them more dense and chewy, while room temperature makes for nice gooey treats.
- Patience is a virtue: Even though you probably want to slice right into these treats. they really need to set up for at least an hour, although 2-3 hours will make for cleaner edges once cut.
Recipe FAQs
Homemade cocoa pebbles treats can be stored in an airtight container at room temperature for up to 3 days, in the fridge for up to 1 week, or in the freezer for up to 3 months.
No. Although the two are VERY similar, they are also very different. Cocoa pebbles, like Rice Krispies, are made from rice and are light and crispy, but taste quite different. Cocoa pebbles have a chocolate flavor and a flat appearance. Their closest comparison would be chocolate Rice Krispies.
Yes, Cocoa Pebbles are gluten-free. They are labeled on the box as gluten-free, and the ingredients have no gluten-containing ingredients. Since Cocoa Pebbles are certified gluten free, they are generally safe for both celiacs and gluten-sensitive people to consume.
Cocoa pebbles are free from dairy and animal-derived ingredients, making them a great choice for a fun breakfast cereal for those who are vegan. If using them to make cereal treats, use plant-based butter and vegan marshmallows.
Variations
With Cocoa Krispies: You can make this recipe with Cocoa Rice Krispies if you like. Just substitute the Cocoa Pebbles at a 1:1 ratio, or up to 6 cups if you like a firmer treat.
With Fruity Pebbles: Trade the Cocoa Pebbles in this recipe for Fruity Pebbles, or see my Fruity Pebbles Treats recipe for details.
Extra Marshmallows: If you want these Cocoa Pebbles to have a nice gooey texture, feel free to fold in ½ cup of extra mini marshmallows at the same time you add the cereal.
Substitutions
- Dairy Free: Substitute the butter in this recipe for your favorite plant-based option.
- Gluten-free: Since Cocoa Pebbles are gluten-free, the recipe as written is gluten-free.
- Vegan: Swap out the marshmallows for vegan marshmallows (I recommend Dandies brand), and the butter for your favorite plant-based option.
If you loved this recipe for Cocoa Pebbles Treats, let me know by leaving a 5-star review in the recipe card or comment below! You can also tag me on Instagram @dashfordinner.
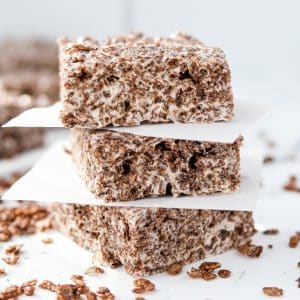
Cocoa Pebbles Treats
Ingredients
- 6 tablespoons butter
- 10 ounces mini marshmallows approximately 6 cups
- ½ teaspoon vanilla extract
- 5 ½ cups Cocoa Pebbles cereal 9.2 ounces
Instructions
- Line an 8X8" or 9X9" baking pan with overlapping pieces of parchment paper and cut to size.
- Melt the butter over medium heat in a large pot (or use the microwave method, see notes*).6 tablespoons butter
- Once the butter is melted, add the mini marshmallows. Stir to coat them in the melted butter.10 ounces mini marshmallows
- Continue to stir until the marshmallows are completely melted.

- Once the marshmallows are melted, remove them from the heat and stir in the vanilla extract.½ teaspoon vanilla extract
- Add the Cocoa Pebbles cereal to the marshmallow mixture. Fold it in until the cereal is completely coated.5 ½ cups Cocoa Pebbles cereal
- Transfer the coated cereal mixture to the prepared baking dish, and smooth it gently into an even layer.**
- Cover the dish and let the treats sit for at least 1 hour at room temperature.***
- Use the parchment paper handles to lift the treats out of the baking pan. Then slice and serve the Cocoa Pebbles treats.
- Store in an airtight container at room temperature for up to 3 days, or in the refrigerator for up to 5 days.
Notes
Nutrition
Please note that some of my blog posts here at Dash for Dinner may contain affiliate links. If you make a purchase through these links, I will get a small commission at no additional cost to you. Please see my Disclaimer for more information.

Grace says
Soo good!! I added extra marshmallows cus I like my treats super gooey.
Darlene Smith says
These are a great & easy to make treat!
Darlene Smith says
Easy, tasty treat to make.