


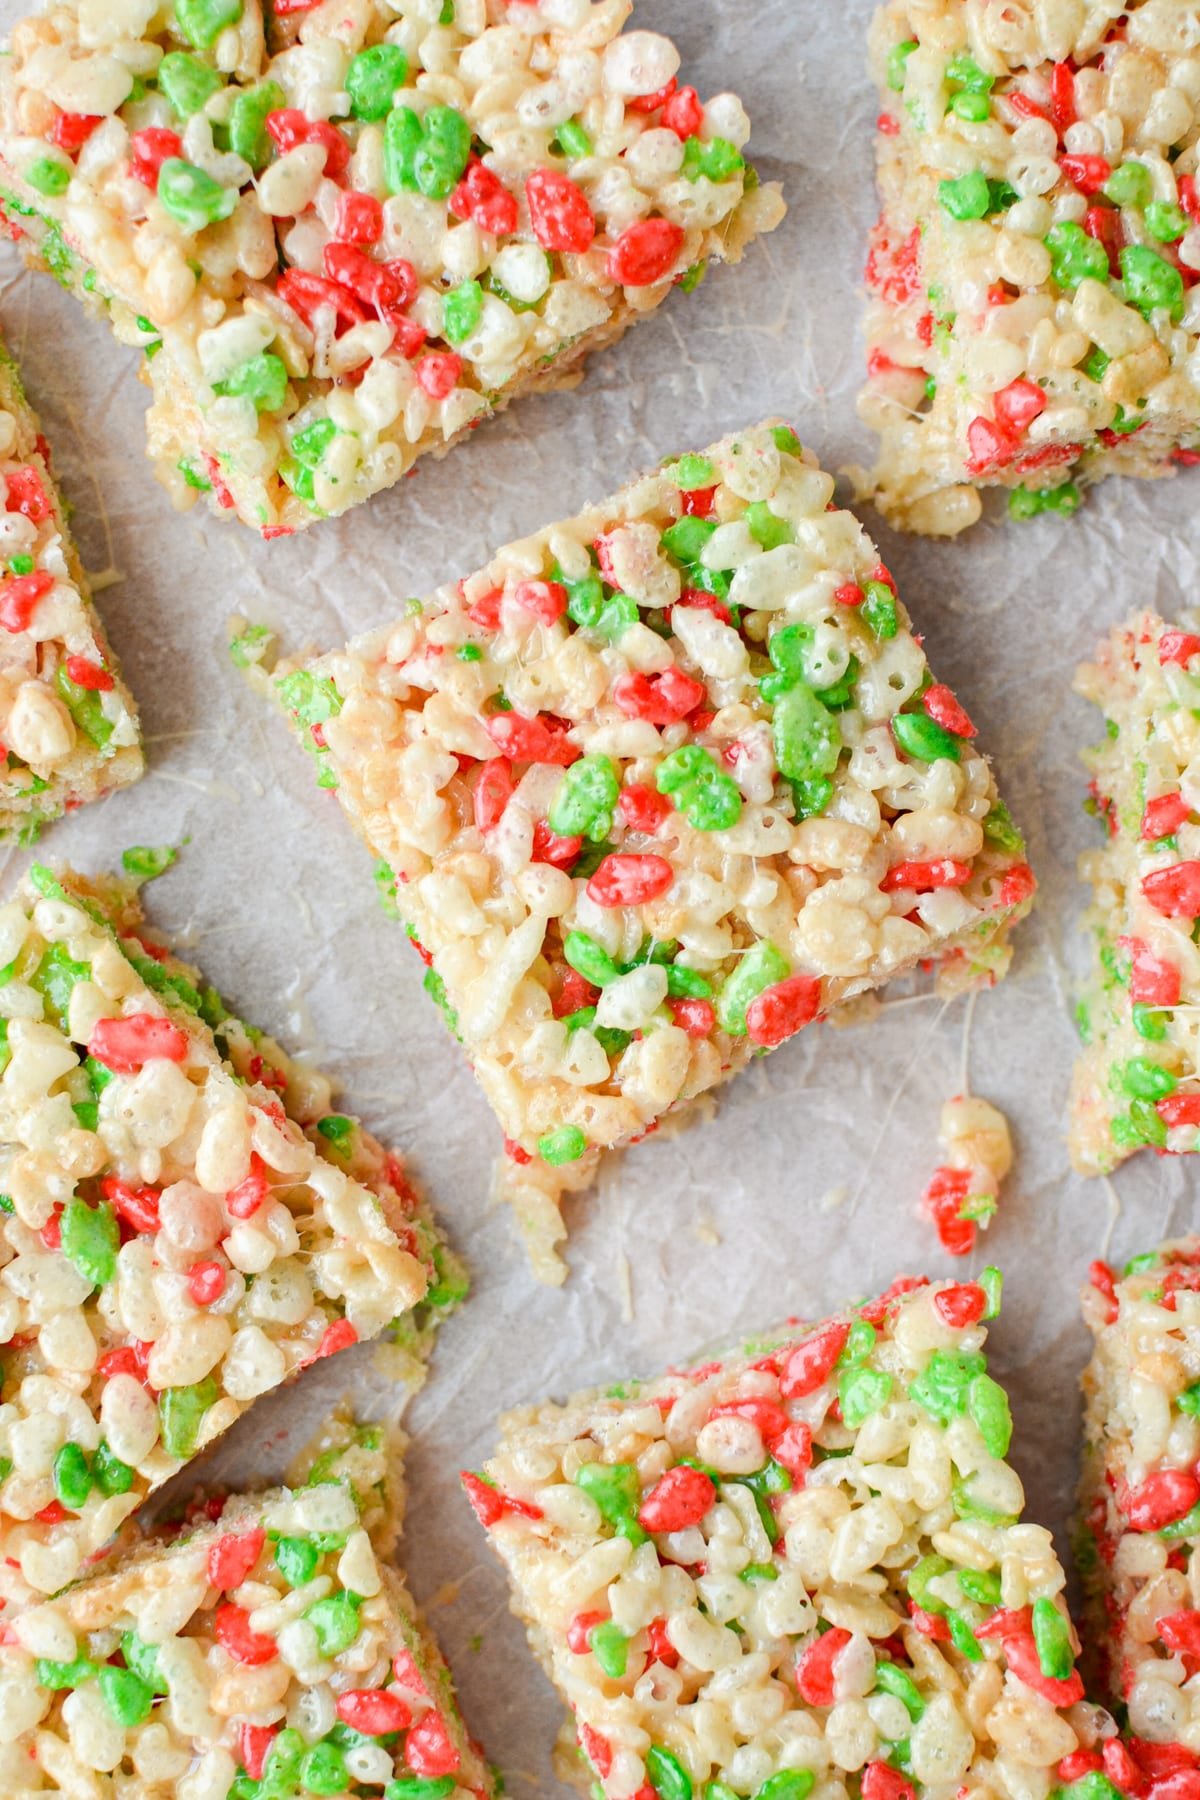
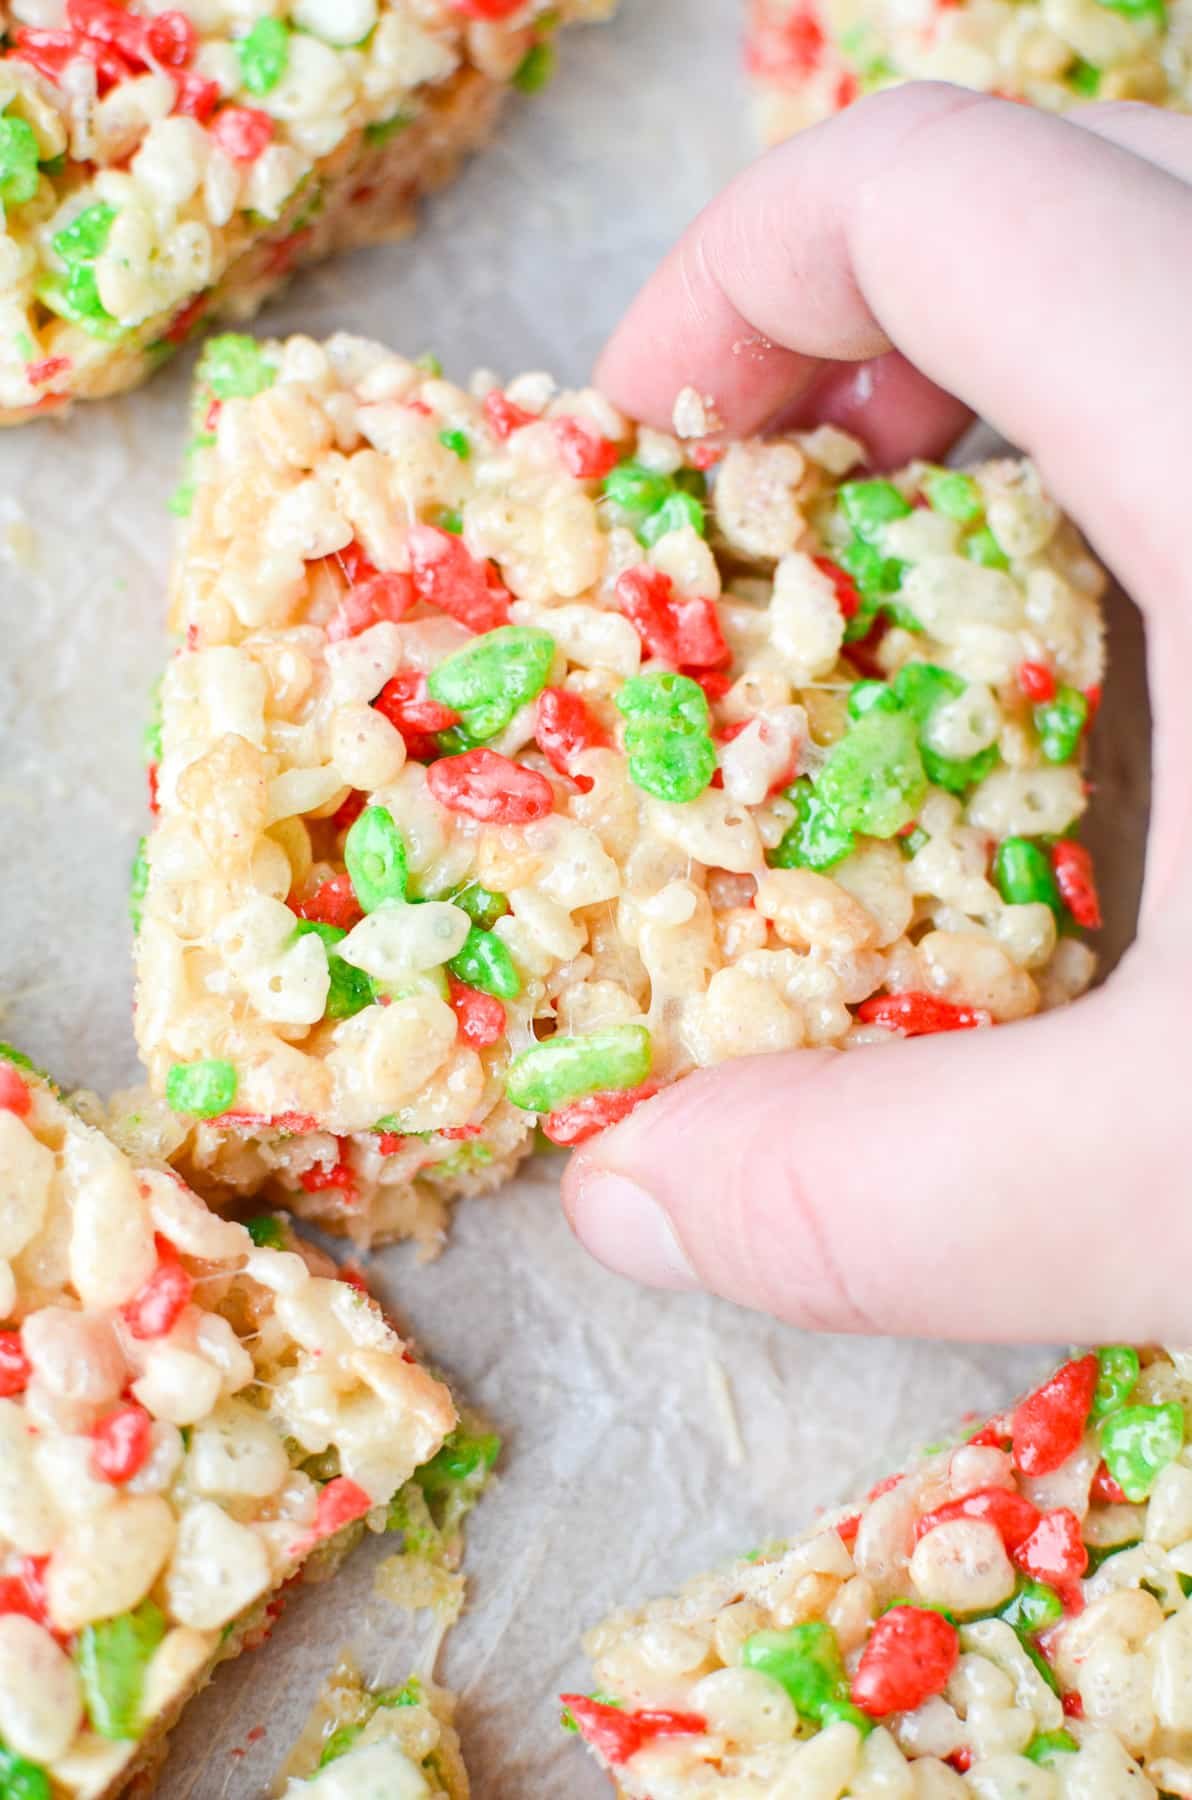
This easy Christmas Rice Krispie Treat recipe uses just 4 ingredients and is the perfect way to welcome the holidays with some festive fun and delicious goodness. This recipe is easy enough for kids to help with, and is great for bringing to holiday parties, school events, and more!
It's always so shocking to me how quickly the year passes after we hit Halloween. All of a sudden you're walking down the aisles of your local store and spotting Christmas wrapping paper, and soon enough all the Christmas carols start playing on the radio.
And while this can be somewhat scary for those of us who aren't exactly on top of things in the gift department (me!), it also signals the change to a special time of year for those of us who celebrate Christmas.
This time of preparation is so special, and it's the perfect time to add in family traditions that will be treasured for years to come. For us, one of those traditions is picking up our yearly box of holiday Rice Krispies.
These feature your regular ol' Rice Krispies interspersed with red and green ones, making for a festive addition to your favorite recipes. It's always fun for us to see if we can spot a box of the Christmas ones, and if we do: we grab 'em! That's because they can be hard to find, as I'm sure everyone is stocking up for making their favorite Christmas treats as well.
And the first thing we make? Yup, you guessed it, a batch of these holiday Rice Krispie treats!
Why You'll Love This Recipe:
- Easy to make with just 4 simple ingredients.
- Can easily be made with small children, giving them the opportunity to take an active role in holiday traditions.
- An easy way to add Christmas cheer without using a ton of ingredients and a bunch of extra steps.
- This Christmas Rice Krispie treat recipe is perfect for bake sales, school events, parties, or treat swaps.
Ingredients
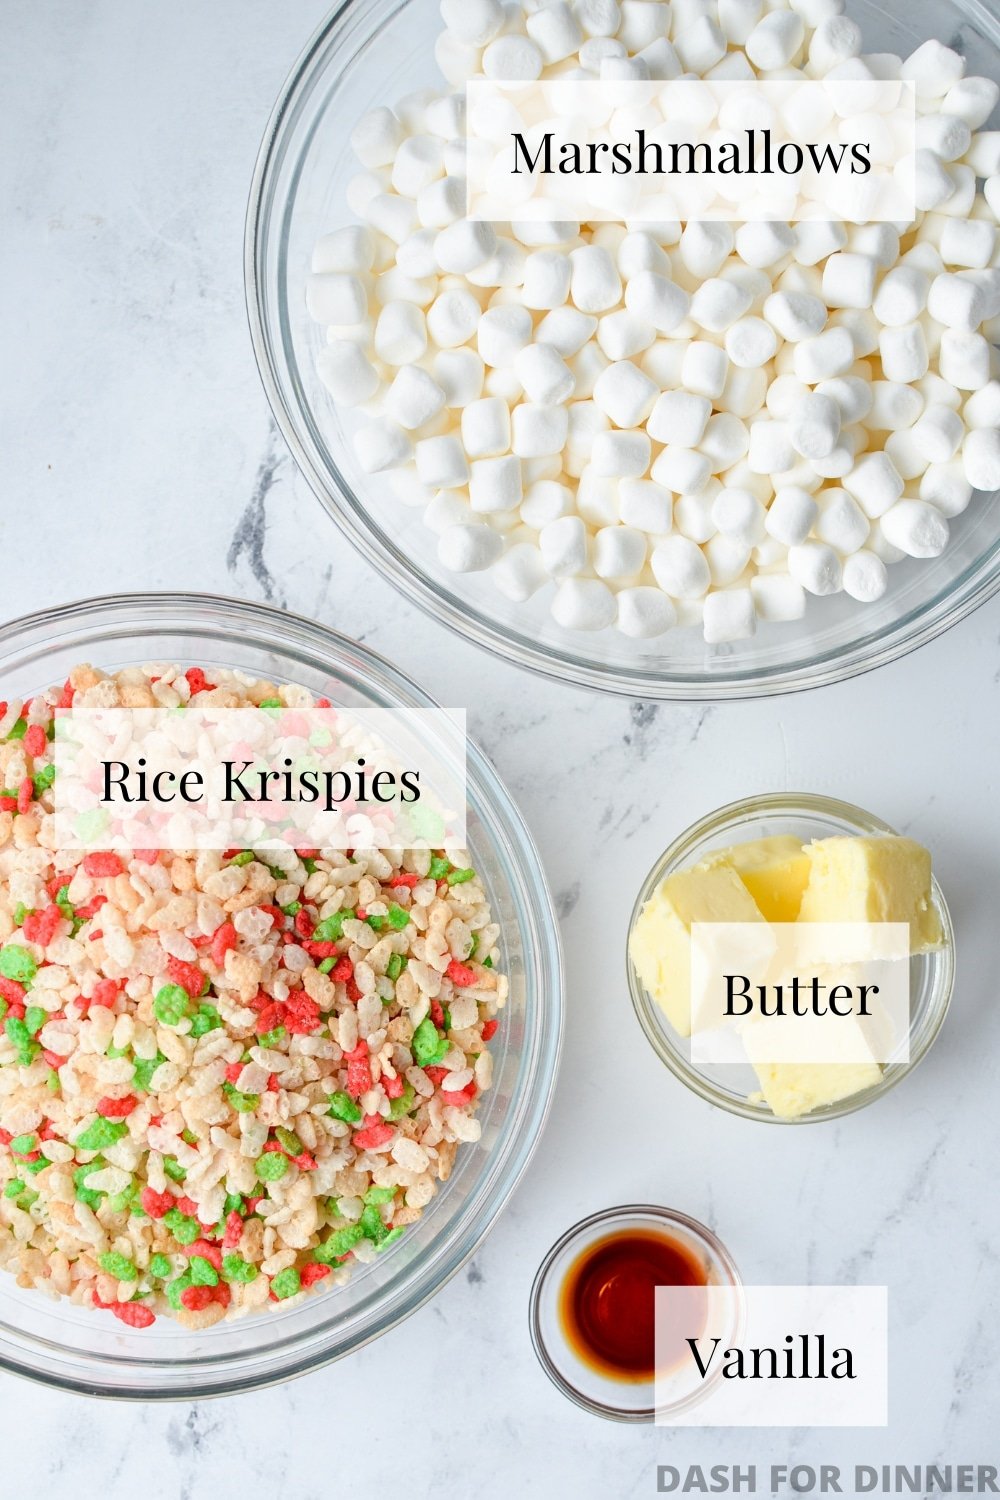
- Holiday Rice Krispies: These start to come out towards the beginning of November, but can be hard to find! For that reason, we always grab one when we see it so it's available to use when it's time to make our annual batch of Christmas Rice Krispie treats.
- Marshmallows: I recommend using mini marshmallows for this recipe since they tend to melt more easily.
- Butter: I use salted, but if you want to use unsalted just add a pinch of salt to the butter and marshmallow mixture.
- Vanilla extract: Just a touch gives these the perfect amount of flavor.
Note: I'm going to show you the stovetop directions for making this Christmas Rice Krispies treat recipe, but I do include microwave instructions below for those who would prefer to use that method.
How to Make Christmas Rice Krispies Treats
Before you get started, line an 8X8 or 9X9 baking dish with overlapping pieces of parchment paper and cut them to size. I like to fold the edges over the baking dish to form "handles." Greasing the dish with some butter before adding the parchment helps it stick better.
Add the butter to a large saucepan or high-sided skillet and melt over medium heat. Once the butter melts, add the marshmallows and stir to coat in the melted butter.
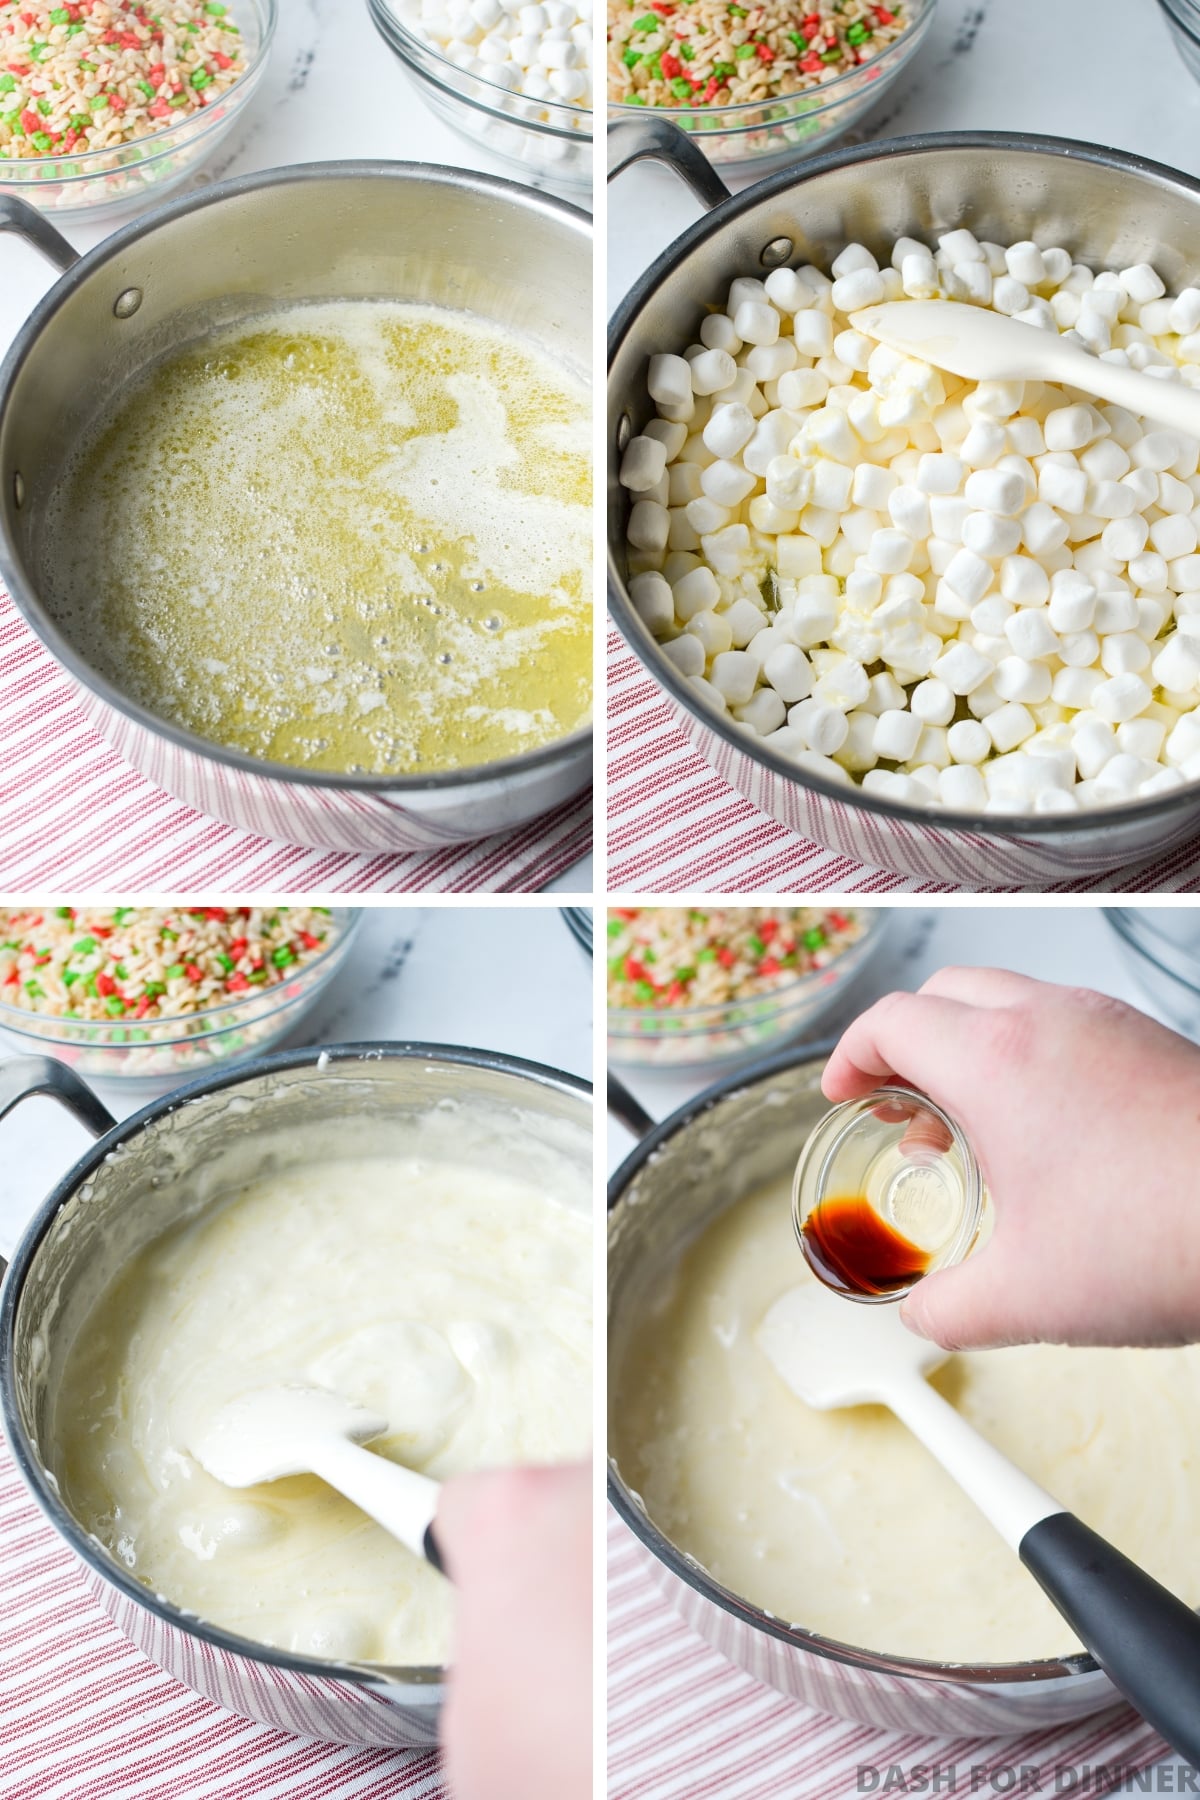
Continue to heat as you stir the mixture together, encouraging the marshmallows to melt together with the butter.
Once the marshmallows are completely melted, remove them from the heat and stir in the vanilla extract.
Adding the Rice Krispies
Add the cereal to the melted marshmallows and butter, folding it in with a silicone spatula until completely coated in the sticky mixture.
Work quickly from this point, as the marshmallows can set quickly with the cereal and you may have trouble transferring it to the baking dish.
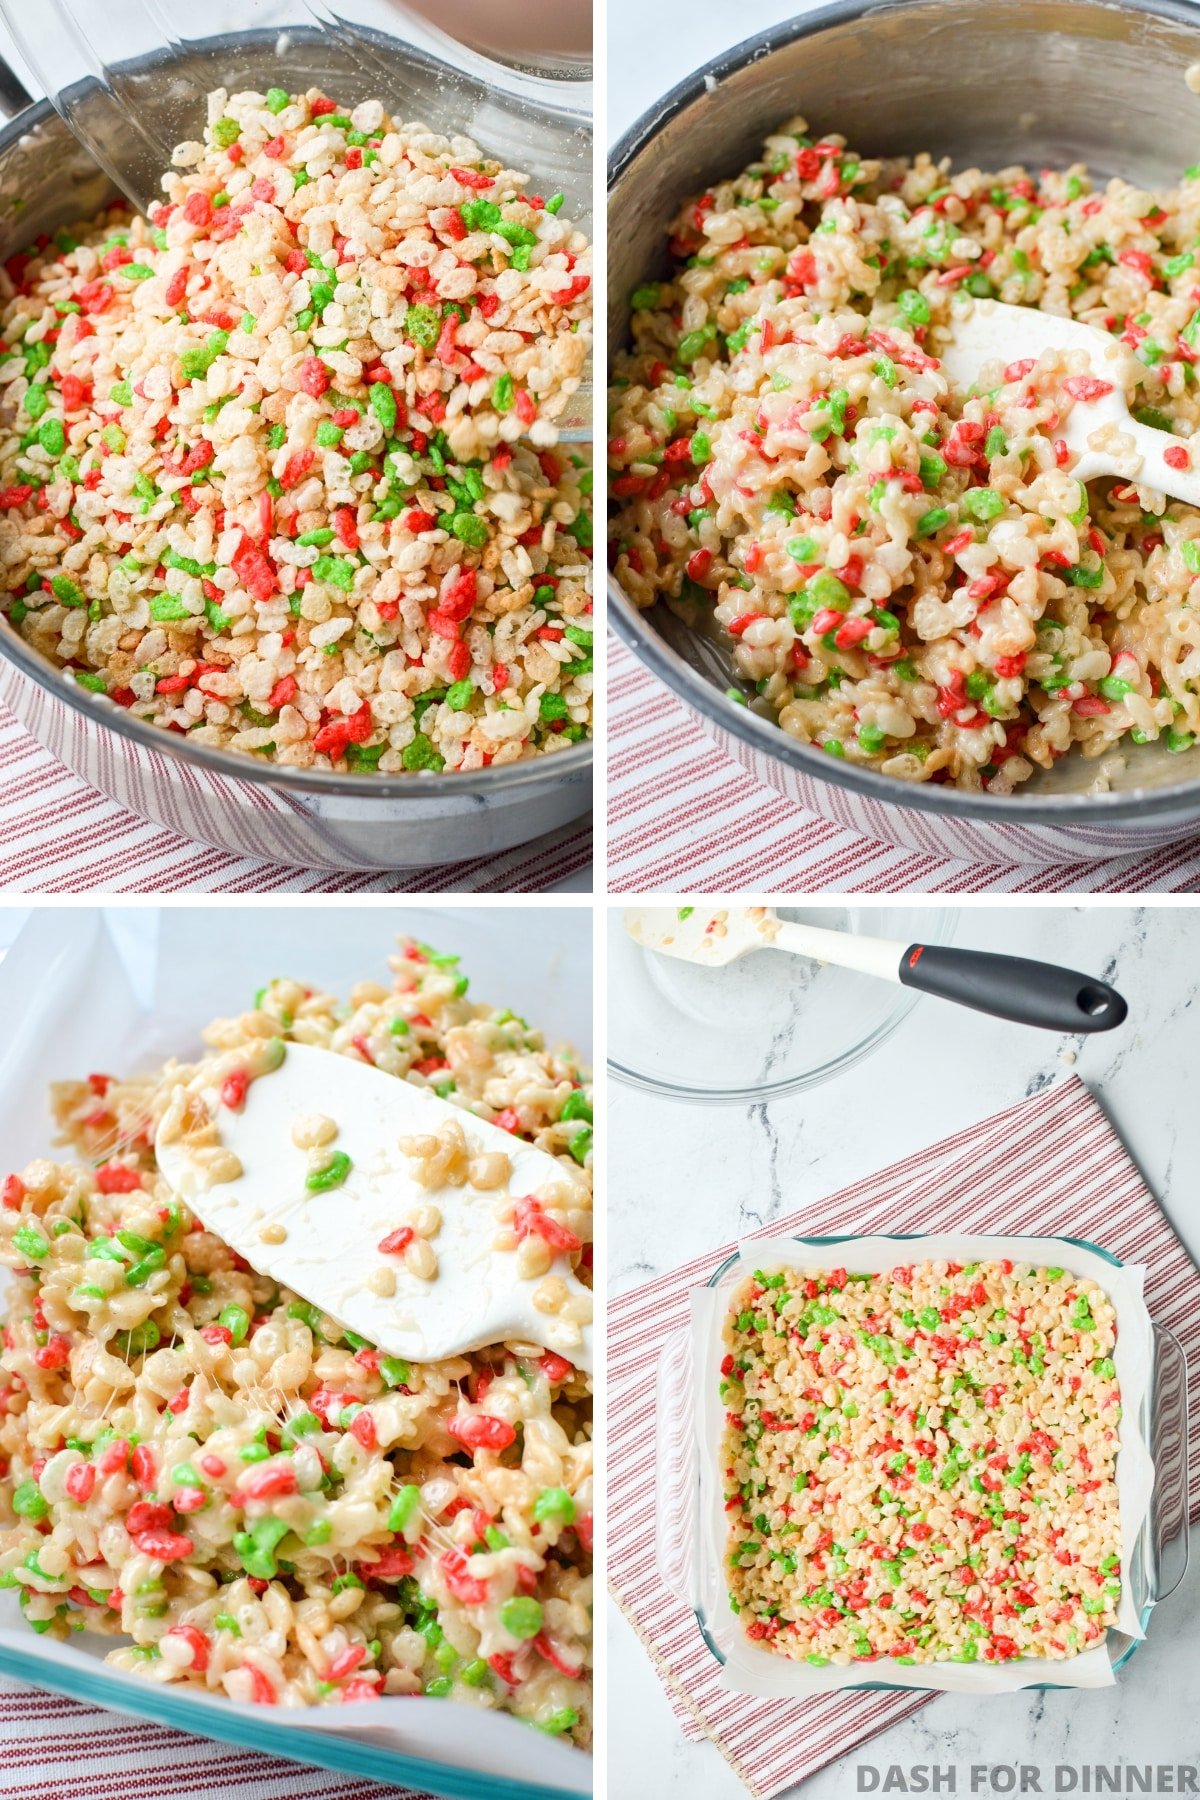
Immediately add the sticky Rice Krispies treats mixture to the prepared baking dish and smooth it into an even layer. You want to be gentle, avoiding pressing the cereal firmly into the dish. This will give you very dense treats, so using a light hand is the preferred method here.
Cooling the Treats
Cover the dish with a towel or some plastic wrap and allow the Christmas Rice Krispie treats to set for at least 1 hour at room temperature.
I don't recommend cooling the treats in the fridge, as this firms them a little too much and makes for a dense texture. It also doesn't shave much time off the cooling time, so it's better to just allow them to rest at room temperature.
Cutting the Treats
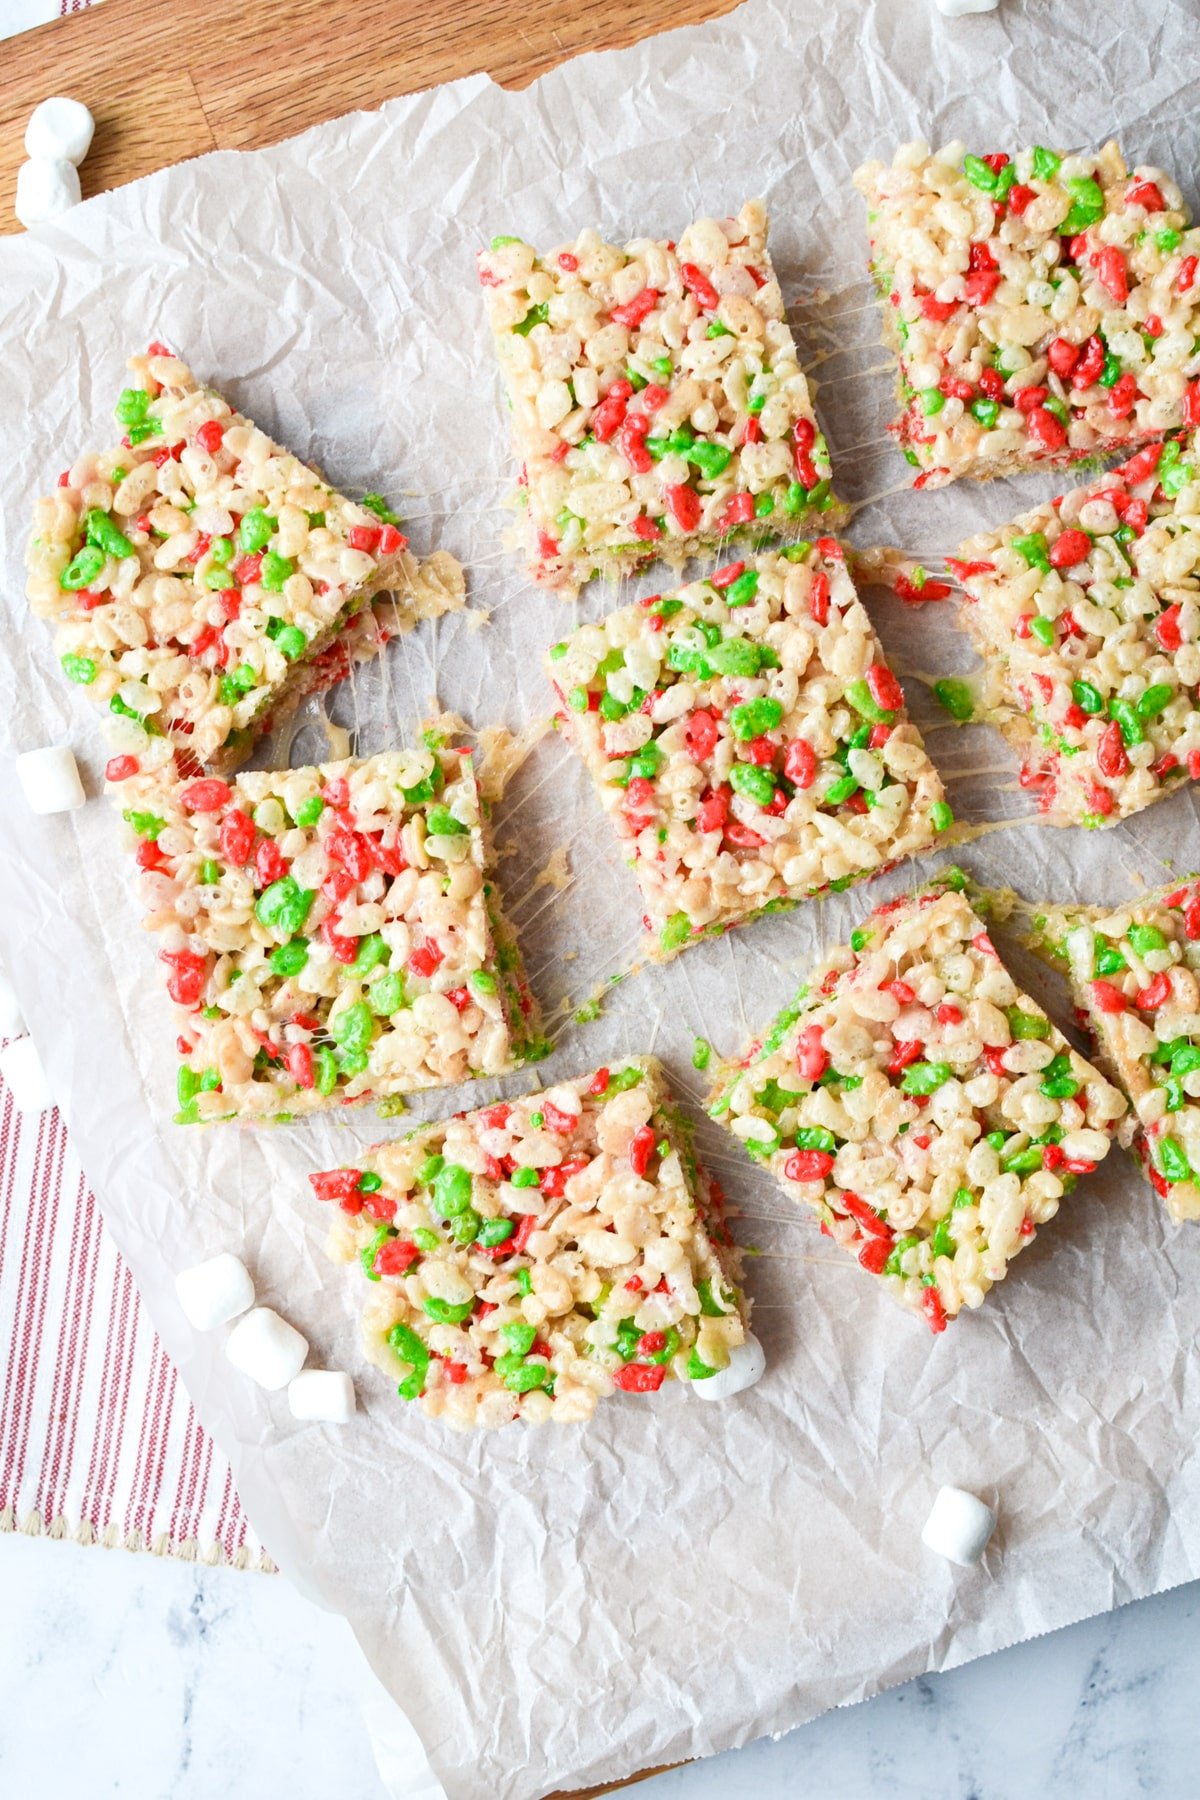
Once they have cooled, use a sharp knife to cut the treats into thirds widthwise and lengthwise, resulting in approximately 9 treats for a single recipe in an 8X8 baking dish.
If you doubled the recipe and used a 9X13 baking dish, you would want to cut the pan into thirds widthwise, in half lengthwise, and then each half in thirds lengthwise, resulting in 18 treats instead of 9.

Storing Leftover Rice Krispies Treats
Transfer your sliced and cooled Rice Krispies treats to an airtight container with a lid. Store them at room temperature for up to 3 days, or transfer them to the fridge to store them for up to 5 days. Storing them in the fridge will result in a denser texture, but they are still absolutely delicious.
Rice Krispies treats also freeze very well. I recommend wrapping individual treats in plastic wrap and storing them in a freezer bag. Then add to your freezer and store for up to 2 months. Thaw them at room temperature when you're ready to enjoy them.
Microwave Method
- Melt the butter and marshmallows together in a microwave-safe bowl in 30-second intervals, stirring after each turn in the microwave.
- Once the marshmallows and butter are completely melted, add in the vanilla extract and stir again.
- Add in the cereal, folding it in with a silicone spatula until all of the Rice Krispies have been coated in the marshmallow and butter mixture.
- Transfer the coated cereal mixture to a parchment-lined baking dish, smoothing it into an even layer using a gentle hand.
- Cover the dish and allow to cool at room temperature for at least 1 hour before slicing and serving.
Variations for Holidays
It's pretty common for there to be a variety of seasonal boxes of Rice Krispies available throughout the year, with the colors varying depending on the holiday. You can also tint the marshmallow mixture using food coloring, and top the treats with chocolates or candies from the season. Here are a few ideas:
- Valentine's Day - Pink or red with cinnamon hearts
- Spring - Blue or green
- St. Patrick's Day - Green with Lucky Charms marshmallow shapes (or just make Lucky Charms Treats)
- Easter - Pastel blue, green, or pink
- 4th of July - Red or blue with candy stars
- Halloween - Orange or yellow with candy corn.
- Thanksgiving - Orange or brown with candy corn or candy leaves.
- Christmas - Use the holiday boxes of Rice Krispies. Top with your favorite seasonal candies if desired.
Frequently Asked Questions
Yes, you can make Rice Krispie treats up to 3 days ahead of time, although they will be best when prepared the day before. Alternatively, you could make the treats well in advance and freeze them. Then when you're ready to serve, just thaw at room temperature and enjoy!
The best way to prevent homemade Rice Krispie treats from getting hard is to keep them at room temperature. Once they are stored in the fridge they tend to get very firm and dense. Storing them at room temperature keeps them soft and gooey. Another tip is to use a gentle hand when pressing the cereal mixture into the baking dish - being too firm makes for very dense treats.
You can use the same recipe you would for Rice Krispies treats, but press them into molds. Press the mixture in gently, cover with plastic wrap, and allow to rest at room temperature for at least 1-2 hours before releasing them from the molds. Greasing the molds with a little bit of cooking spray may help them release easier once cooled.
Doubling the Recipe
If you want to make a large batch of this Christmas Rice Krispie treat recipe, you can easily double it to fit a 9X13 pan. I recommend using a deeper dish to ensure you can accommodate all of the cereal and marshmallow mixture without spilling over.
I also recommend that you allow for 1 ½ - 2 hours for cooling instead of the recommended 1 hour for an 8X8 or 9X9 baking dish. This is because a large pan takes a bit more time to cool down/
More Easy No Bake Desserts:
- Cranberry Pretzel Salad
- Lazy Cheesecake Salad
- Pumpkin Fluff Dip
- Lucky Charms Treats
- Red, White, and Blue Cheesecake Salad
- Christmas Fudge - Spaceships and Laser Beams
Christmas Rice Krispies Treats
Ingredients
- 6 tablespoons salted butter
- 10 ounce bag mini marshmallows approximately 6 cups
- ½ teaspoon vanilla extract
- 4 ½ cups holiday Rice Krispies cereal
Instructions
- Line an 8X8 or 9X9 baking dish with overlapping pieces of parchment paper, and cut to size. Lightly grease the parchment paper to hold it in place.
- Melt the butter over medium heat in a large pot. Once the butter is melted, add in the mini marshmallows and stir to coat in the melted butter.
- Continue to stir until the marshmallows are completely melted.
- Once the marshmallows are melted, remove them from the heat and stir in the vanilla extract.
- Add the cereal to the marshmallow mixture and fold it in until completely coated.
- Transfer the coated cereal mixture to the prepared baking dish, and smooth it into an even layer. Do so gently, as packing the cereal into the dish will create a very firm square. The goal is to have a gooey square, so a gentle hand is all that's needed.
- Cover the dish and let the treats set for at least 1 hour at room temperature. Storing in the fridge will make for a firmer treat, so room temperature is recommended if you like a gooey texture.
- Remove the parchment paper, then slice and serve the Rice Krispie treats.
- Store in an airtight container at room temperature for up to 3 days, or in the refrigerator for up to 5 days.
Notes
Nutrition
Please note that some of my blog posts here at Dash for Dinner may contain affiliate links. If you make a purchase through these links, I will get a small commission at no additional cost to you. Please see my Disclaimer for more information.


Steve says
These were so gooey and delicious. I made them because we had a box of Christmas cereal, but honestly I think I'll be using it as my regular recipe from now on.
SANDRA SILVA says
can these be frozen?
Dorothy Bigelow says
Yes! They freeze pretty well! I recommend wrapping them individually (to prevent sticking) and placing them in a freezer bag.