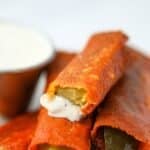
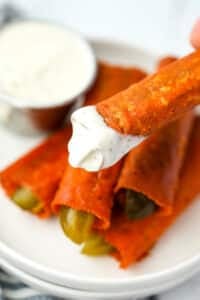
This easy recipe for Chickles (AKA Cheese Pickles) is the perfect way to satisfy a craving for something crunchy!
Made with just 2 ingredients (cheese and pickles), these crispy fried cheese pickles are perfect for any time of day, and are fabulous dipped into ranch dressing. They are like a low carb fried pickle!
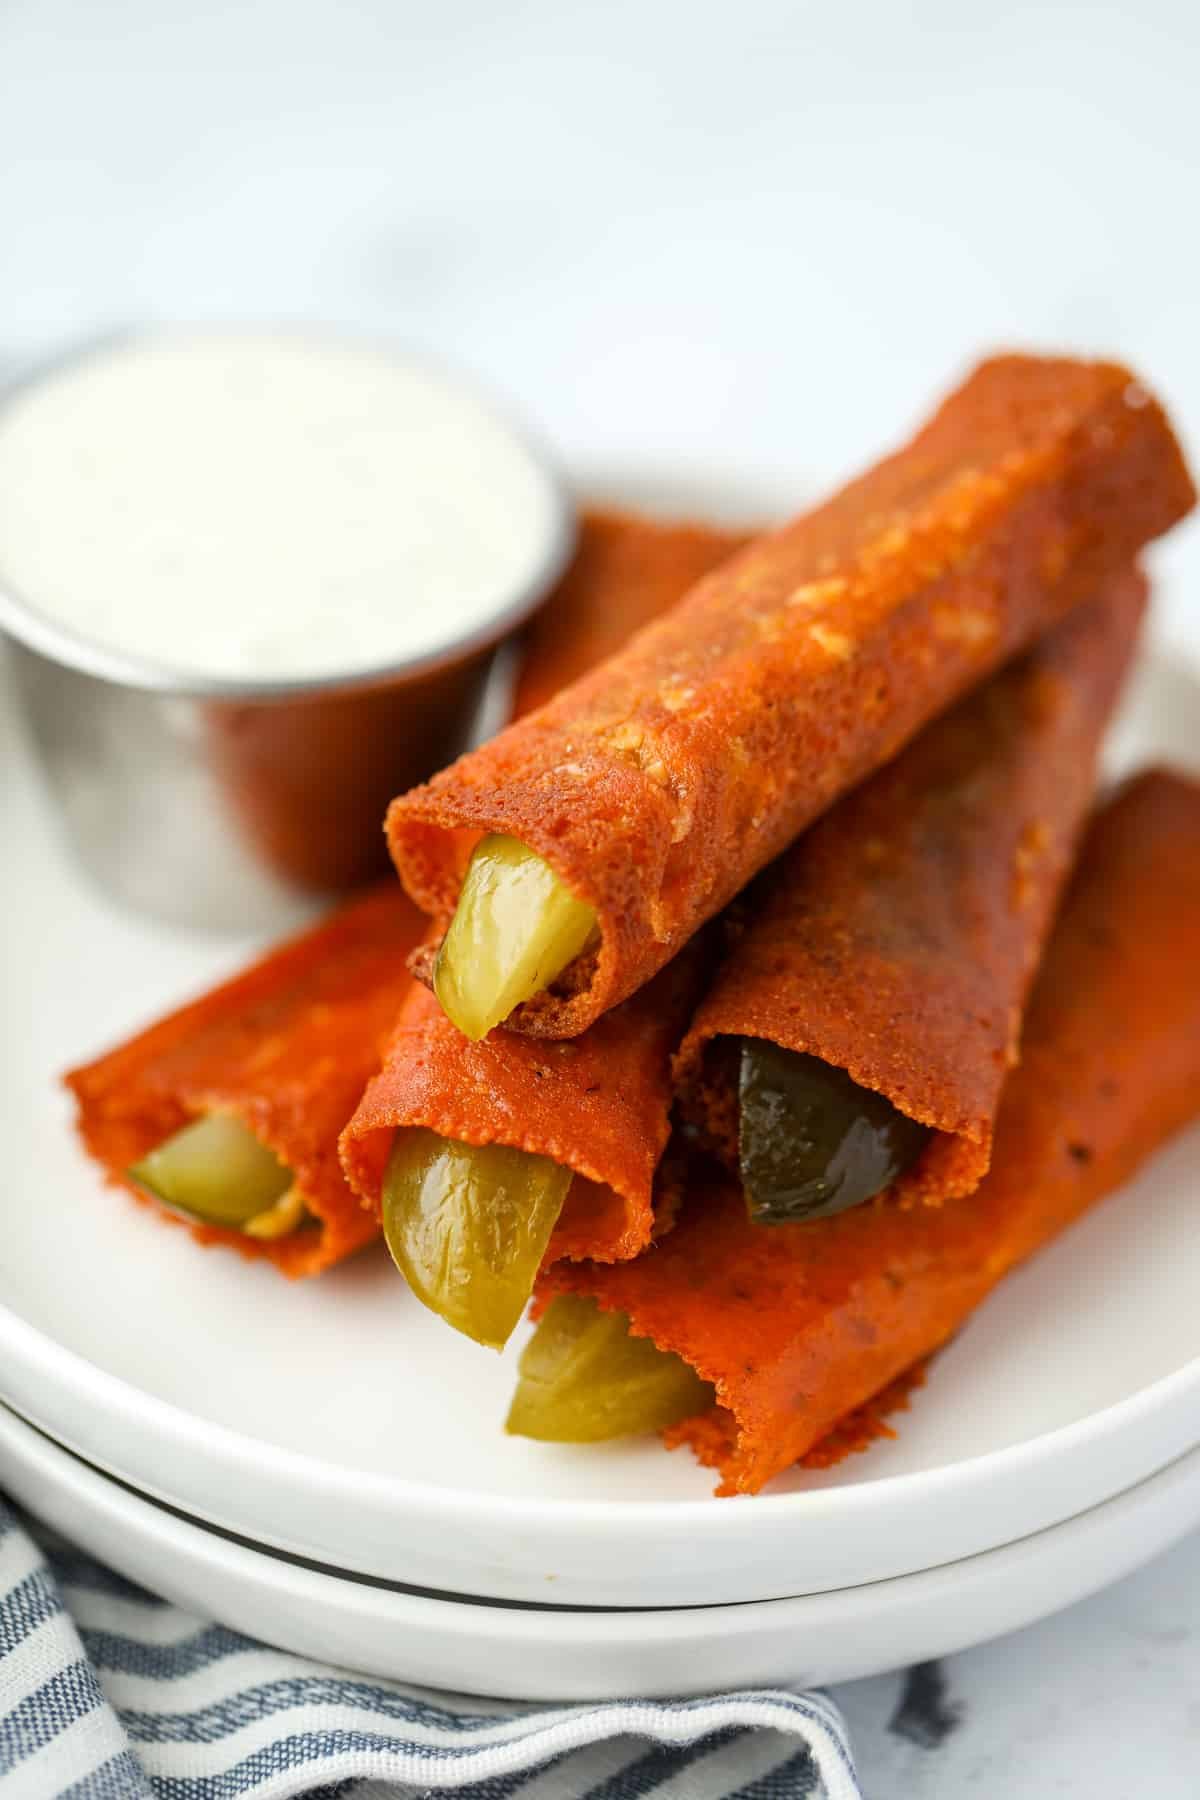
I've been in love with these easy fried cheese pickles (AKA chickles) for the better part of a year now. I first saw them on TikTok, and I've been making them weekly ever since.
In the original video you can see shredded cheese being melted in a skillet, then once crispy it's enveloped around a pickle spear. I've seen lots of variations too, including those made with small slices so they are more like crispy pickle chips.
After a lot of experimenting, I found that cheese slices actually work best and make for the easiest cleanup and highest success rate. My cheese pickle recipe (AKA chickle recipe) includes expert tips to get the best results every single time.
They are the perfect low carb, high protein snack, and they totally satisfy cravings for fried pickles! They also make a delicious appetizer, and pair well with grilled cheese, tomato soup, or other crunchy snacks for a yummy "girl dinner" - another TikTok favorite.
Reasons To Love Them:
- Easy snack. Each cheese pickle takes just 2 minutes to make (give or take), and they are a super satisfying snack any time of day.
- High protein and low carb. Each chickle has 5 grams of protein and just 1 net carb!
- Just 2 ingredients. All you need is a slice of cheese and a pickle spear.
- They are SO delicious! If you love crispy golden brown cheese and sour pickles - you're going to fall head over heels for these!
You Will Need:
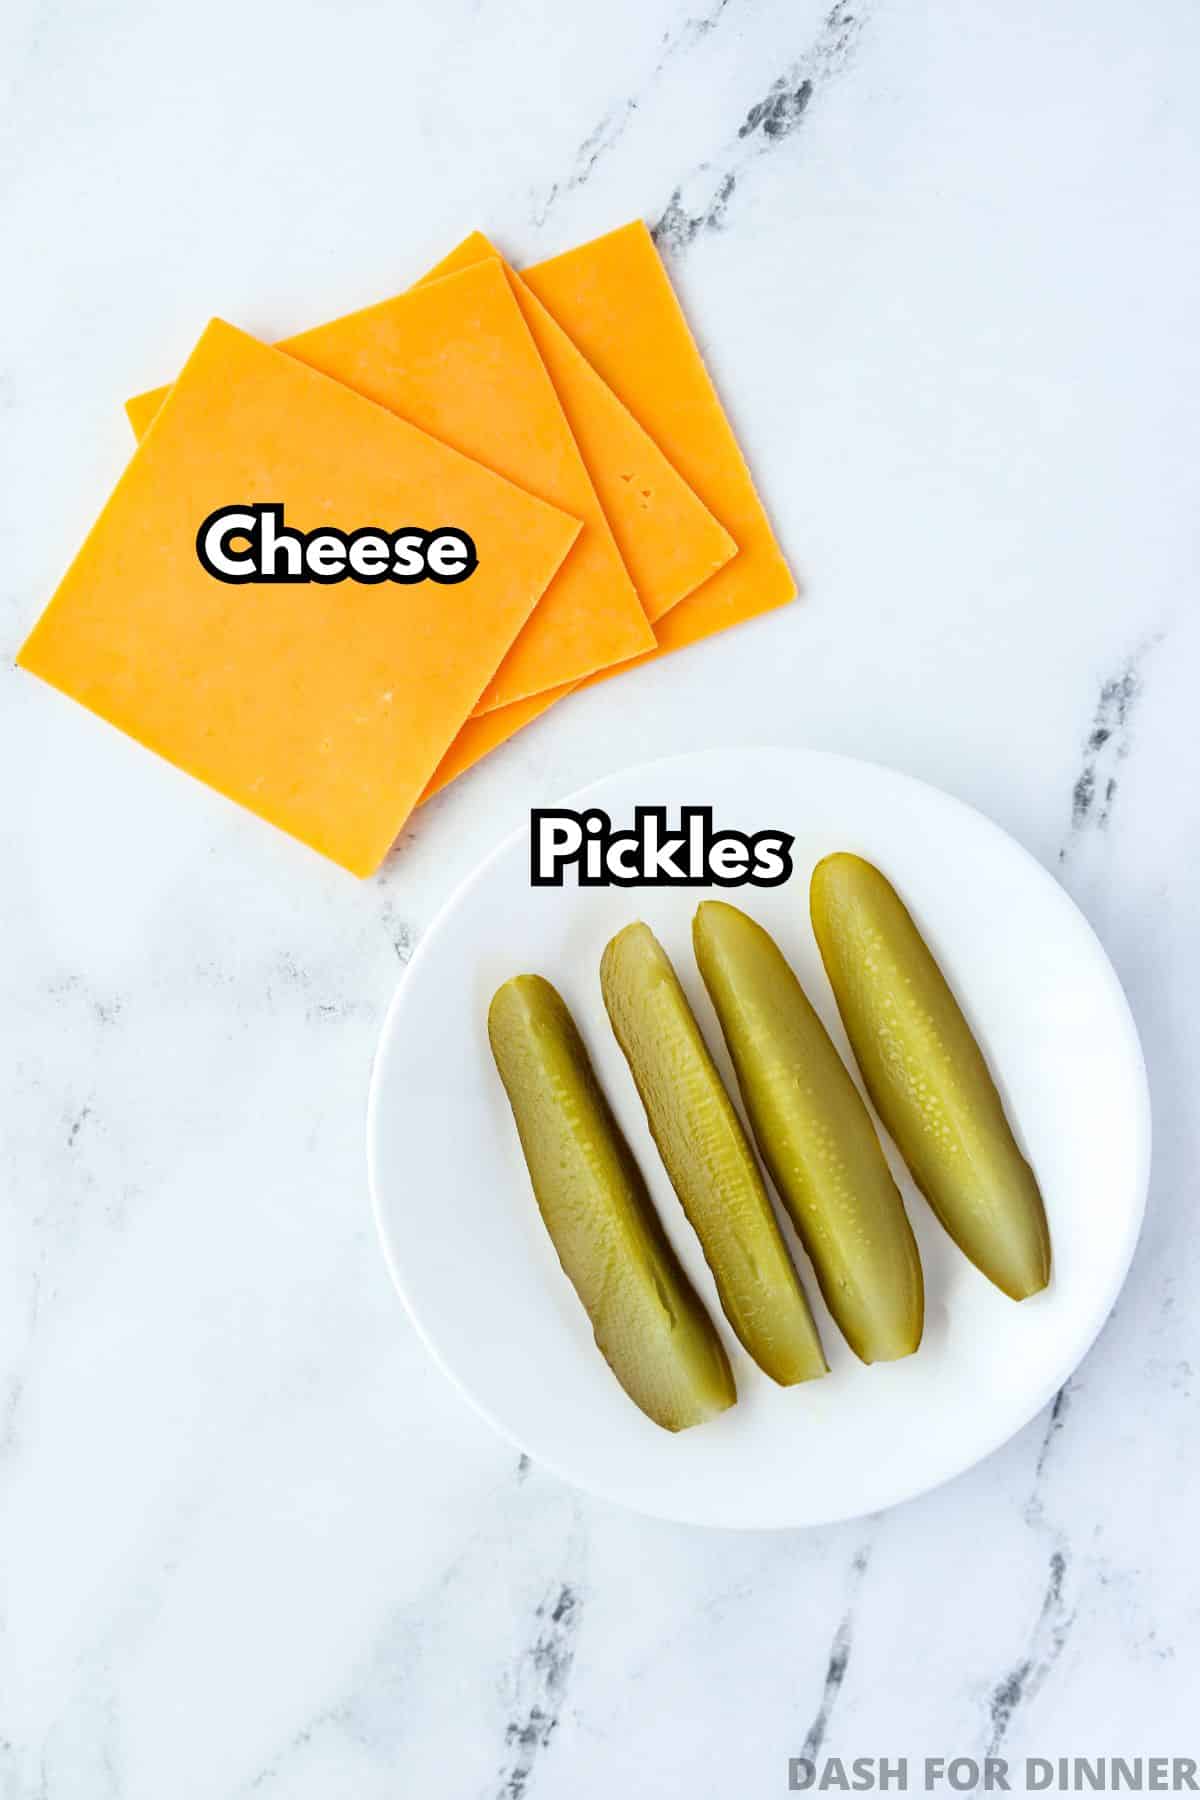
- Cheese: I recommend using real cheese slices for the best results. These crisp up nicely without sticking to the pan, and they have great flavor. Avoid American cheese slices. I have used shredded cheese with good results - just place it in a single layer in the hot skillet.
- Pickles: Dill pickle spears work the best here and provide the best pickle to cheese ratio. It also keeps them pretty similar to classic fried pickles. If you prefer, you could use dill pickle slices instead.
Tools & Equipment
- Non-stick skillet (or well seasoned cast iron skillet)
- Turner or spatula (thin edge is a plus!)
How to Make Cheese-Wrapped Pickles
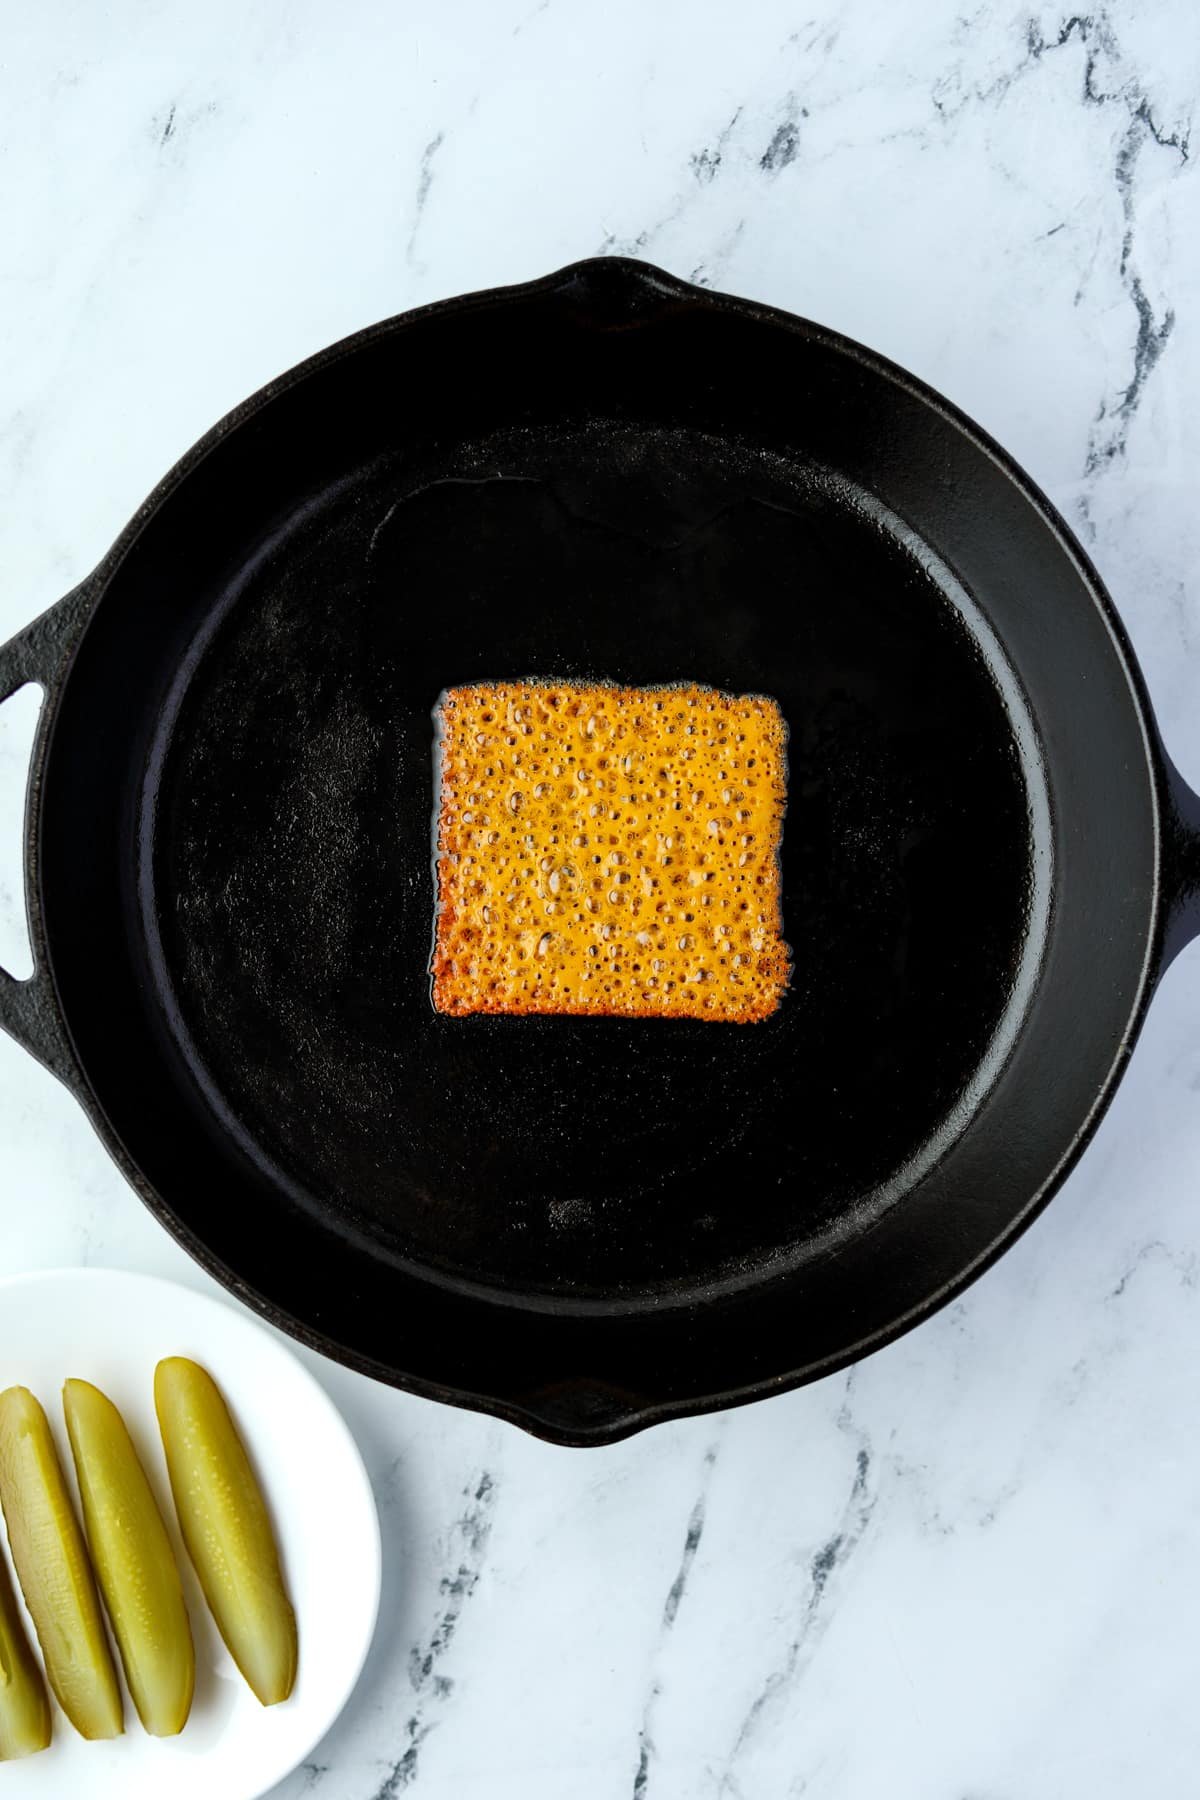
- Preheat a heavy bottomed non-stick skillet (or cast iron skillet) over medium heat.
- Once the skillet is hot, add a slice of cheese.
Shredded cheese: I've made this recipe with shredded cheese too! Just add the shredded cheese in an even layer in a square shape in the center of the pan.
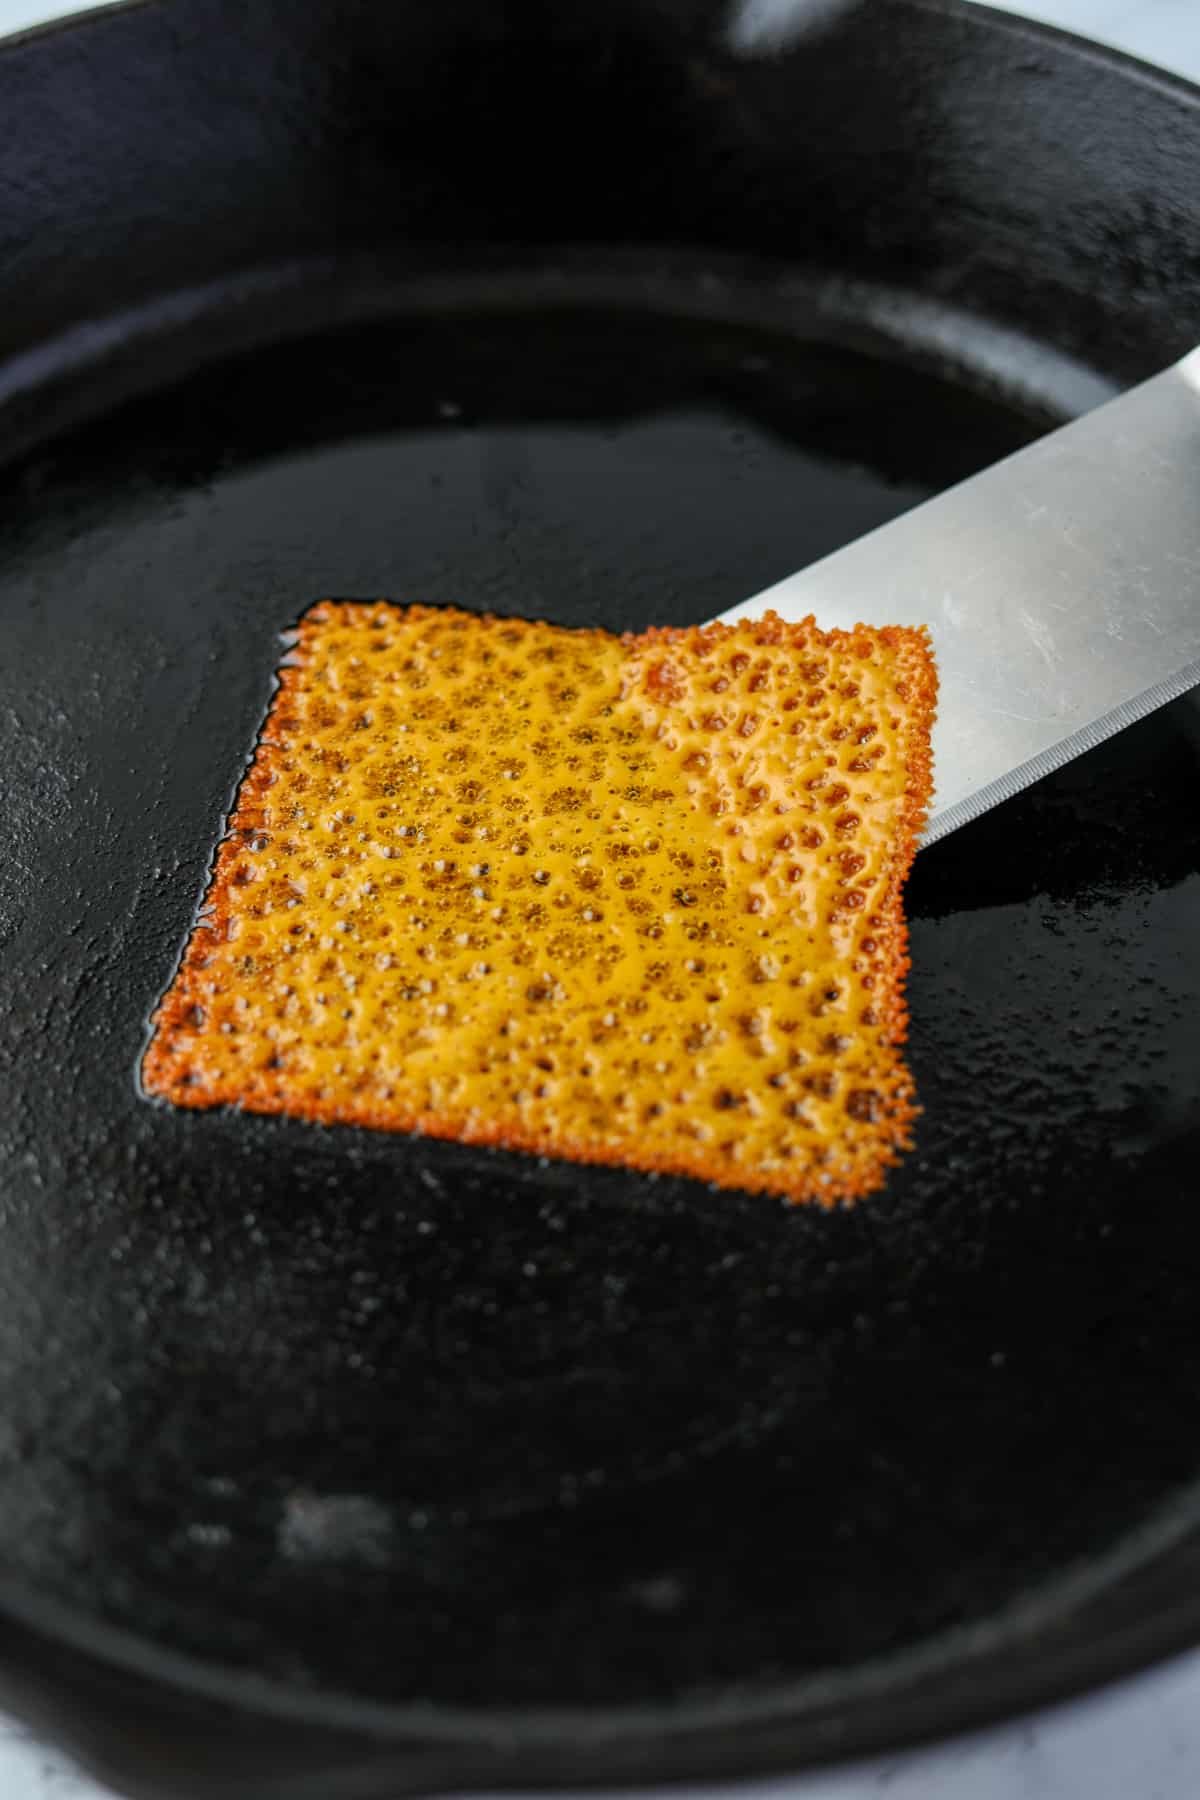
- Allow the cheese to melt, bubble, and cook before moving it or touching it.
- As the cheese cooks it will bubble and brown around the edges. Once it begins to brown, use a spatula to loosen the cheese around the edges so it does not stick.
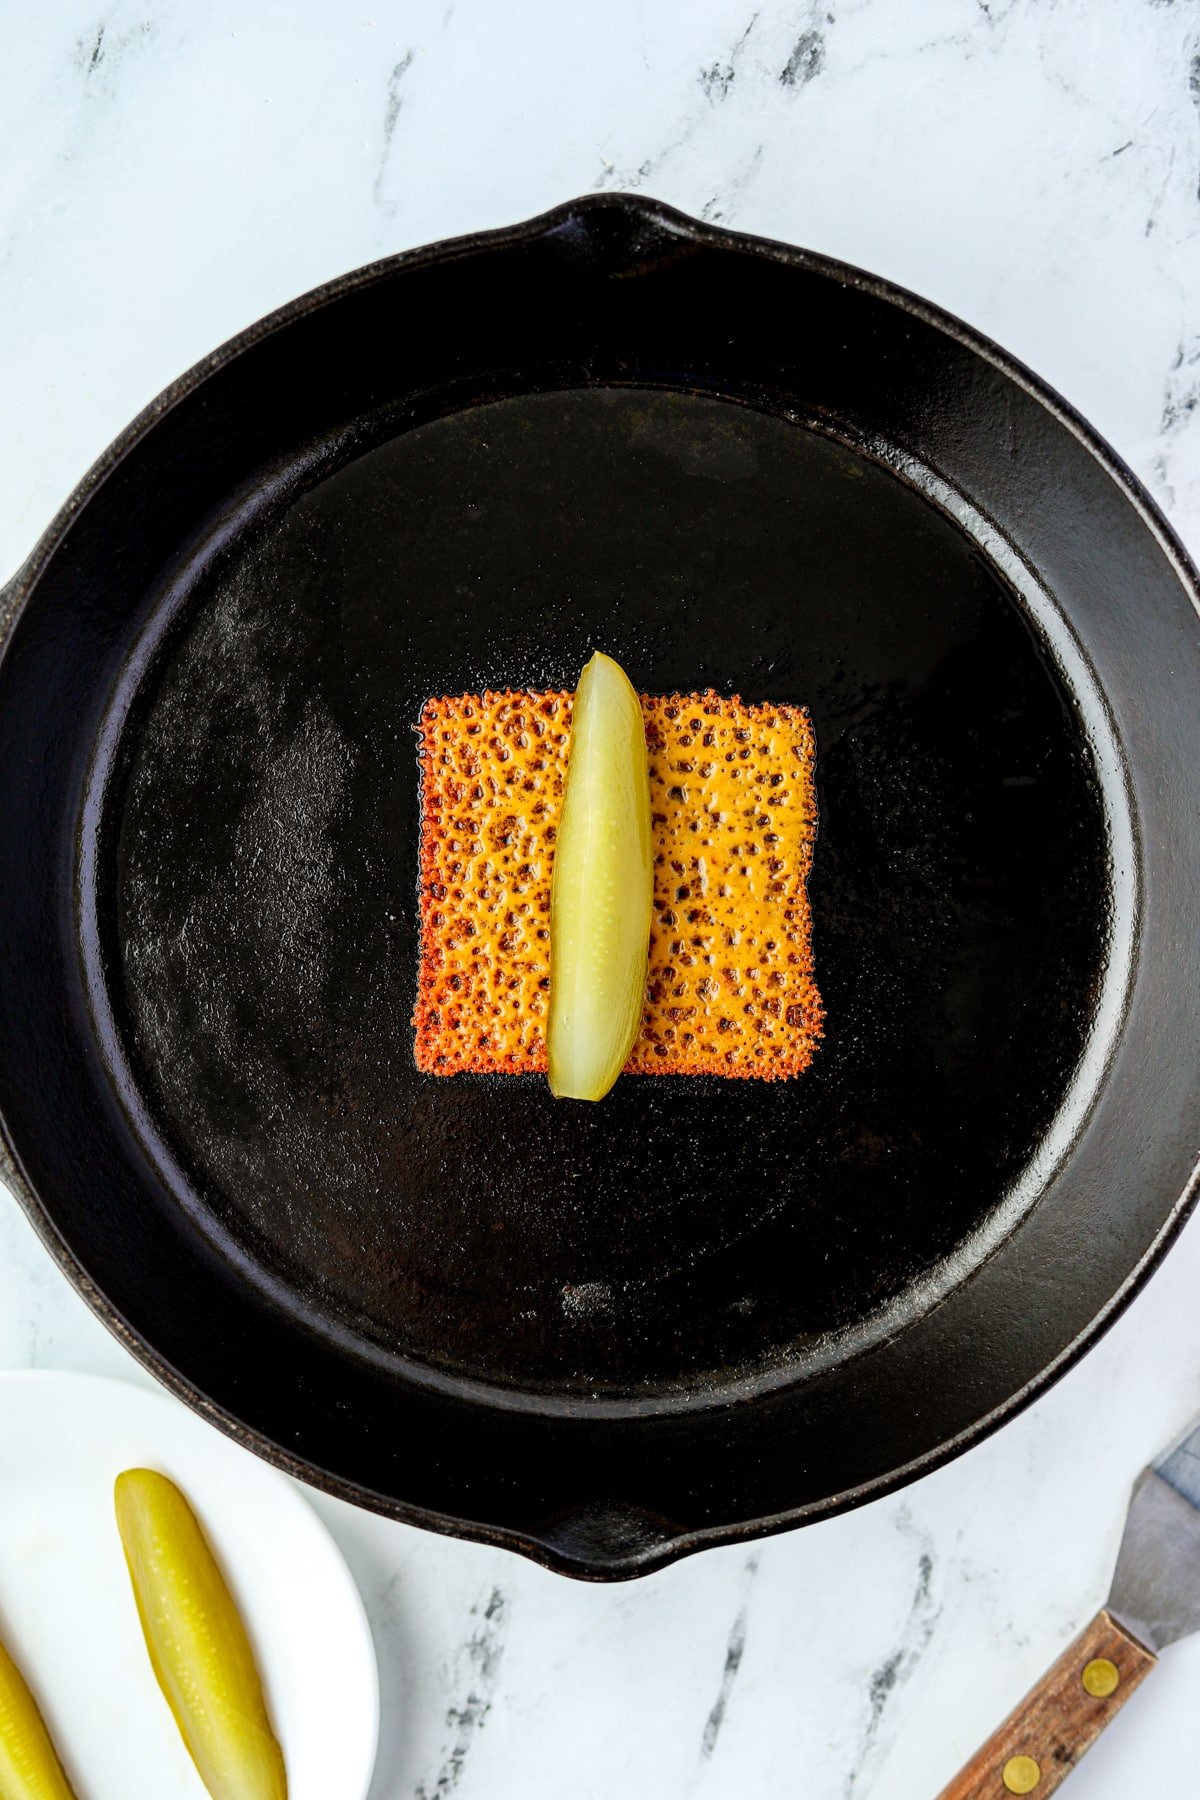
- Place a pickle spear in the center of the crispy cheese slice.
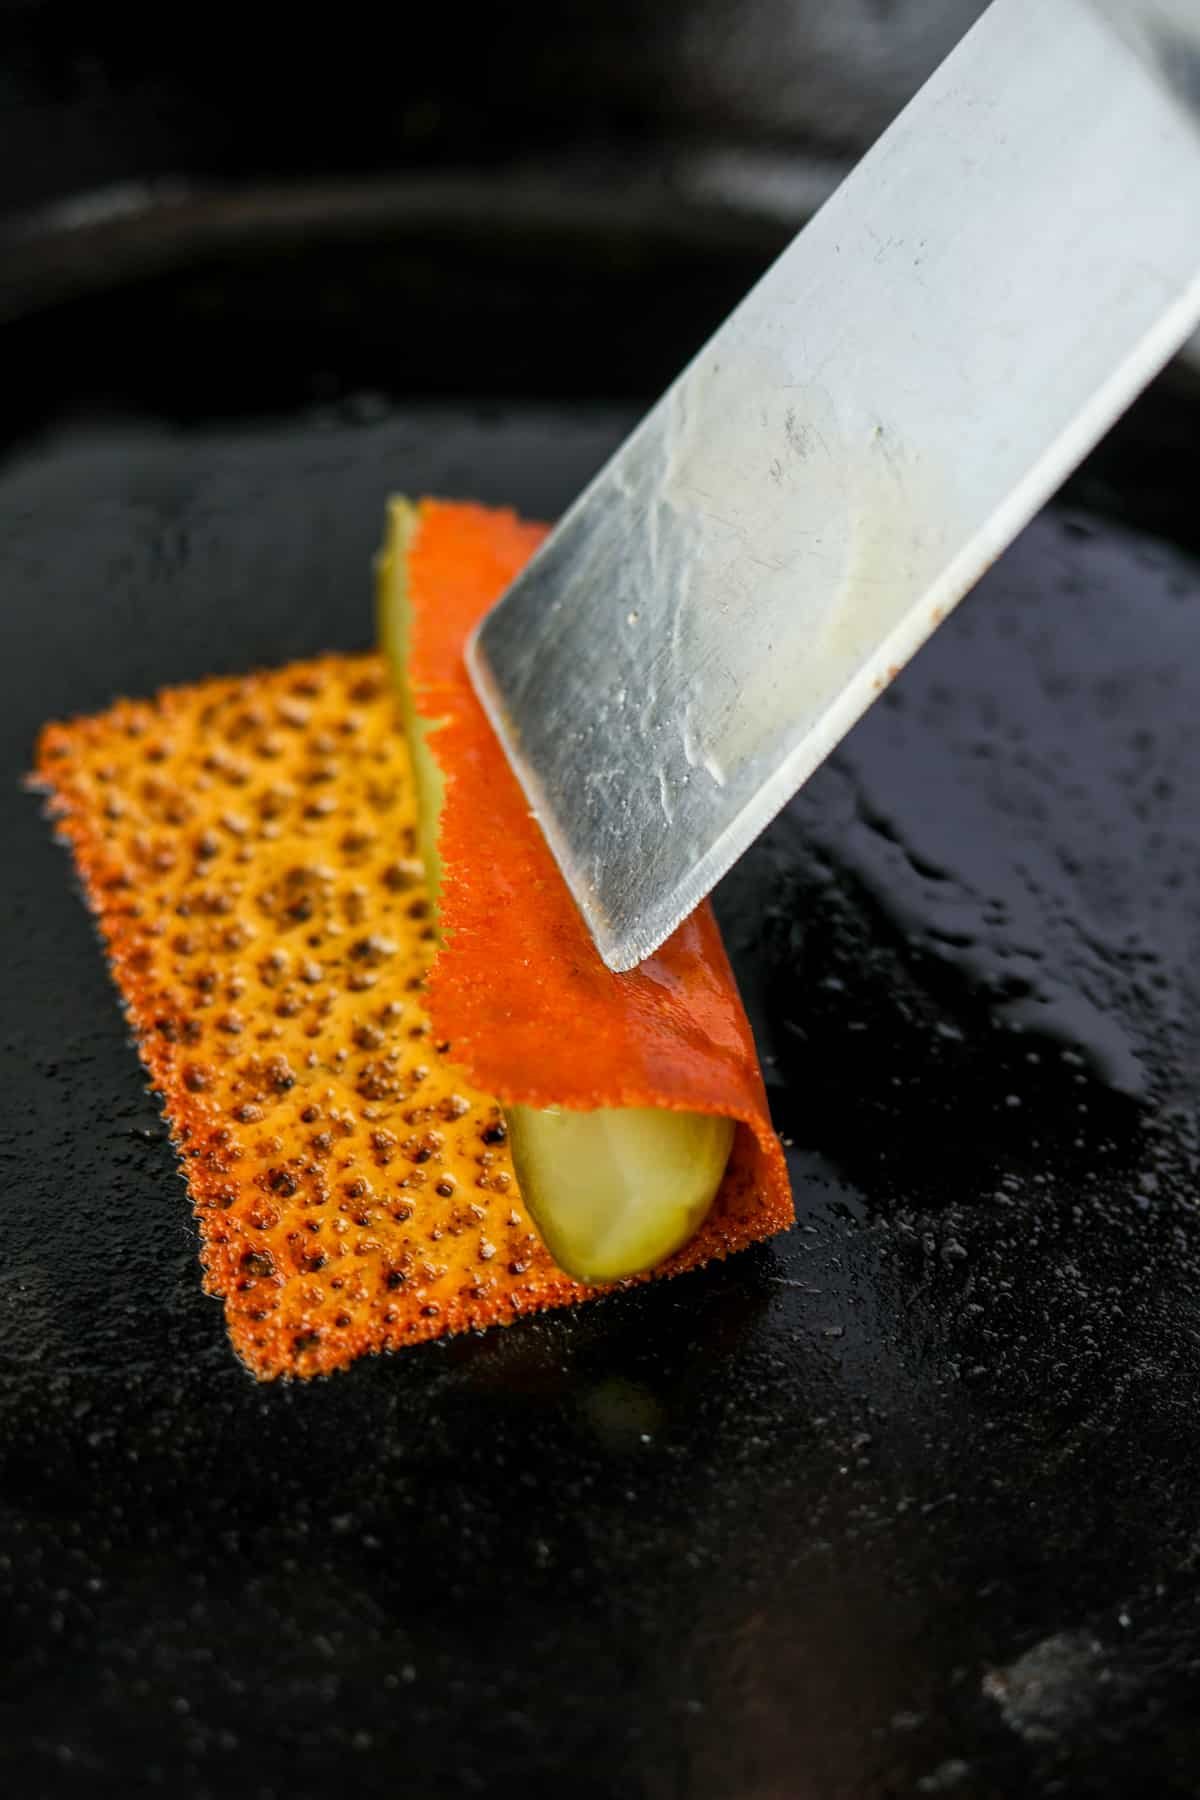
- Use a spatula to lift one side of the crispy cheese and roll it over the pickle spear in the center.
- Use the spatula to continue to roll it until the pickle is enveloped in cheese.
- Remove it from the skillet. If desired, place it on a paper towel lined plate to remove excess grease.
- Repeat for the desired amount of chickles!
Serve & Enjoy!
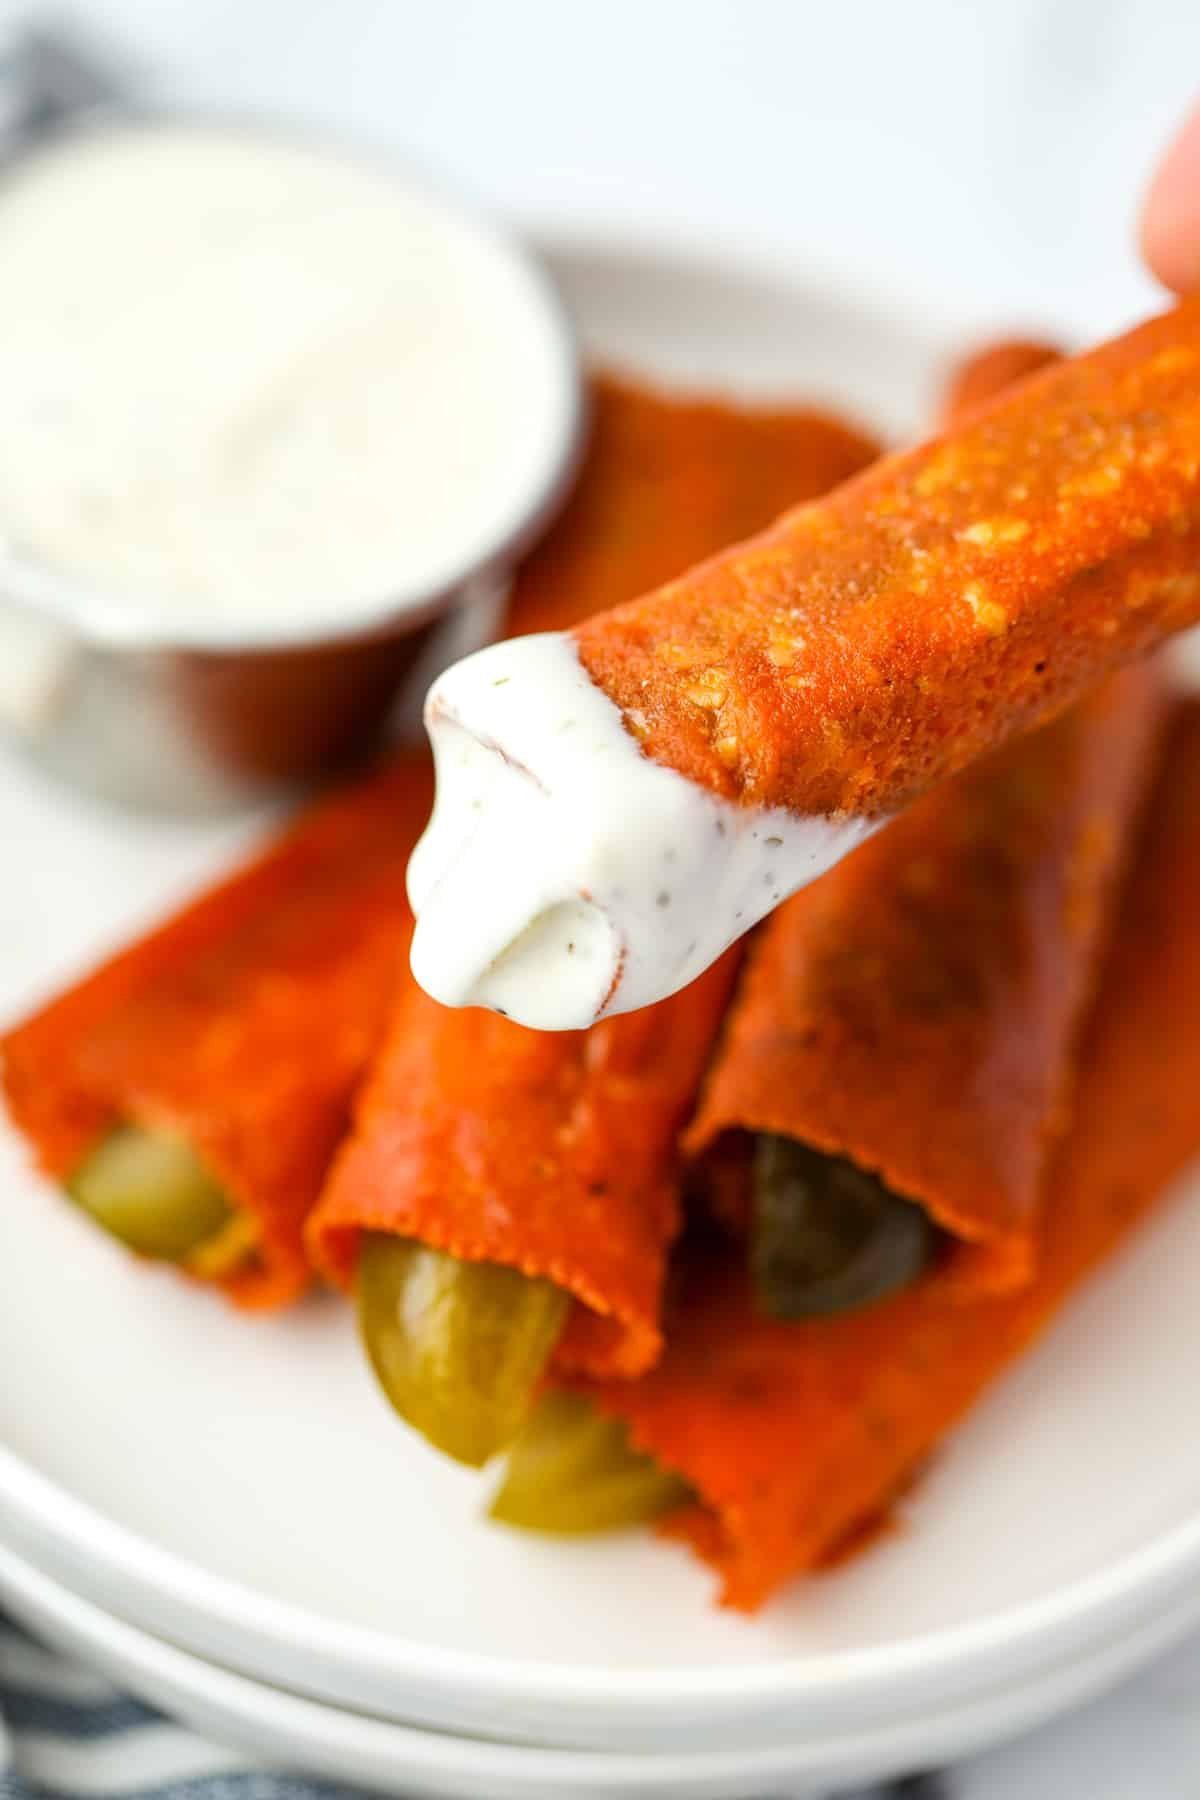
Once you've made the desired amount of chickles, serve them with your favorite dipping sauce.
I recommend a good quality ranch dressing (or ranch dip), but cheese pickles are perfectly delicious on their own!
More Easy Snacks:
Storing Leftovers
I recommend making these fresh, but if you have leftovers you can store them in an airtight container for 2-3 days in the refrigerator.
- Reheat them in the oven (350ºF) or in an air fryer (325ºF) until heated through.
- This is the best way to try and keep them crispy - although the liquid from the pickles changes the texture quite a bit.
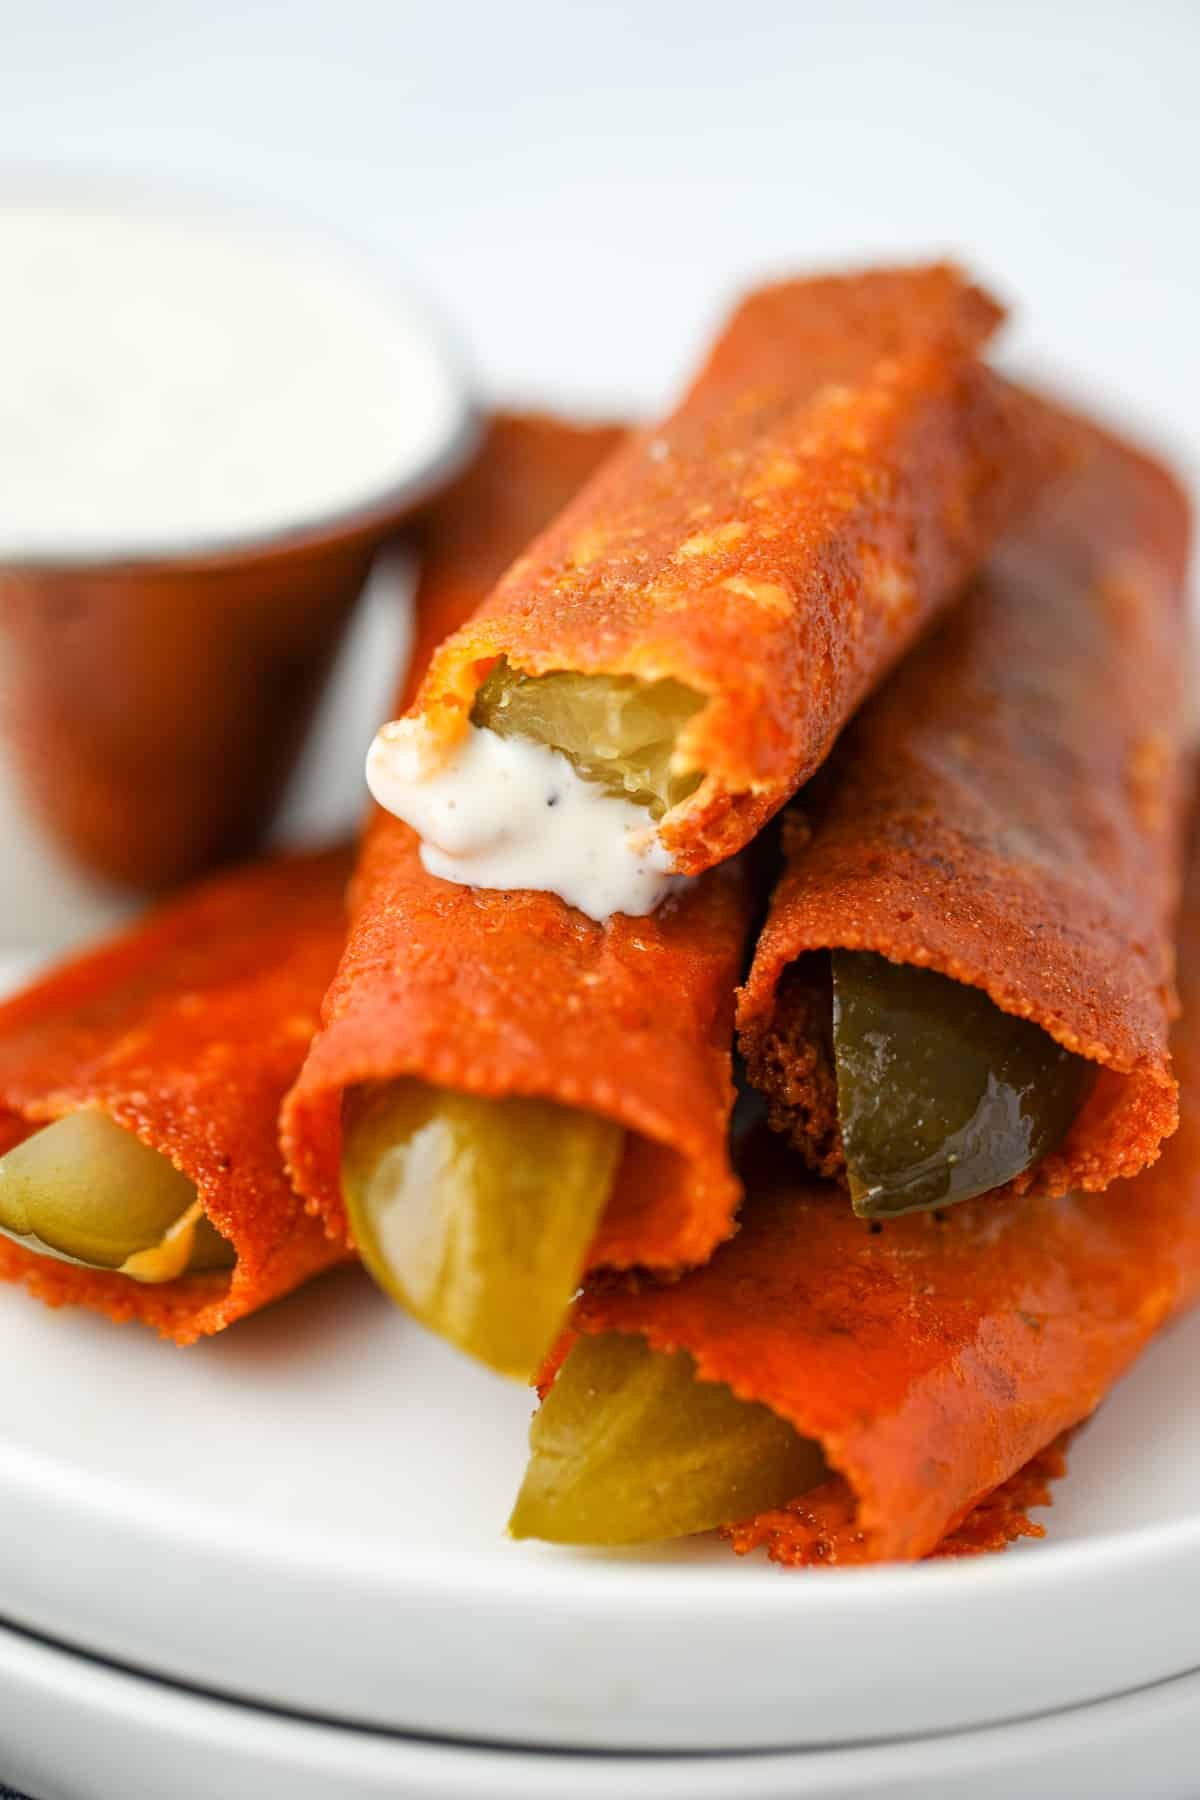
Expert Tips
- Work in small batches. It's hard to manage any more than 3 slices of melting cheese at the same time, so I recommend to work in batches of 1-2 cheese pickles at a time. I've made probably hundreds of these over the past year, and I tend to make them one at a time in the skillet.
- Preheat the skillet. The key to making sure your cheese crisps instead of sticks is to ensure it is added to a preheated skillet. Heat the skillet over medium heat for several minutes, or until you can feel the heat radiate when you hover your hand over the center.
- Use non-processed cheese. Definitely skip over the American cheese, and instead opt for "real" cheese slices like cheddar cheese, marble, monterey Jack, etc. For a variety of flavor, you could try a few different cheese options.
- Use a metal spatula. If you have a metal spatula with a thin edge and a short handle, that's the best for flipping in my opinion! If not, use the thinnest edge spatula or turner you can find. It makes it easier to slide under the crispy cheese.
More Low Carb Recipes:
If you loved this recipe for Chickles (AKA Cheesy pickles), let me know by leaving a 5-star review in the recipe card or comment below! You can also tag me on Instagram @dashfordinner.

Chickles (Cheese Pickles)
Ingredients
- 1 slice cheese cheddar, monterey Jack, marble, etc. (Do not use American cheese)
- 1 dill pickle spear
Instructions
- Heat a large non-stick skillet (or well seasoned cast iron) over medium heat.
- Once the pan radiates heat, place the cheese slice in the center of the pan.
- The cheese slice will bubble up and melt. Do not attempt to touch it until the edges begin to brown and the bottom crisps up.
- Once the edges of the cheese brown (about 1-2 minutes), slide a thin spatula around the edges of the cheese to loosen it from the pan.
- Place a single pickle spear in the center of the melted cheese square.
- Use the spatula to roll one half of the cheese on top of the pickle spear, then continue to roll the pickle so that it becomes wrapped in the fried cheese.
- Remove from the skillet. If desired, drain the excess grease on a paper towel lined plate.
- Repeat with the desired amount of cheese and pickles.
- Serve with ranch dressing (or your favorite dipping sauce) and enjoy!
Notes
Nutrition
Please note that some of my blog posts here at Dash for Dinner may contain affiliate links. If you make a purchase through these links, I will get a small commission at no additional cost to you. Please see my Disclaimer for more information.





Leave a Reply