
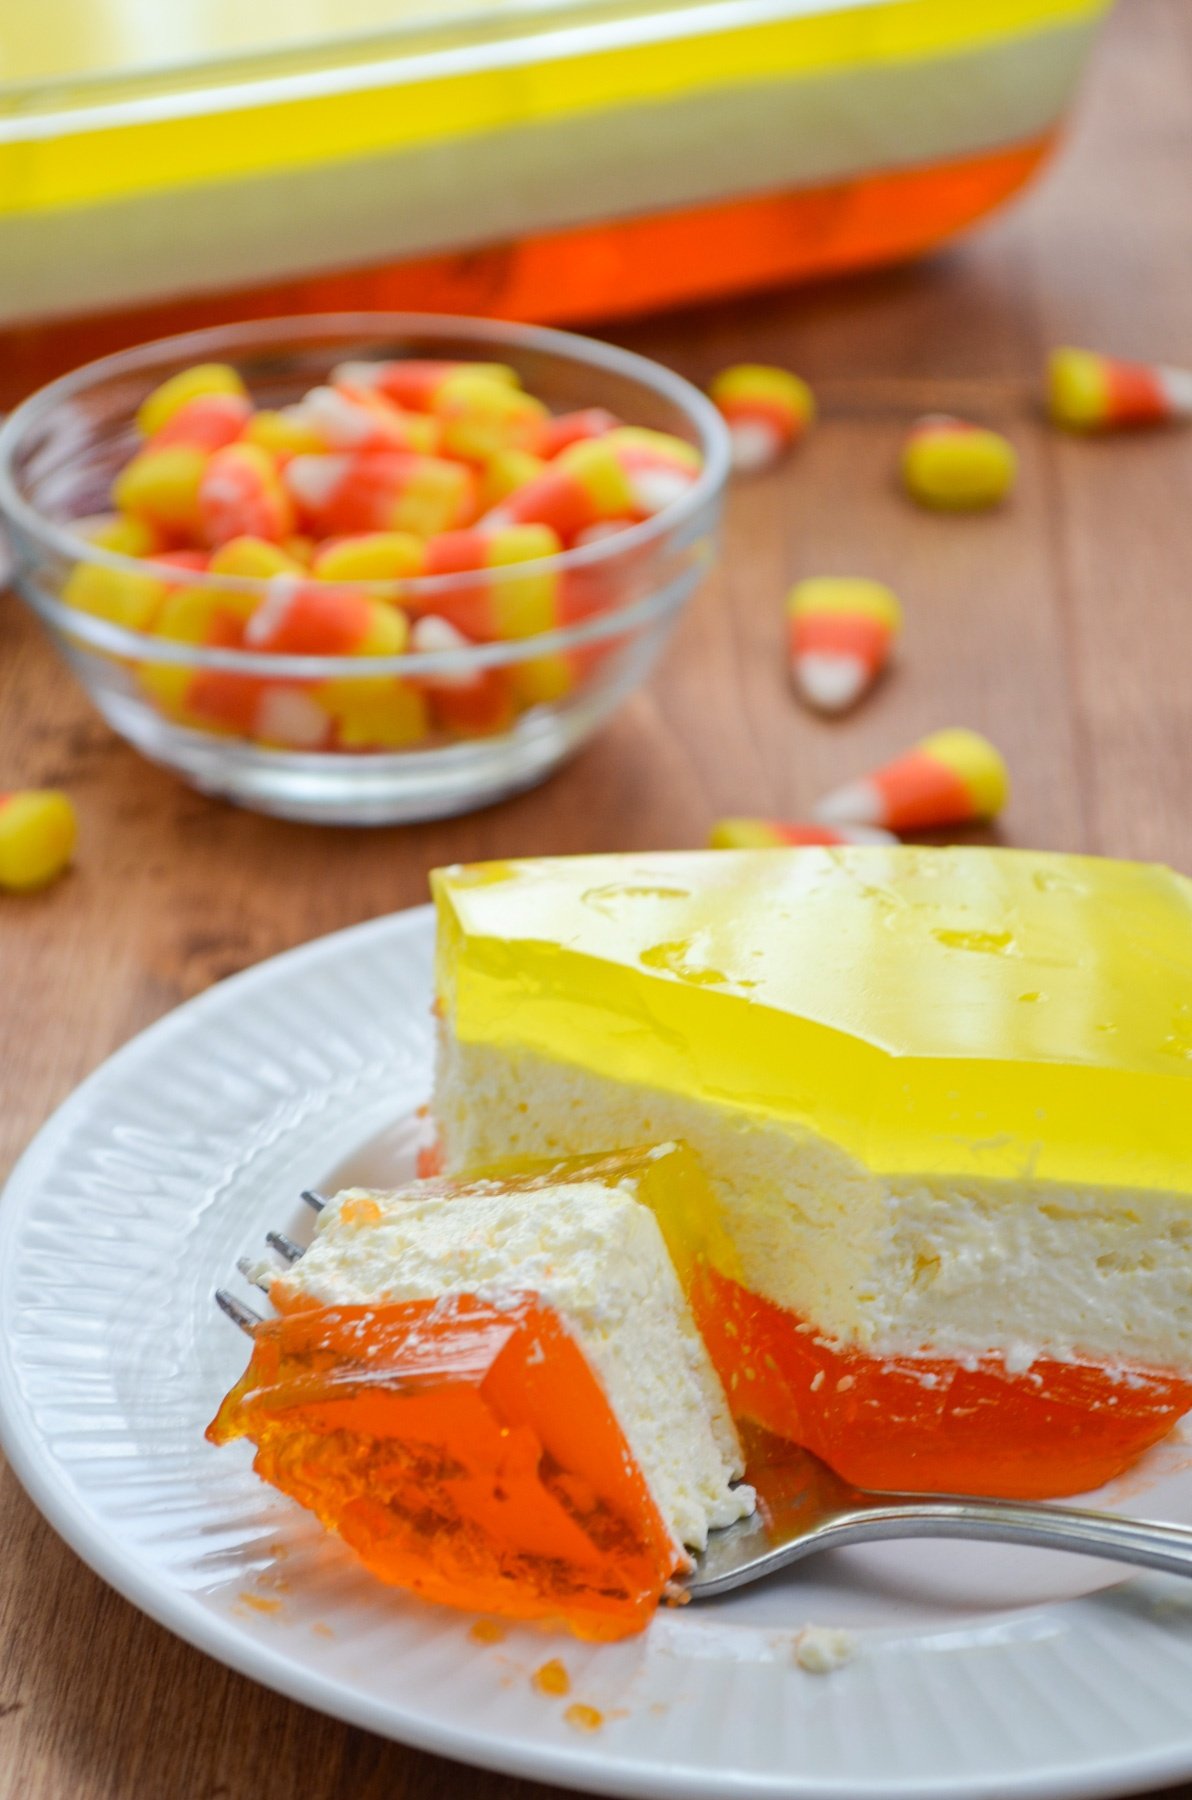
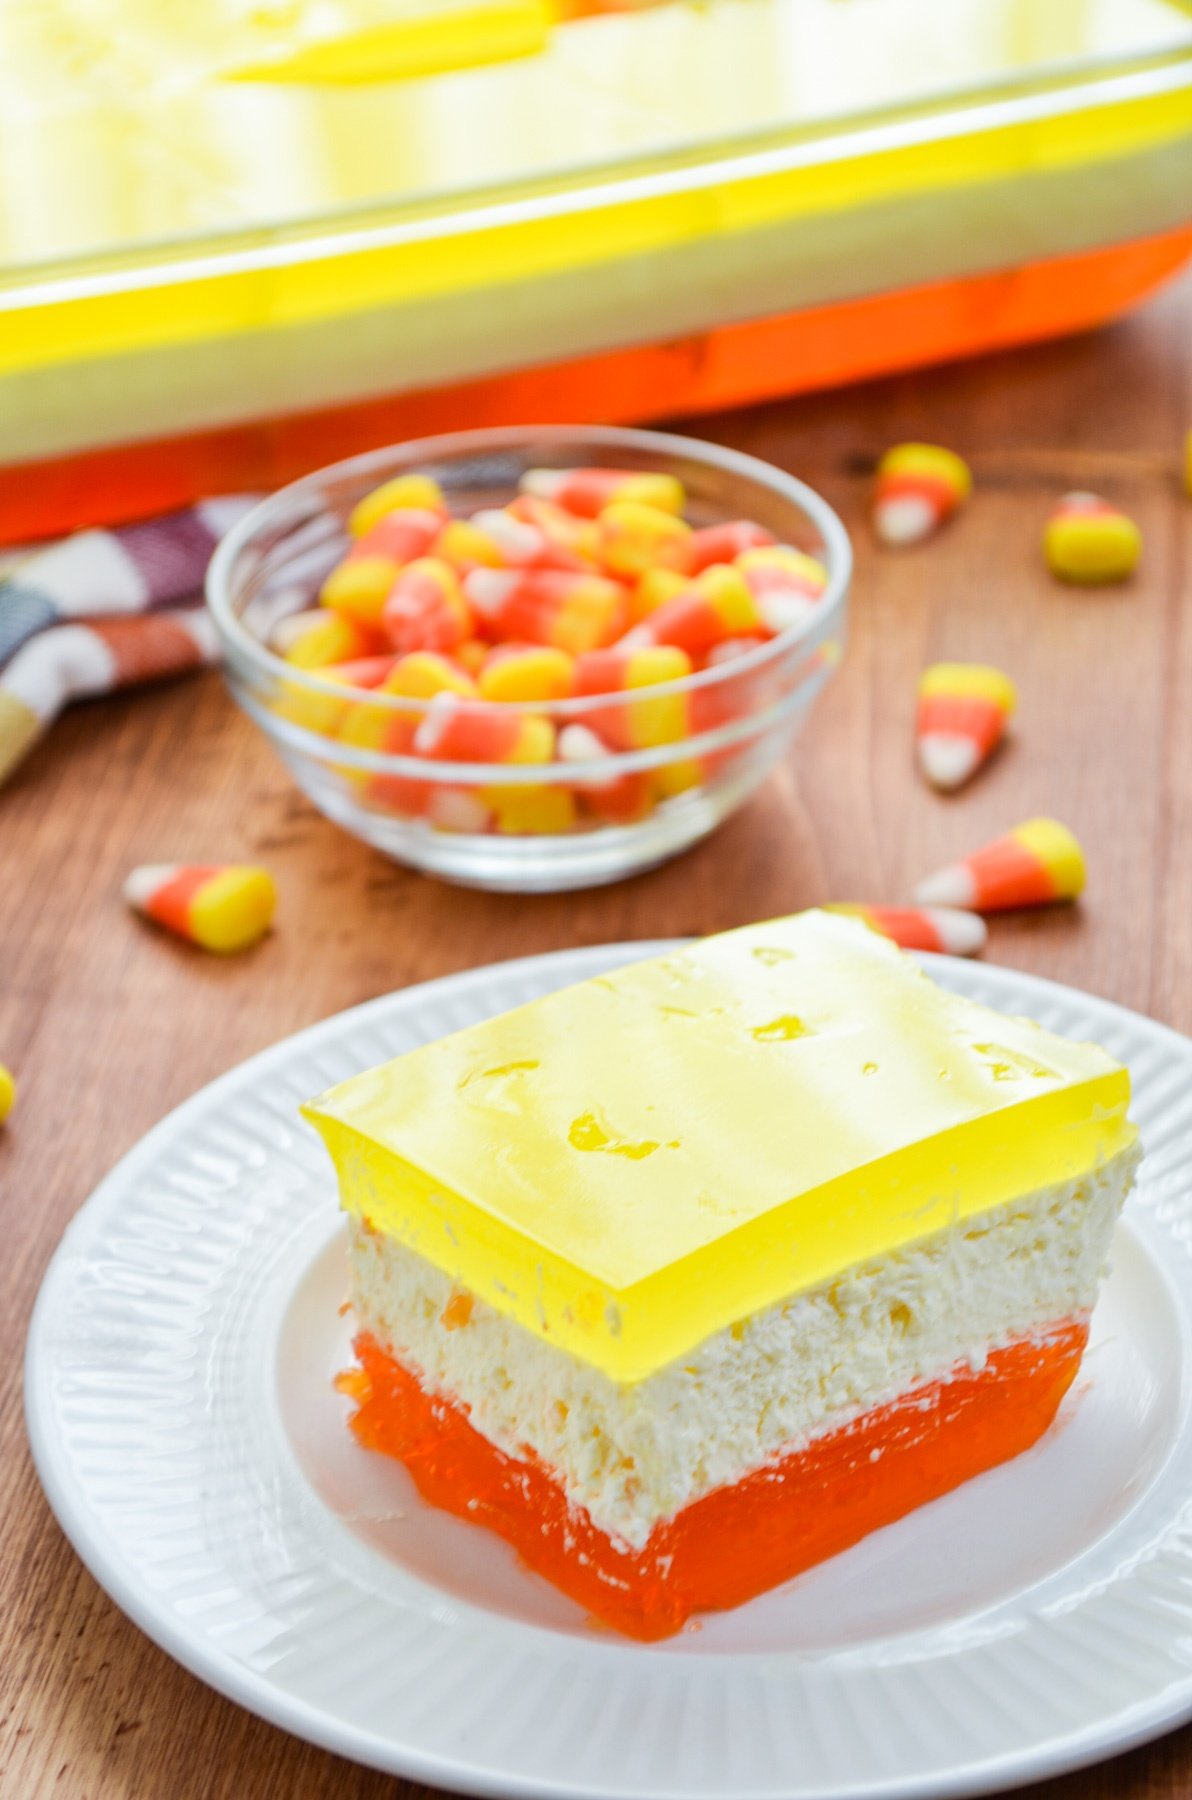
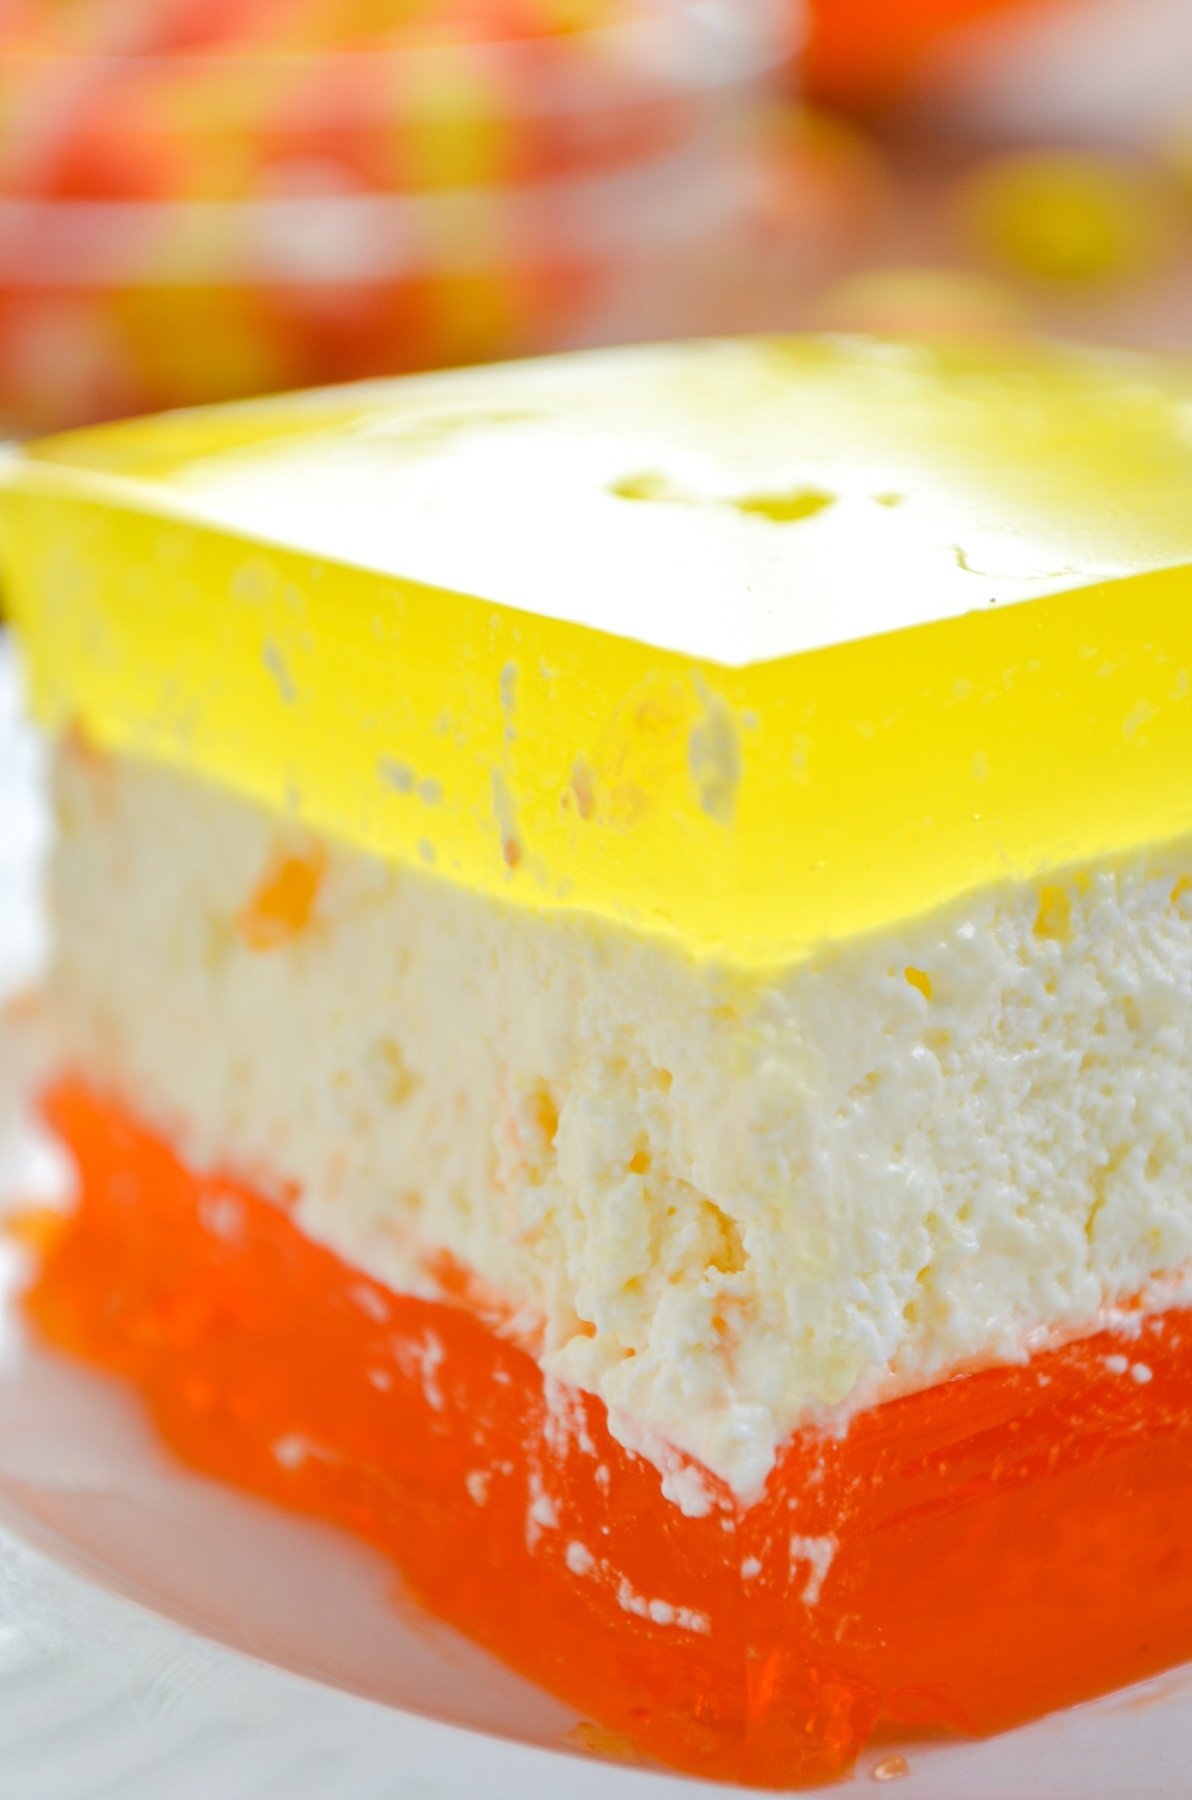
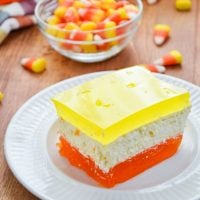
Welcome your favorite spooky season with this easy 3 layered Halloween Jello! Inspired by the fun colors of candy corn, this no bake Halloween dessert is made with cool whip, cream cheese, and Jello. No condensed milk required! This Halloween layered Jello is the perfect family fun activity, and delicious to boot!
Please note that some of my blog posts here at Dash for Dinner may contain affiliate links. If you make a purchase through these links, I will get a small commission at no additional cost to you. Please see my Disclaimer for more information.
While I am by no means refined, I do not consider myself tacky in the least. I like simple things, like vanilla ice cream and lace curtains. But when it comes to Halloween? Well, that's a different story! Halloween is the time to be tacky, kitschy, and all together weird.
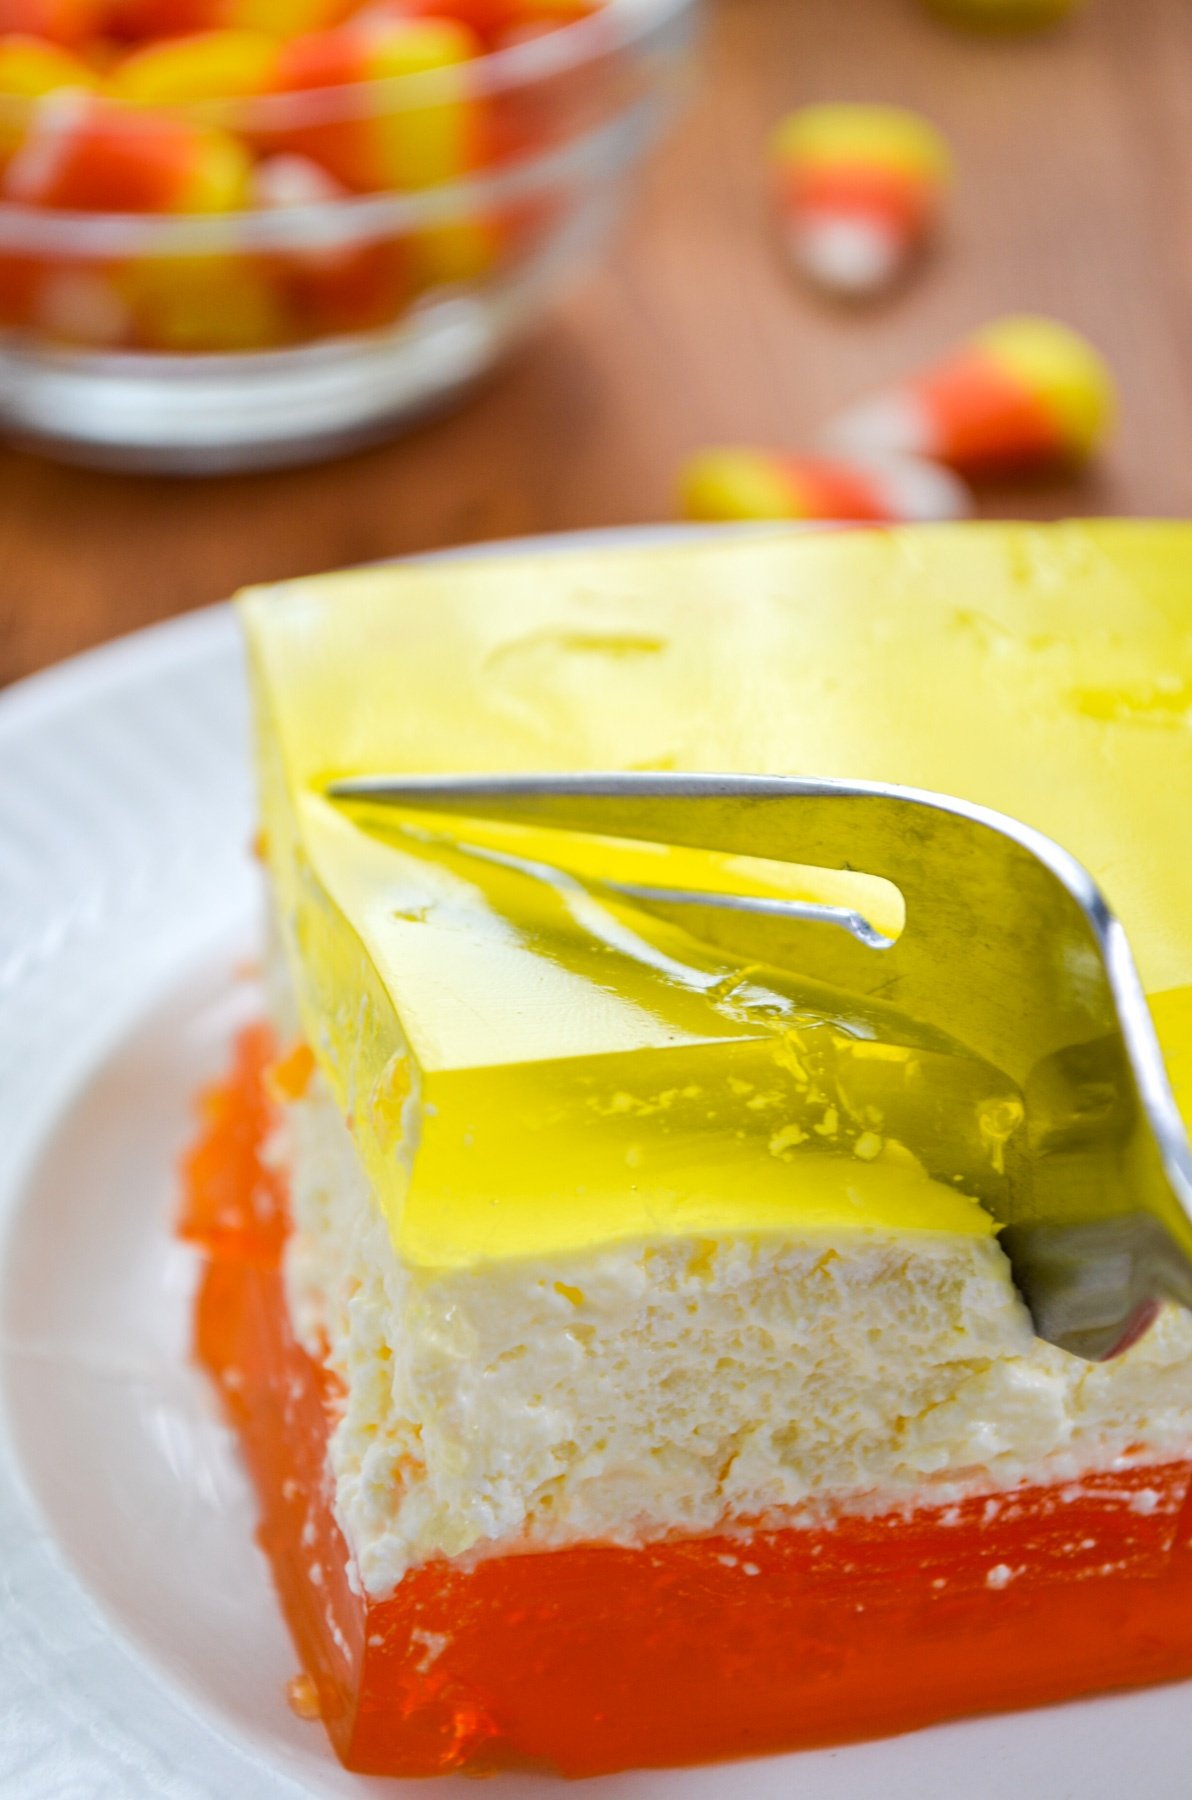
This layered Halloween Jello is an easy, fun, and oddly delicious Halloween dessert! Even though the flavors are lemon and orange, there is no doubt that this candy corn inspired dessert is 100% Halloween. Best of all? It's an easy no bake recipe! Perfect for making together as a family.
The Ultimate Retro Dessert
While Jell-O desserts enjoyed a boom of popularity in the 1960's through to the 1980's, they haven't played too much of a roll in our 21st century culture. I'm hoping that changes, because jello desserts are wonderfully retro, and brilliantly easy to make. By sharing this recipe for my layered Halloween Jello, I hope I'm doing my part in bringing about the comeback of gelatinous food stuffs.
Let's get started!
Ingredients
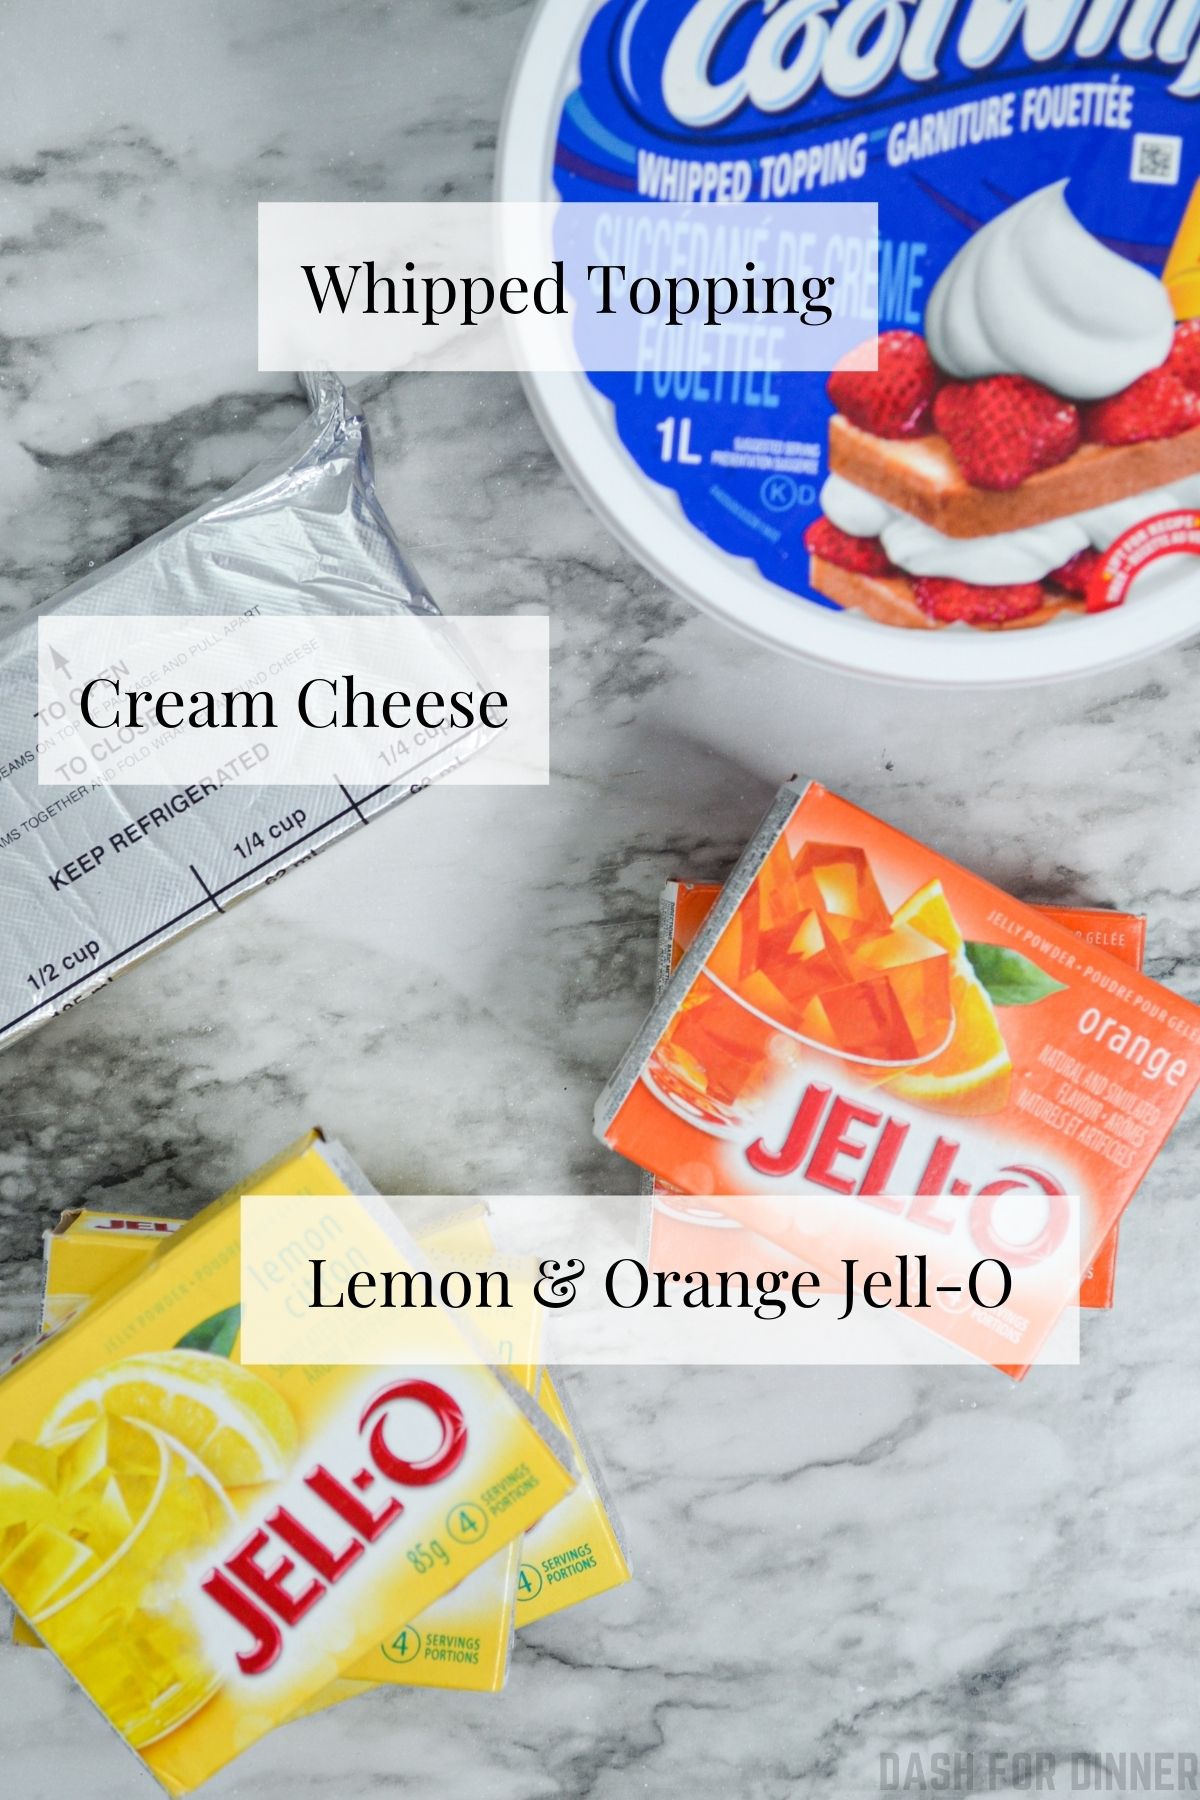
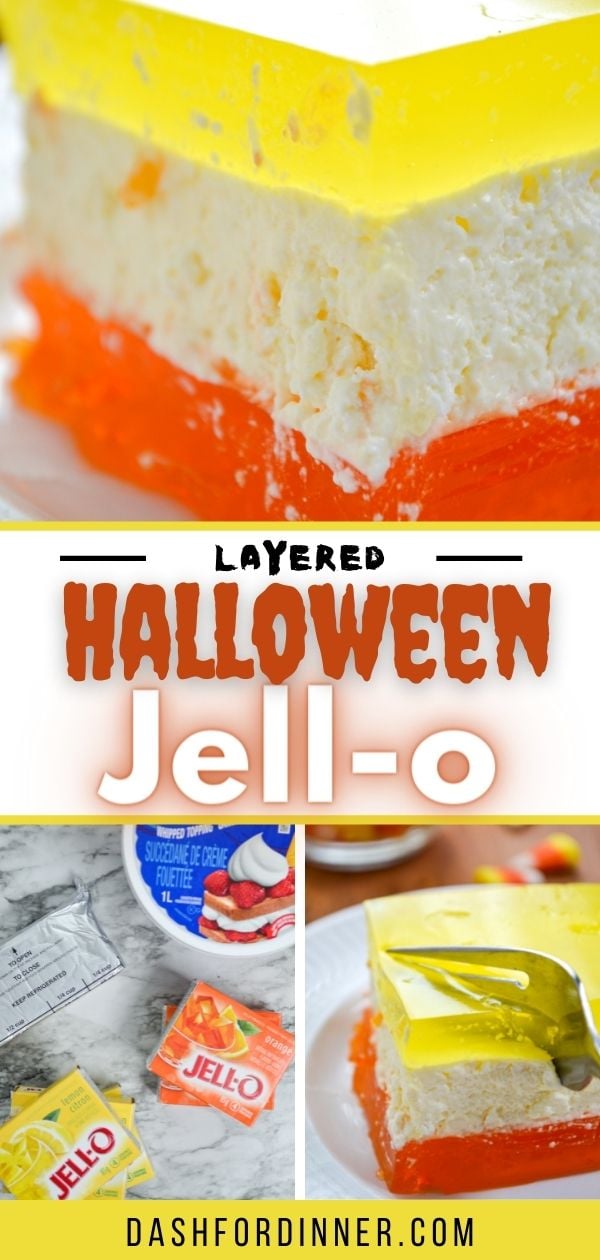
- Orange Jello: You will need 2 (3oz) boxes of orange Jello.
- Lemon Jello: You will need a total of 3 (3oz) boxes of lemon Jello for this recipe. One is used with the cream cheese and Cool Whip layer, and the other 2 boxes are used for a separate lemon Jello layer.
- Cream cheese: Purchase the brick-style cream cheese. This helps create a firm, stable layer. I would not recommend substituting this for whipped or tub-style cream cheese.
- Cool Whip: Also known as frozen whipped topping, this can be found in the freezer section of any major grocery chain. I would not recommend substituting homemade whipped cream in this recipe, since it needs to set into a firm layer, which is very difficult to do with homemade whipped cream.
Instructions
The Orange Jello Layer
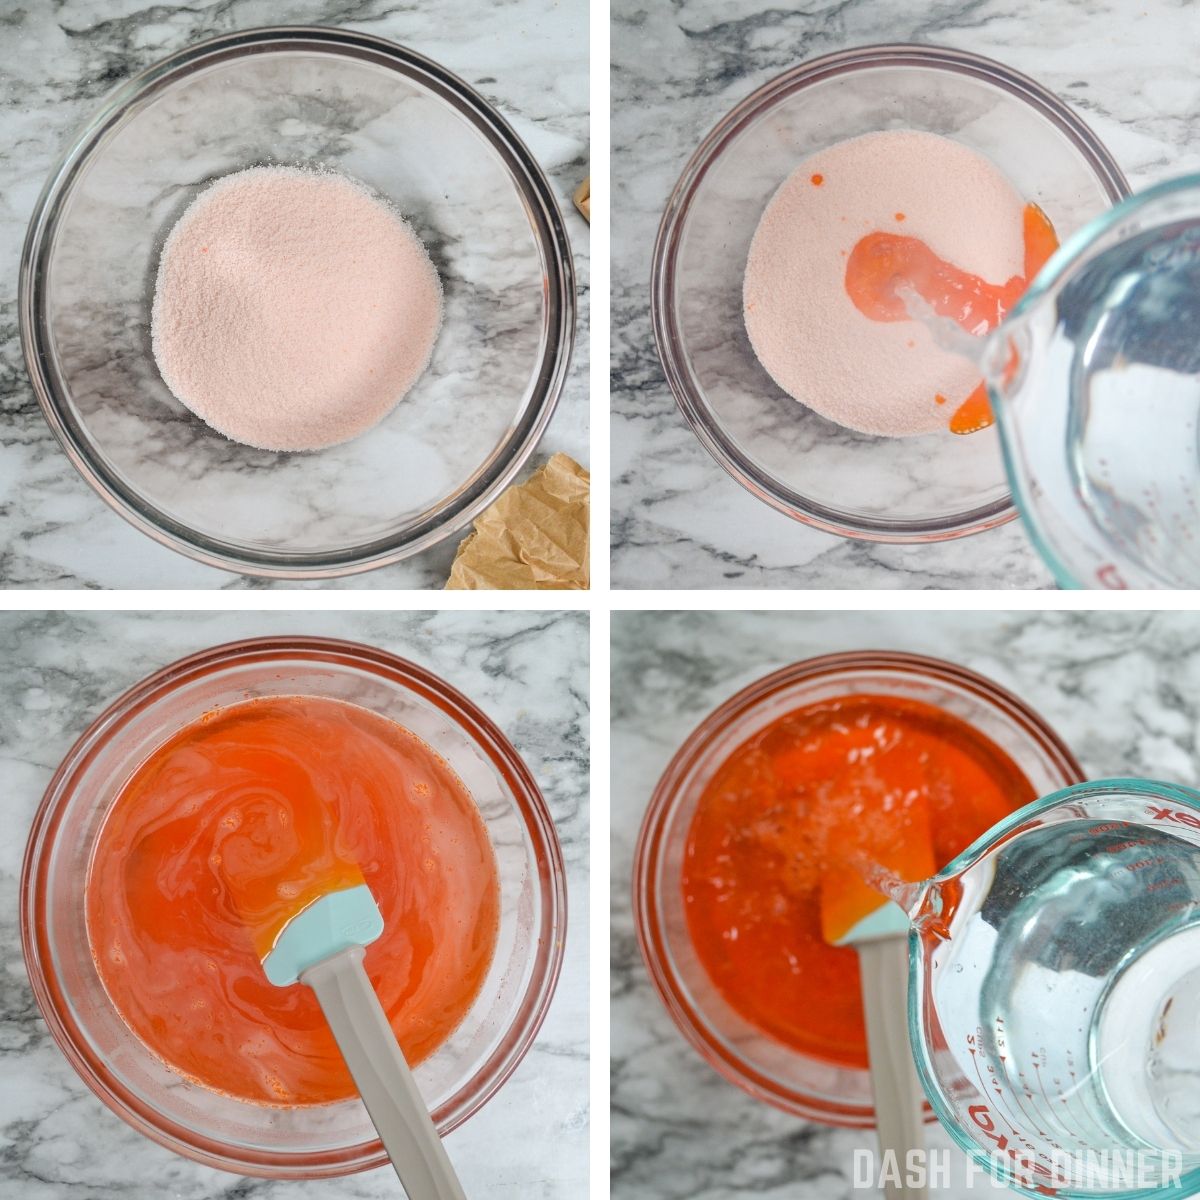
First, prepare the orange Jell-O by adding the two packages of Jell-O to a medium sized bowl.
Pour in 2 cups of boiling water. Stir to dissolve.
Add in 2 cups of cool water, and stir well.
Pour the prepared orange Jell-O into the bottom of a deep dish or lasagna style 9X13 pan.
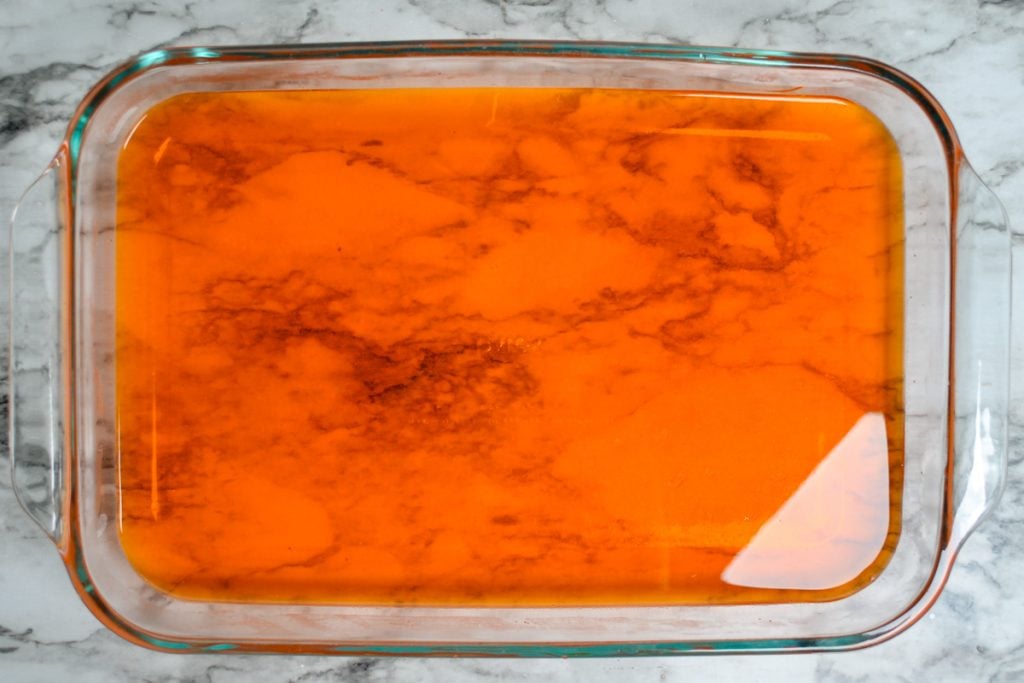
Chill the bottom layer of Jell-O until firm, 1-2 hours. Letting the Jell-O set for longer will ensure that it does not bleed into the middle layer, which is white and creamy.
Cool Whip and Cream Cheese Layer
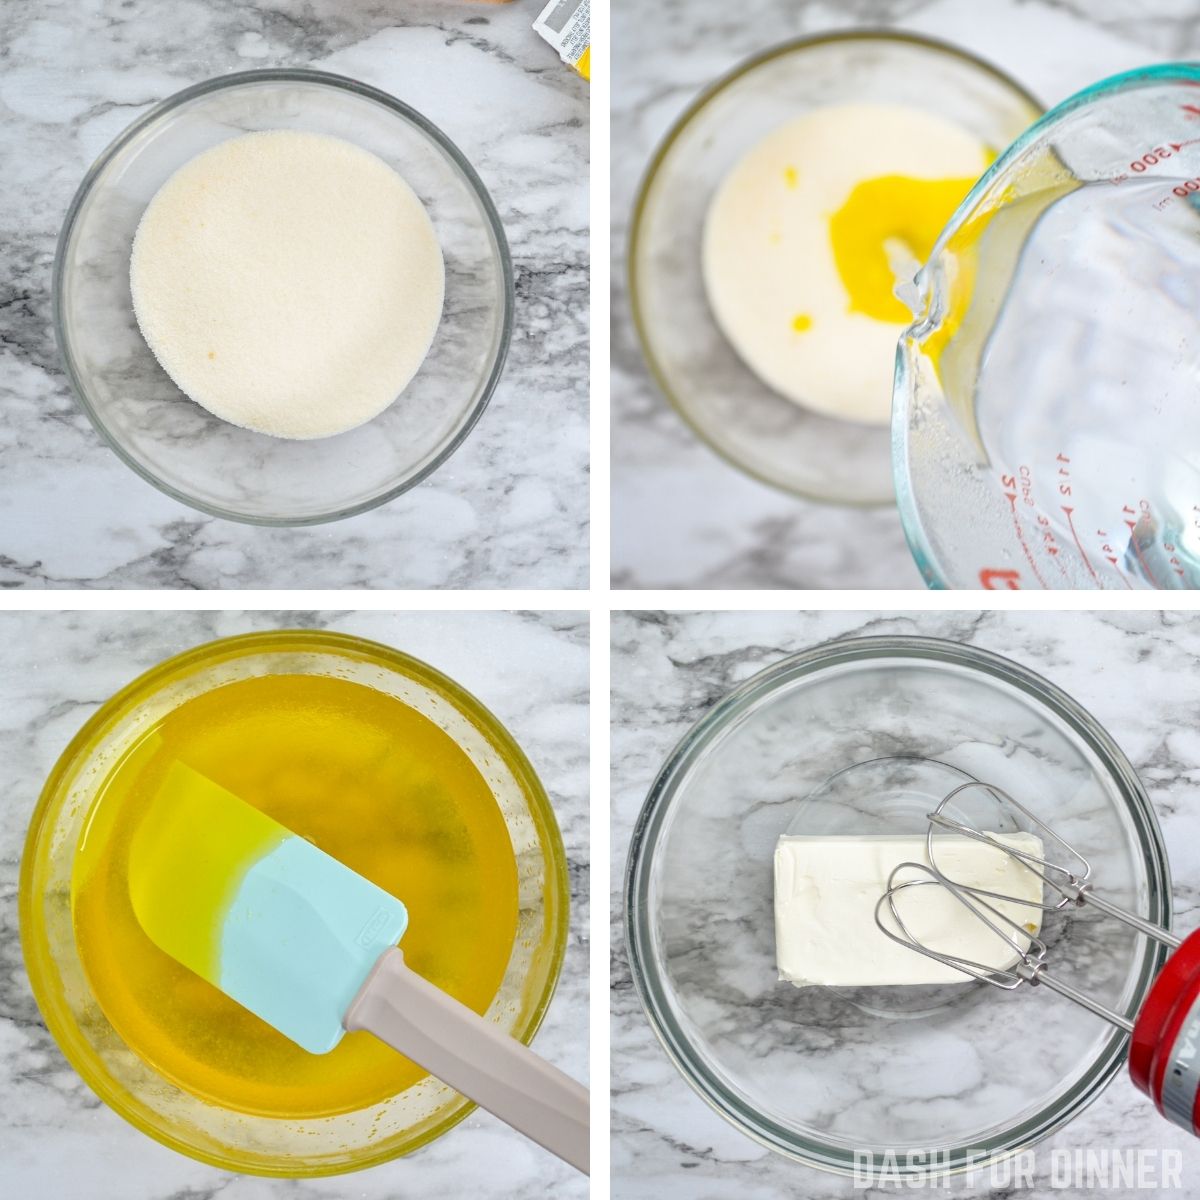
About 30 minutes before the bottom layer is chilled, begin preparing the center layer. Add 1 package of the lemon Jell-O powder to a medium sized bowl.
Pour in 1 cup of boiling water and whisk until dissolved.
Add the cream cheese to a medium sized bowl and beat with a hand blender until smooth. Pour in the lemon gelatin mixture and blend with the cream cheese until smooth.
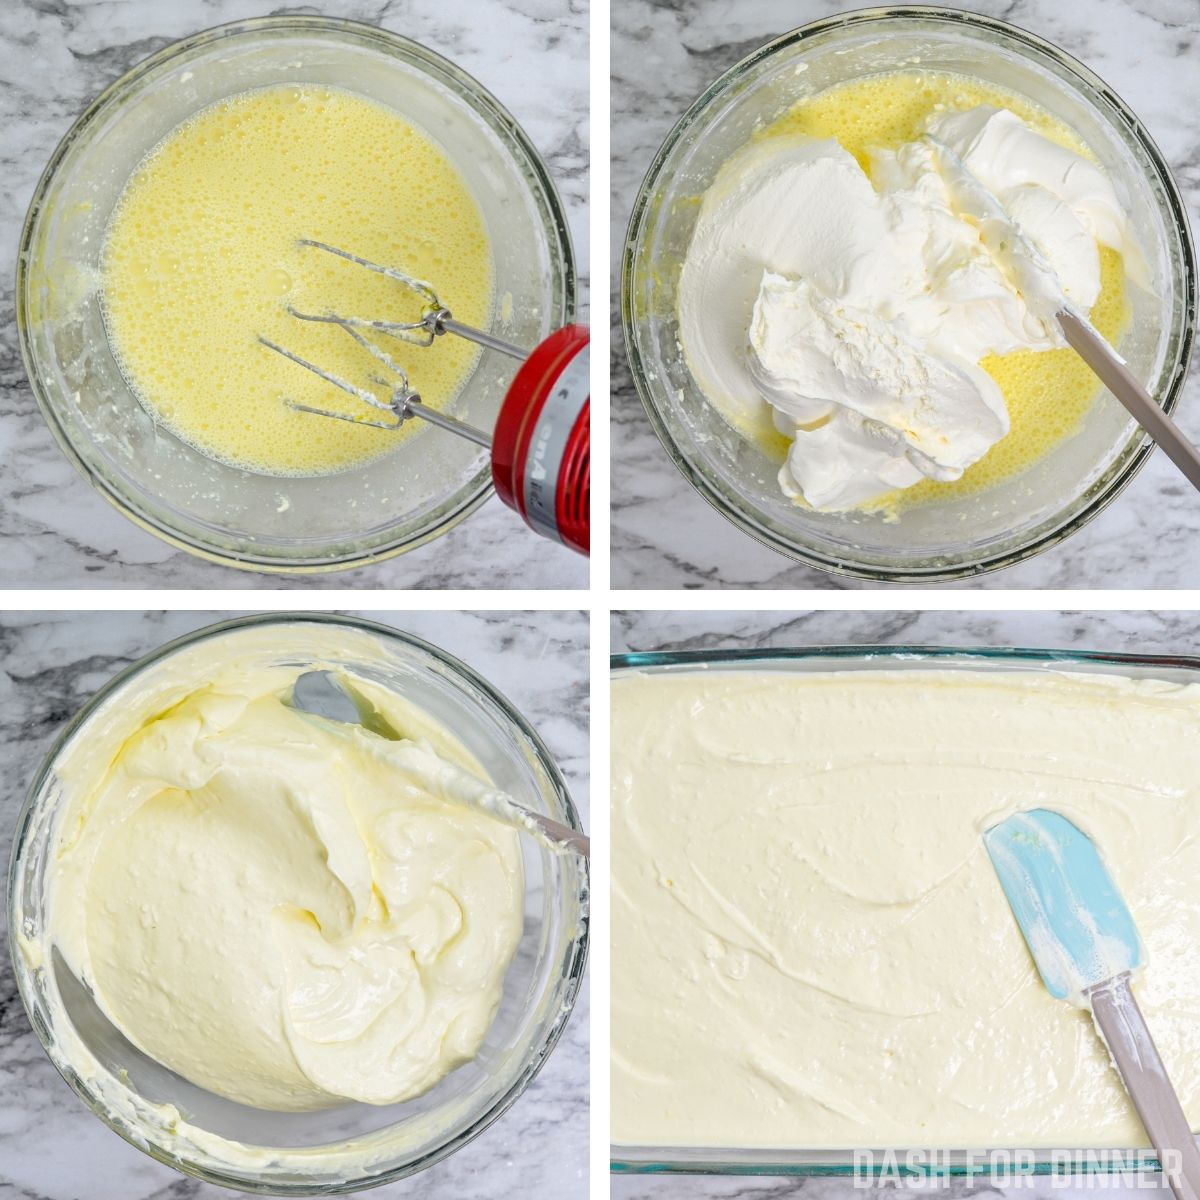
Let this mixture cool to room temperature. Then, add the thawed whipped topping.
Fold in or blend the whipped topping until the mixture is completely uniform. Spread the Cool Whip and cream cheese mixture over the firmly set bottom layer.
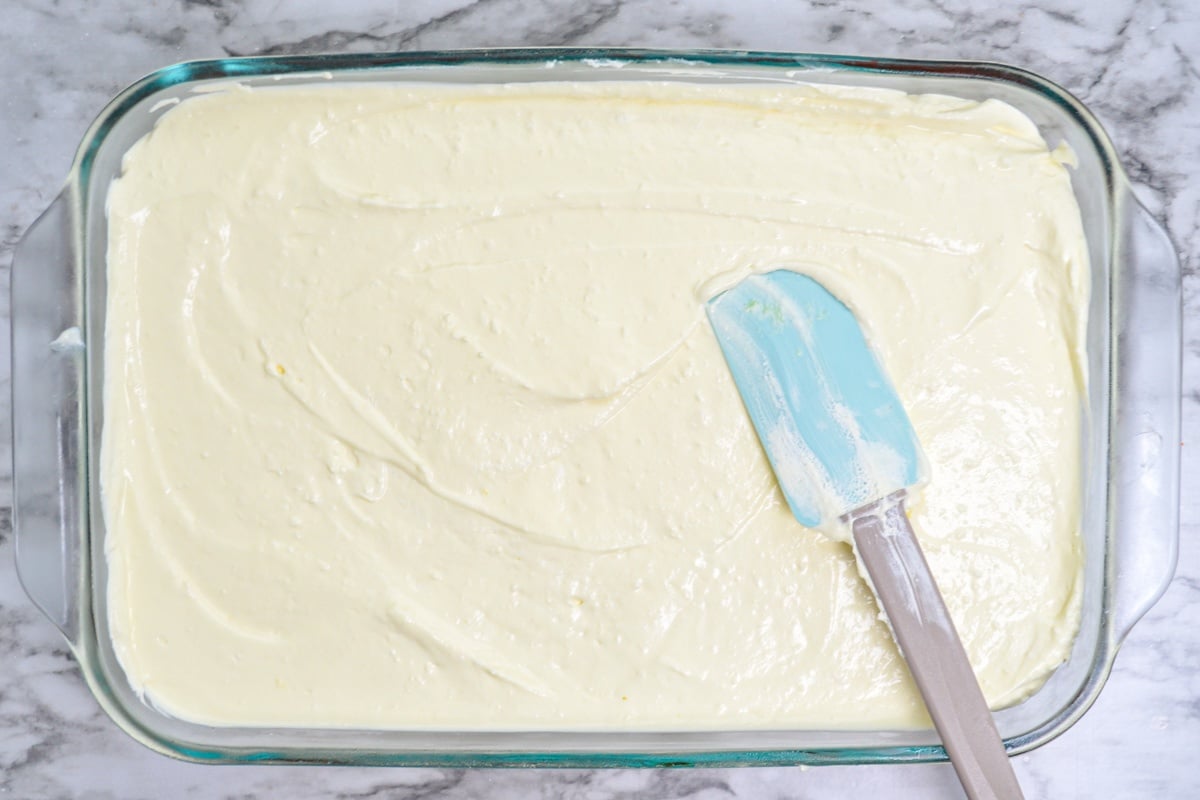
Cover with plastic wrap and place in the fridge to chill for an additional 1-2 hours, until firmly set. Again, the longer you let the layers chill, the more crisp and clean your layered gelatin will be.
Lemon Jell-O Layer
About 30 minutes before you are due to take the layered Jell-O out of the fridge, begin preparing the final layer of your Halloween Jell-O.
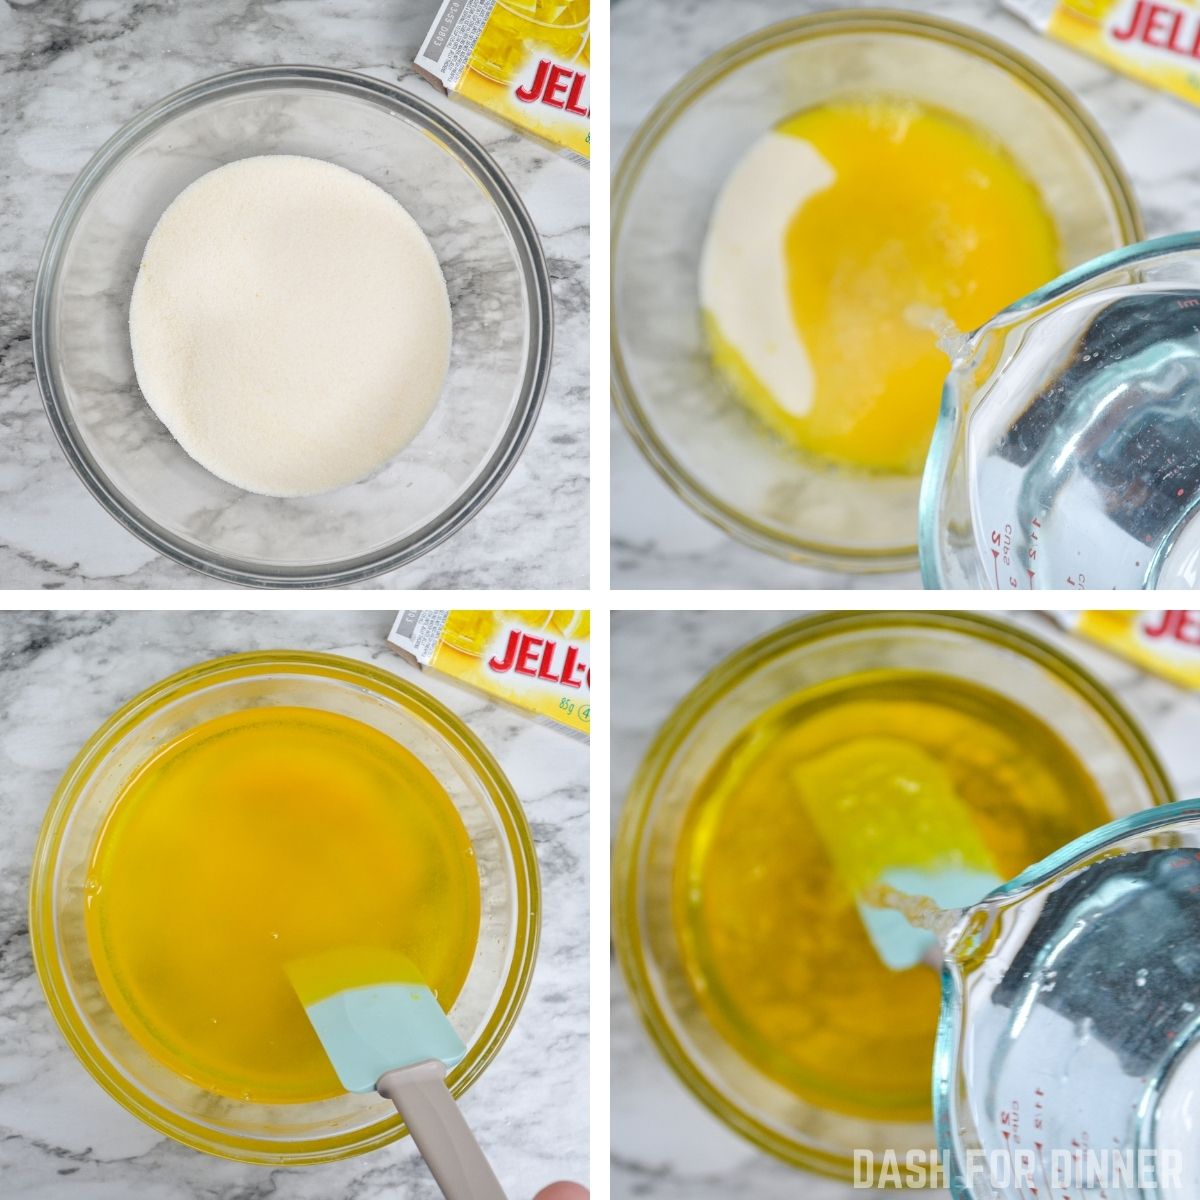
Add 2 packages of lemon flavored Jell-O powder to a medium or large sized bowl. Pour in 2 cups of boiling water, and stir to dissolve. Add in 2 cups of cool water and stir until well combined.
Let the lemon gelatin cool to room temperature. Once the lemon gelatin mixture is cool, but still pourable, gently pour it onto the surface of the cream cheese layer.
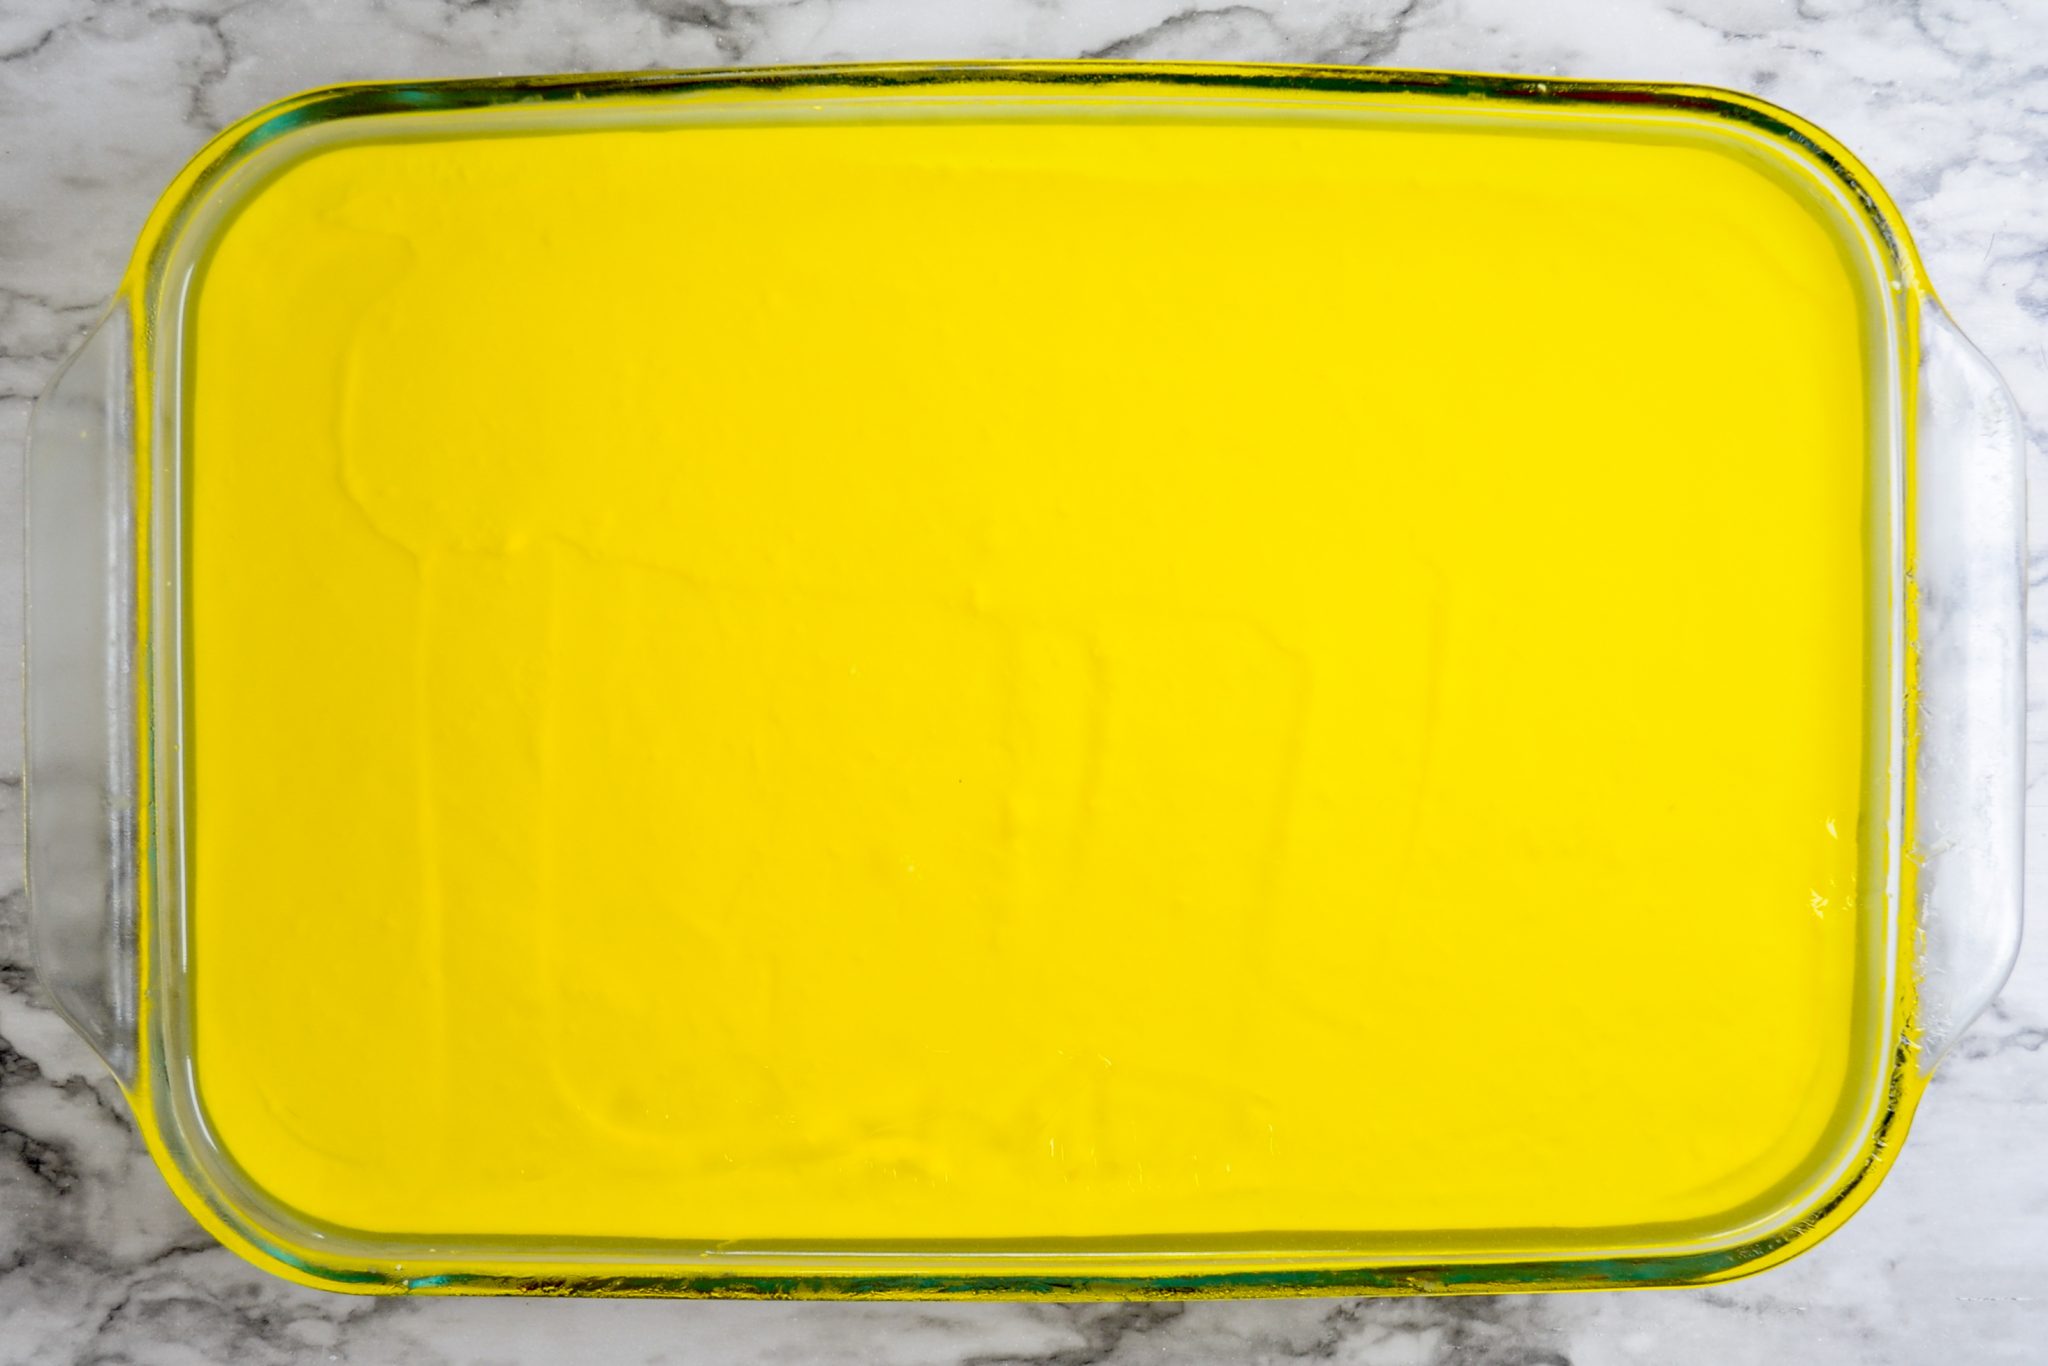
Smooth it out evenly with a silicone spatula and cover with plastic wrap.
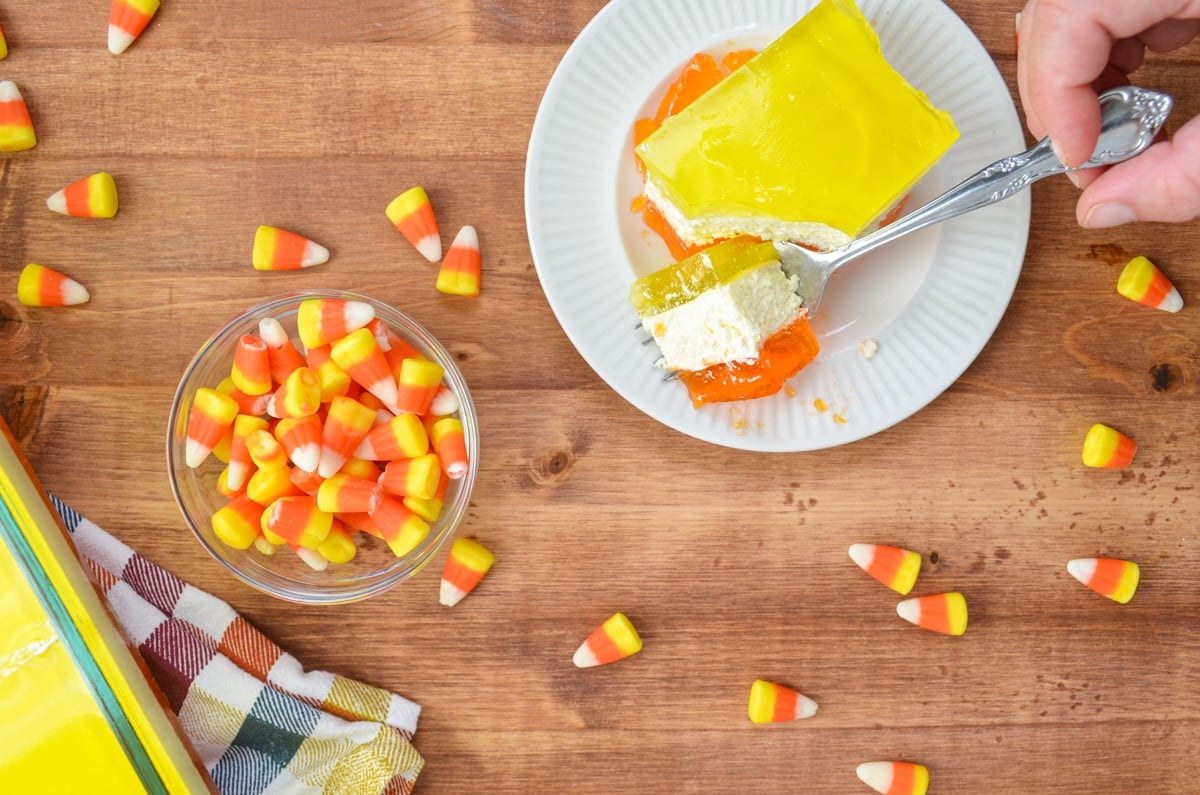
Chill for 2-4 hours before slicing and serving.
Tips for Success
- In order for all of the layers to fit, you will need to use a deep dish or lasagna style baking dish. A typical 9X13 glass Pyrex dish is not deep enough to hold all three layers. If you do not have a deep baking dish, you can remove approximately ¾ cup of each layer and make a small, separate mini desert using the extras. You can also make layered ramekins with the leftovers.
- Let each layer chill and set before proceeding with the next layer of your Halloween Jello. This will ensure the layers do not blend together. 1 hour is given as a minimum, but 2 hours or longer is ideal.
- Make sure you purchase the correct sizes of the products listed in the recipe. Jell-O comes in both 3oz (85g) and 6oz (170g) sizes, so it is important to buy the correct package size. Cool Whip comes in 8oz, 12oz, and 16oz sizes, so the same vigilance is require there. For this recipe, we use the 3oz size of Jello and the 12oz (1L) size for whipped topping.
Variations:
4th of July Layered Jell-O: Substitute the bottom layer of jello for a red flavor like strawberry or raspberry. Make the center layer as directed with 1 package of lemon jello, and use 2 packages of blue jello for the top layer.
Christmas Layered Jell-O: Substitute the bottom layer of Jell-O for a red flavor like strawberry or raspberry. Make the center layer as directed with 1 package of lemon Jell-O, and use 2 packages of green Jell-O for the top layer.
Valentines Day Layered Jell-O: Substitute both the bottom and top layer for a red flavor of Jell-O like strawberry or raspberry. Make the center layer as directed with 1 package of lemon Jell-O.
St. Patrick's Day Layered Jell-O: Substitute both the bottom and top layer for green Jell-O. Make the center layer as directed with 1 package of lemon Jell-O.
More Fun Halloween Recipes:
- Air Fryer Mummy Dogs
- Nutter Butter Ghosts
- Halloween Pumpkin Oreos - Lil' Luna
- Easy Mummy Rice Krispie Treats - Life, Love and Sugar
Halloween Layered Jello
Ingredients
- 2 3oz packages orange flavored Jell-O
- 3 3oz packages lemon flavored Jell-O
- 8 oz brick style cream cheese
- 1 12oz container frozen whipped topping (ie. Cool Whip), thawed
Instructions
- First, prepare the orange Jell-O by adding the two packages of Jell-O to a medium sized bowl. Pour in 2 cups of boiling water. Stir to dissolve.
- Pour in 2 cups of cool water, and stir well.
- Pour the prepared orange Jell-O into the bottom of a deep dish or lasagna style 9X13 pan. (*see notes for alternatives)
- Chill the bottom layer of Jell-O until firm, 1-2 hours. Letting the Jell-O set for longer will ensure that it does not bleed into the middle layer, which is white and creamy.
- About 30 minutes before the bottom layer is chilled, begin preparing the center layer.
- Add 1 package of the lemon Jell-O powder to a medium sized bowl. Pour in 1 cup of boiling water and whisk until dissolved.
- Add the cream cheese to a medium sized bowl and beat with a hand blender until smooth. Pour in the lemon gelatin mixture and blend with the cream cheese until smooth.
- Let this mixture cool to room temperature. Then, add the thawed whipped topping.
- Fold or blend the whipped topping until the mixture is completely uniform.
- Spread the cool whip and cream cheese mixture over the firmly set bottom layer.
- Cover with plastic wrap and place in the fridge to chill for an additional 1-2 hours, until firmly set. Again, the longer you let the layers chill, the more crisp and clean your layered gelatin will be.
- About 30 minutes before you are due to take the layered Jell-O out of the fridge, begin preparing the final layer of your Halloween Jell-O.
- Add 2 packages of lemon flavored Jell-O powder to a medium or large sized bowl. Pour in 2 cups of boiling water, and stir to dissolve. Add in 2 cups of cool water and stir until well combined.
- Let the lemon gelatin cool to room temperature.
- Once the lemon gelatin mixture is cool, but still pourable, gently pour it onto the surface of the cream cheese layer. Smooth it out evenly with a silicone spatula and cover with plastic wrap.
- Chill for 2-4 hours before slicing and serving.
Notes
Nutrition


Leave a Reply