
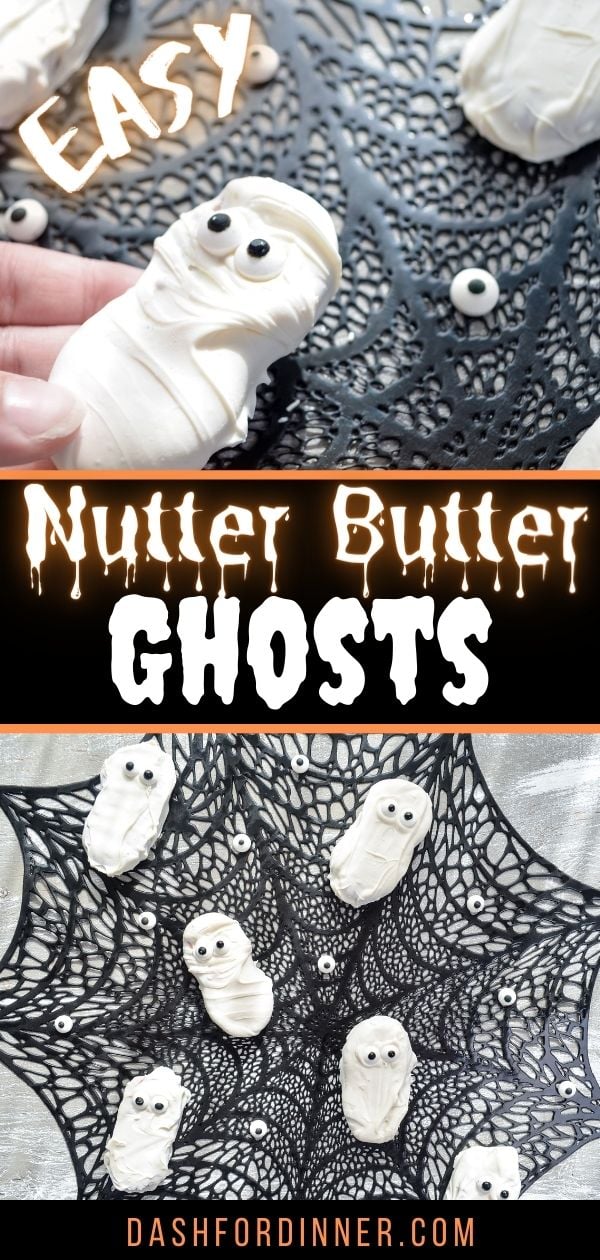
Celebrate all this spooky season has to offer with these simple 3 ingredient Nutter Butter Ghosts. The perfect Halloween treat for making with kids, and sure to impress at your Halloween party! A fun family activity that tastes great.
Please note that some of my blog posts here at Dash for Dinner may contain affiliate links. If you make a purchase through these links, I will get a small commission at no additional cost to you. Please see my Disclaimer for more information.
Pin it for Later
With September coming to a close, and October quickly approaching, we can be certain that Halloween is on its way! With Halloween comes all kinds of tacky decor, in various shades of orange, yellow, green, and purple. It also welcomes with it all sorts of fun foods. Everything from witch fingers to deviled egg eyeballs makes its way to the Halloween table. This is the time to put aside any air of stuffiness and enjoy odd foods, odd music, and of course: odd costumes.
With Halloween also comes a time for celebrating and enjoying time with your family, kids in particular. Kids love this time of year, and you can make it all the more special by making fun treats together as a family. These Nutter Butter Ghosts are perfect for making with kids, since they require just 3 ingredients and no oven time. If you can melt candy wafers, you can make this easy Halloween treat!
Ingredients
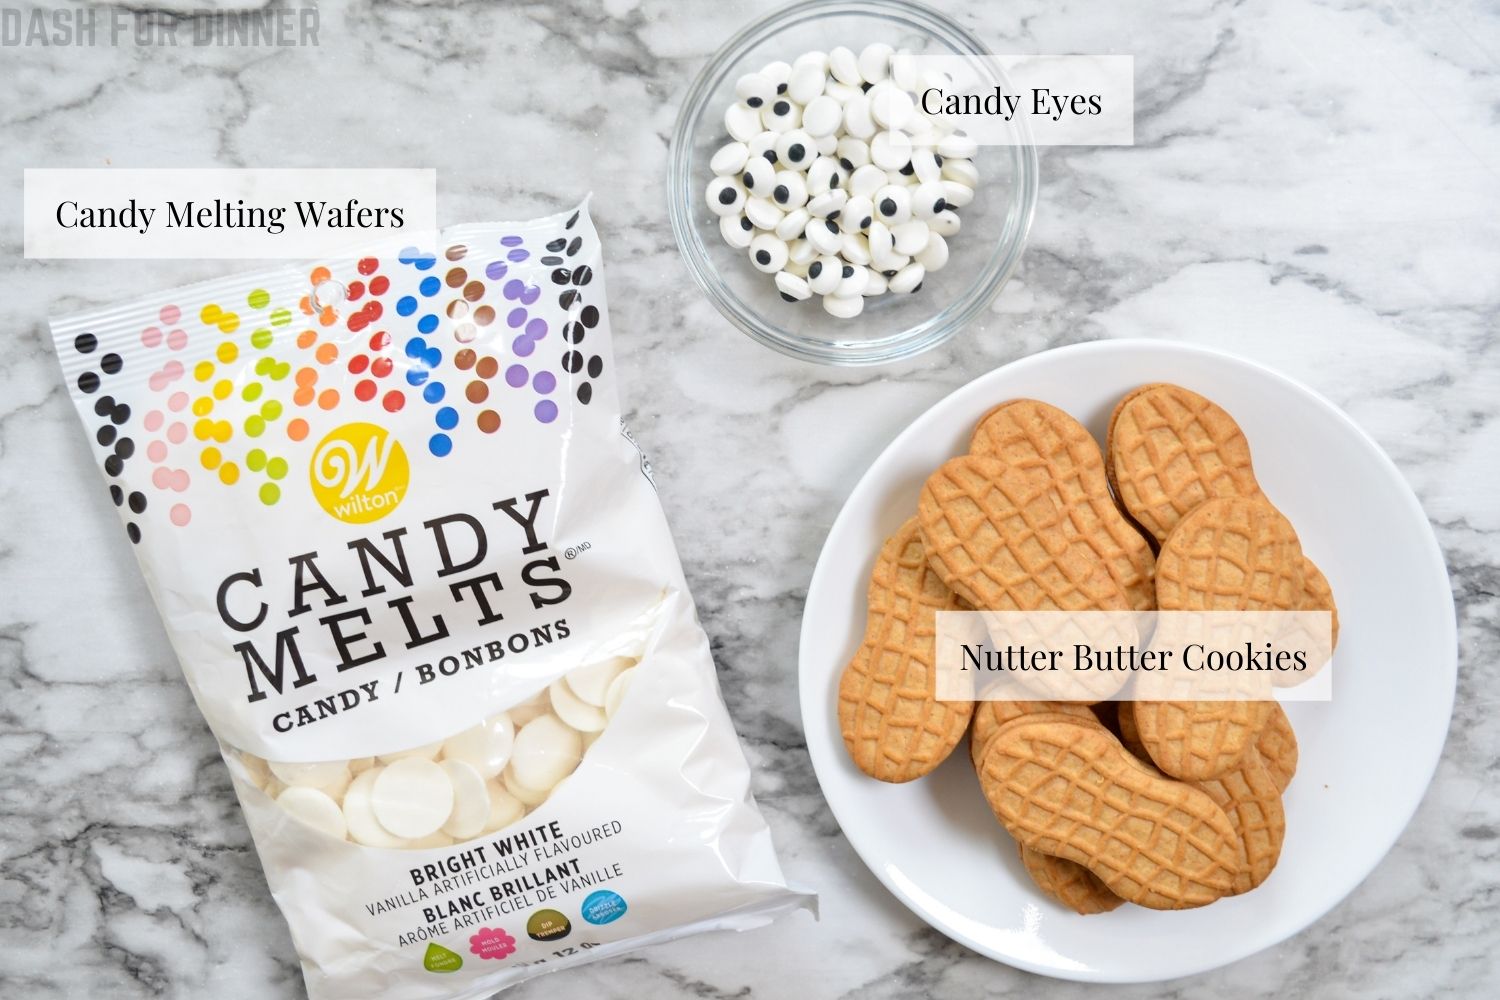
- Nutter Butter cookies: You will need approximately 16 cookies, but you may need more or less depending on how thickly you coat your cookies.
- Candy melting wafers: A 12oz bag of candy melts/candy melting wafers is used to coat your cookies. Opt for white to give you that true ghost effect!
- Candy eyes: You will need about 32 medium sized candy eyes to make your Nutter Butter ghosts!
- Shortening (optional): 2 teaspoons of shortening added to the candy melts helps them melt better, and creates a smoother consistency. This is also helpful if you accidently overheat the candy melts and they clump together.
Instructions
How to Melt Candy Wafers
First, you're going to want to melt the candy melts. There are several methods you can use to melt your candy wafers.
- Microwave: Add the candy melts to a microwave safe bowl with an optional 2 teaspoons of vegetable shortening. Heat at 50% power (important, since you don't want to overheat your candy melts) in 30 second intervals, stirring in between each session. Continue until smooth and creamy.
- Double Boiler: Add your candy melts to the top of double boiler, along with the optional 2 teaspoons of shortening (if using). Bring the water in the bottom to a simmer, and stir the candy melts until they are smooth and melted.
- Candy Melting Pot: You can purchase these at your local craft stores or on Amazon. They bring candy melts to the perfect temperature for melting and dipping. I will be investing in one for sure now that I know they exist!
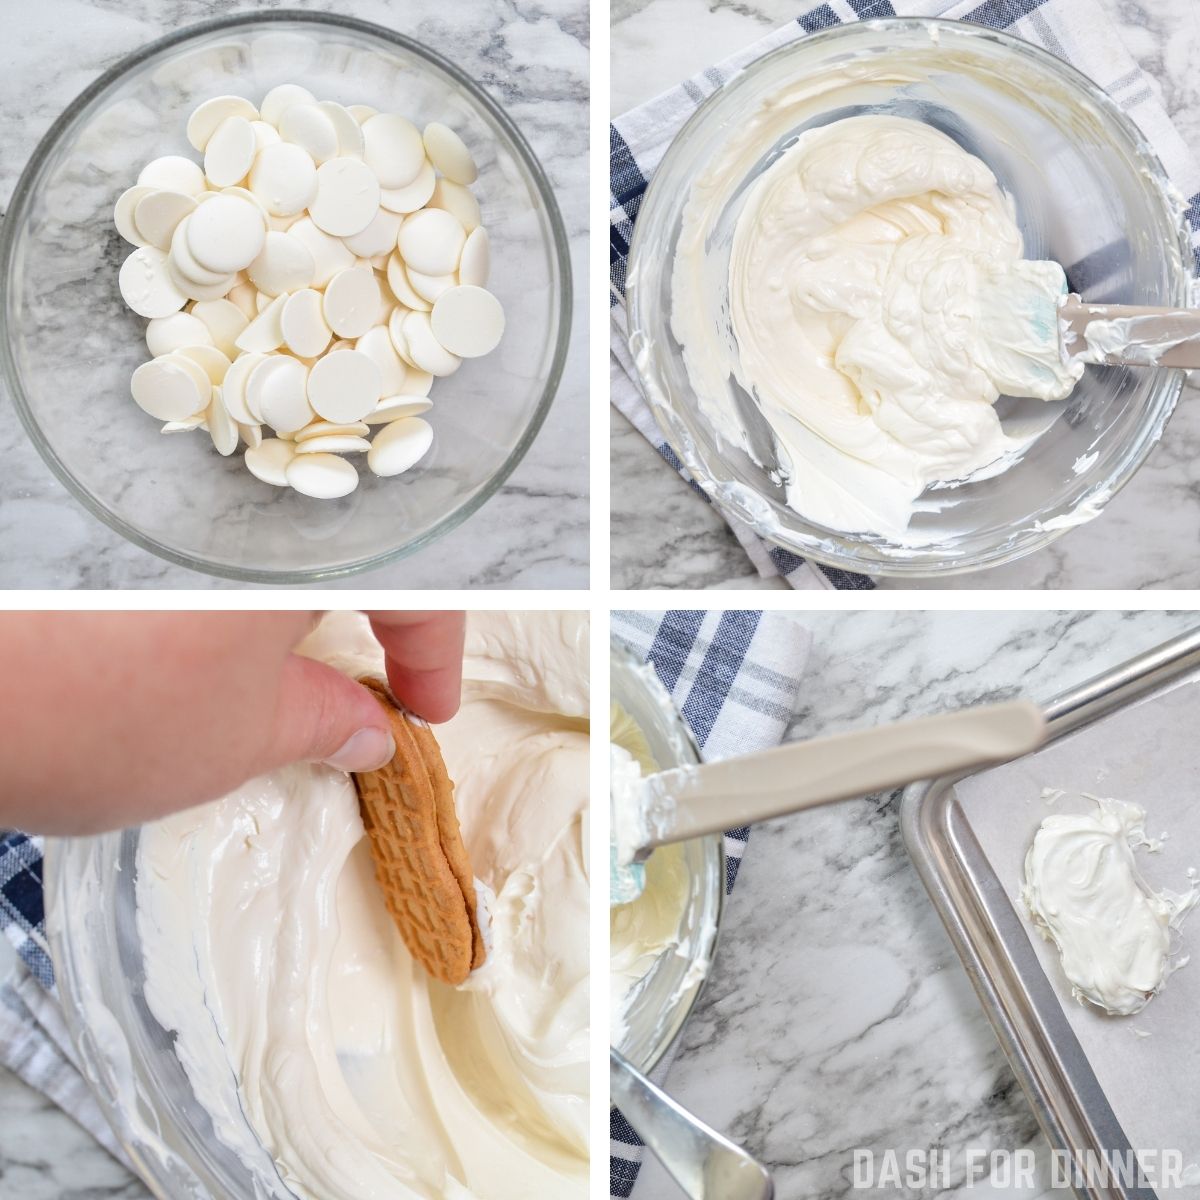
Once you've chosen how you want to melt your candy wafers, prepare a baking sheet or large tray by lining it with parchment paper.
Dip each Nutter Butter cookie into the melted candy coating, turning to coat. Use a silicone spatula to remove excess, if needed.
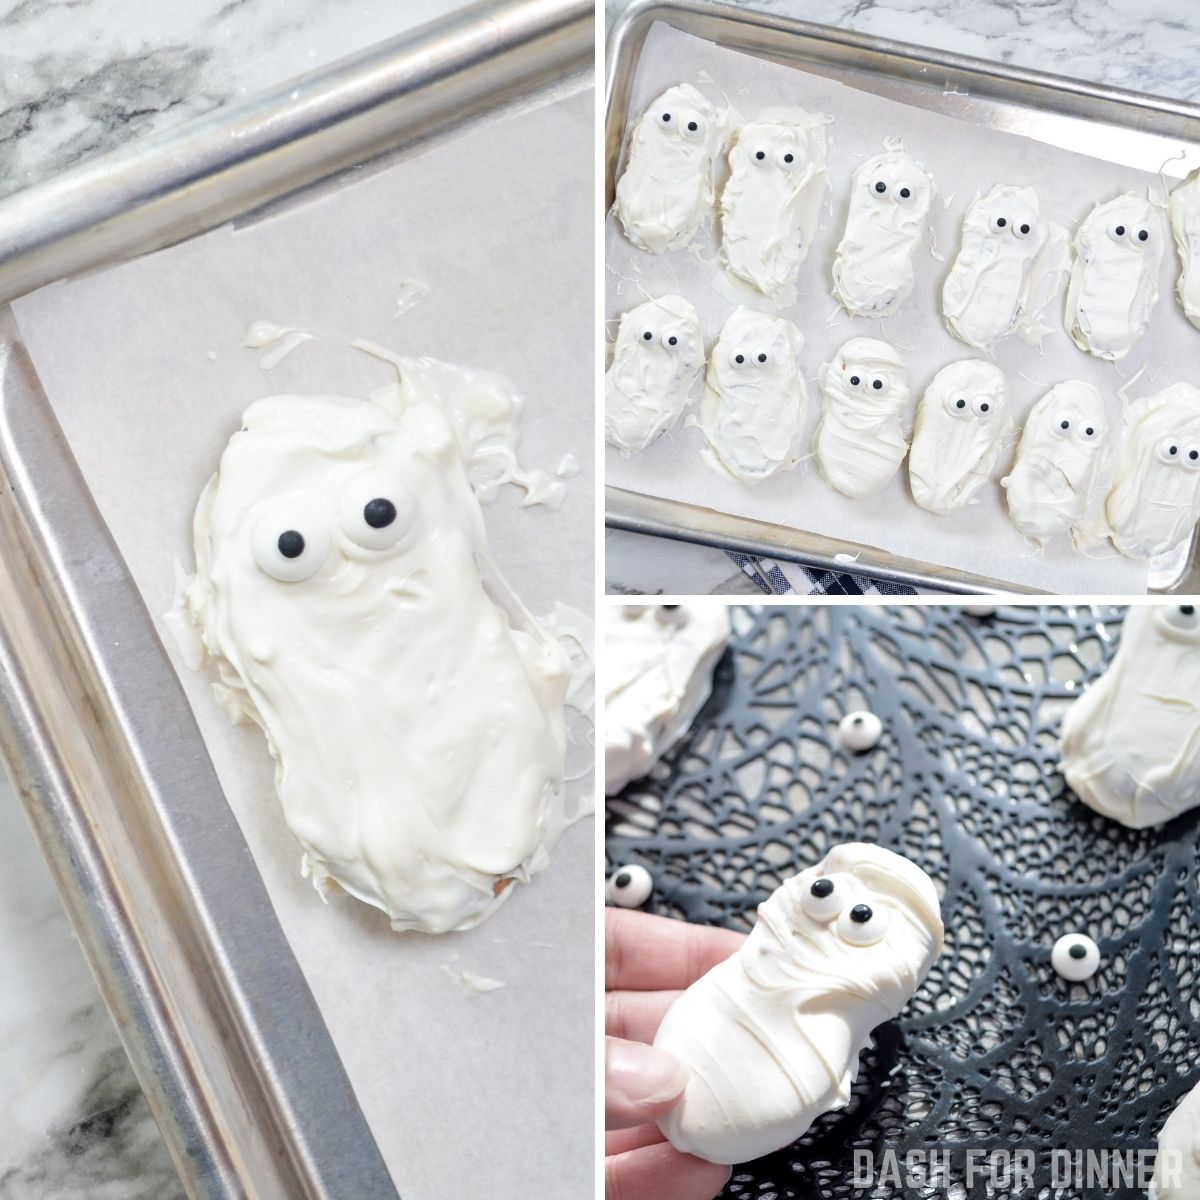
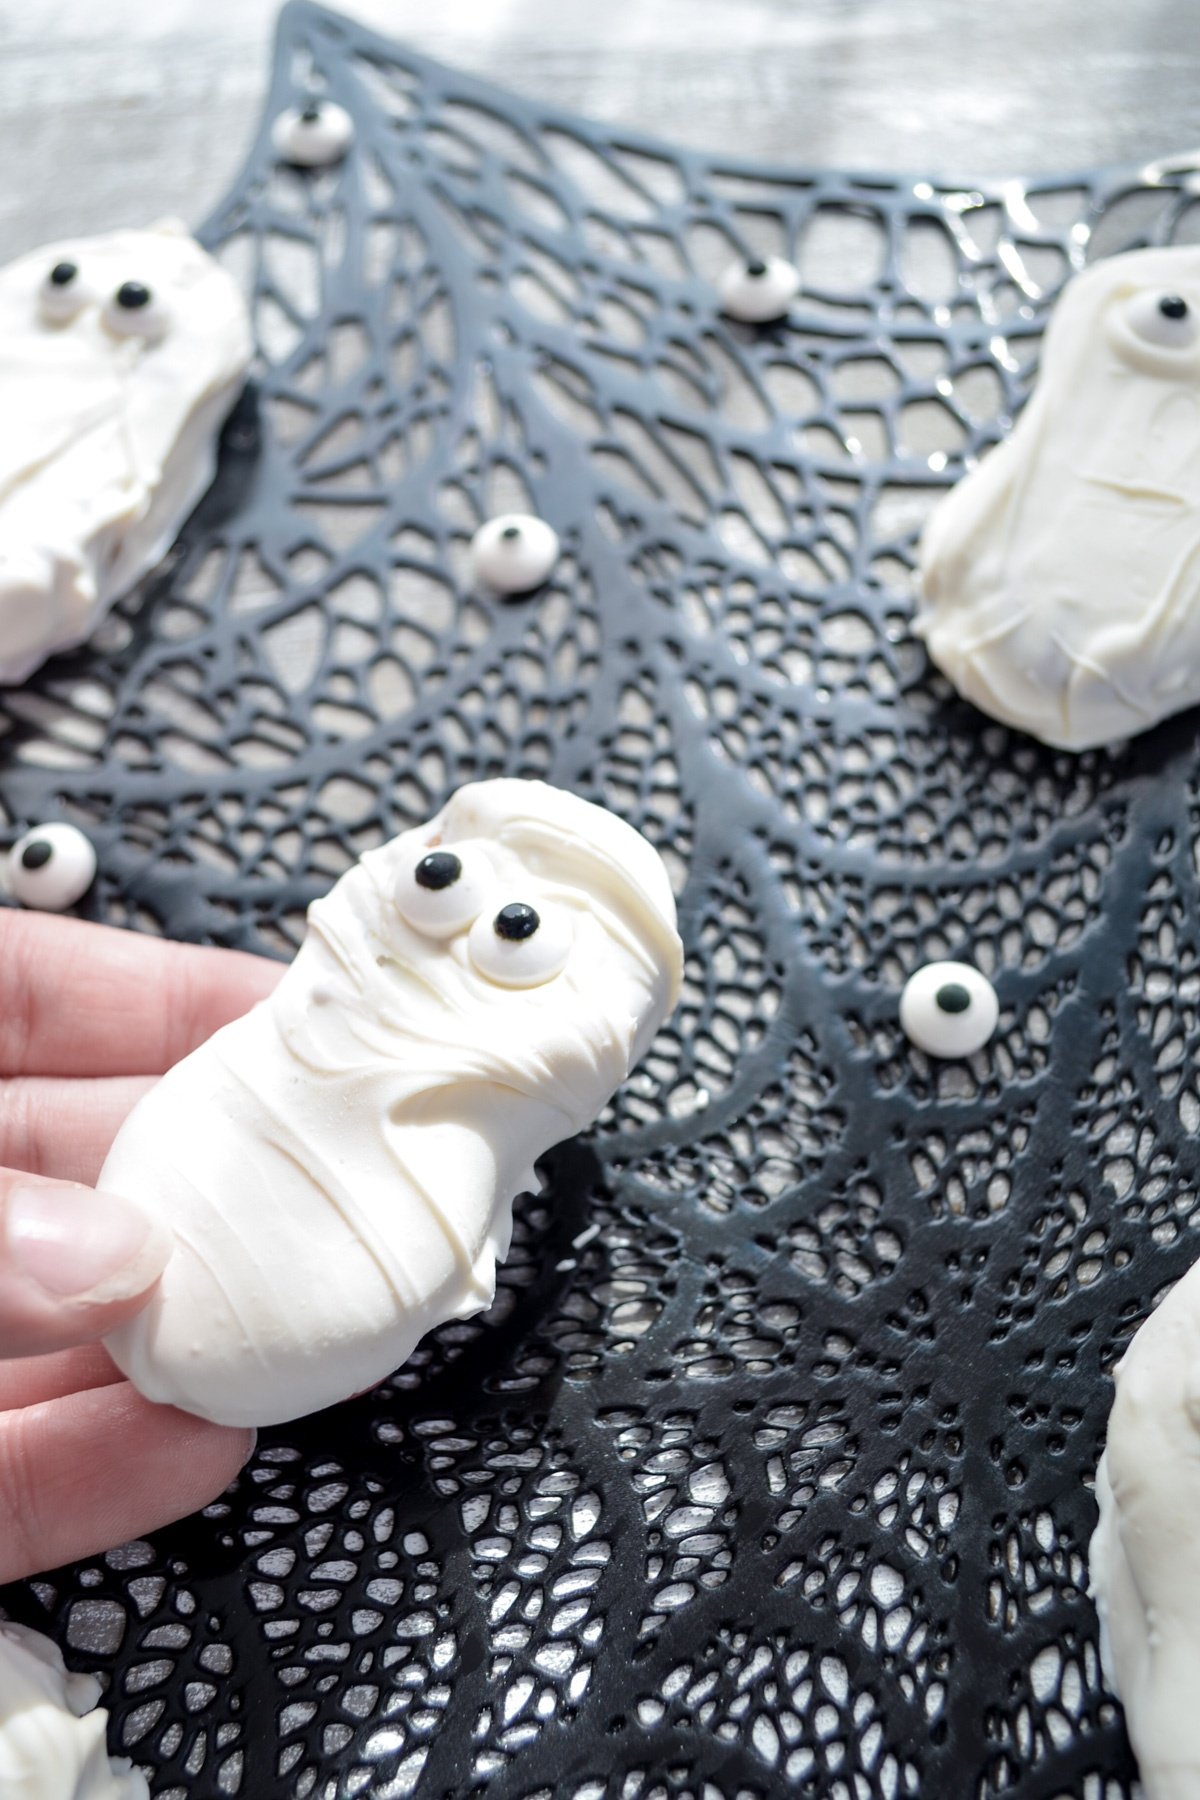
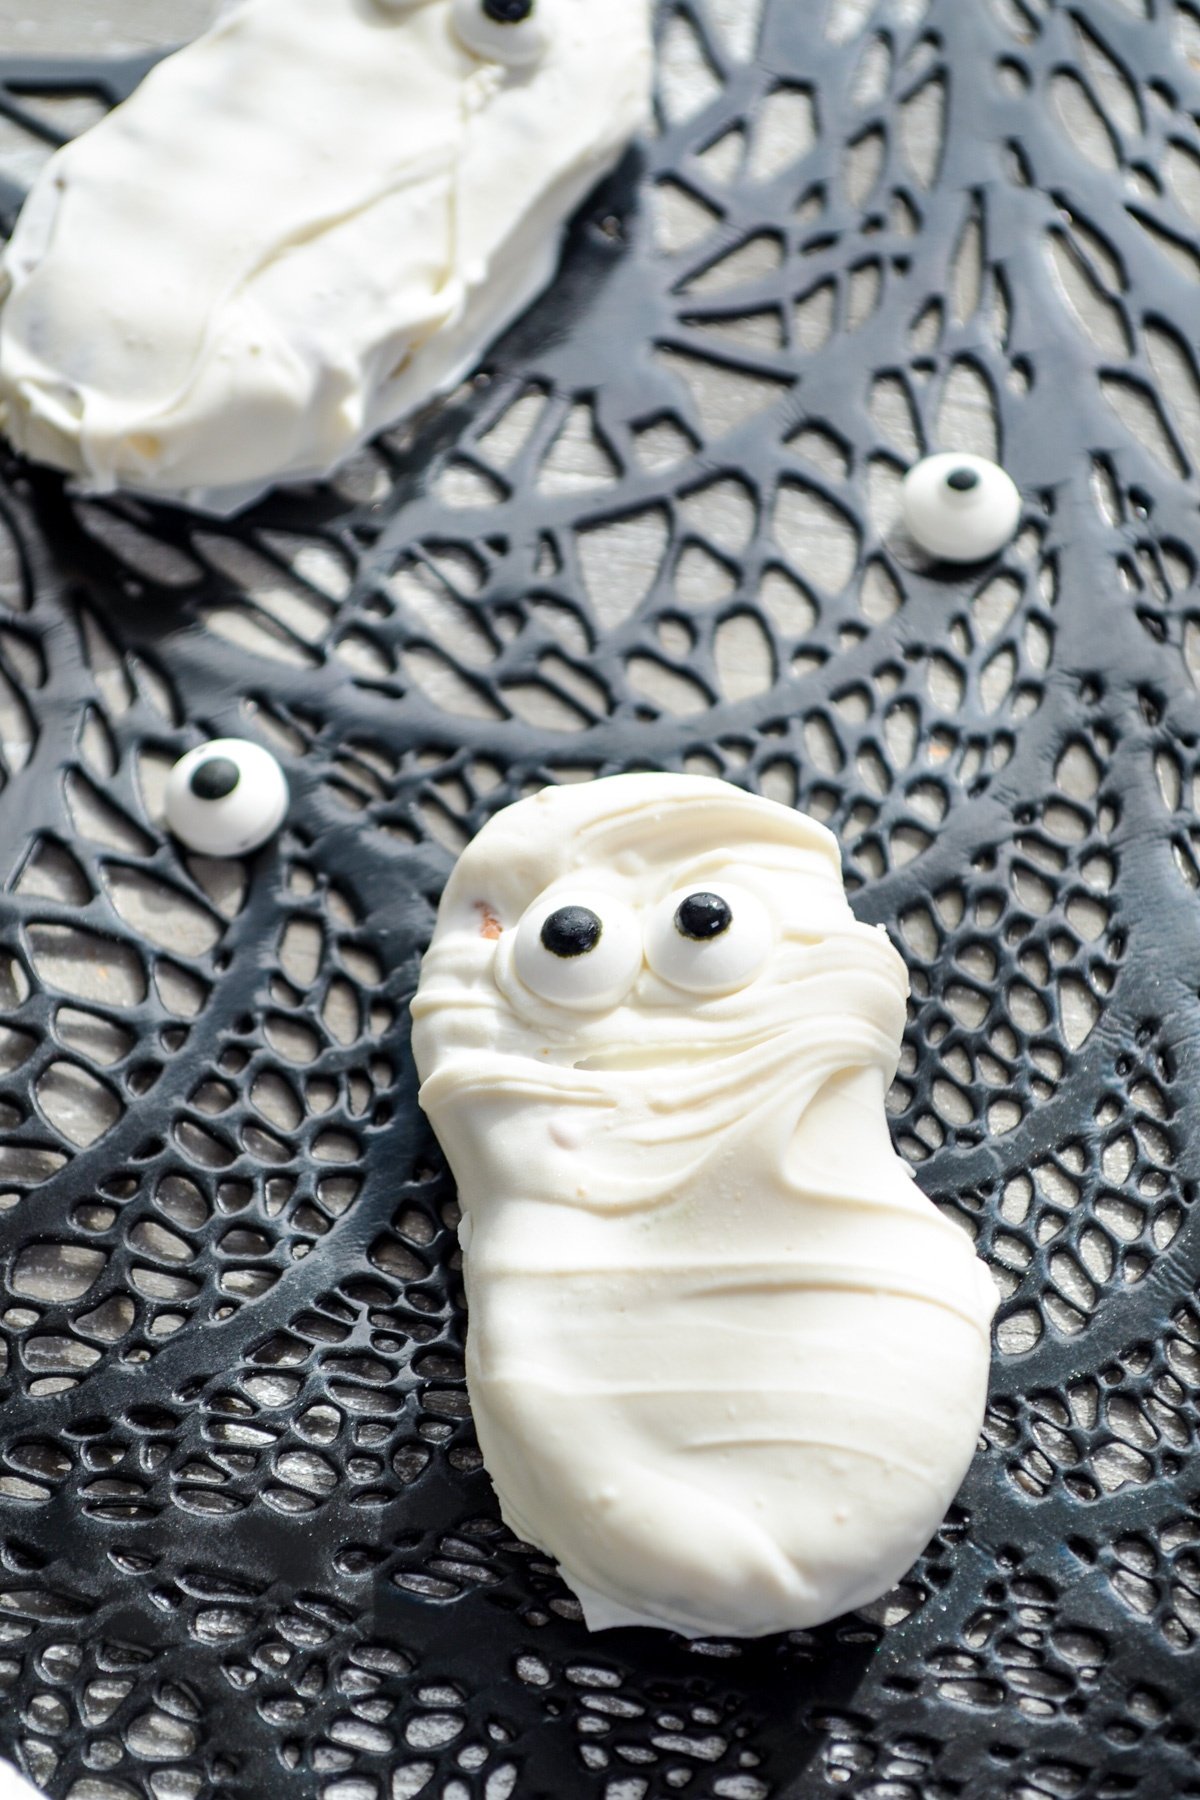
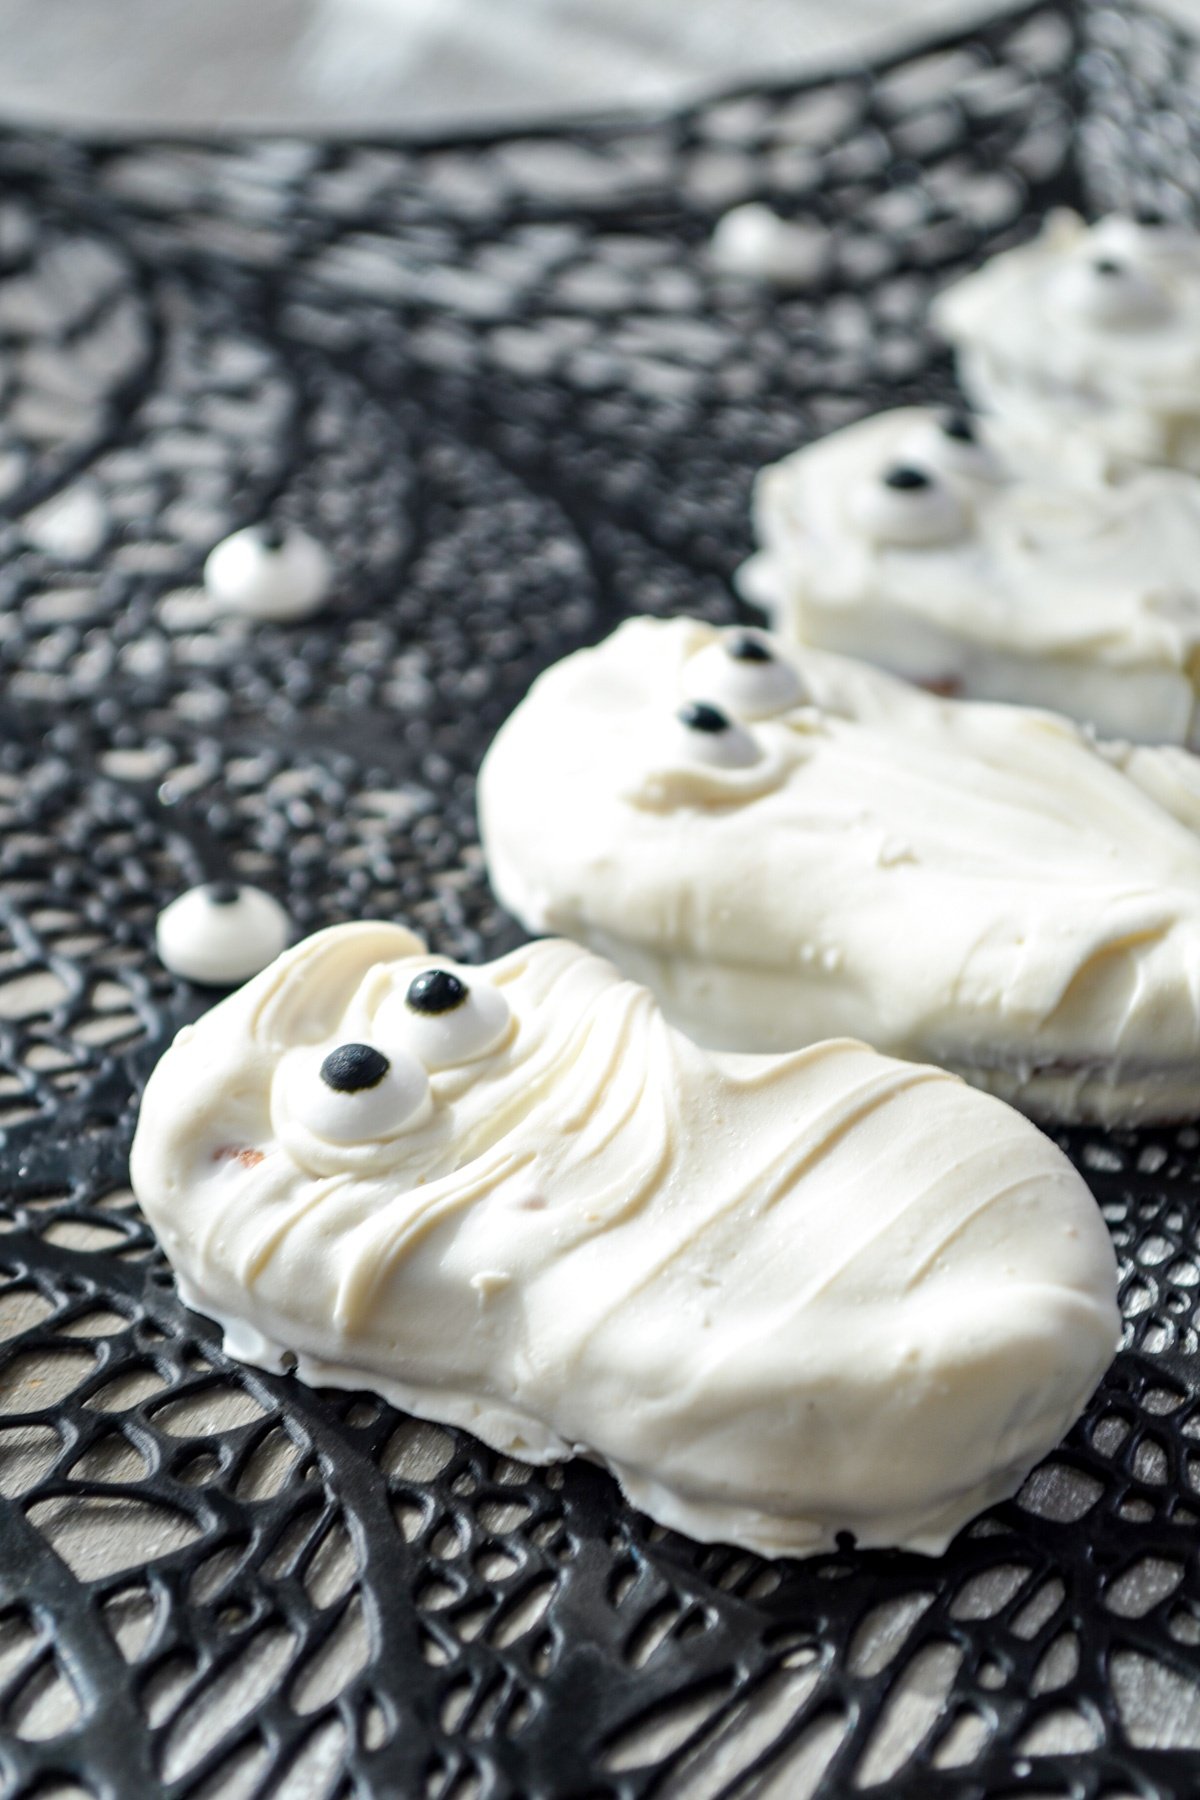
Place the dipped Nutter Butter cookie on the lined baking sheet and immediately press two candy eyes into the warm coating.
Repeat with the remaining Nutter Butter cookies until they have all been coated and given two eyes.
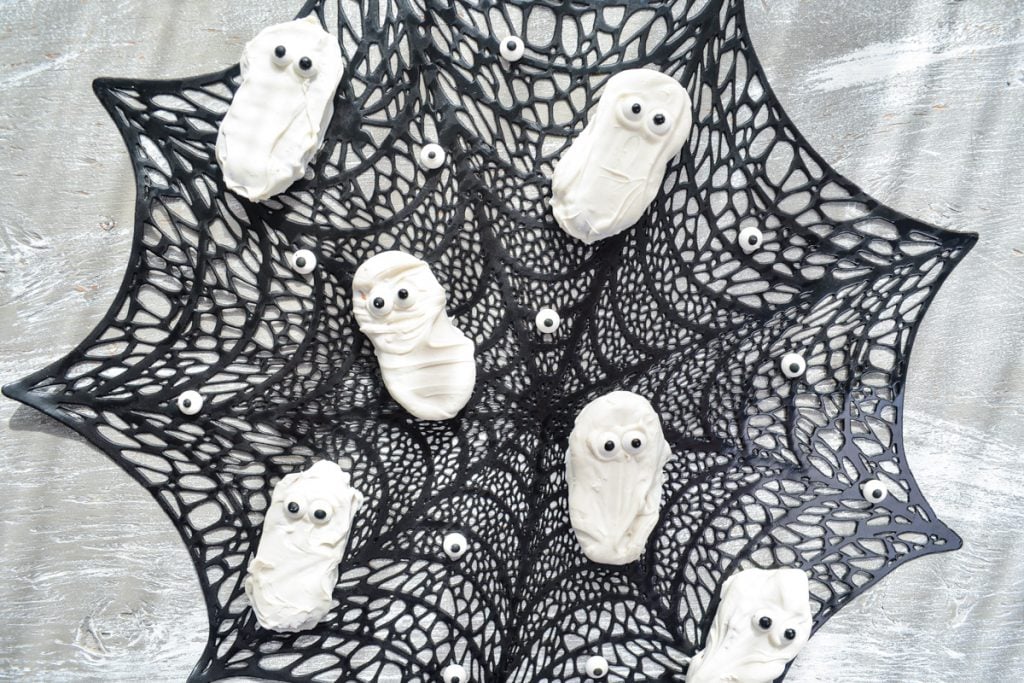
Place the tray or baking sheet of ghosts in the fridge to harden, about 1-2 hours.
After the ghosts are hardened, transfer them to an airtight container and keep them in the fridge until ready to serve.
Can I substitute white chocolate for candy melts?
I've tried this recipe with white chocolate, and had a very difficult time getting to to melt nicely enough to coat the Nutter Butter cookies.
White chocolate is very fickle, and for that reason I do not recommend using white chocolate as a substitute for candy melts.
More Fun Halloween Recipes:
- Air Fryer Mummy Dogs
- Halloween Layered Jello (coming soon)
- Halloween Pumpkin Oreos - Lil' Luna
- Witch Fingers - Texanerian Baking
- Eyeball Deviled Eggs Recipe - Happy Foods Tube

Nutter Butter Ghosts
Ingredients
- 16 Nutter Butter cookies
- 12 oz bag white candy melting wafers
- 32 candy eyes
- 2 teaspoons shortening or lard optional
Instructions
- Line a baking sheet or large tray with parchment paper.
- Add the candy melts to a microwave safe bowl with an optional 2 teaspoons of vegetable shortening. Heat at 50% power (important, since you don't want to overheat your candy melts) in 30 second intervals, stirring in between each session. Continue until smooth and creamy.
- Dip each Nutter Butter cookie into the melted candy coating, turning to coat. Use a silicone spatula to remove excess, if needed.
- Place the dipped Nutter Butter cookie on the lined baking sheet and immediately press two candy eyes into the warm coating.
- Repeat with the remaining Nutter Butter cookies until they have all been coated and given two eyes.
- Place the tray or baking sheet of ghosts in the fridge to harden, about 1-2 hours.
- After the ghosts are hardened, transfer them to an airtight container and keep them in the fridge until ready to serve.
Notes
Nutrition
Pin it For Later


Leave a Reply