


These pumpkin spice Rice Krispie treats cross the beloved classic treat with serious pumpkin flavor. They are perfect for the time of year when leaves fall, the air smells crisp, and your Saturdays are filled with trips to the pumpkin patch and apple orchards.
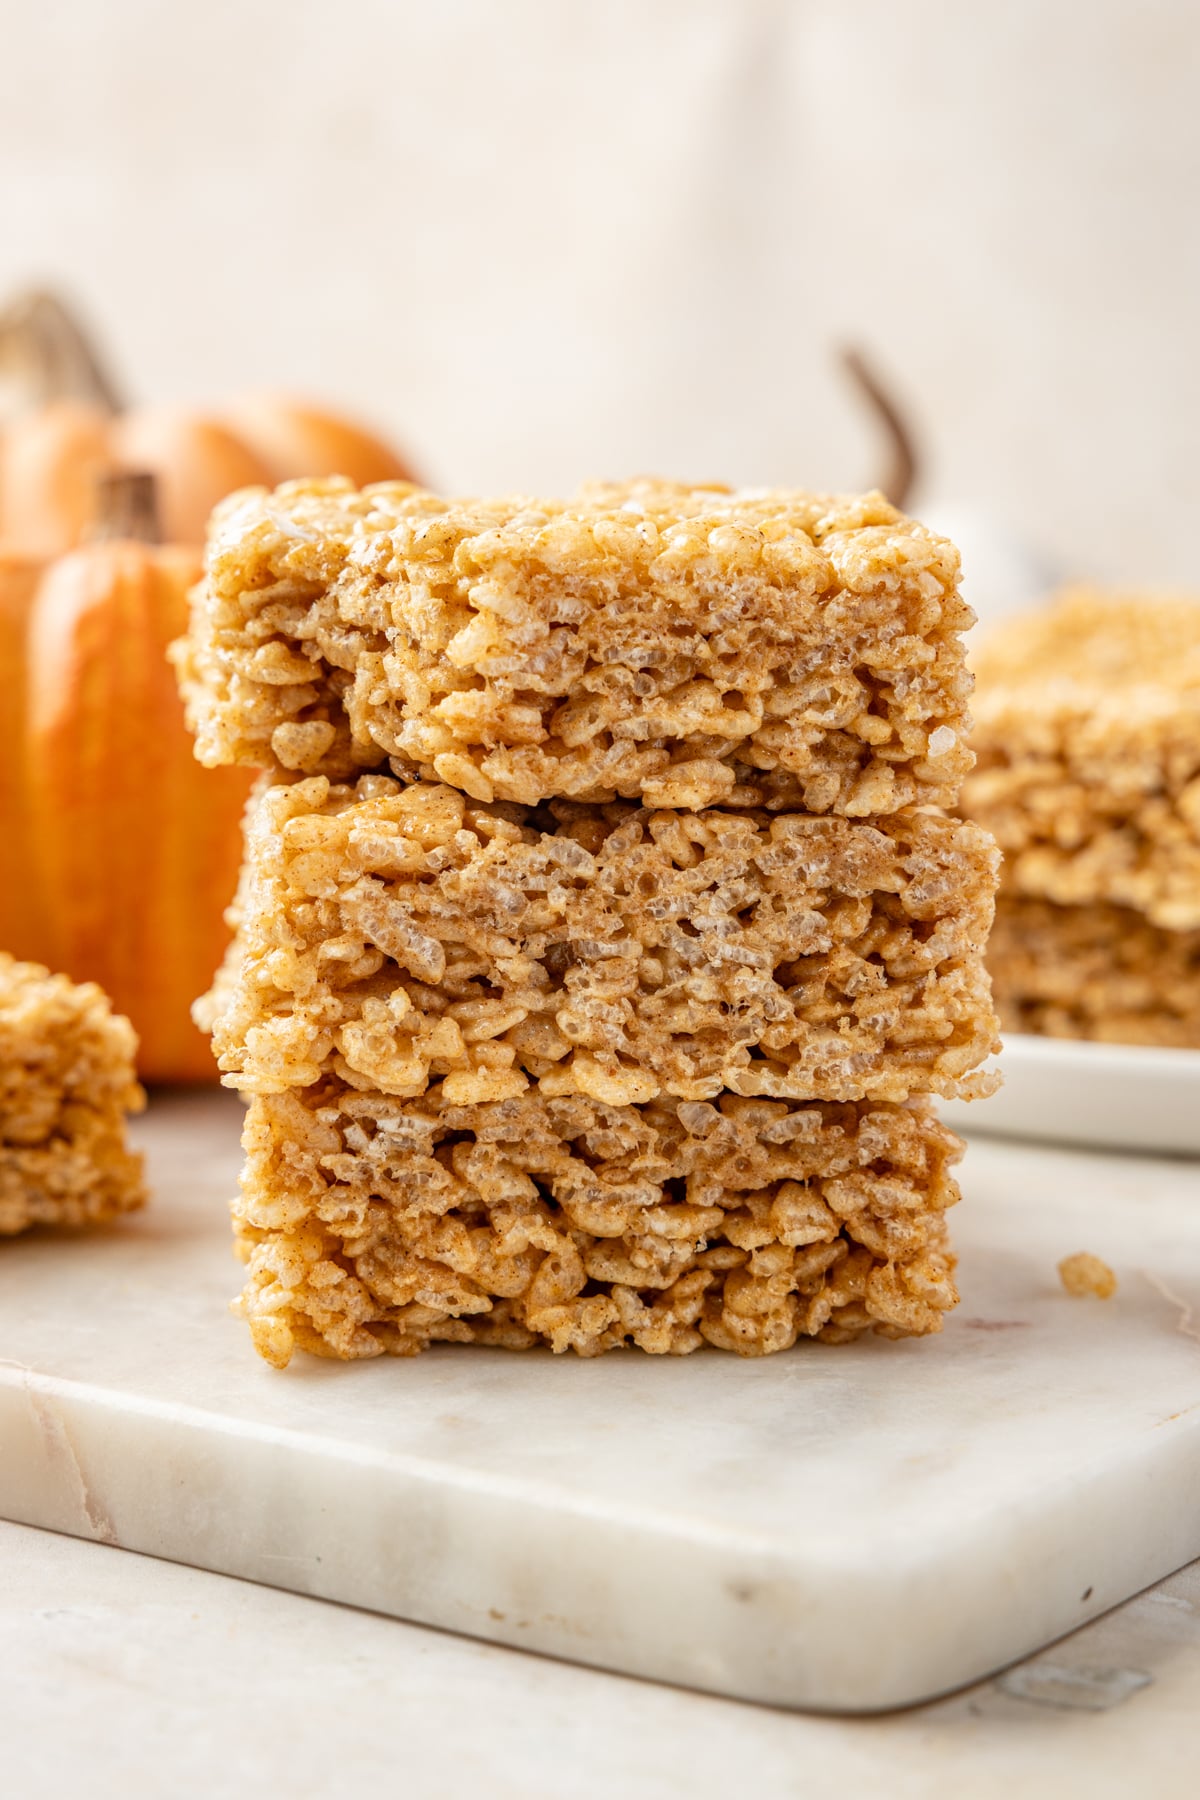
Why You'll Love 'Em:
- Pumpkin spice flavor. We ALL love pumpkin spice, right!? It's so cinnamon-y, fragrant, spicy, and makes nearly everything taste 100% more Autumnal.
- Perfect for Fall. Whether you're looking for the perfect sweet treat for a Halloween party, or just want to celebrate the season, this easy recipe is for you!
- Brown butter goodness. This recipe is just as easy as the classic Rice Krispies Treats, but we add some extra flavor by briefly browning the butter before adding marshmallows. Combined with the savory pumpkin and fragrant cinnamon, this tiny extra step is absolutely worth it.
Ingredients:
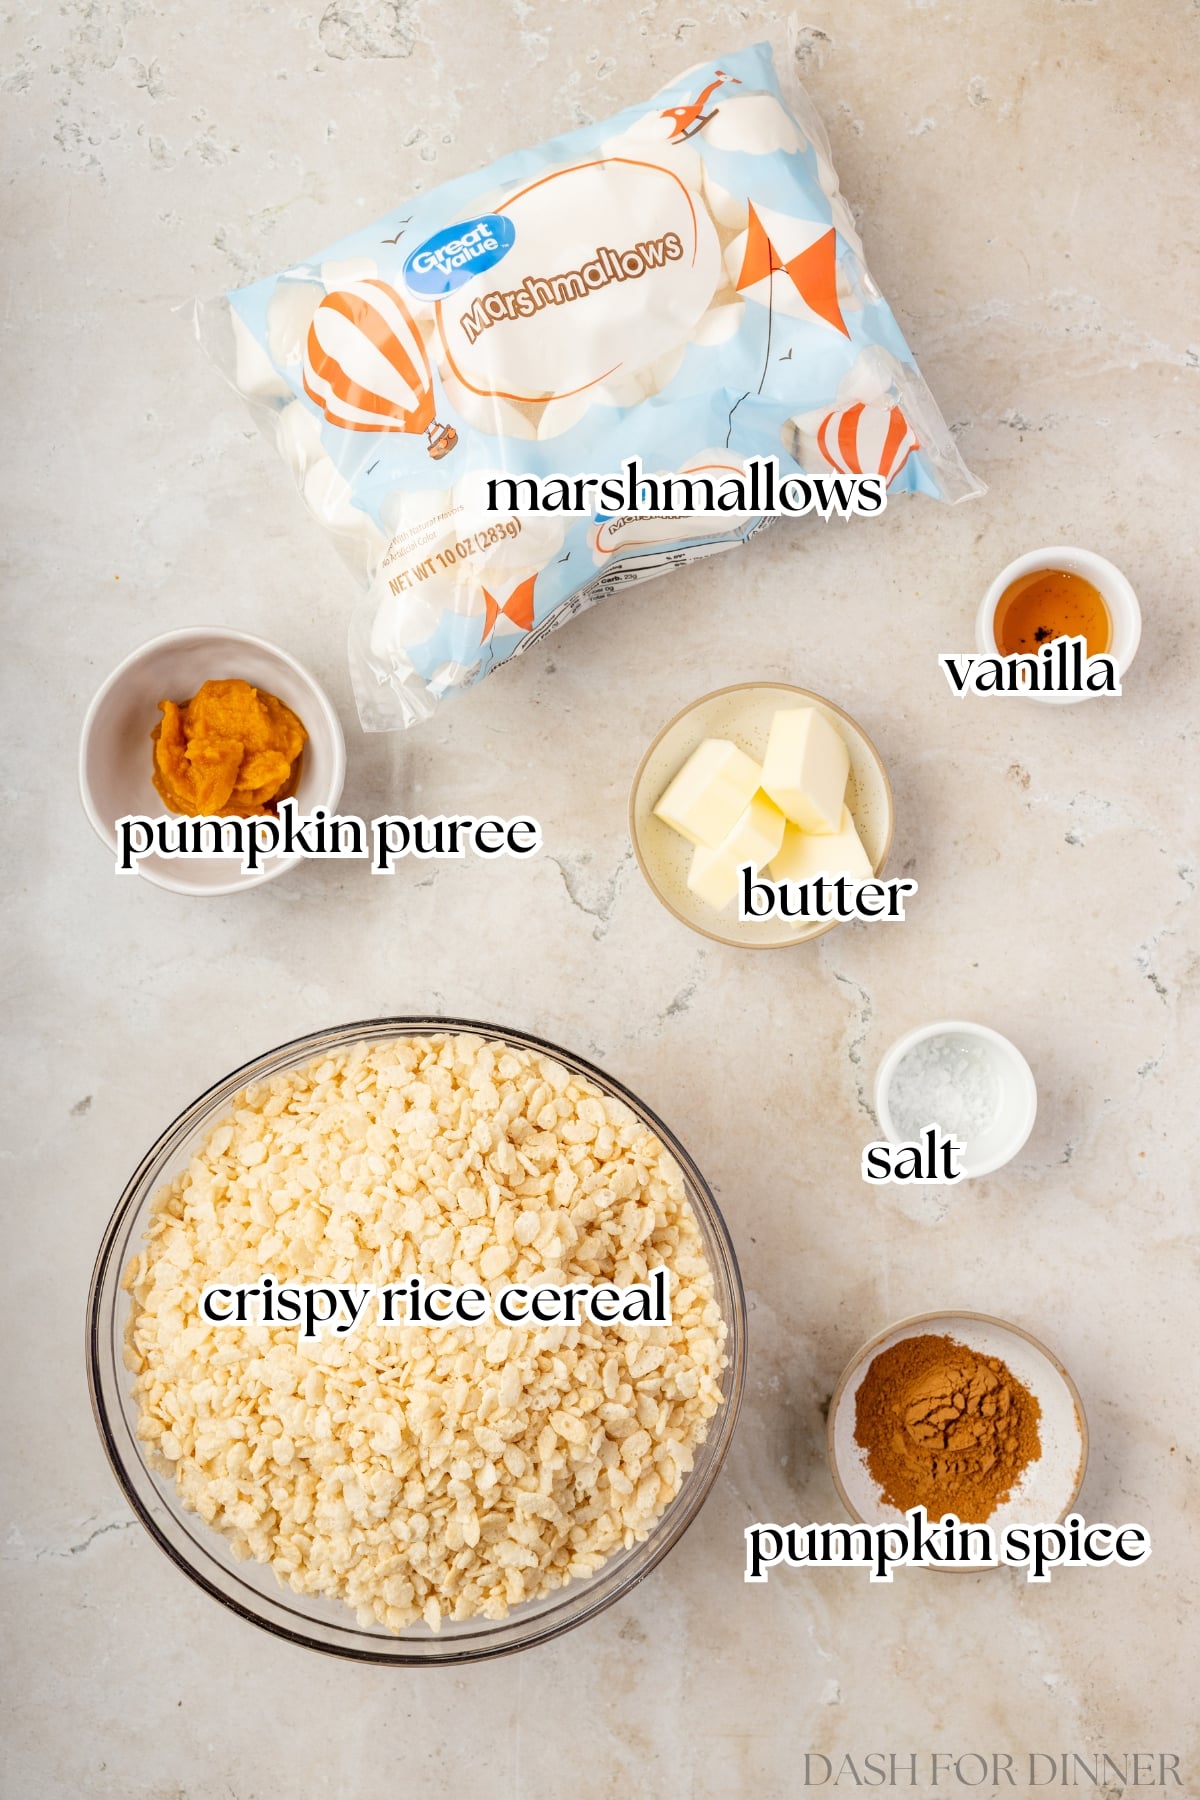
- Rice cereal: Most commonly known as Rice Krispies cereal, this is a quintessential part of the famed Rice Krispies treat! If you prefer, you can use generic store brands or use gluten-free rice cereal if you would like your treats to be gluten-free (the original type tends to contain barley malt extract, which contains gluten).
- Marshmallows: We find that mini marshmallows work best of all, but regular marshmallows work well too! Just make sure to measure them by weight (10 ounces or 284 grams).
- Butter: Salted butter perfectly complements the sweetness and savoriness of this recipe, so we recommend using it if you have it on hand. If not, you can use unsalted butter and add a few extra pinches of salt.
- Pumpkin pie spice: This can be purchased in the spice aisle at the grocery store, online, or you can make homemade pumpkin spice with cinnamon, nutmeg, and a few other staples.
You Will Also Need:
- Pumpkin puree (just a touch for authenticity - optional)
- Vanilla extract
- Salt (to taste)
How to Make Pumpkin Rice Krispie Treats
These brown butter pumpkin spice rice krispie treats are the ultimate no-bake fall dessert. Whether you're looking for school snacks, Thanksgiving goodies, or Halloween treats, this easy recipe is sure to delight both children and adults!
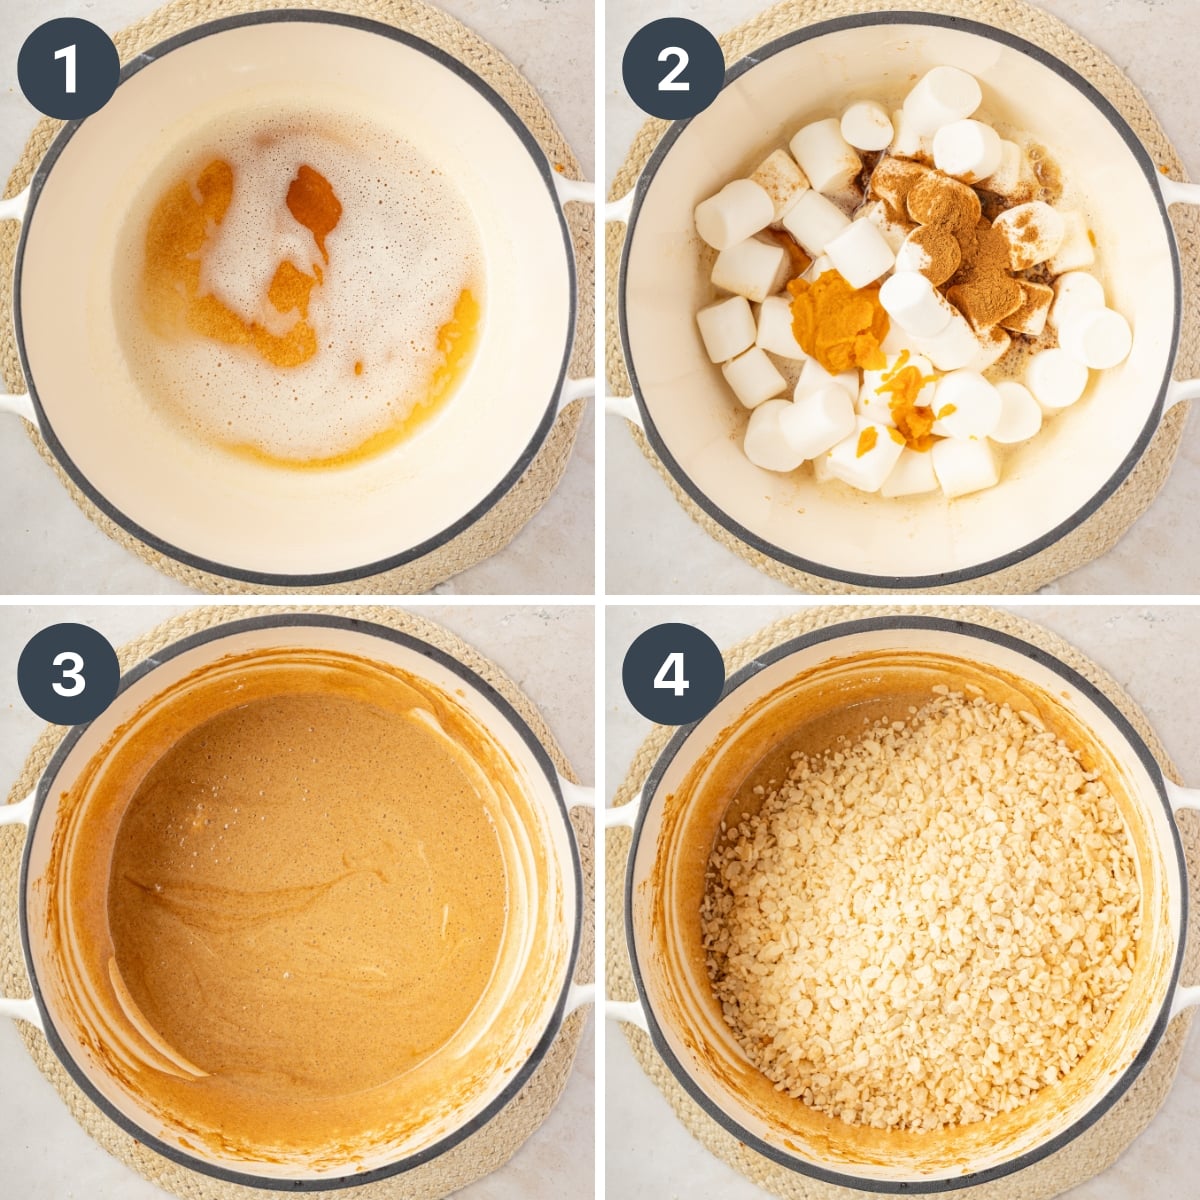
- Melt butter in a Dutch oven or large pot, allowing it to brown for about 2-4 minutes, stirring often to prevent burning. Once browned with a nutty smell, remove from the heat.
- Add in 10 ounces of marshmallows (regular or mini marshmallows are fine), pumpkin puree, pumpkin spice, a pinch of salt, and vanilla extract.
- Return to the heat and stir until the marshmallows are melted and all of the ingredients are combined.
- Add the crispy rice cereal and use a silicone spatula to fold the cereal mixture into the melted marshmallow mixture.
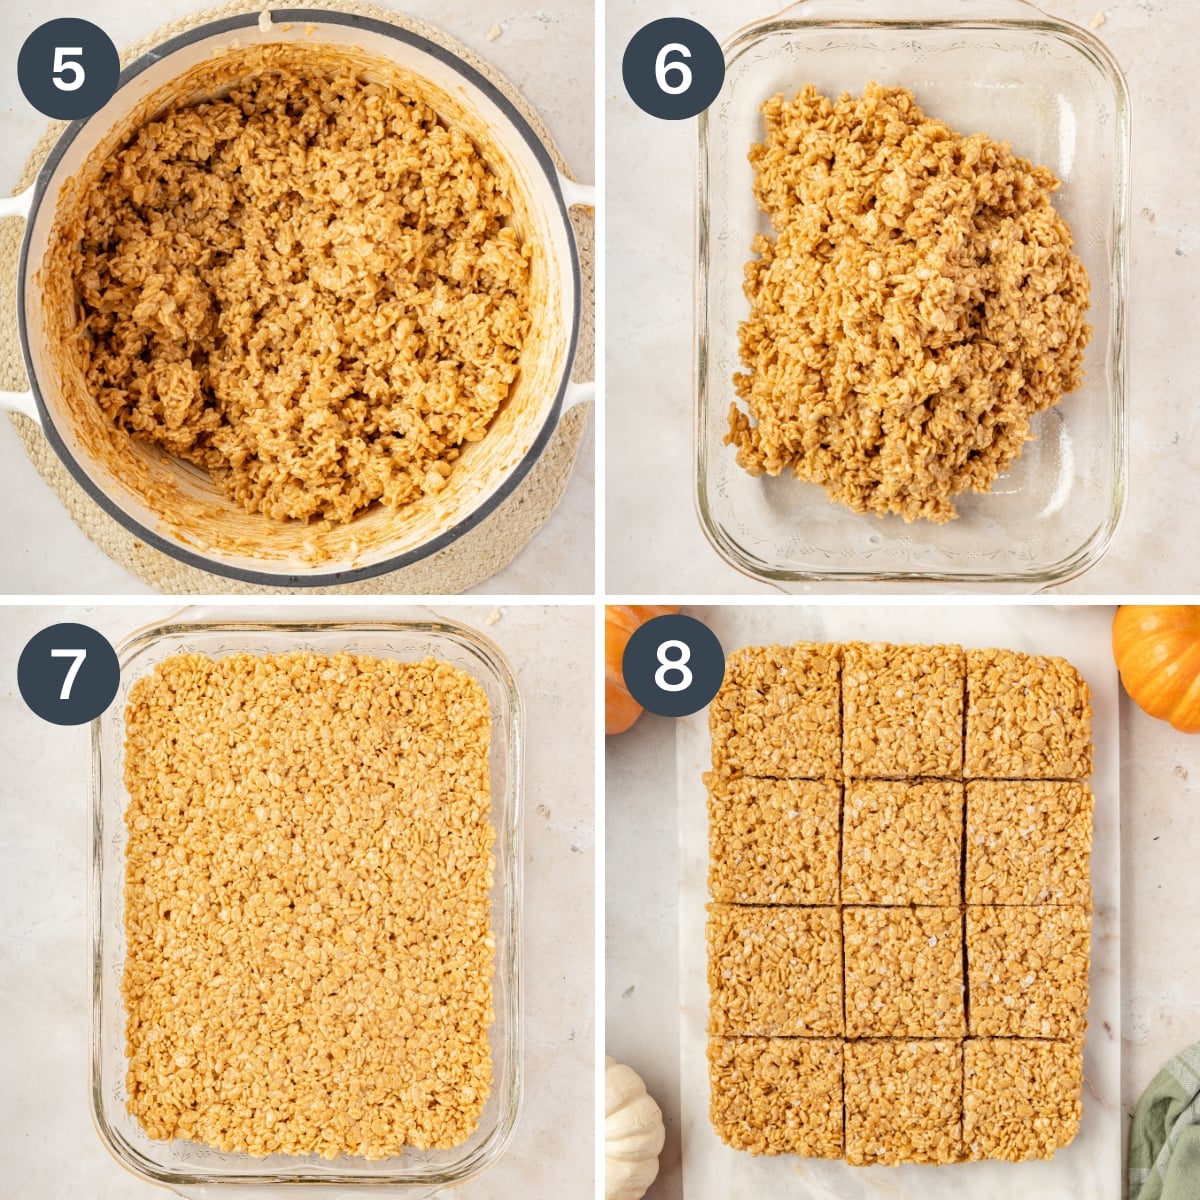
- Continue to fold the cereal into the pumpkin spice marshmallow mixture until no dry cereal bits remain.
- Lightly grease a 9 x 13-inch pan (or line with overlapping sheets of parchment paper) and transfer the cereal treat mixture to the baking dish.
- Lightly press the sticky mixture into the pan, being careful not to press down too tightly, as that can make for an overly dense treat.
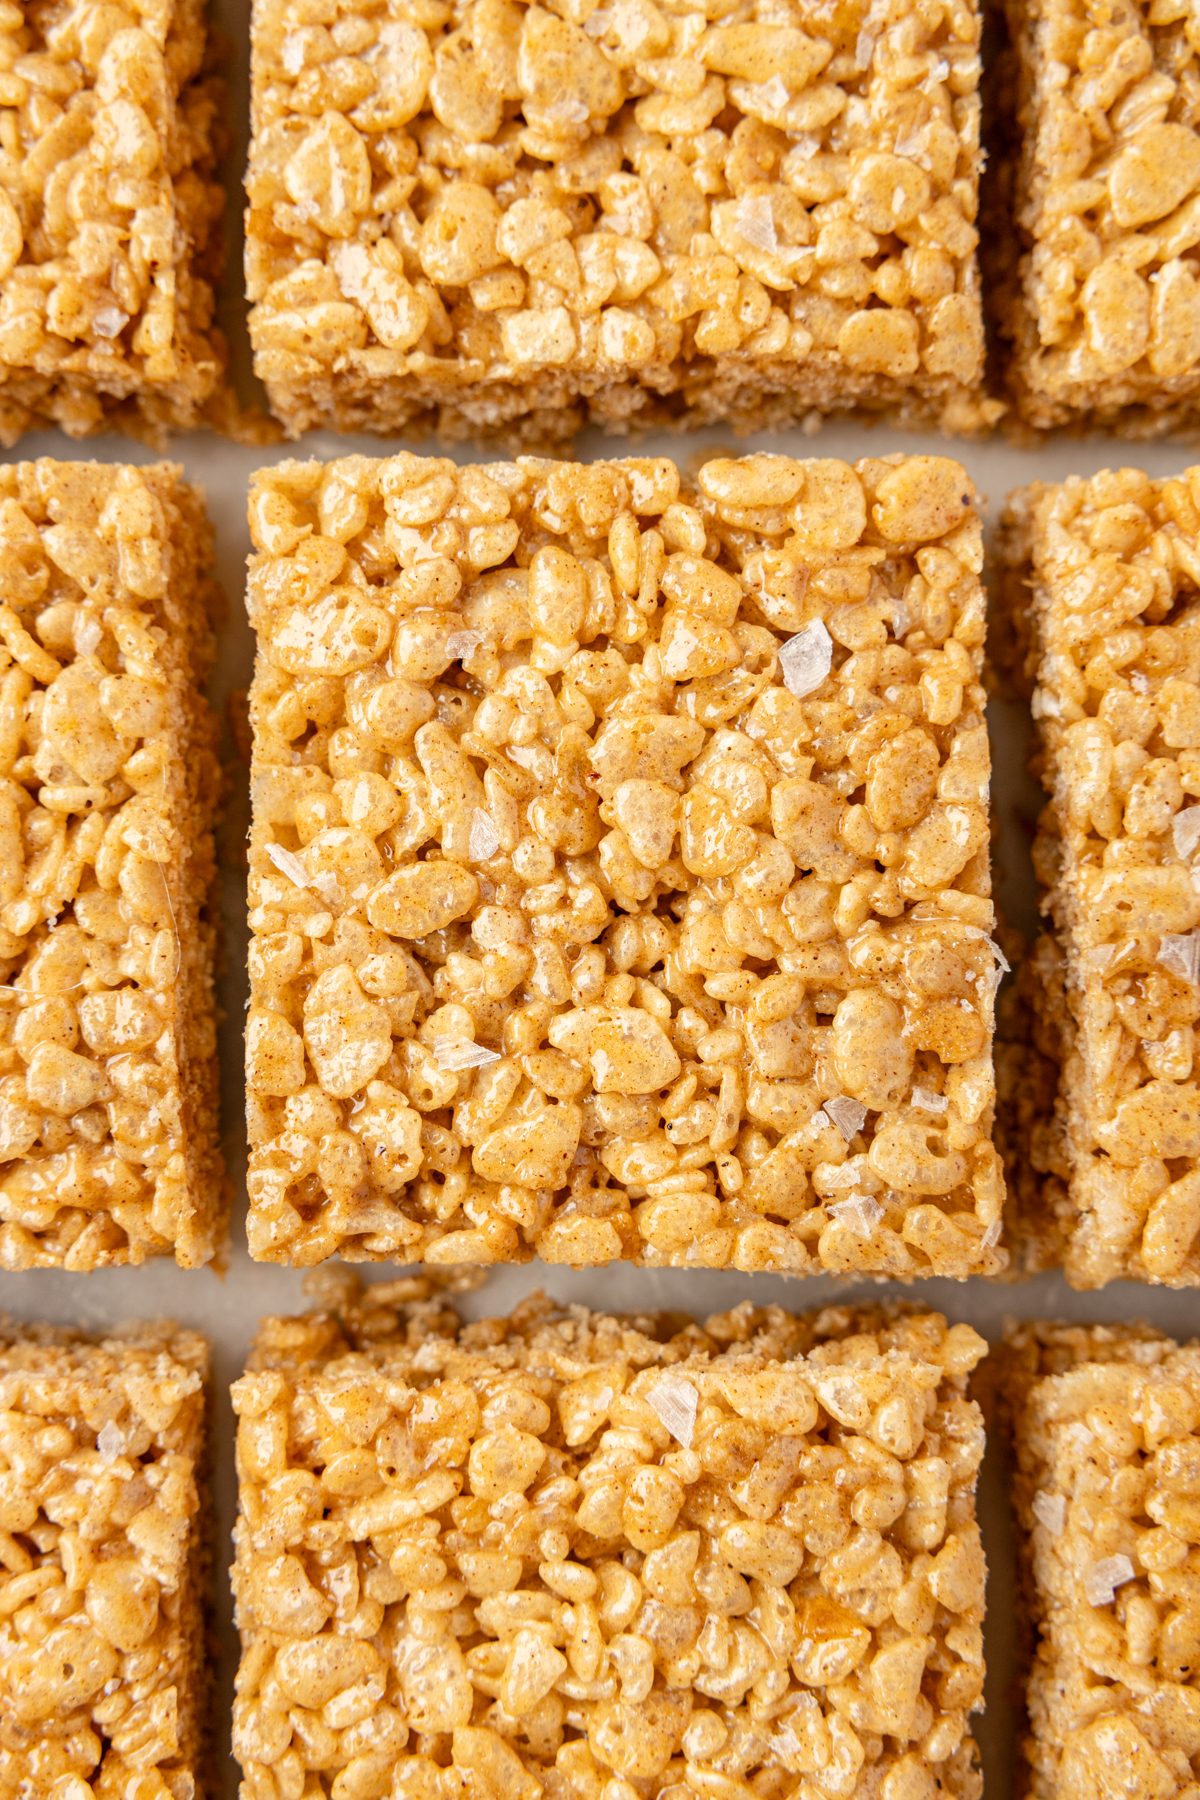
- Optional: sprinkle with flaky sea salt (like Maldon).
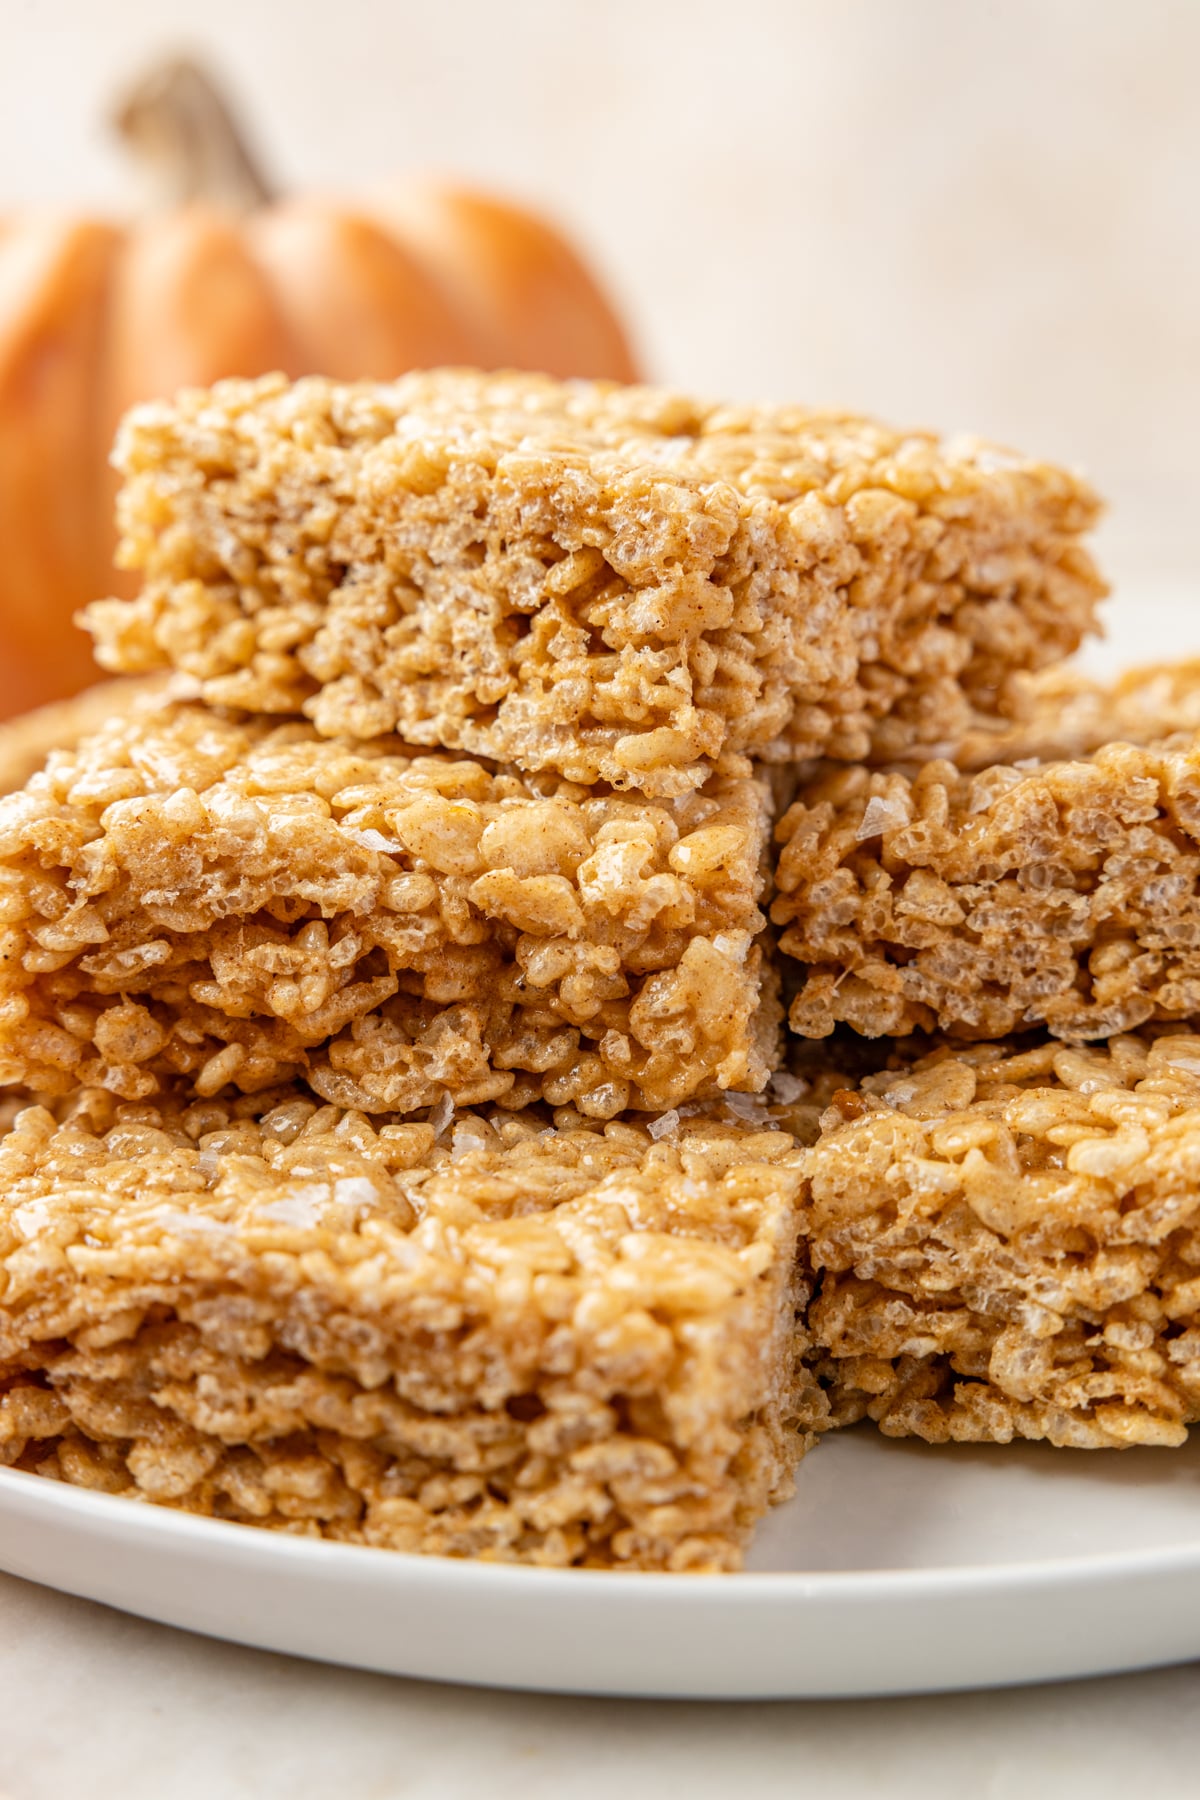
- Cover and allow the cereal bars to cool at room temperature for 1-2 hours before slicing into 12 squares. Serve and enjoy!
Storing Homemade Rice Krispie Treats
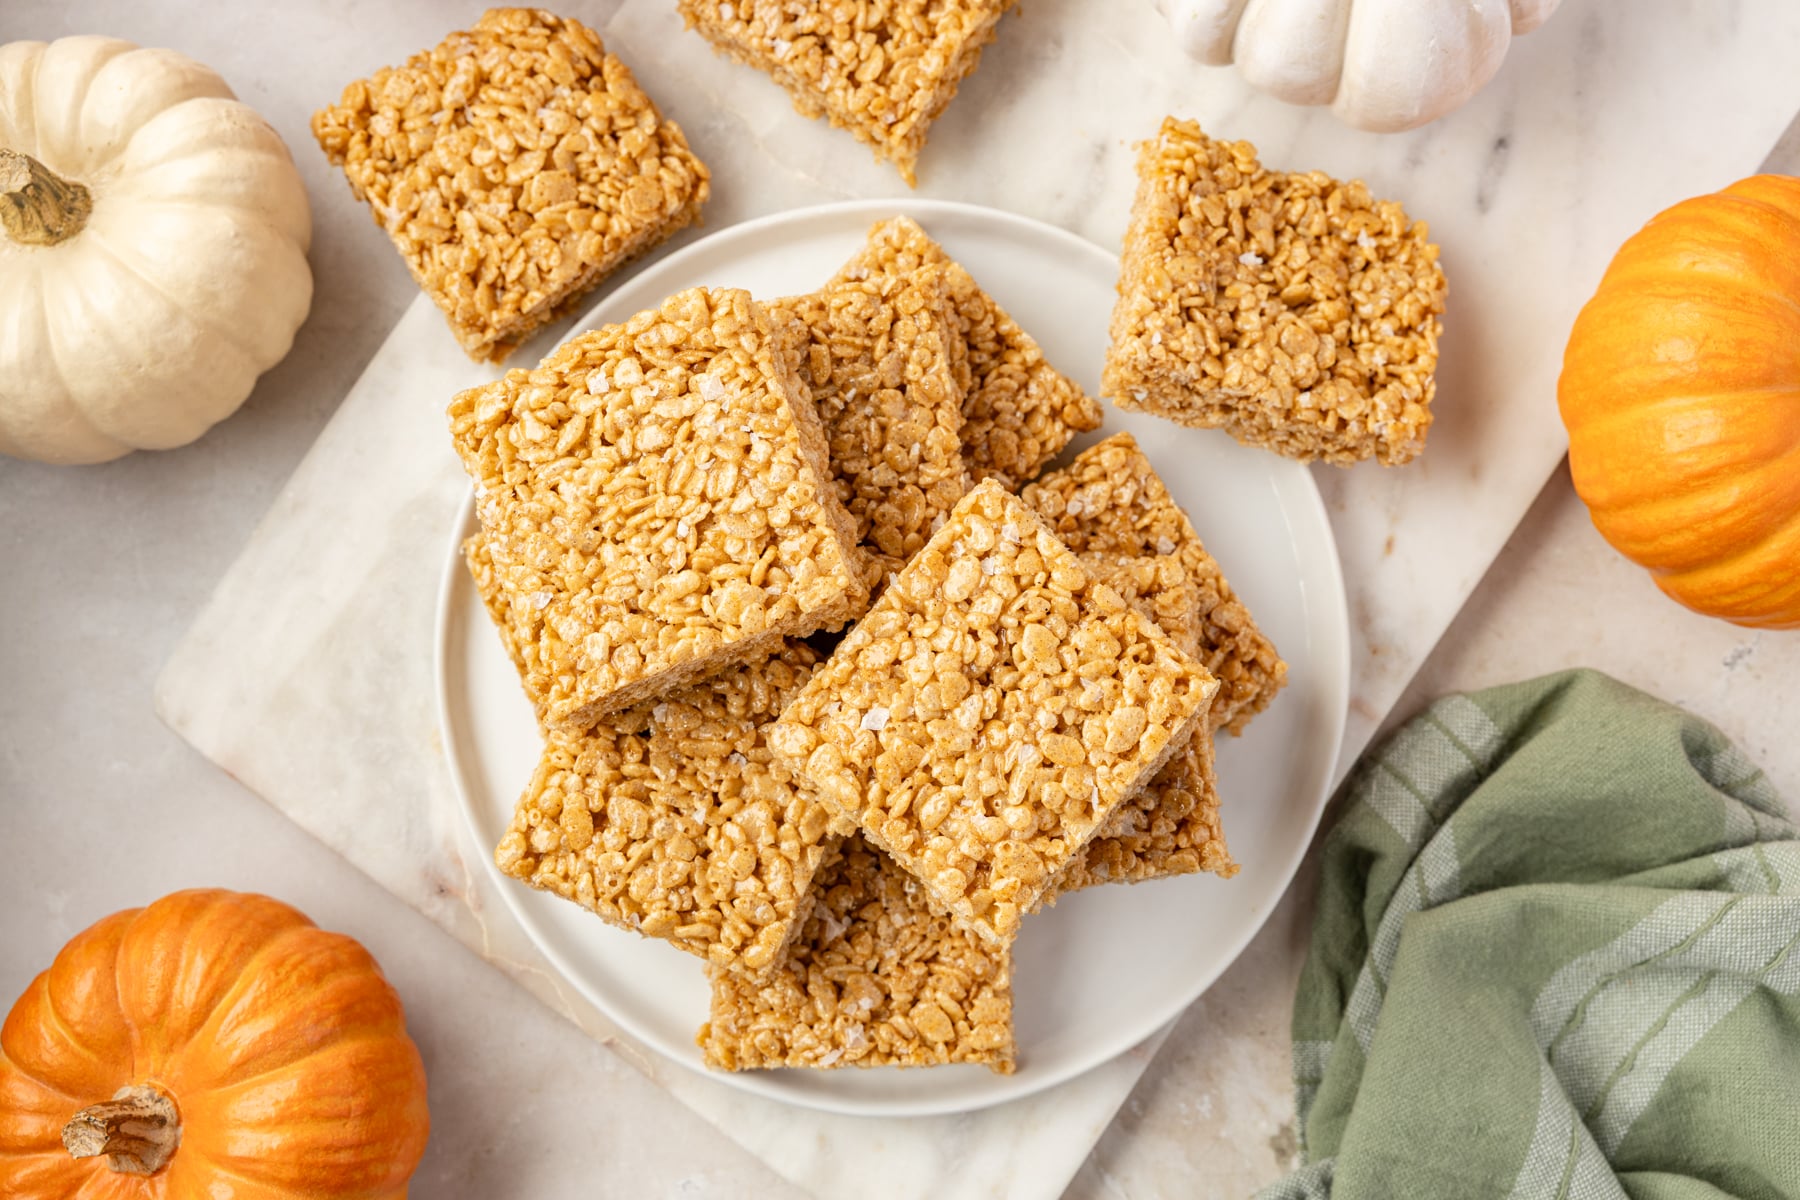
- Rice Krispies treats store best at room temperature, but ensure that they are kept in an airtight container.
- Store your treats at room temperature for up to 3 days, or in the refrigerator for up to 1 week.
- Squares stored in the refrigerator will feel a bit "tough" and dense.
Can you freeze them?
Yes! Freezing changes the texture a bit, but not significantly. Cereal treats freeze well enough that they still taste great after thawing.
I like to wrap my treats individually in plastic wrap, then place them in a freezer bag. Then, when I need a sweet treat or something to add to a lunch box, I can pull one out and thaw for about 20-30 minutes before enjoying.
Tip: We recommend storing treats between sheets of parchment or wax paper to prevent sticking and for easy removal.
Microwave Method
- Add the marshmallows and butter to a large microwave-safe bowl and heat in 30-second intervals until the butter and marshmallows are fully melted.
- Stir with a silicone spatula until well combined.
- Add the pumpkin puree, pumpkin pie spice, vanilla, and a pinch of salt. Stir well until everything is smooth and uniform.
- Pour in the rice cereal and fold it in until no dry cereal bits remain.
- Spread the mixture into a parchment-lined baking dish (9 x 13") and allow to cool at room temperature for 1-2 hours.
- Slice and serve!
Substitutions
Gluten-free: Regular Rice Krispies contain gluten through the use of barley malt extract, but gluten-free versions can be found. I make gluten-free Rice Krispies treats with Nature's Path, but many brands offer gluten-free alternatives.
Dairy-free: Swap the butter for your favorite plant-based spread. Easy peasy!
Marshmallows: We recommend using mini marshmallows, but regular-sized ones work just fine too! If you want to make this recipe vegan, you can use Dandies brand marshmallows instead.
Try These Variations:
With white chocolate drizzle: Slowly melt white chocolate chips in a double boiler over medium-low heat, stirring often, as white chocolate can easily seize. Once it is melted, remove immediately from the heat and use the back of a spoon to drizzle it over the surface of the treats.
Pumpkin-shaped: Use a pumpkin-shaped cookie cutter to cut the treats into pumpkin shapes for a fun, seasonal vibe.
Use pumpkin spice marshmallows: If these are available in your area, you can use these in place of regular ones for extra flavor and a more pronounced orange color.
More Cereal Treats:
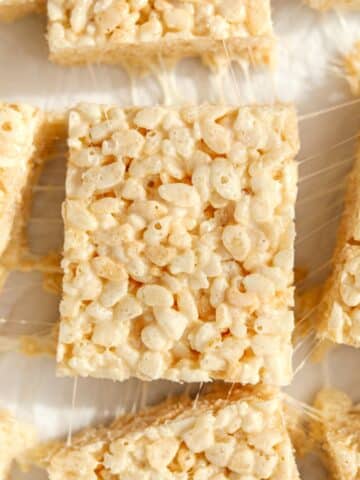
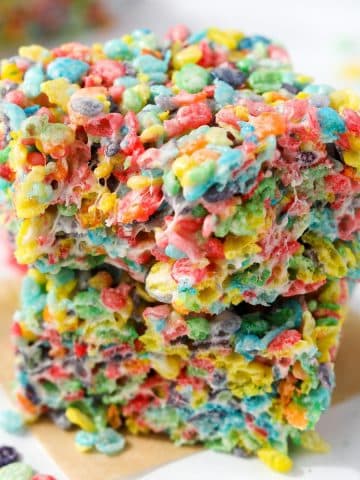
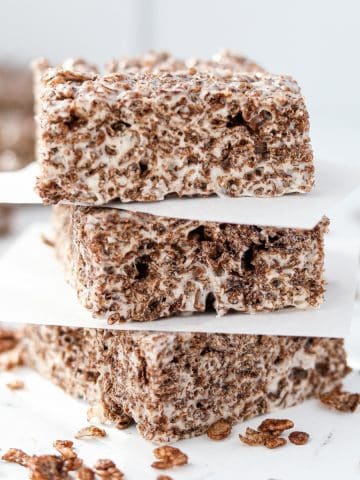
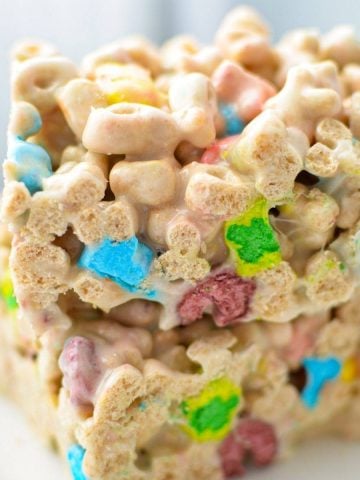
If you loved this recipe for pumpkin pie spice rice krispie treats, let me know by leaving a 5-star review in the recipe card or comment below! You can also tag me on Instagram @dashfordinner.
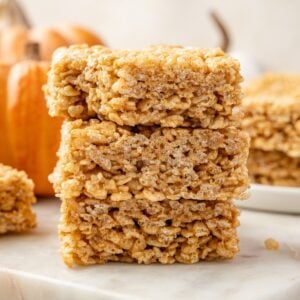
Pumpkin Spice Rice Krispie Treats
Ingredients
- 5 tablespoons salted butter
- 10 ounces (1 bag) marshmallows mini marshmallows recommended; but regular are fine
- 1 tablespoon pumpkin puree
- 1 tablespoon pumpkin pie spice
- 1 teaspoon vanilla extract
- Pinch of salt
- 6 ½ cups Rice Krispies cereal or generic version (crispy rice cereal)
Instructions
- Line a 9 X 13" (23 x 33 cm) baking pan with overlapping sheets of parchment paper; grease the sides of the pan to help the paper stick. Set aside.
- Add the butter to a large saucepan and warm over medium heat until completely melted. Cook until the butter begins to brown, about 2-4 minutes, stirring constantly to prevent burning.5 tablespoons salted butter
- Stir in the marshmallows, pumpkin puree, pumpkin pie spice, vanilla extract, and a pinch of salt using a silicone spatula. Continue to heat, stirring constantly, until the marshmallows are fully melted.10 ounces (1 bag) marshmallows, 1 tablespoon pumpkin puree, 1 tablespoon pumpkin pie spice, 1 teaspoon vanilla extract, Pinch of salt
- Add the crispy rice cereal to the melted marshmallow mixture, and gently fold the two together until all of the cereal is lightly coated in marshmallows.6 ½ cups Rice Krispies cereal
- Transfer the mixture to the parchment-lined baking pan, pressing the cereal mixture into the corners gently (don't press too hard - that will create a very dense treat).
- If desired, sprinkle the surface with flaky sea salt (like Maldon salt).
- Allow the treats to cool and set at room temperature for 1-2 hours before slicing and serving. Cover the top with plastic wrap or a clean kitchen towel.
Notes
- Add the marshmallows and butter to a large microwave-safe bowl.
- Heat in the microwave in 30-second intervals until the butter is melted and the marshmallows are puffy.
- Stir well to combine the butter and marshmallows, then add in pumpkin puree, pumpkin spice, and vanilla extract. Stir again.
- Pour in the cereal and fold it in with a silicone spatula until completely coated in the marshmallow mixture.
- Spread the cereal treat mixture into the prepared baking pan, spreading it out to the edges and into an even layer. Top with flaky sea salt or white chocolate drizzle if desired.
- Allow to set up and cool at room temperature for 1 hour before serving.
Nutrition
Please note that some of my blog posts here at Dash for Dinner may contain affiliate links. If you make a purchase through these links, I will get a small commission at no additional cost to you. Please see my Disclaimer for more information.

Leave a Reply