


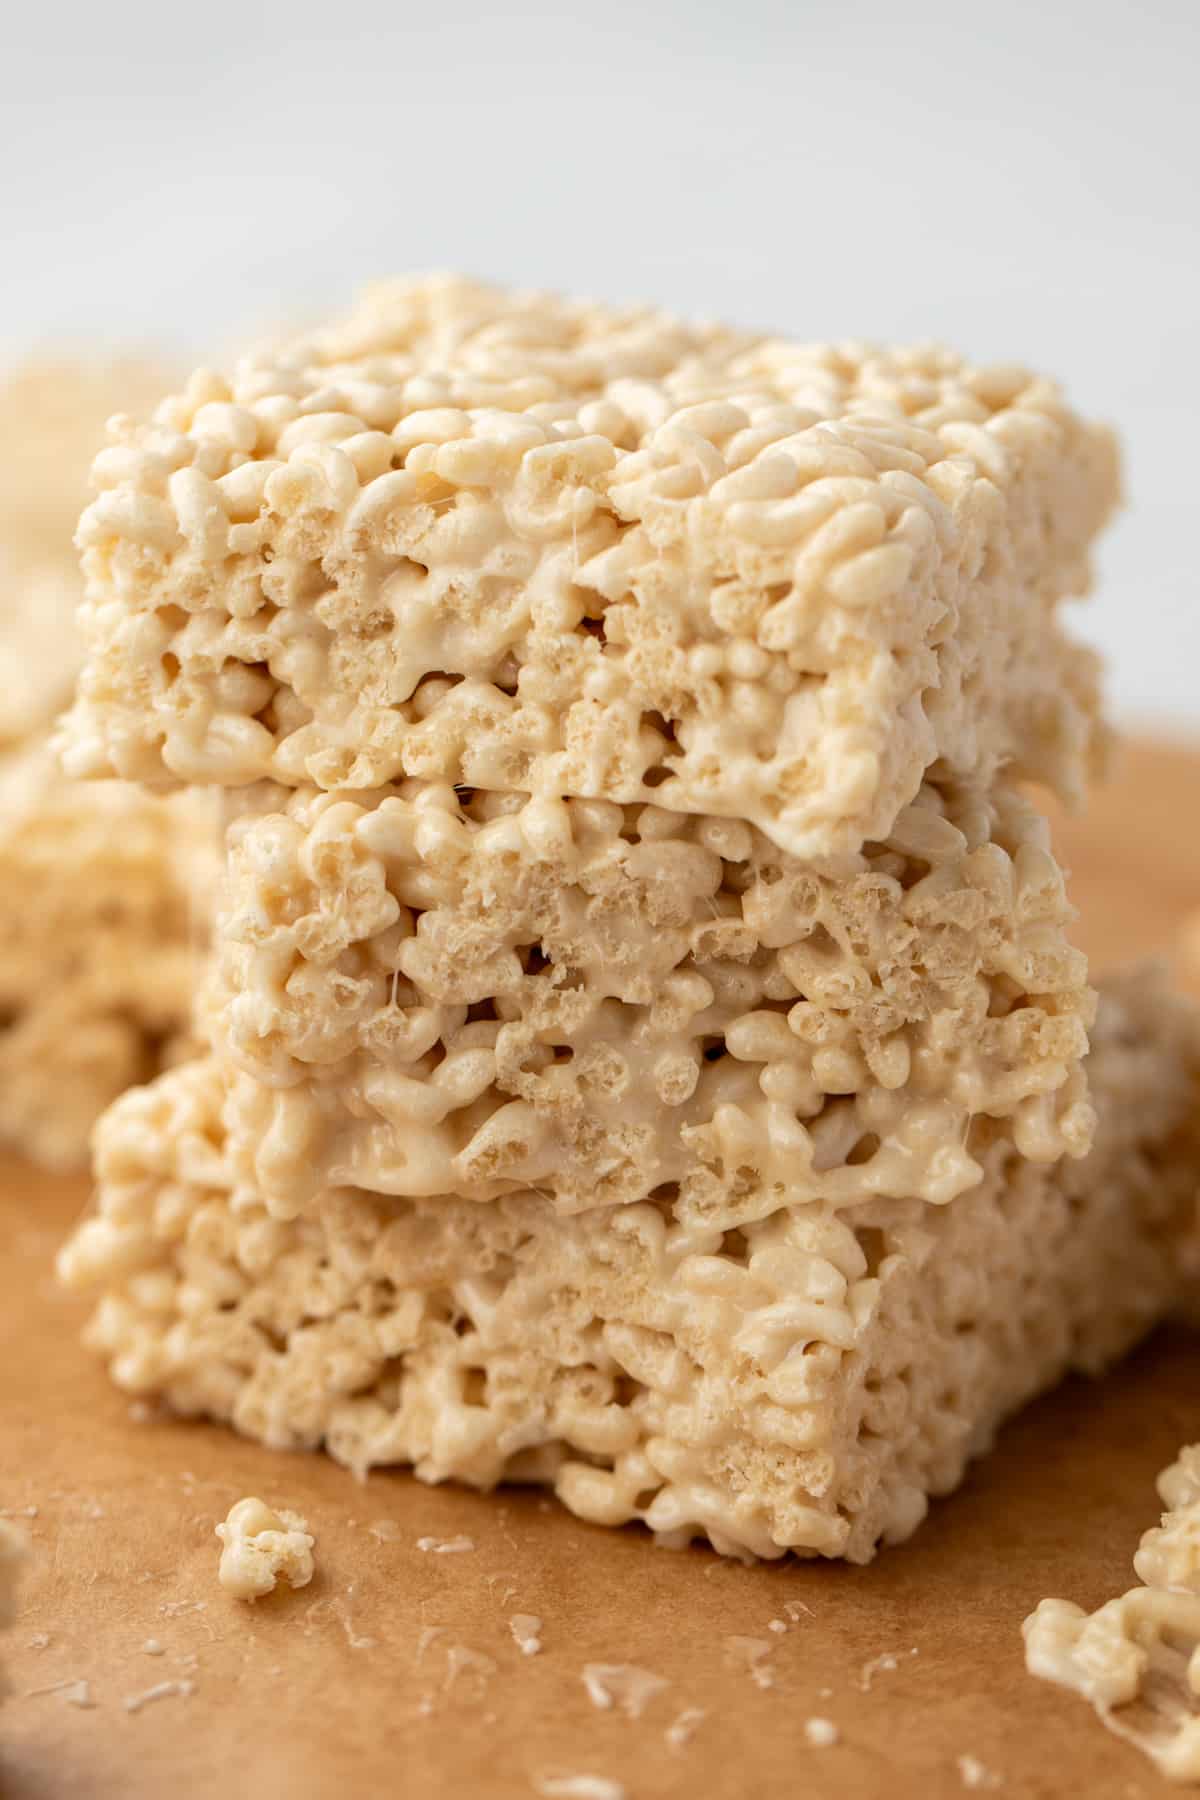
This easy recipe for gluten free Rice Krispies Treats is a crowd-pleaser every time!
Although the classic Kellogg's Rice Krispies are not gluten-free, we have good news: there are plenty of options on the market, so you can enjoy your favorite childhood treat once again - made gluten-free.

Why You'll Love Them:
- Actually gluten-free. Because rice is naturally gluten-free, many assume that rice cereal is as well. Not so! Try this truly gluten-free version.
- Just 4 ingredients. This recipe uses simple ingredients that you probably already have in your kitchen (especially if you have celiac disease or have been gluten-free for some time).
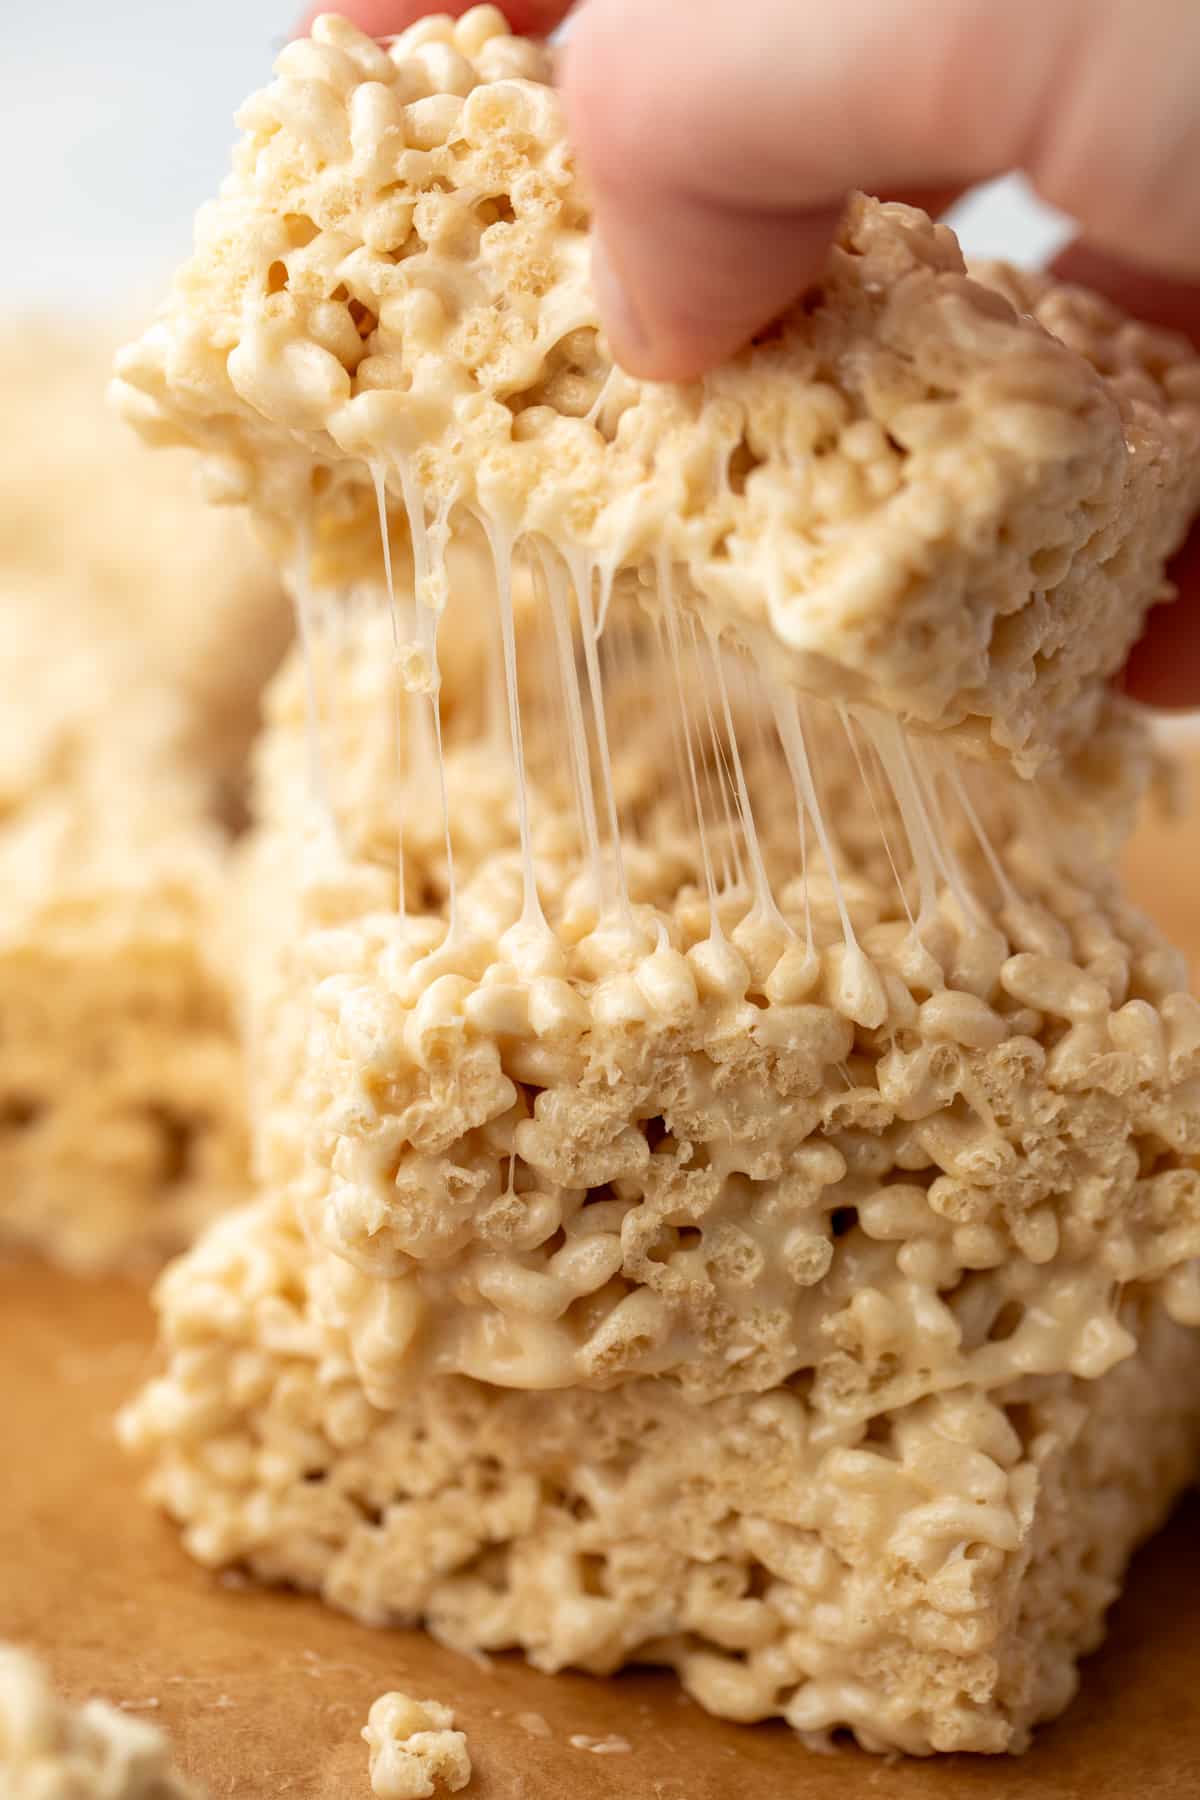
- Easy to make. These have to be one of my favorite gluten-free desserts, because they are no bake treat and take just 10 minutes to make.
You Will Need:
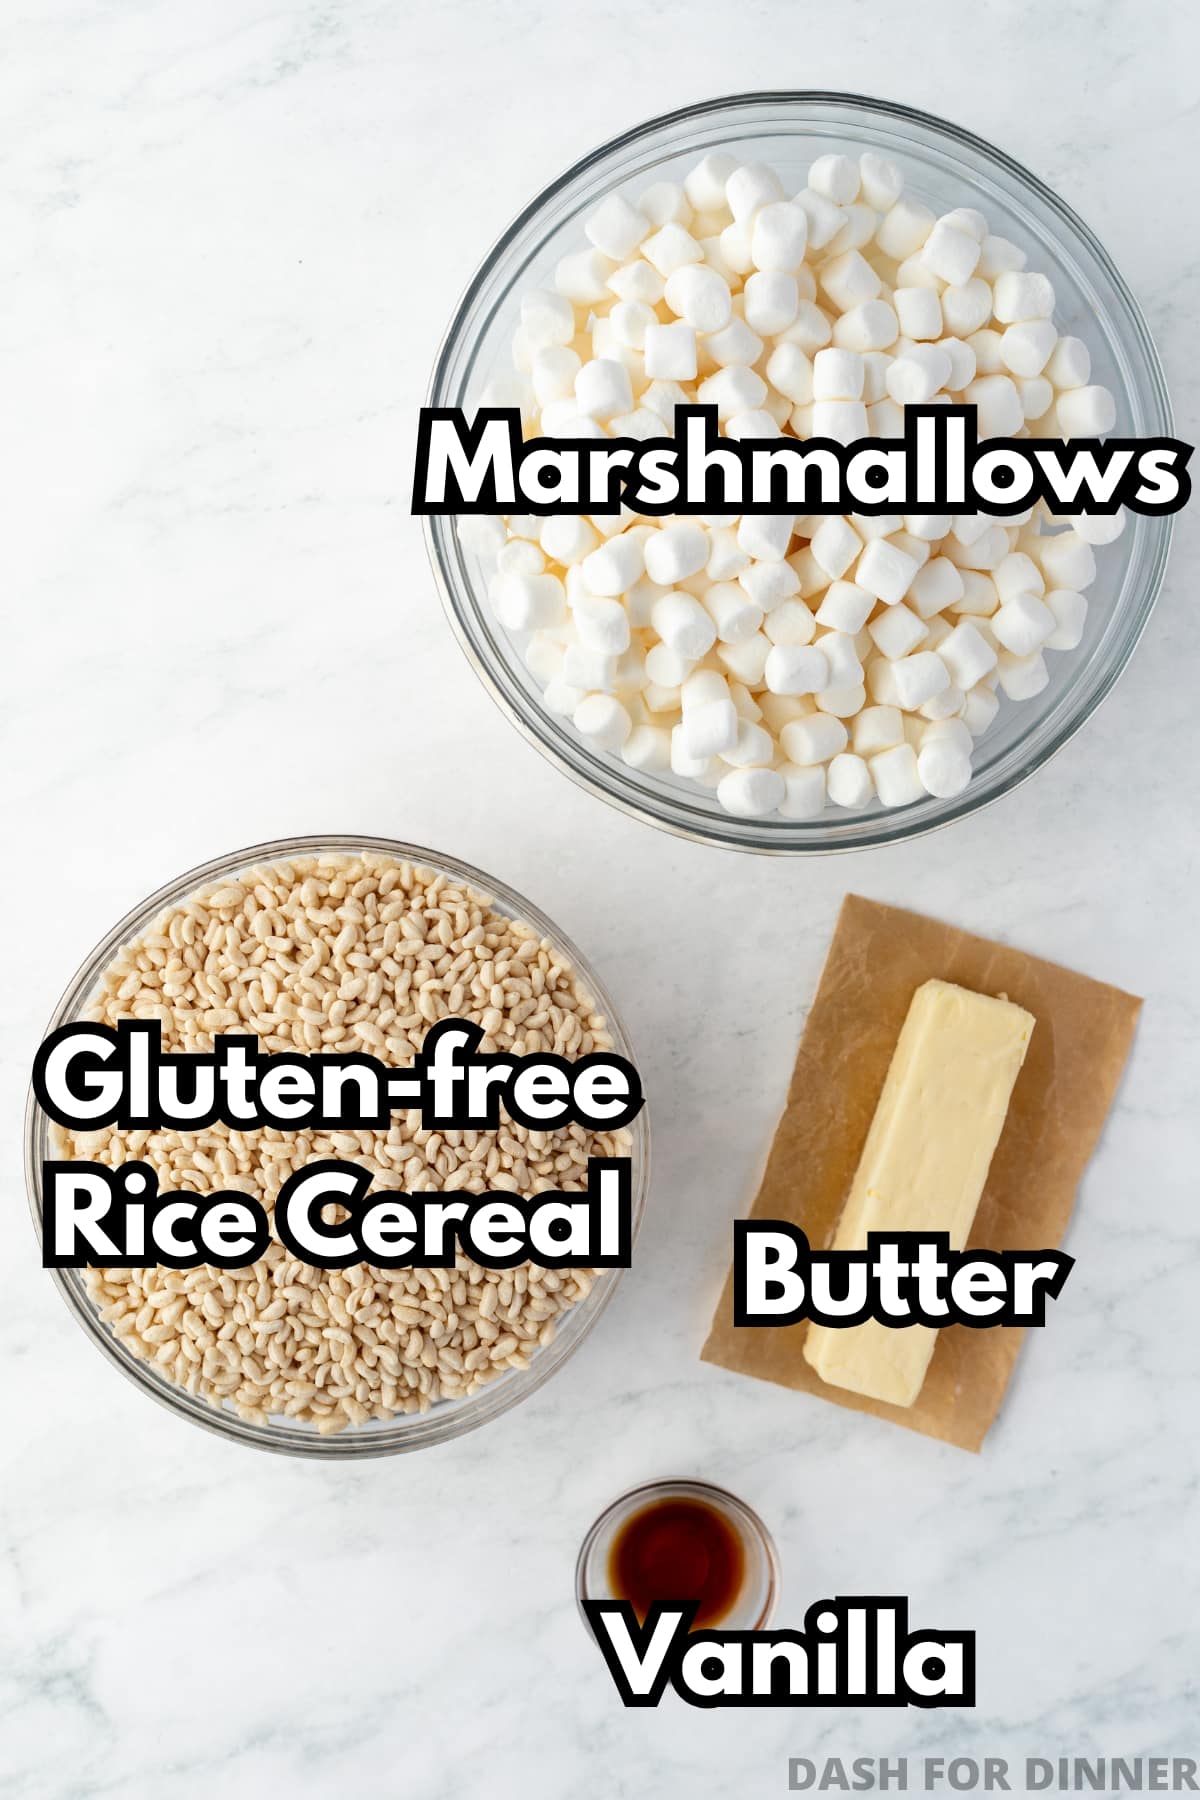
- Gluten-free rice cereal: Many people falsely assume that the Kellogg's Rice Krispies are gluten-free, but they actually contain barley malt syrup, which has gluten. You will want to find a brand that is labeled as gluten-free.
- In some regions, Kellogg's has a gluten-free brown rice cereal, but it is increasingly difficult to find.
- There are a variety of manufacturers that offer certified gluten free rice cereal.
- These include Nature's Path, Aldi, One Degree, 365 (not certified gluten-free), and The Real Cereal Company. Many of these are available online.
- Always check the ingredient label to find gluten-containing grain ingredients, or sneaky gluten like barley malt.
- Marshmallows: We highly recommend using mini marshmallows, as they melt more readily. If you would prefer to use regular-sized marshmallows, measure by weight to ensure you have the correct amount.
- Butter: Salted butter balances the sweetness of the marshmallows. If you only have unsalted, add a little pinch of salt instead.
- Vanilla: Fragrant and delicious, this adds a special touch to your crispy treats.
Recommended tools and equipment:
- 8X8" baking pan (20.3 x 20.3 cm)
- Parchment paper
How to Make Gluten Free Rice Krispie Treats
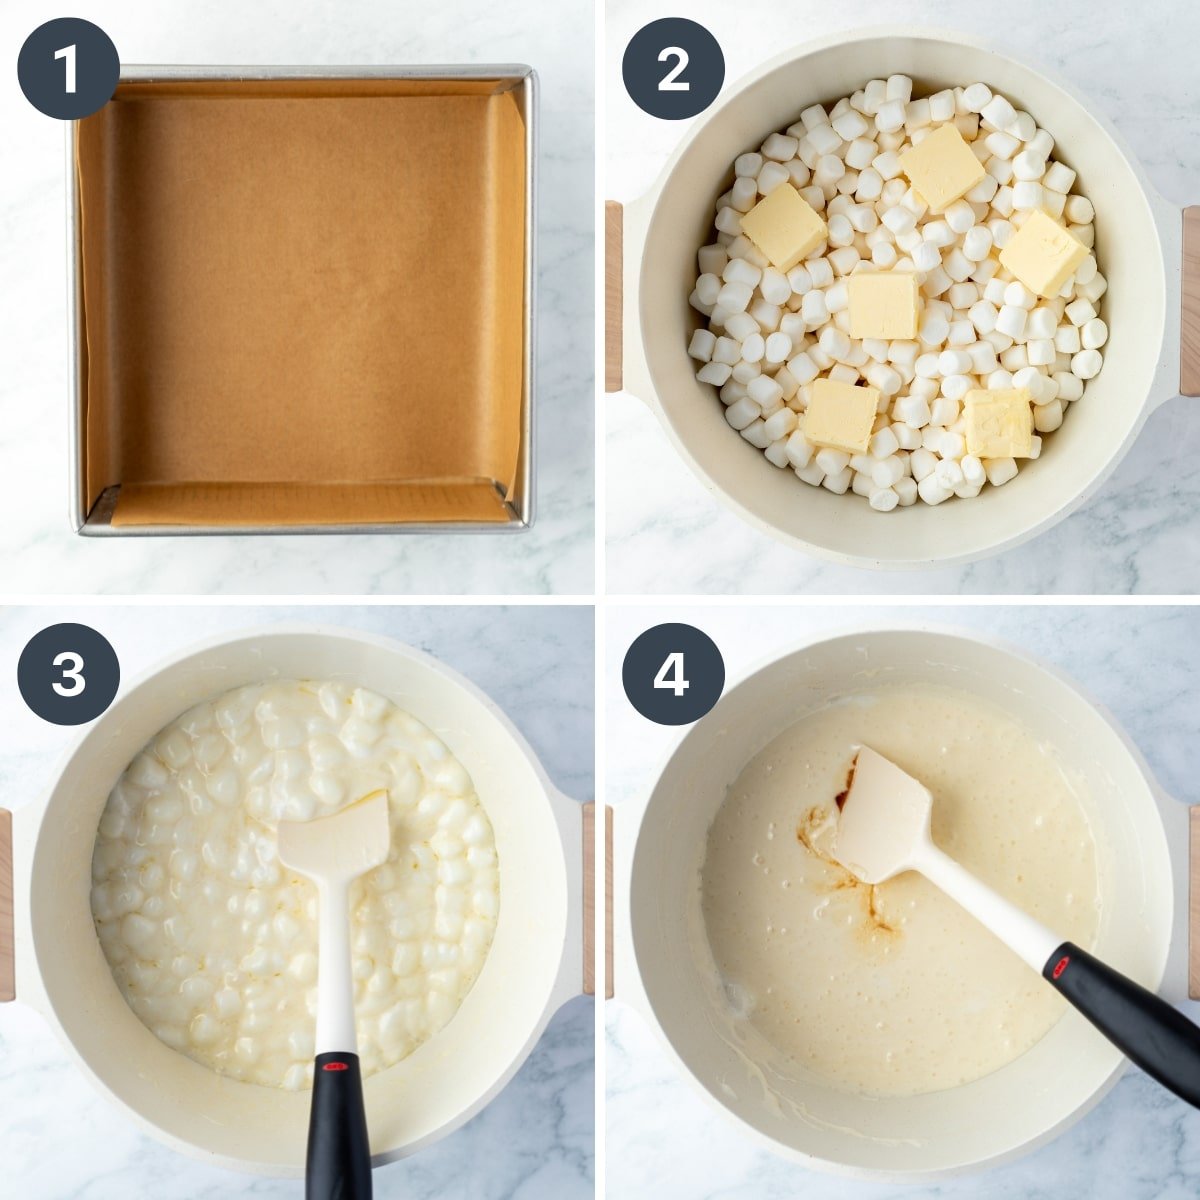
- Line an 8x8" square pan with overlapping sheets of parchment paper. This ensures the gooey treats are easy to remove.
- Add 10 ounces (about 6 cups) of mini marshmallows to a large pot (or large bowl for the microwave method). Top with 6 tablespoons of butter.
- Heat over medium heat, stirring to help the butter and marshmallows melt together.
- Once the marshmallow mixture is completely melted, add the vanilla extract and stir.
Note: You can find the microwave instructions below (or in the recipe card).
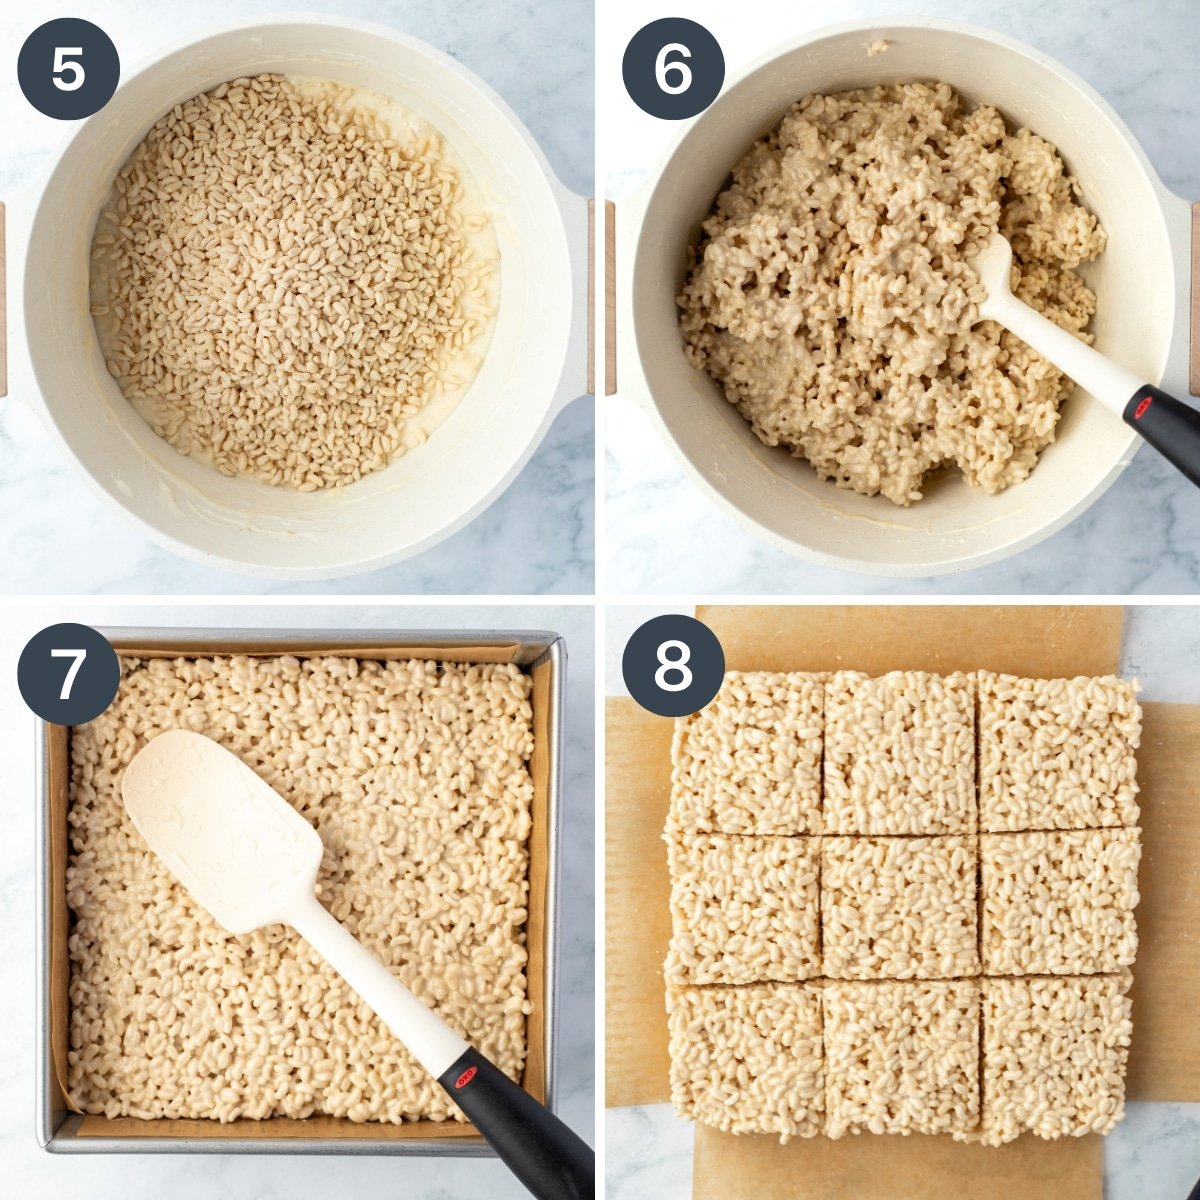
- Add the rice cereal to the melted marshmallow mixture.
- Fold the cereal into the gooey marshmallows until evenly coated. Scrape around the sides as needed.
- Transfer the mixture to the prepared pan, gently pressing it into an even layer.
- Allow the treats to set up at room temperature for at least 1 hour. Once they have cooled down and set into a firm-ish texture, remove them from the baking pan using the parchment paper handles.
- Slice into 9 large treats, or 12 smaller ones.
- Store in an airtight container with sheets of parchment in between layers to prevent sticking.
- Treats store at room temperature for up to 2-3 days.
- If desired, you can store them in the refrigerator for up to 1 week, although the treats will become firm and dense.
Microwave Method
- Add the marshmallows and butter to a large, microwave-safe bowl.
- Heat in 30-second intervals until the butter is melted and the marshmallows are puffy.
- Stir well to combine, then add in the vanilla extract.
- Pour in the rice cereal and fold it into the marshmallow mixture using a rubber spatula.
- Transfer the cereal mixture to a square baking pan lined with parchment paper or lightly sprayed with cooking spray.

Topping Ideas
- Gluten-free Oreo crumble
- Cadbury mini eggs
- Mini m&m's
- Chopped peanut butter cups
- Melted chocolate (spread and allow to harden)
- Chopped candy bars
Recipe FAQs
Yes, they can be frozen! Although freezing them makes them a bit dense, the texture is surprisingly good after thawing. For optimal results, we recommend wrapping each treat individually in plastic wrap, placing them in a freezer bag, and storing them in the freezer for up to 3 months.
No. If you would like to make a vegan version, use your favorite vegan butter and vegan marshmallows instead of the conventional versions used in the standard recipe.
I have never tried it, but many people have had success using refined coconut oil (or butter-flavored coconut oil) as a substitute for butter. I can't see a reason why it wouldn't work!
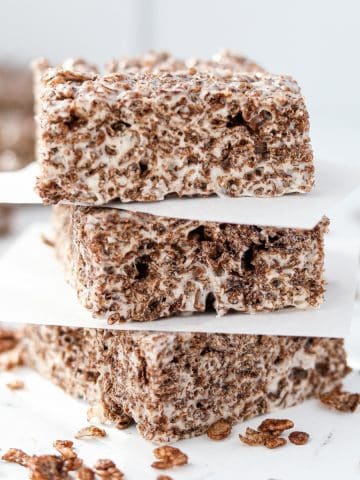
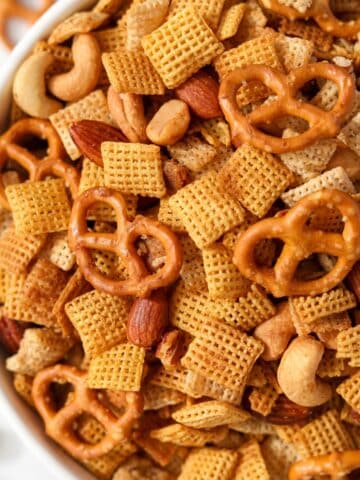
More Gluten-Free Treats

If you loved this recipe for Gluten-free Rice Krispie Treats, let me know by leaving a 5-star review in the recipe card or comment below! You can also tag me on Instagram @dashfordinner.

Gluten Free Rice Krispie Treats
Ingredients
- 10 ounces mini marshmallows (284g or roughly 6 cups)
- 6 tablespoons salted butter cut into pieces (90mL)
- ½ teaspoon vanilla extract (2.5mL)
- 4 ½ cups gluten-free rice cereal* we like Nature's Path Crispy Rice Cereal
Instructions
Microwave:
- Line a square baking pan (8x8"/20.3cm x 20.3cm) with overlapping sheets of parchment paper. Set aside.
- Place the marshmallows in a large bowl, then top with pieces of butter.
- Microwave in 30-second intervals, continuing until the butter is melted and the marshmallows puff up.
- Using a rubber spatula, stir the butter and marshmallows together, then add the vanilla extract and stir again.
- Pour in the rice cereal, and fold it in with a rubber or silicone spatula. Once the cereal is evenly coated in the marshmallow mixture, you're ready for the next step.
- Transfer the rice cereal mixture to the prepared baking pan, and spread it out in an even layer.
- Loosely cover and allow to rest at room temperature for at least 1 hour.
- Using the sides of the parchment paper lining, carefully remove the treats from the baking pan and slice them into 9-12 squares.
Stovetop:
- Add the marshmallows and butter to a very large pot. Heat over medium-heat on the stovetop, stirring often until melted and well combined.
- Remove the marshmallows from the heat and stir in the vanilla extract.
- Pour in the cereal, gently folding it into the melted marshmallow mixture until evenly coated.
- Transfer to the prepared baking pan, spreading it into an even layer.
- Loosely cover and allow to rest at room temperature for at least 1 hour.
- Remove the treats from the baking pan and slice them into 9-12 squares.
Notes
Nutrition
Please note that some of my blog posts here at Dash for Dinner may contain affiliate links. If you make a purchase through these links, I will get a small commission at no additional cost to you. Please see my Disclaimer for more information.


Dorothy Bigelow says
Just as good as the original and not dry at all (like gluten-free desserts can sometimes be). We use Nature's Path Crispy Rice and it's perfect every single time.