
Whether you're looking for a quick and easy way to prepare for school lunches, or you just like keeping a stash of snacks tucked away, this simple recipe for Homemade Uncrustables is for you!
Jump to:
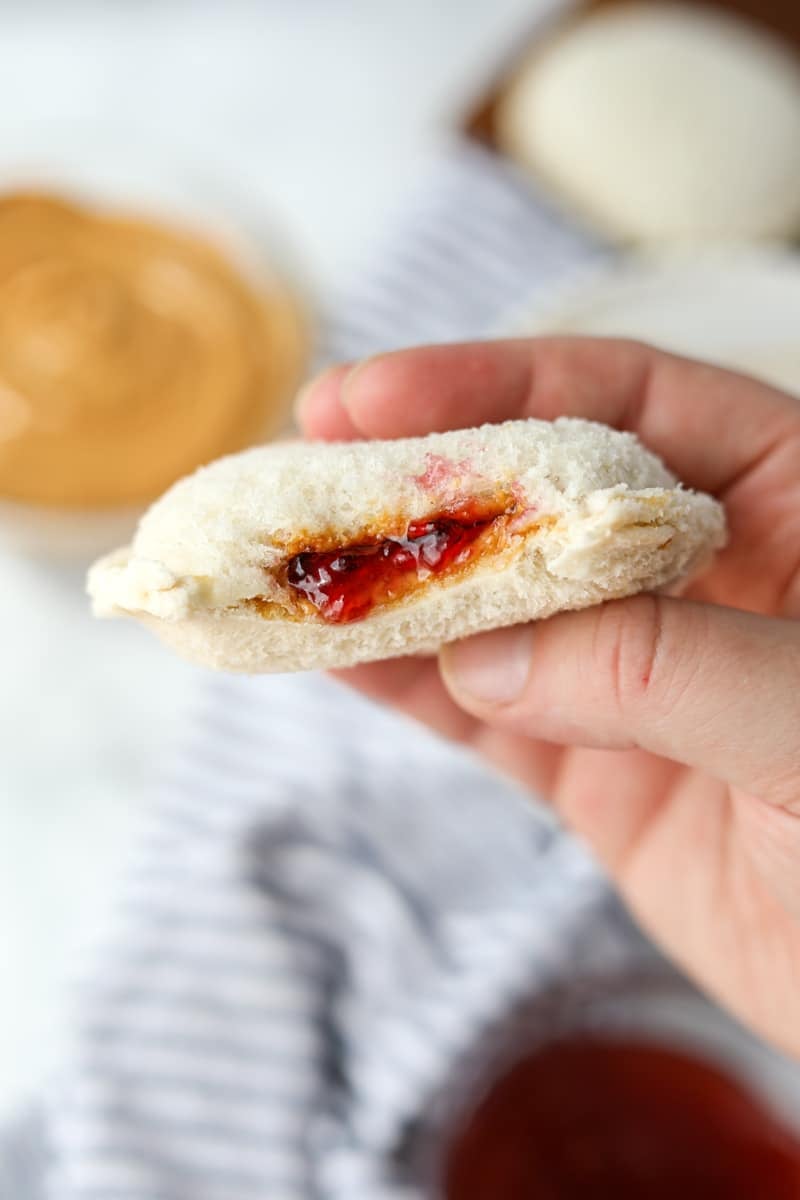
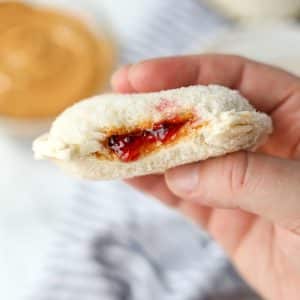
These frozen peanut butter and jelly sandwiches are a cinch to assemble, and so much cheaper than purchasing them at the grocery store. They're the perfect easy lunch for kids (and kids-at-heart).
Why Make Your Own Uncrustables?
- It's a huge money saver. The freezer aisle version isn't exactly cheap. A little time and effort means you can save a ton of money (and have the leftover crusts for croutons, homemade breadcrumbs, etc.).
- Easy. Once you get the hang of the method, this is so easy you could do it in your sleep! Plus, you can make a large batch so you can go longer in between making them.
- Your kids will LOVE you. I mean, they probably love you anyway, but if you give them crustless sandwiches? Well, that's just bonus points!
- Simple. You can find a sandwich sealer on Amazon for cheap, but there are also ways to make them with a wide-mouth mason ring, a biscuit cutter, or a cookie cutter.
Ingredients
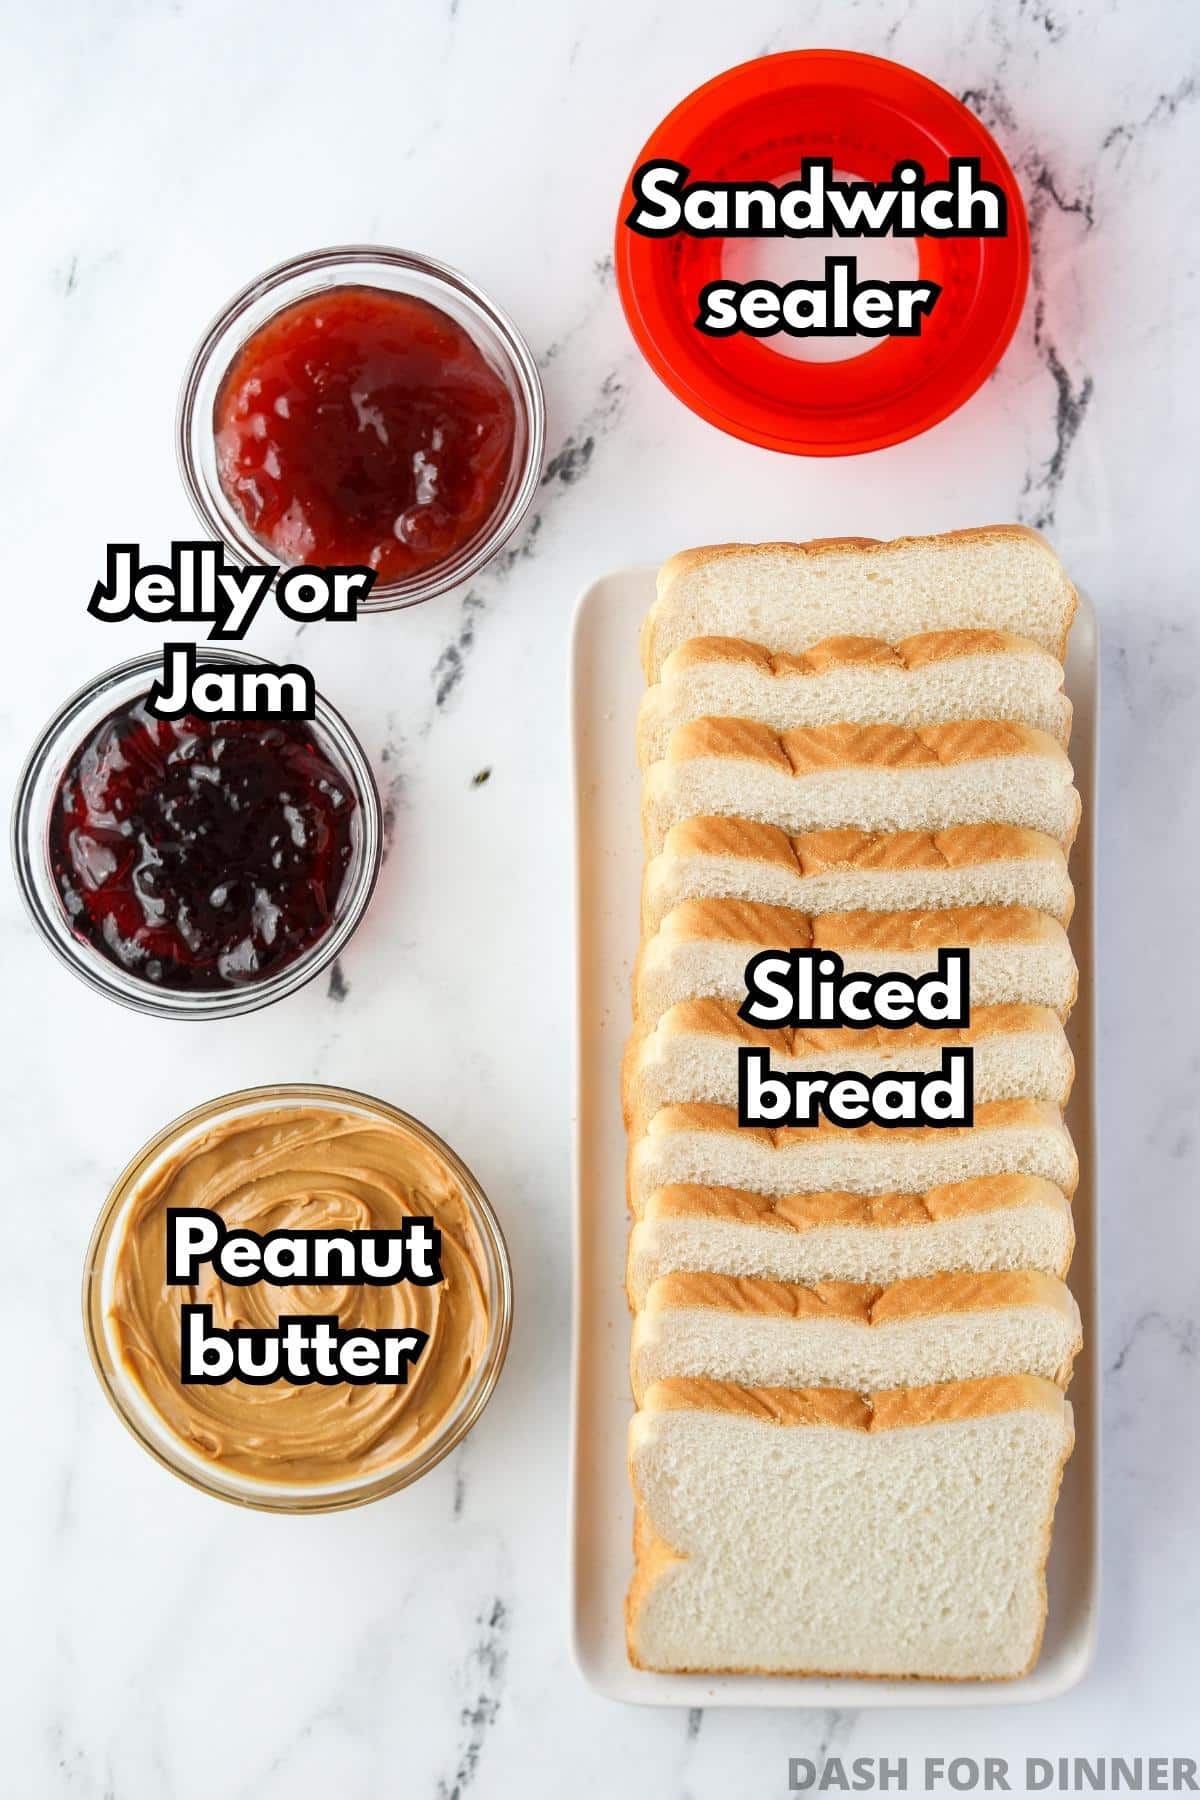
- Bread: I recommend using a thinly sliced sandwich-style loaf for the best results, but you could use whole wheat bread or any type of bread you like best (thinly sliced, of course).
- Peanut butter: For easy spreadability, I recommend sticking to regular peanut butter. There's a time for natural peanut butter, but this recipe really works best with the standard stuff.
- Jelly (or jam): While the most popular J in your average PB&J is grape jelly, I'm very fond of strawberry jam. Use whatever you like best!
Equipment
- Sandwich Sealer: These can be found on Amazon (this is the one I have), but I've also heard that Pampered Chef makes one too.
- Don't have a sandwich sealer? You can use a wide-mouth canning ring, a biscuit cutter, or a cookie cutter (see the section towards the bottom of the post).
- Baking sheet: This is for flash freezing the sandwiches before transferring them to bags.
- Freezer bags: Whether you use regular freezer bags, reusable silicone freezer bags, or the bread bag itself, you'll need somewhere to store the sandwiches once they are frozen.
How to Make Freezer-Friendly Peanut Butter and Jelly Sandwiches
These crustless sandwiches are so easy to make with just a few simple steps and a handy little tool. Once you get an assembly line going, you'll be churning these little frozen PB&J sandwiches out like clockwork!
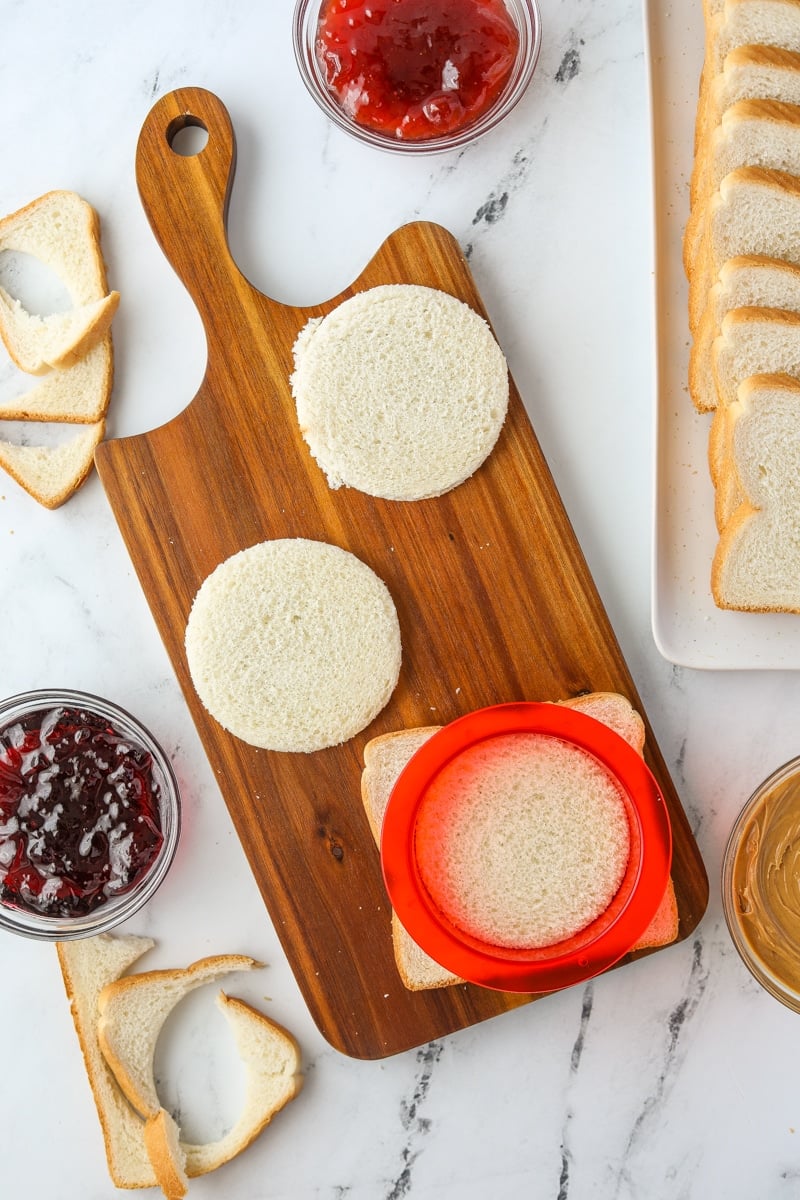
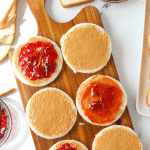
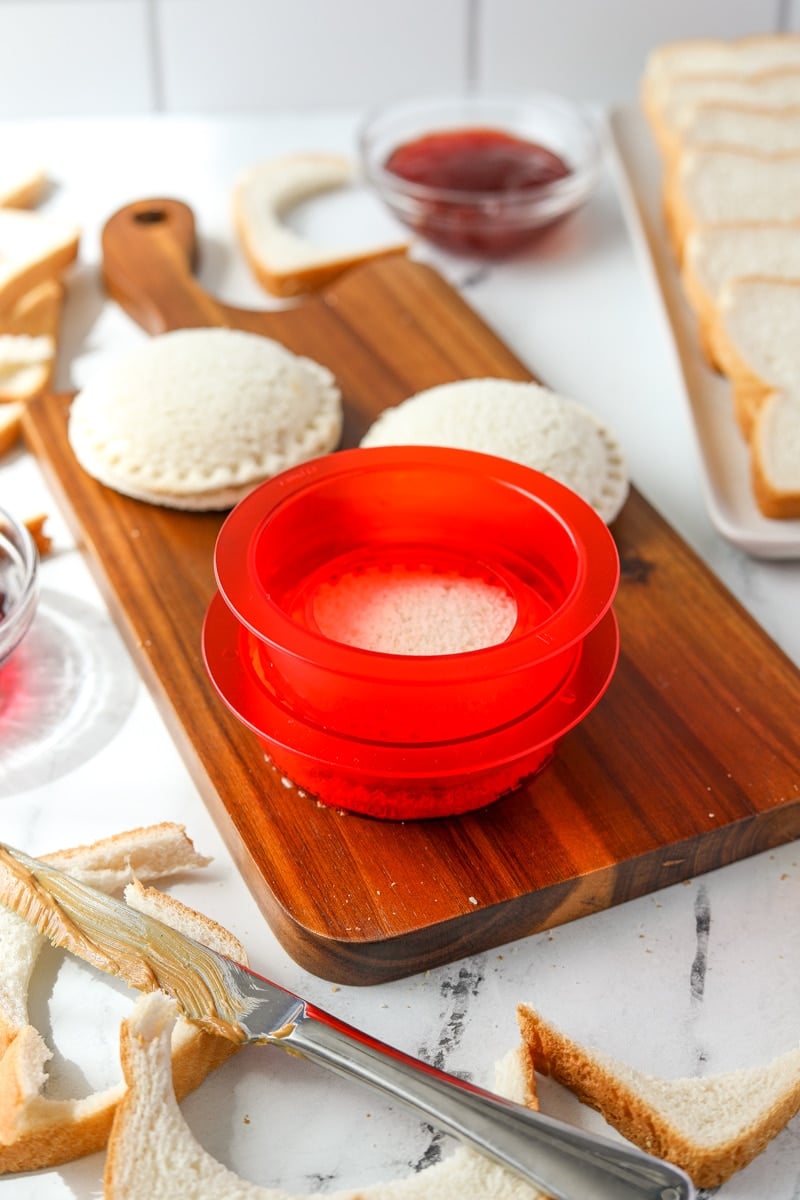
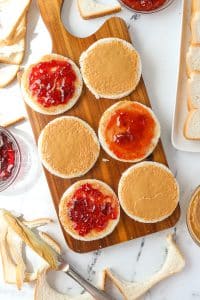
Step one: Place several slices of the bread on a cutting board or flat surface. Use the outer ring of your sandwich sealer to cut the center of the bread into rounds.
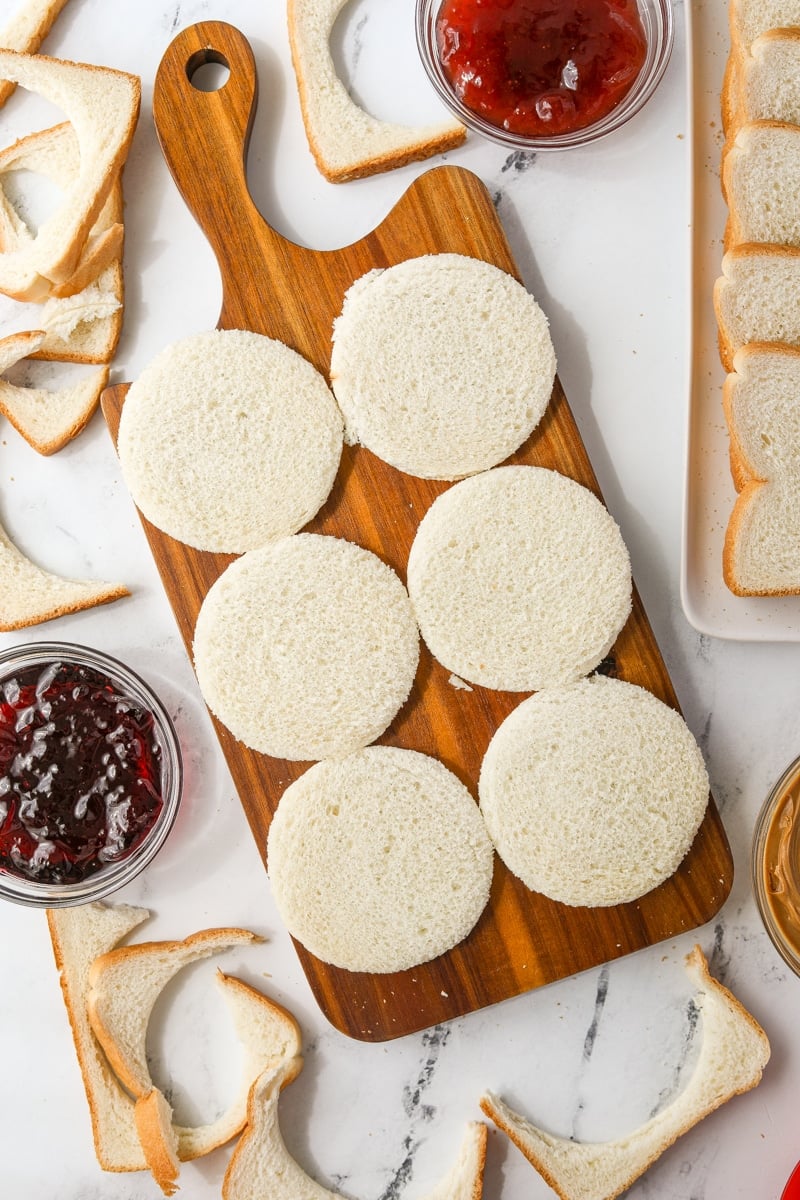
Step two: Repeat with the remaining slices of bread, until you have an even number of rounds.
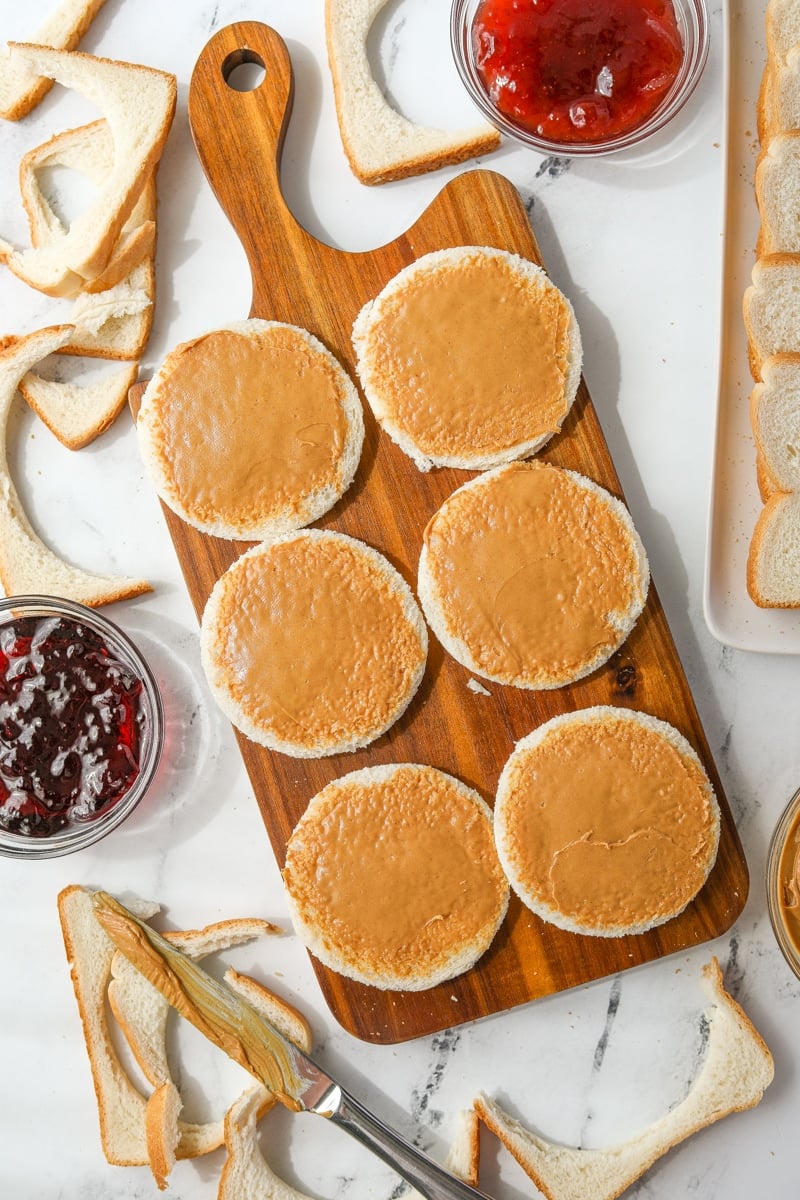

Step three: Spread each piece of bread with a thin layer of peanut butter (about 1 ½ teaspoons), leaving a rough ¼" margin around the edges of the bread.
Step four: Spoon a small amount of jelly (or jam) on half of the bread rounds, right on top of the peanut butter.
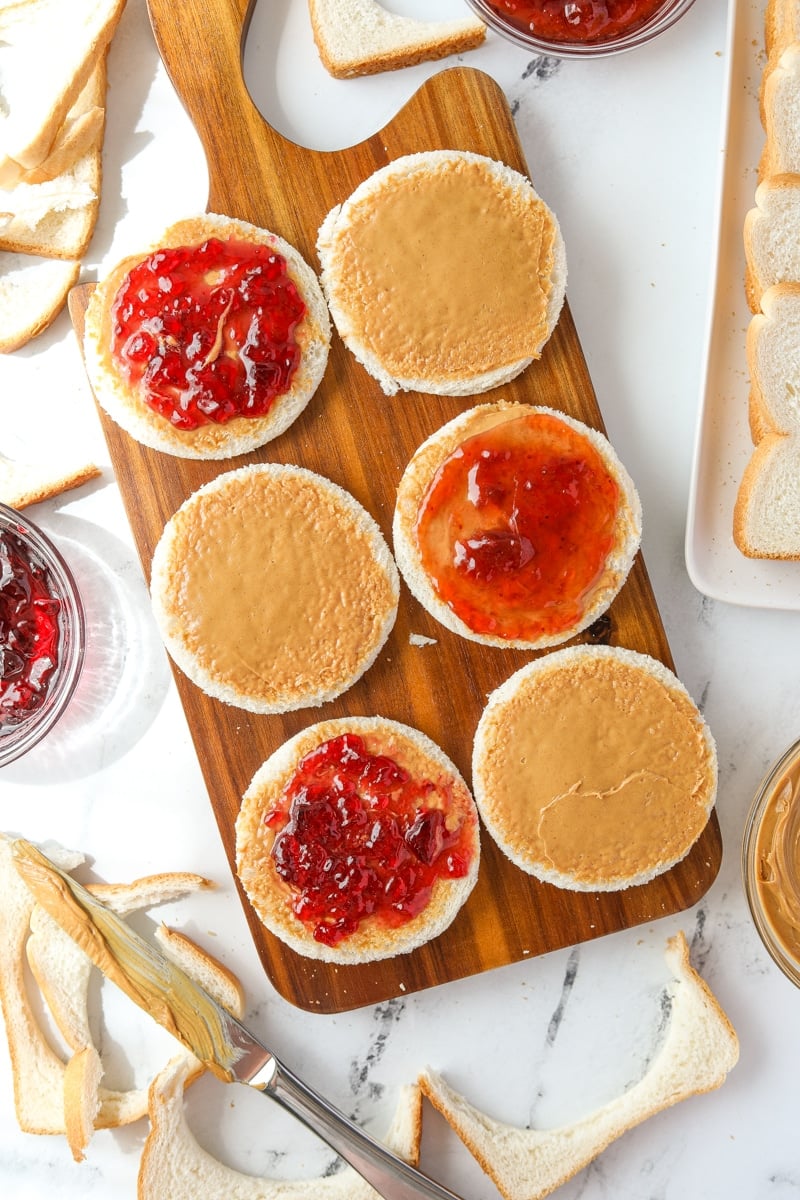
Step five: Carefully spread the jelly over the thin layer of peanut butter, keeping that same margin (¼" or so) to prevent the sealed sandwich from leaking.
Step six: Match the peanut butter sides with a jam and peanut butter side, and place the circular sandwich into the inner ring of the sealer. Press the sandwich with the outer ring, until the edges are crimped and sealed. Repeat.
Freezing
Once all of the homemade Uncrustables sandwiches have been sealed, you're ready to get them ready for freezing. These frozen sandwiches are perfect for tossing into a lunch bag, bringing on road trips, or packing in the cooler for a Summer camping trip.
How to Freeze PB&J Sandwiches:
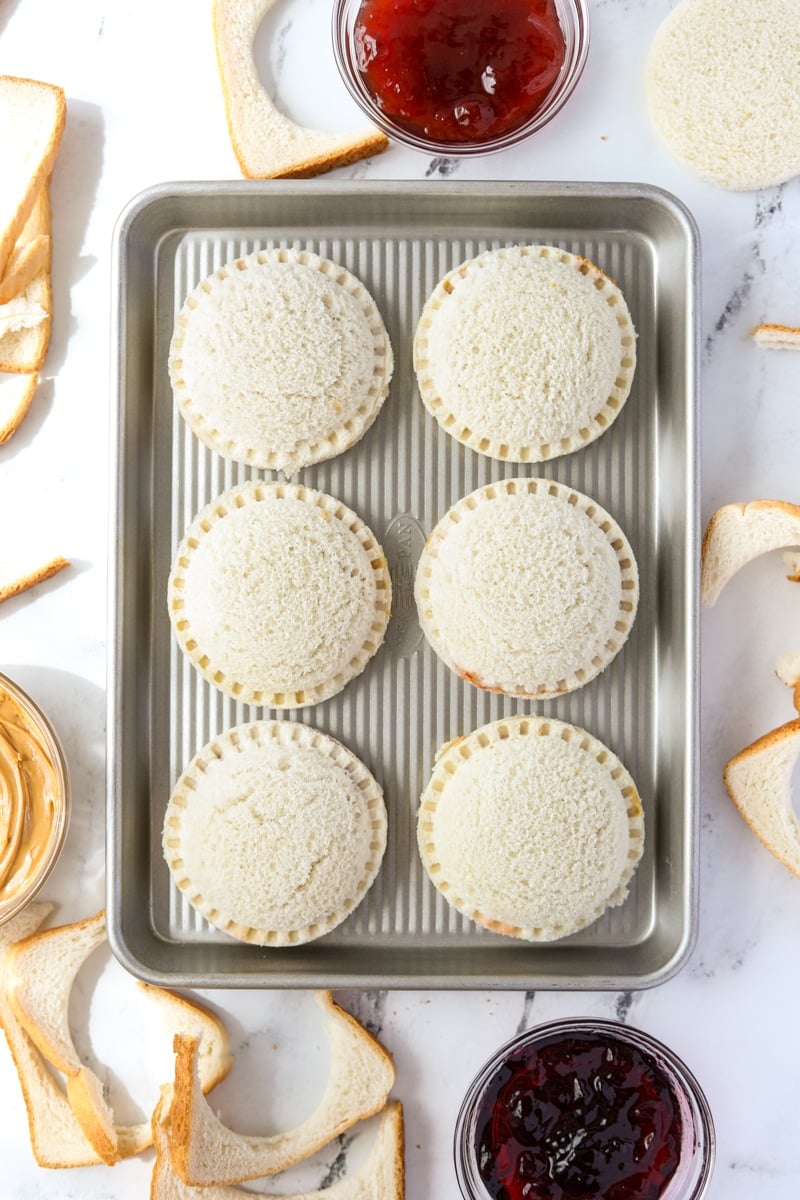
- Place the sandwiches on a freezer-safe baking sheet.
- Place the baking sheet into the freezer, keeping it flat if possible.
- Once the sandwiches are frozen, remove them from the baking sheet and place them in a freezer bag, a reusable silicone freezer bag, or the leftover bread bag.
- Freeze for up to 2 months.
Tip: For extra protection during freezing, wrap each sandwich individually in plastic wrap (or place them in individual baggies) before placing them in a freezer bag.

Expert Tips
- Use thinly sliced bread. I've tested this recipe with regular sliced bread, as well as thinly sliced bread, and the thinner slices work much better. Thicker slices are more prone to cracking once sealed, and they also have a tendency to resist sealing.
- Sandwich-style. Bread comes in many shapes, but for the best results you want to purchase sandwich-style bread. This type does not have a mounded top and instead is somewhat square in shape, meaning you have a margin for error when making DIY Uncrustables.
- Peanut butter on both sides. Adding a thin layer of peanut butter to both sides of the bread prevents the jelly from soaking into the bread, making it soggy. I've tested it with and without, and the results are significantly better when you add peanut butter to both sides of the sandwich.

Homemade Uncrustables Without a Sealer
Using a sandwich sealer (AKA sandwich cutter) will give you the best, and most consistent results. But no worries! You can still make your own homemade Uncrustables without the use of special tools.
- Use a wide-mouth canning ring. Use the ring to cut the bread to size, then flip it upside down to seal the two sides together.
- Biscuit cutter. Cut the sandwiches to size using a large biscuit cutter, then seal the edges of the bread by pressing them with the tines of a fork all the way around.
- Cookie cutter. If you have a large, round cookie cutter you can use that instead of a sandwich sealer. Just crimp the edges with the tines of a fork to seal them.
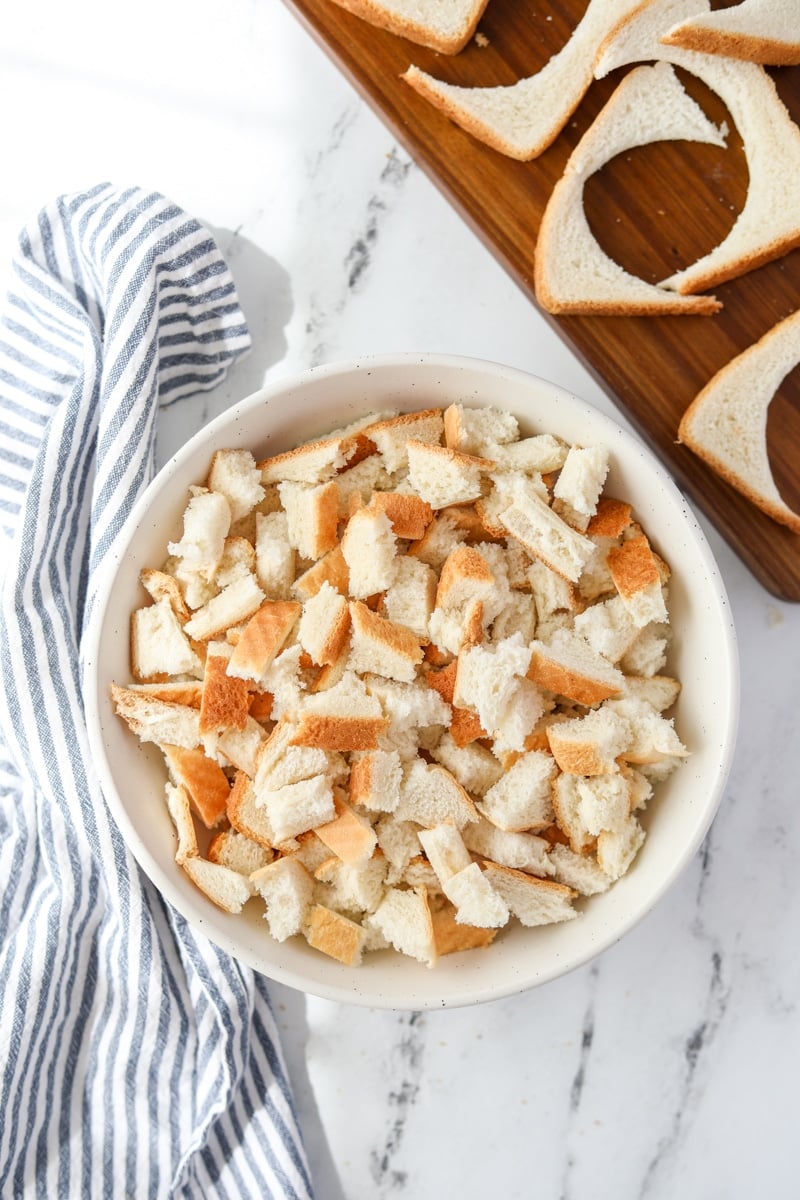
What About the Leftover Crusts?
If you have made a large batch of these for easy lunches, you may be wondering what you can do with all the leftover pieces of bread. The good news is you don't have to waste them!
Here are some ideas for repurposing the crusts:
- Croutons
- Breadcrumbs
- Strata
- Breakfast casserole
- French toast casserole
- Cube and freeze for later use in your favorite recipes
If you loved this recipe for Homemade Uncrustables, let me know by leaving a 5-star review in the recipe card or comment below! You can also tag me on Instagram @dashfordinner.
Homemade Uncrustables (Frozen Peanut Butter and Jelly Sandwiches)
Equipment
- Sandwich sealer or wide-mouth mason jar lid
Ingredients
- 12 slices sandwich bread thinly sliced
- 6 tablespoons peanut butter
- 4 tablespoons jelly or jam
Instructions
- Place a slice of sandwich bread on a cutting board, and use the outer ring of the sandwich sealer to cut a round circle from the middle of the slice.

- Repeat with the remaining slices until you have 12 rounds.
- Repurpose the bread remnants by making them into breadcrumbs, croutons, etc.
- Spread each round with a thin layer of peanut butter (approx. 1 ½ teaspoons), leaving a ¼" edge as margin.
- Add a small amount of jelly (or jam) to 6 of the sandwich rounds, spreading it into an even layer on top of the peanut butter (and maintaining the ¼" edge).
- Pair each peanut butter and jelly round with a plain peanut butter one.
- Fit the round sandwich into the outer ring, then use the inner ring to press down and seal the two slices together.
- Repeat with the remaining sandwiches.
- To freeze: Place the sealed sandwiches on a parchment-lined baking sheet and place them in the freezer. Freeze for 2-3 hours, or until frozen solid. Then transfer to freezer bags. Label, remove excess air, and seal.
- To serve: thaw any frozen sandwiches at room temperature for 30-60 minutes, or add them directly to a lunch container - they will thaw by lunchtime.


Notes
Nutrition
Please note that some of my blog posts here at Dash for Dinner may contain affiliate links. If you make a purchase through these links, I will get a small commission at no additional cost to you. Please see my Disclaimer for more information.


Leave a Reply