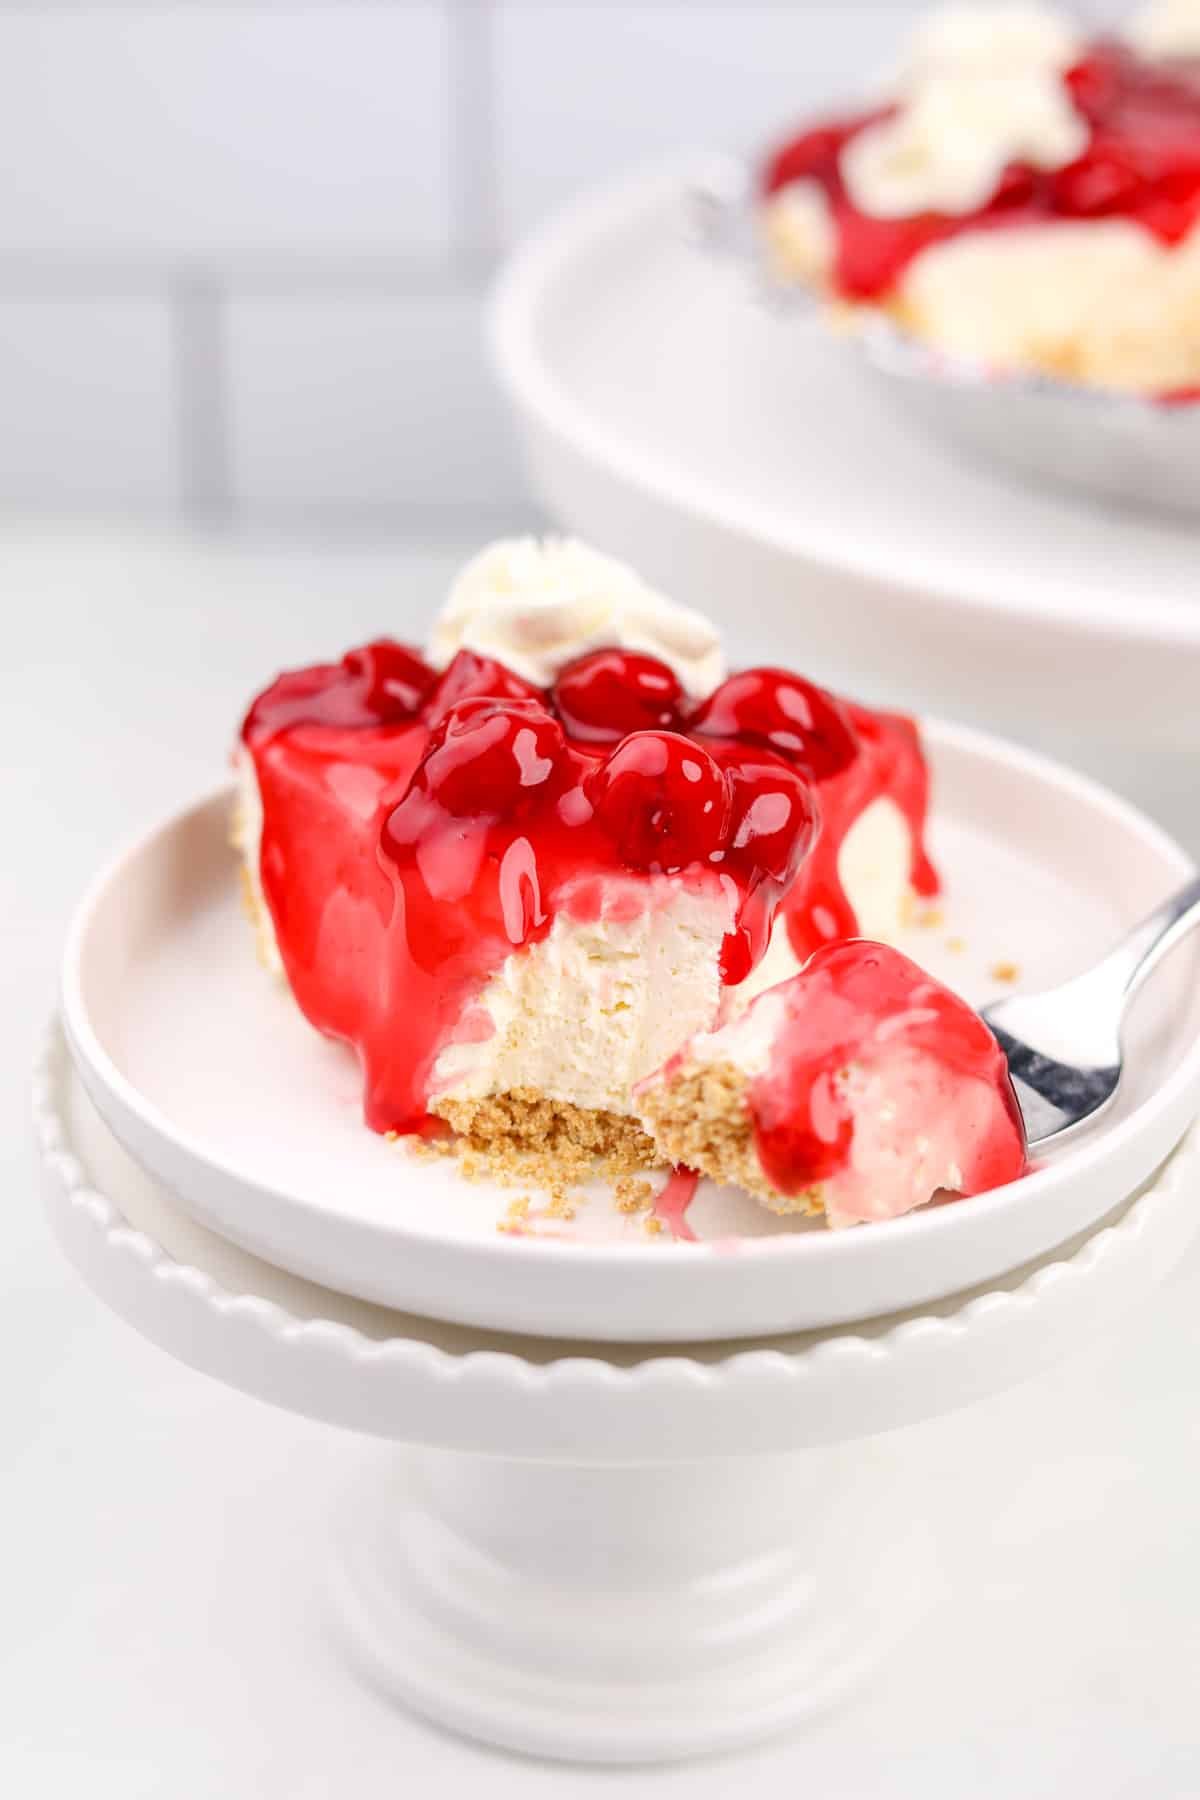
This easy no bake cheesecake recipe has just 5 ingredients! It's the perfect dessert for pretty much any occasion, and has a creamy and fluffy texture that always earns plenty of compliments.
Top it with your favorite pie filling or fresh fruit, or get creative and come up with your own unique toppings.
Jump to:
I'm a big fan of no bake desserts since they can be pulled together quickly, and normally use just a few simple ingredients.
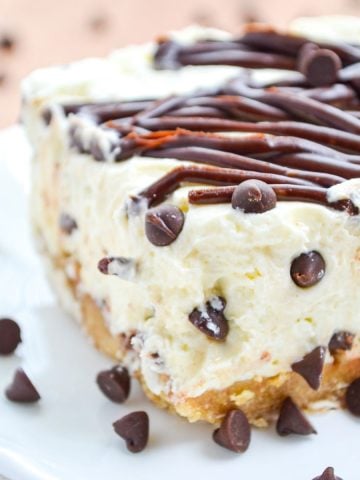
This 5 ingredient no bake cheesecake recipe is adapted from my no bake chocolate chip cheesecake recipe, which is one of my husband's favorites. I tweaked it from a family recipe that was obtained from a magazine or the back of a box many decades earlier, and it's been a hit ever since!
Reasons to Love It:
- Simple ingredients. This easy cheesecake recipe uses just 5 ingredients - no sour cream, heavy cream, or gelatin needed.
- Perfect for special occasions. This humble, yet decadent cheesecake is always a hit at parties, holidays, and potlucks. It isn't fancy, but it is delicious!
- Easy. The hardest part is waiting for it to chill. Other than that, it's beginner friendly and practically foolproof.
- Versatile. This recipe includes a basic no bake cheesecake filling, but you can customize the fillings and toppings to create the dessert of your dreams.
Ingredients
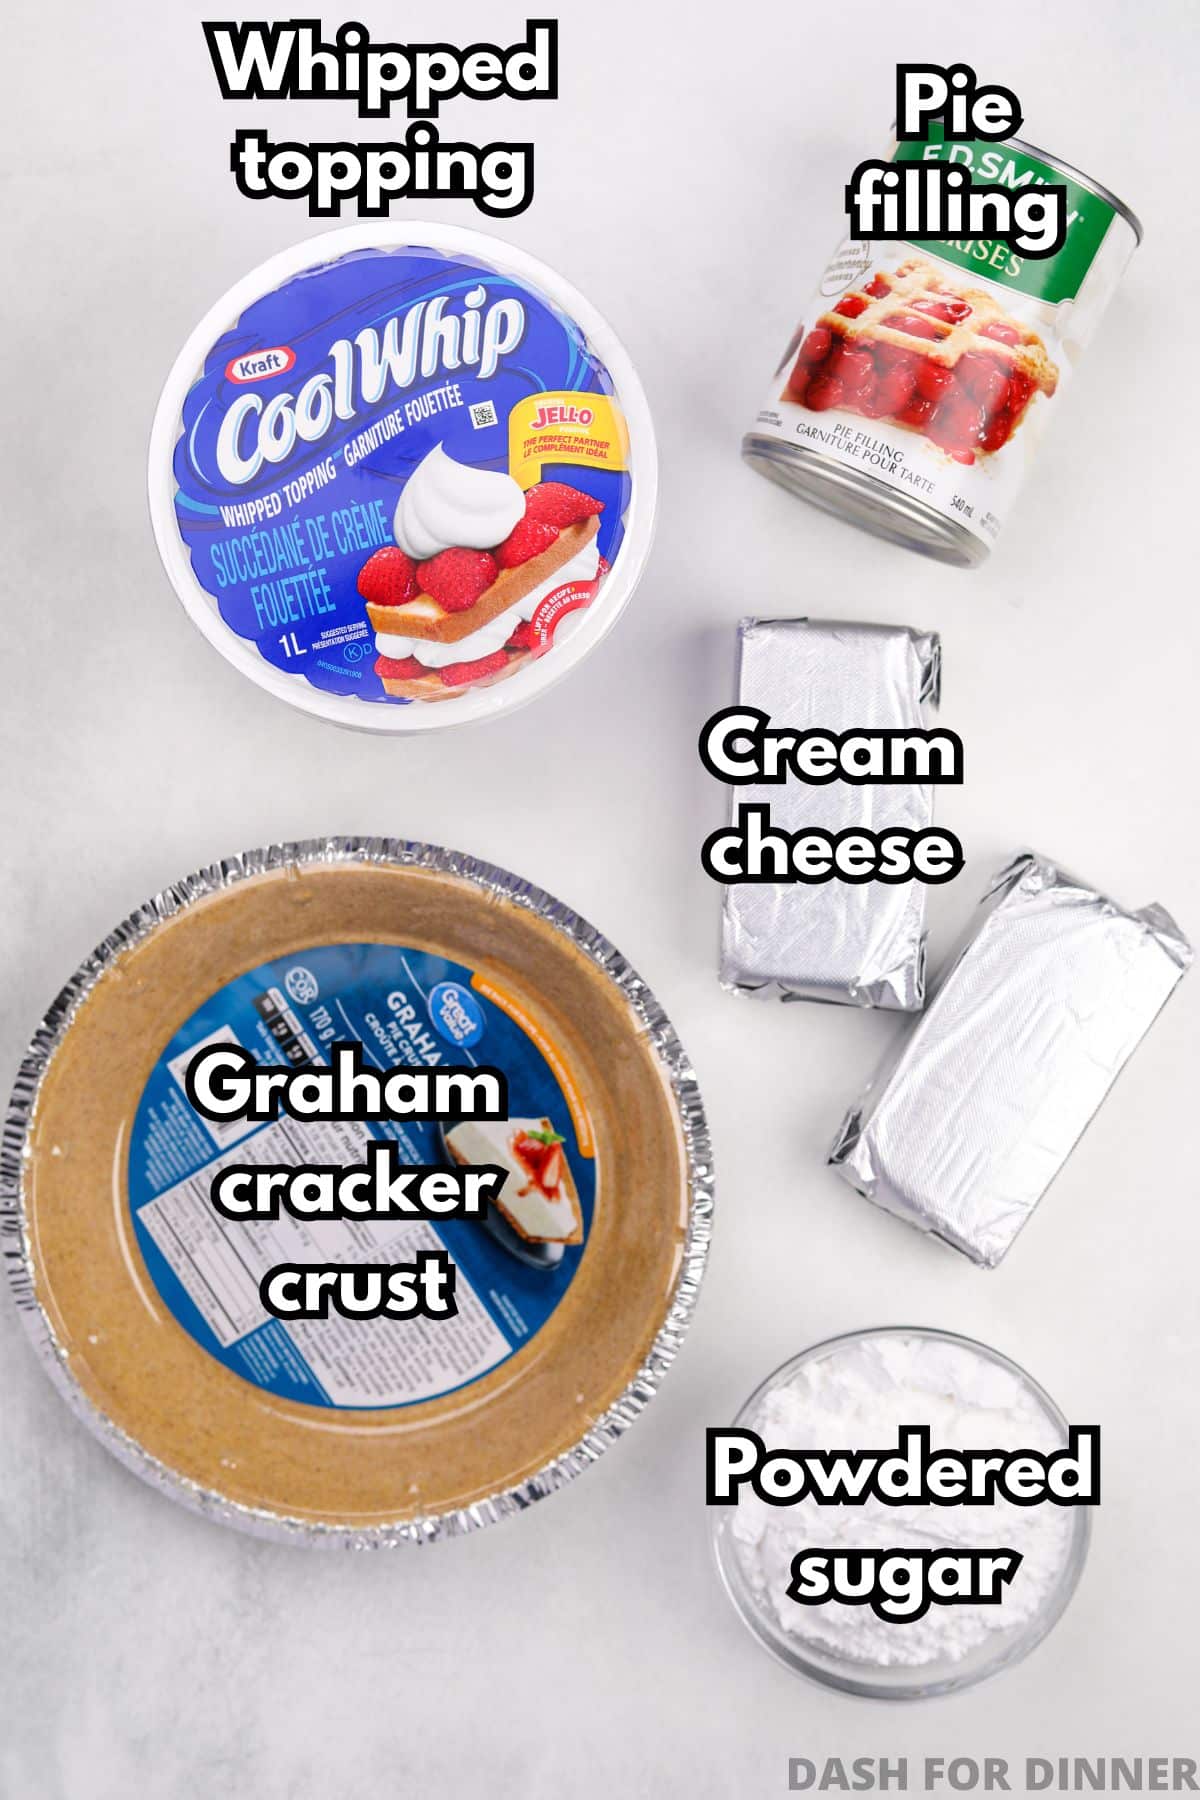
- Cream cheese: You will need 2 packages of brick-style cream cheese that have been softened to room temperature. Don't use the type that comes in a tub - it won't set up.
- Cool Whip (AKA frozen whipped topping): Even though I'm not a big fan of Cool Whip on its own, it works wonders in this simple recipe. Because it's stabilized, you can make this cheesecake pie several days in advance without worrying about weeping. I've tested it with both brand name and generic, and the store brand works just as well.
- Powdered sugar: I recommend powdered sugar (AKA confectioners sugar) because it gives the best results, but if you don't have any on hand you can use granulated sugar instead.
- Graham cracker crust: To keep this recipe simple I've used a pre-made graham cracker crust, but I've included my recipe for a homemade one if that's your preference.
- Pie filling: We like cherry pie filling most of the time, but have tried all of them with great results! If you don't want to use pie filling you can use fresh fruit instead.
Check the recipe card for a full list of ingredients and the quantities needed.
Equipment
- Hand mixer: I like to use this for quick recipes because of the easy clean-up, but you could do it by hand with some elbow grease, OR use a stand mixer fitted with the whisk attachment.
- Large bowl
- Rubber spatula
How to Make an Easy No Bake Cheesecake
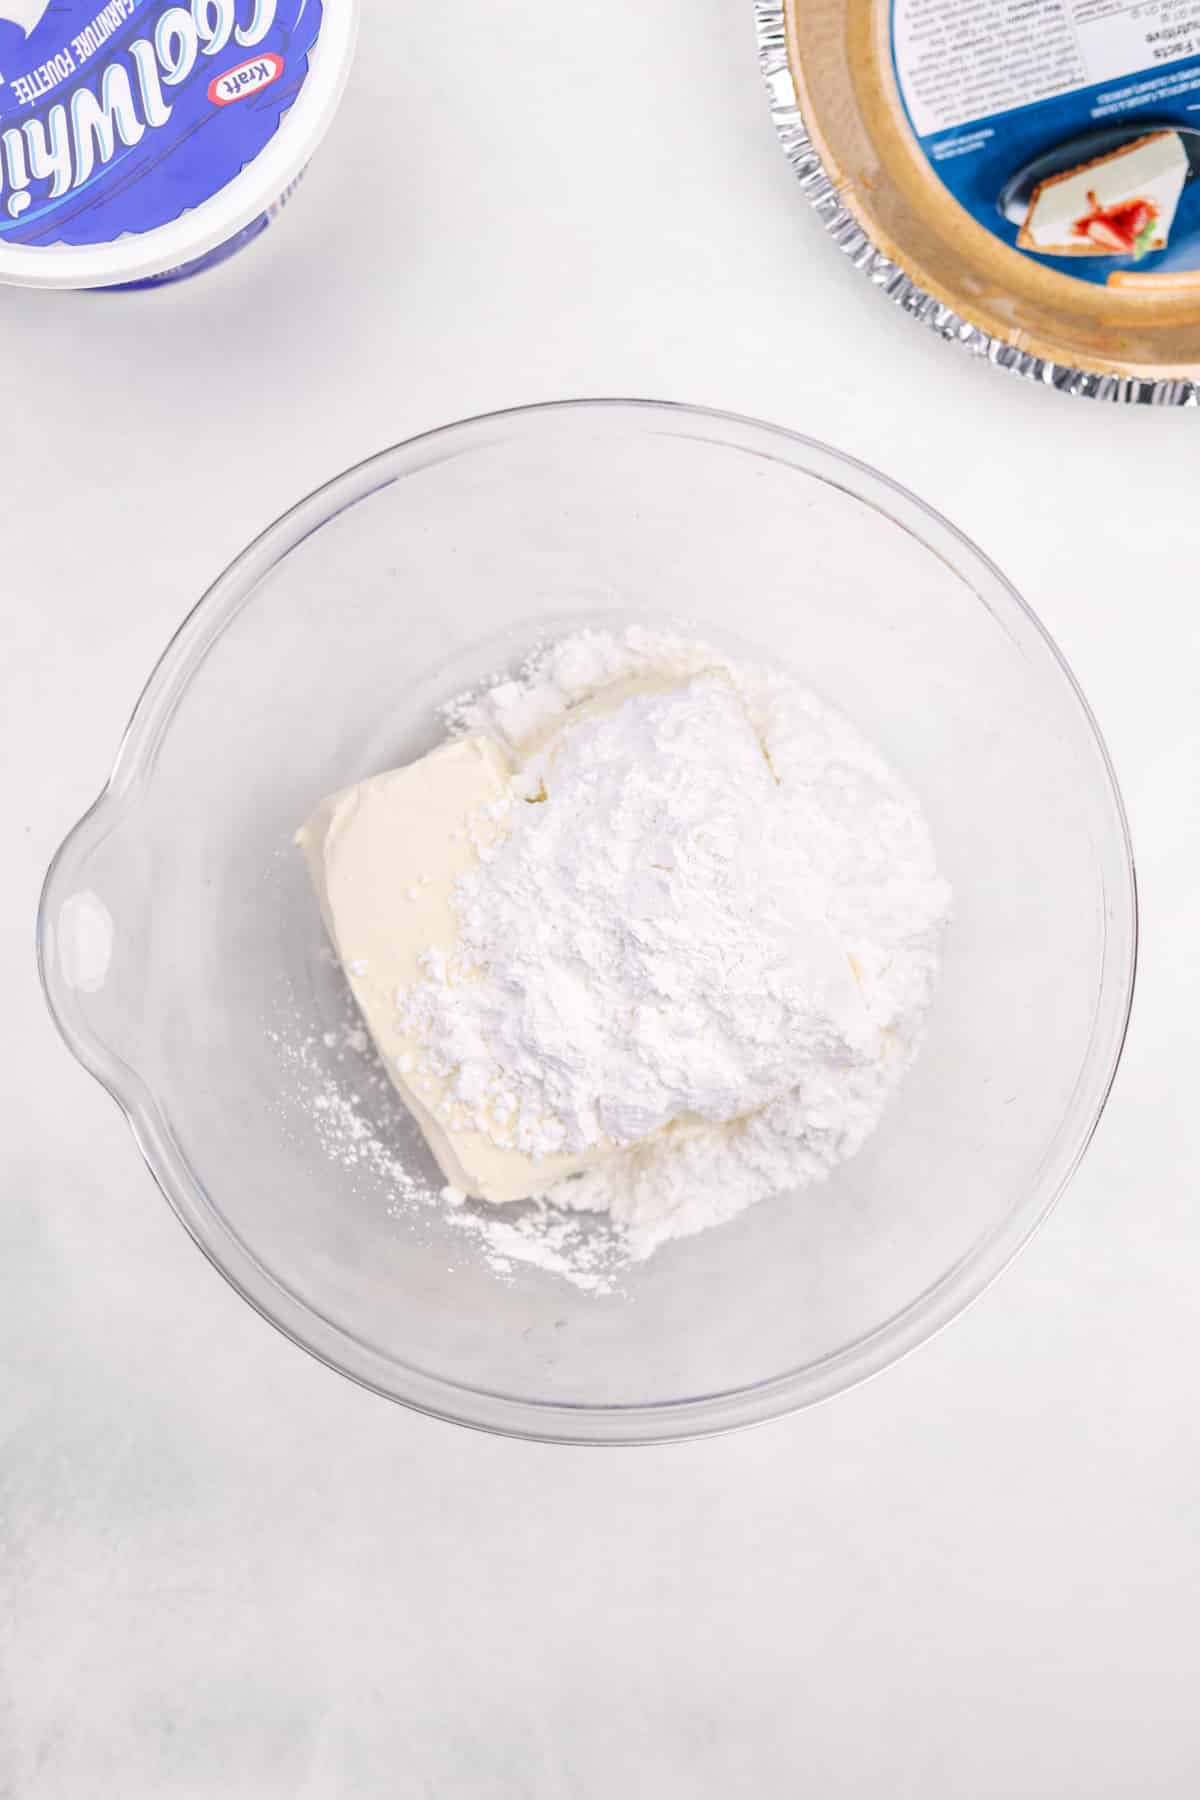
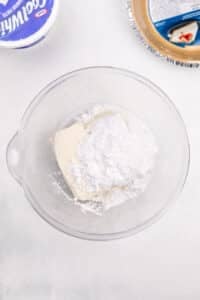
Step one: Add the softened cream cheese and powdered sugar to a large bowl.
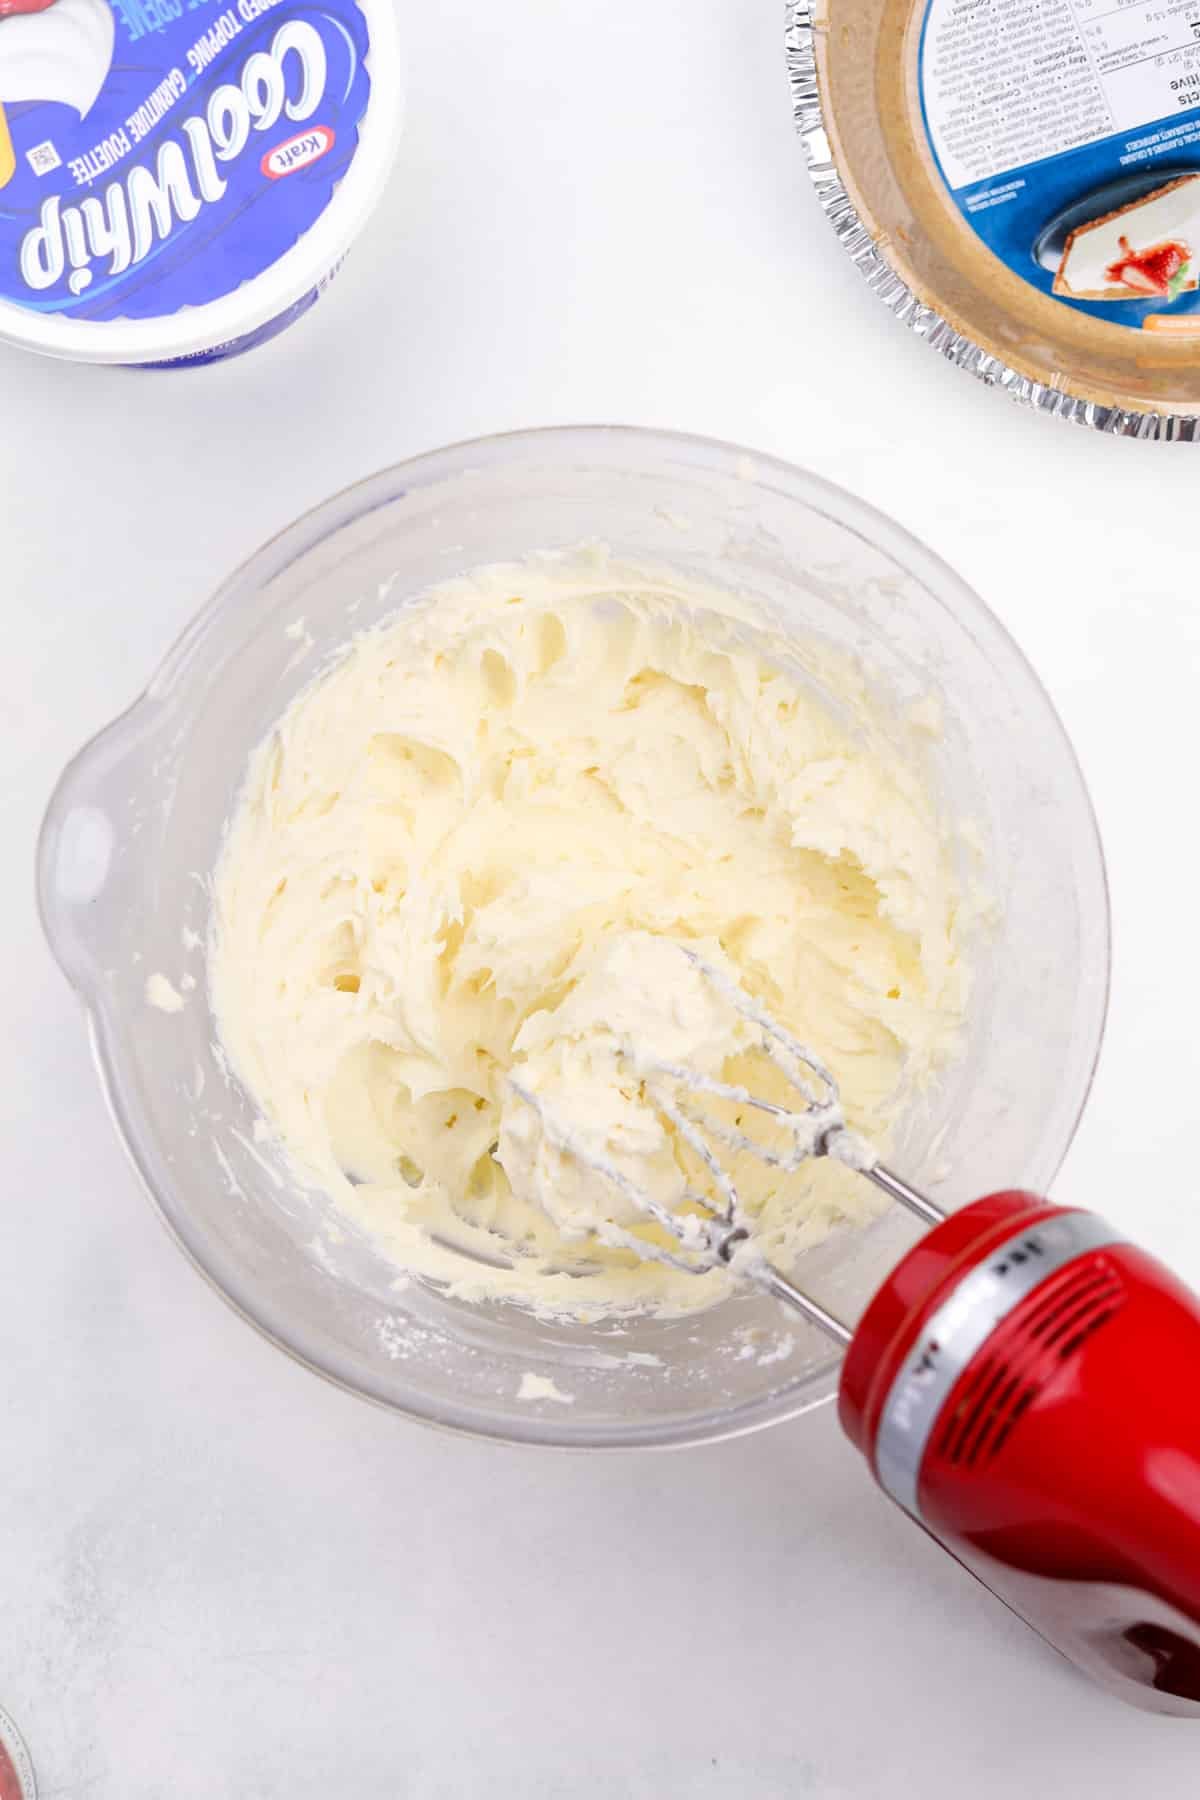
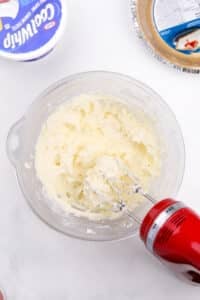
Step two: Blend until smooth using a hand mixer on medium speed. Scrape down the sides of the bowl as needed.
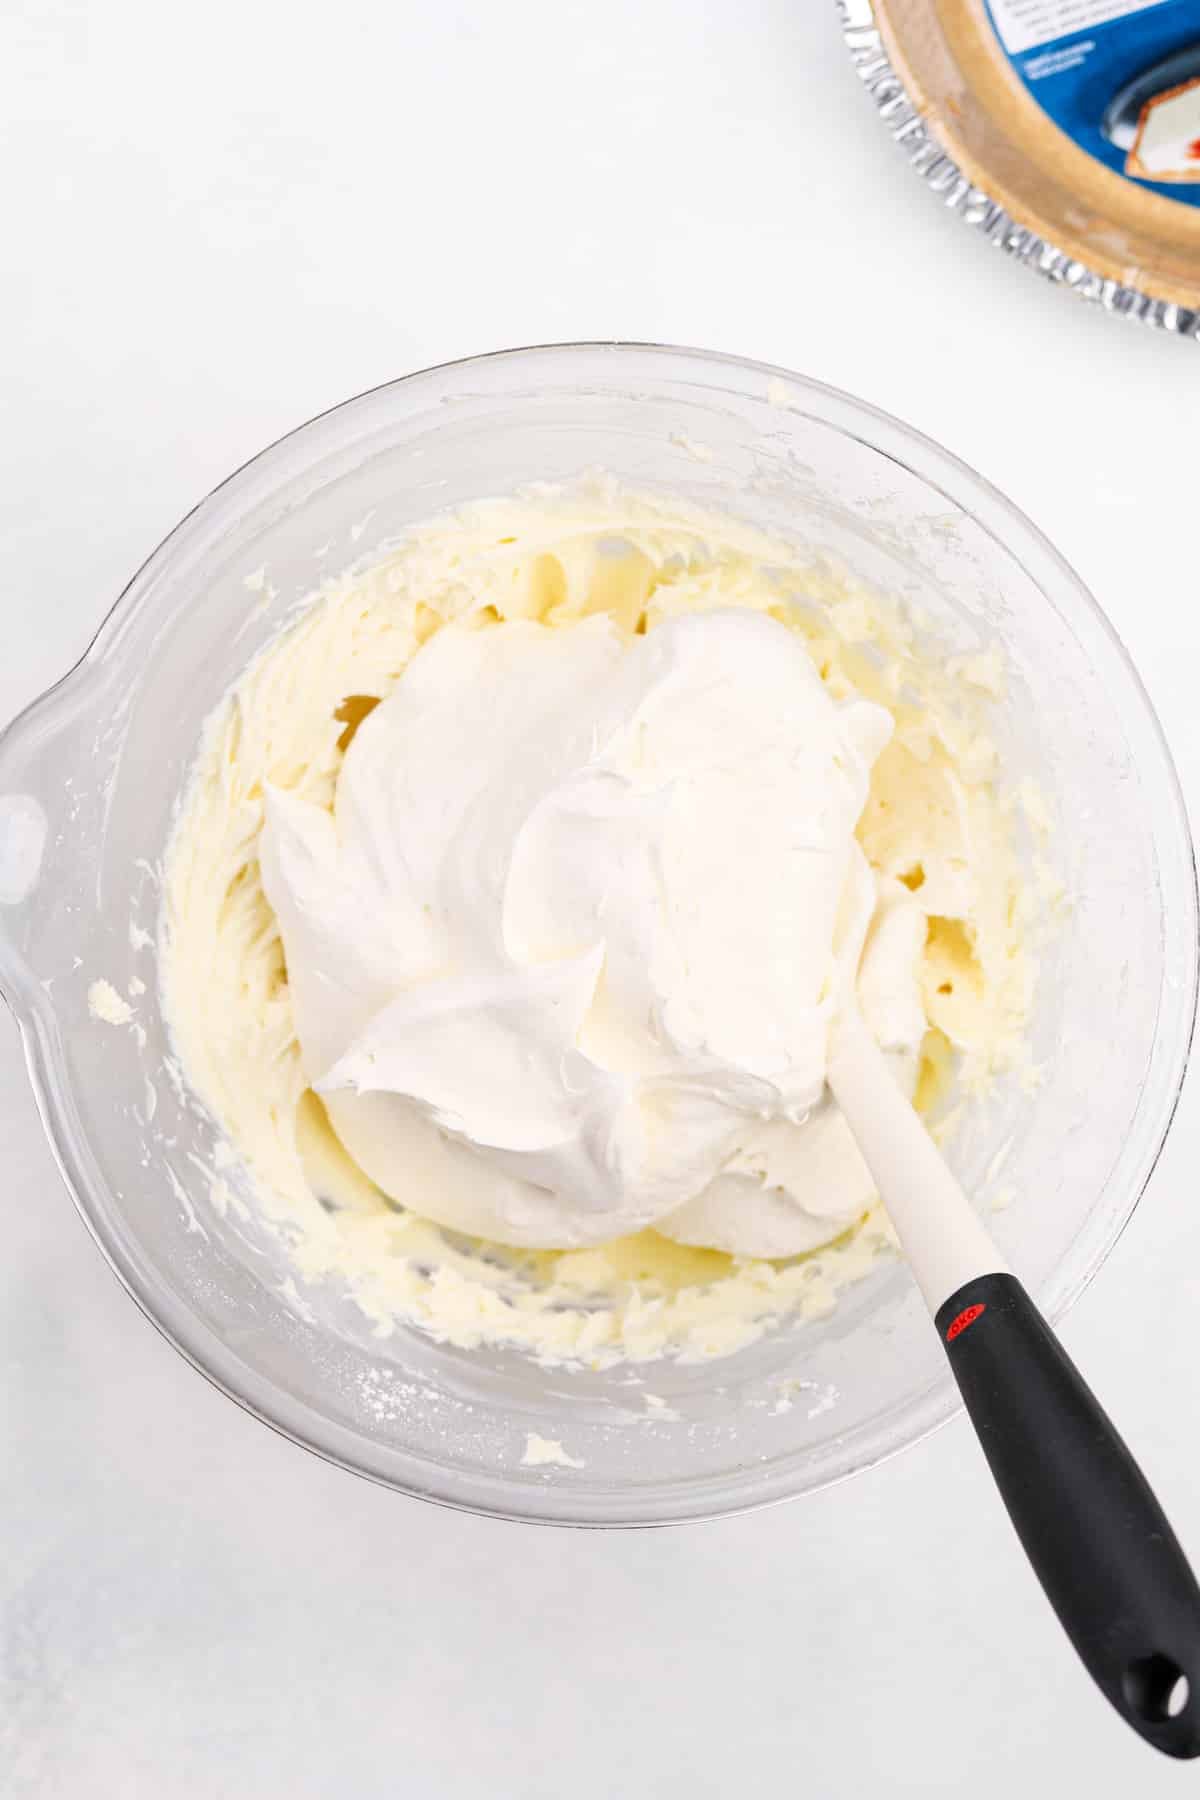
Step three: Add the thawed whipped topping to the cream cheese mixture.
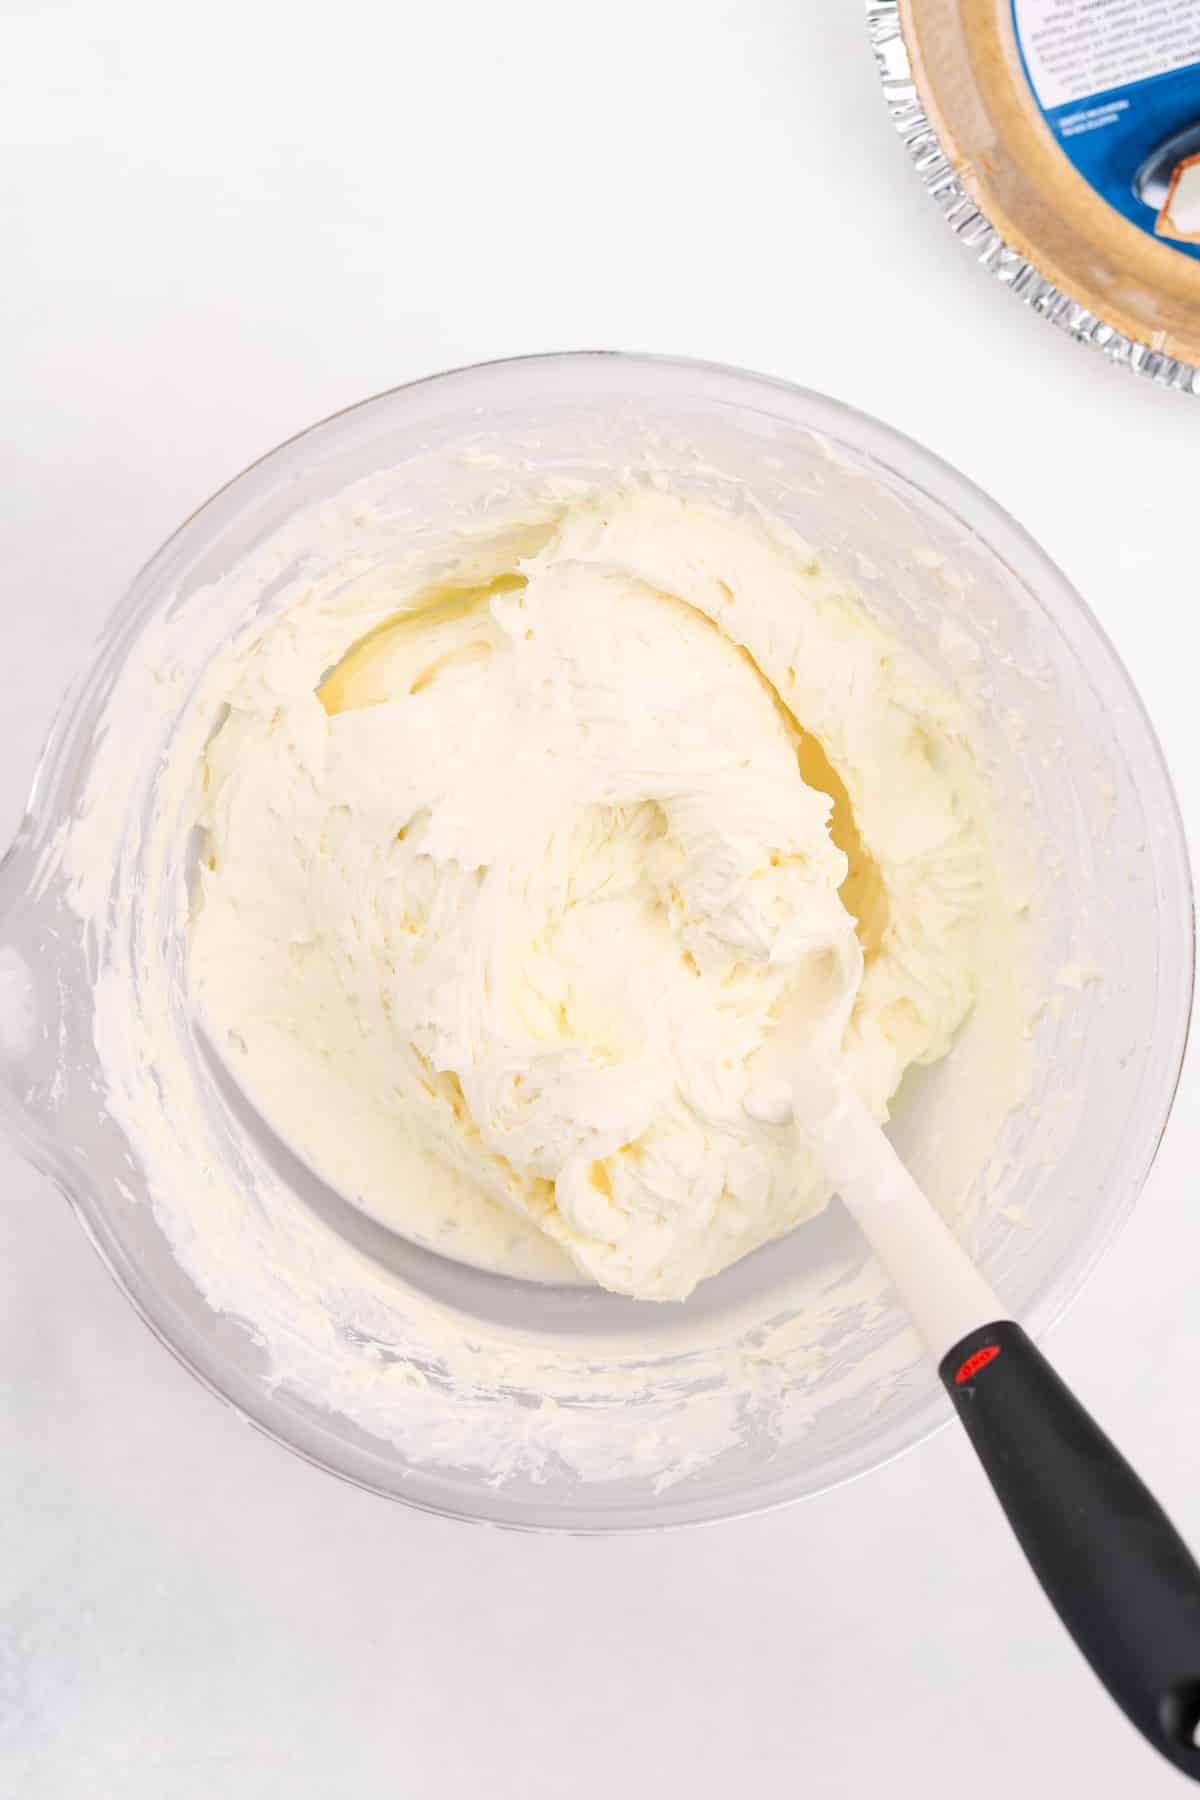
Step four: Mix well until completely incorporated (either by hand, or with a mixer on low speed).
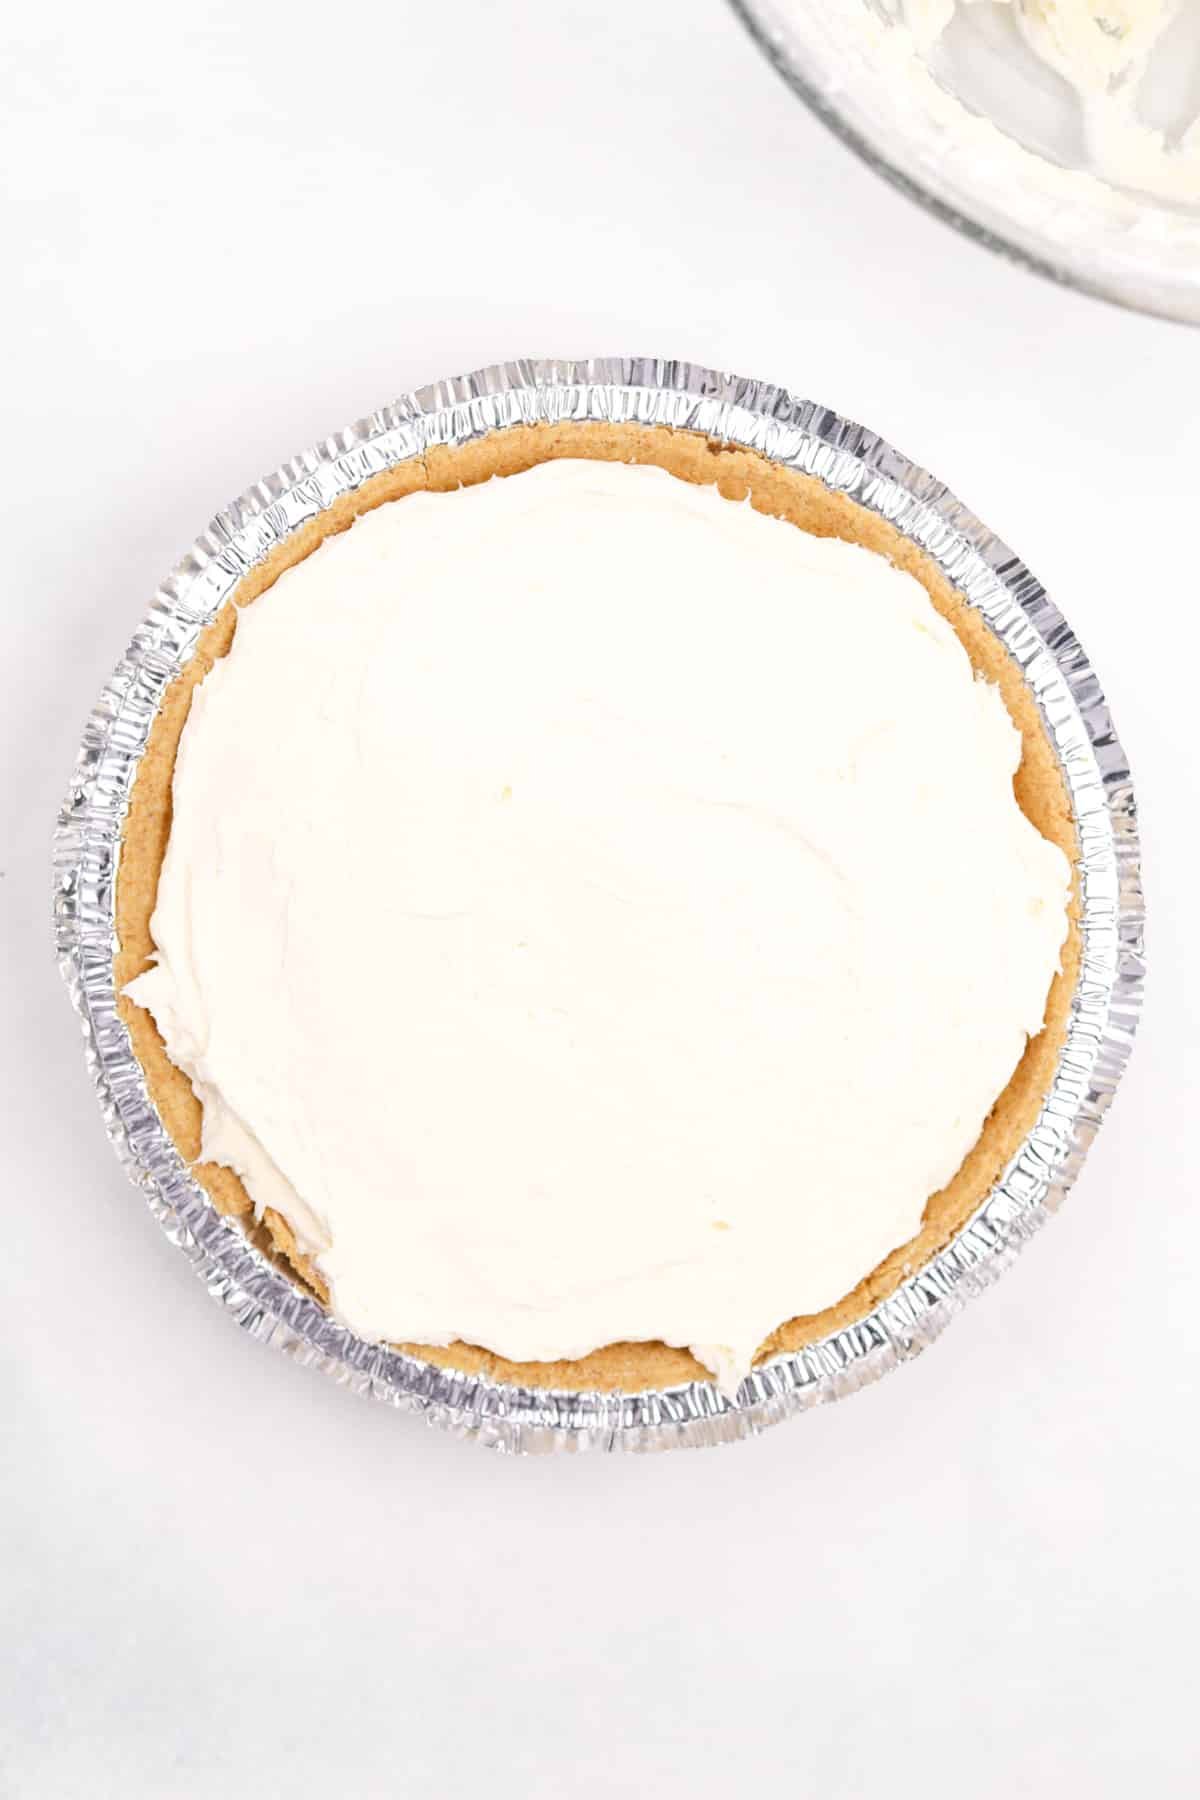
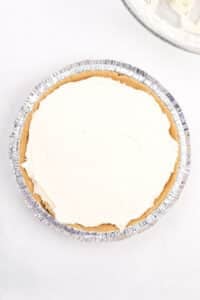
Step five: Spread the cheesecake mixture into a prepared graham cracker crust (do not overfill).
Cover with a domed lid and chill for 1-4 hours, or until set.
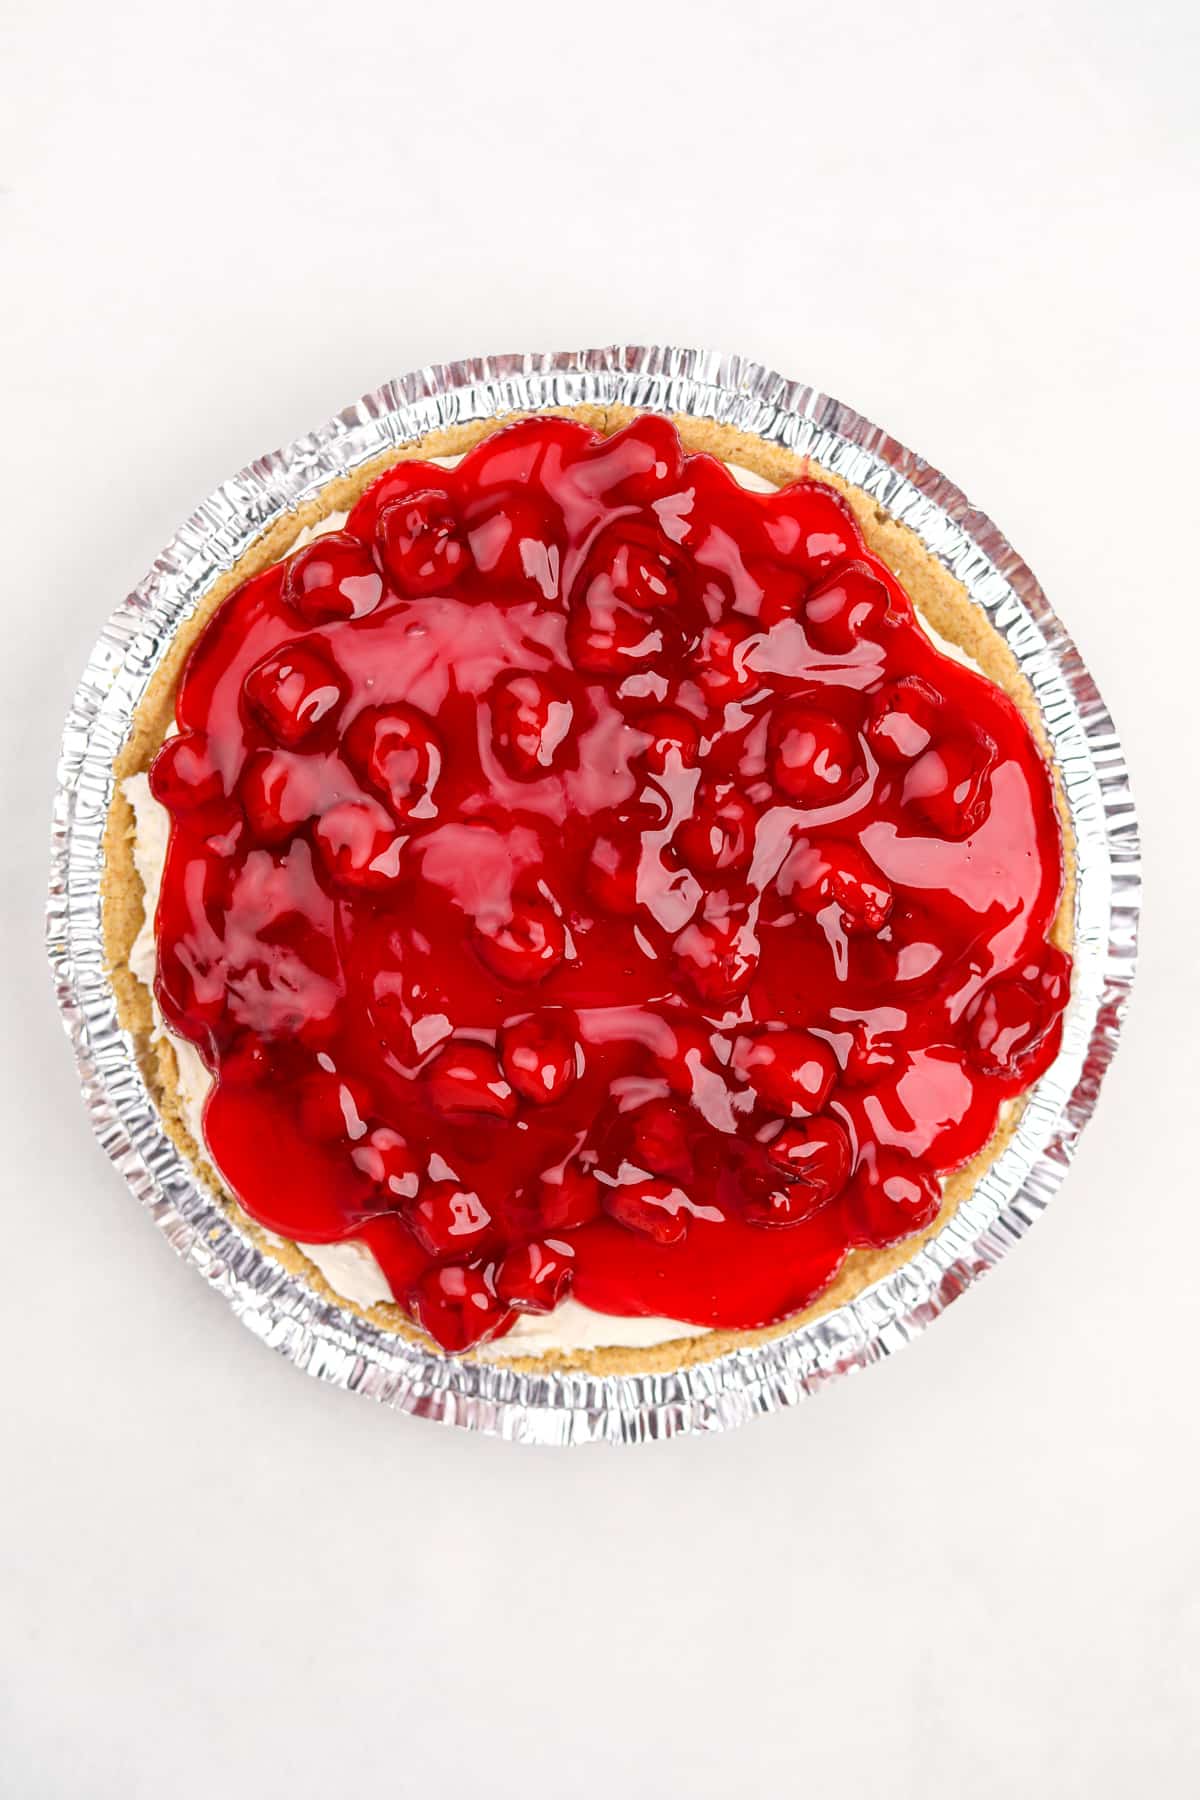
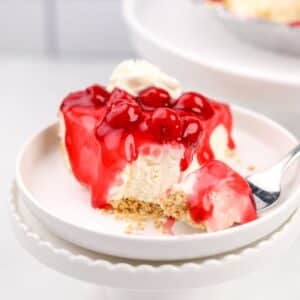
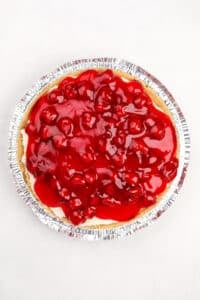
Step six: Carefully spoon the pie filling of your choice over the chilled cheesecake; you may have some leftover.
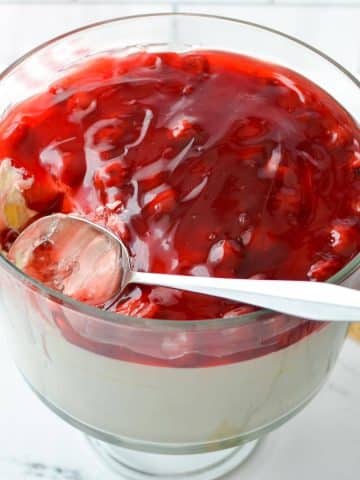
Note: If your prepared crust is shallow you will have some extra cheesecake filling and pie filling leftover. I like to make a cheesecake cup or trifle with the leftovers - it makes for the perfect little sweet treat!
Slicing and Serving
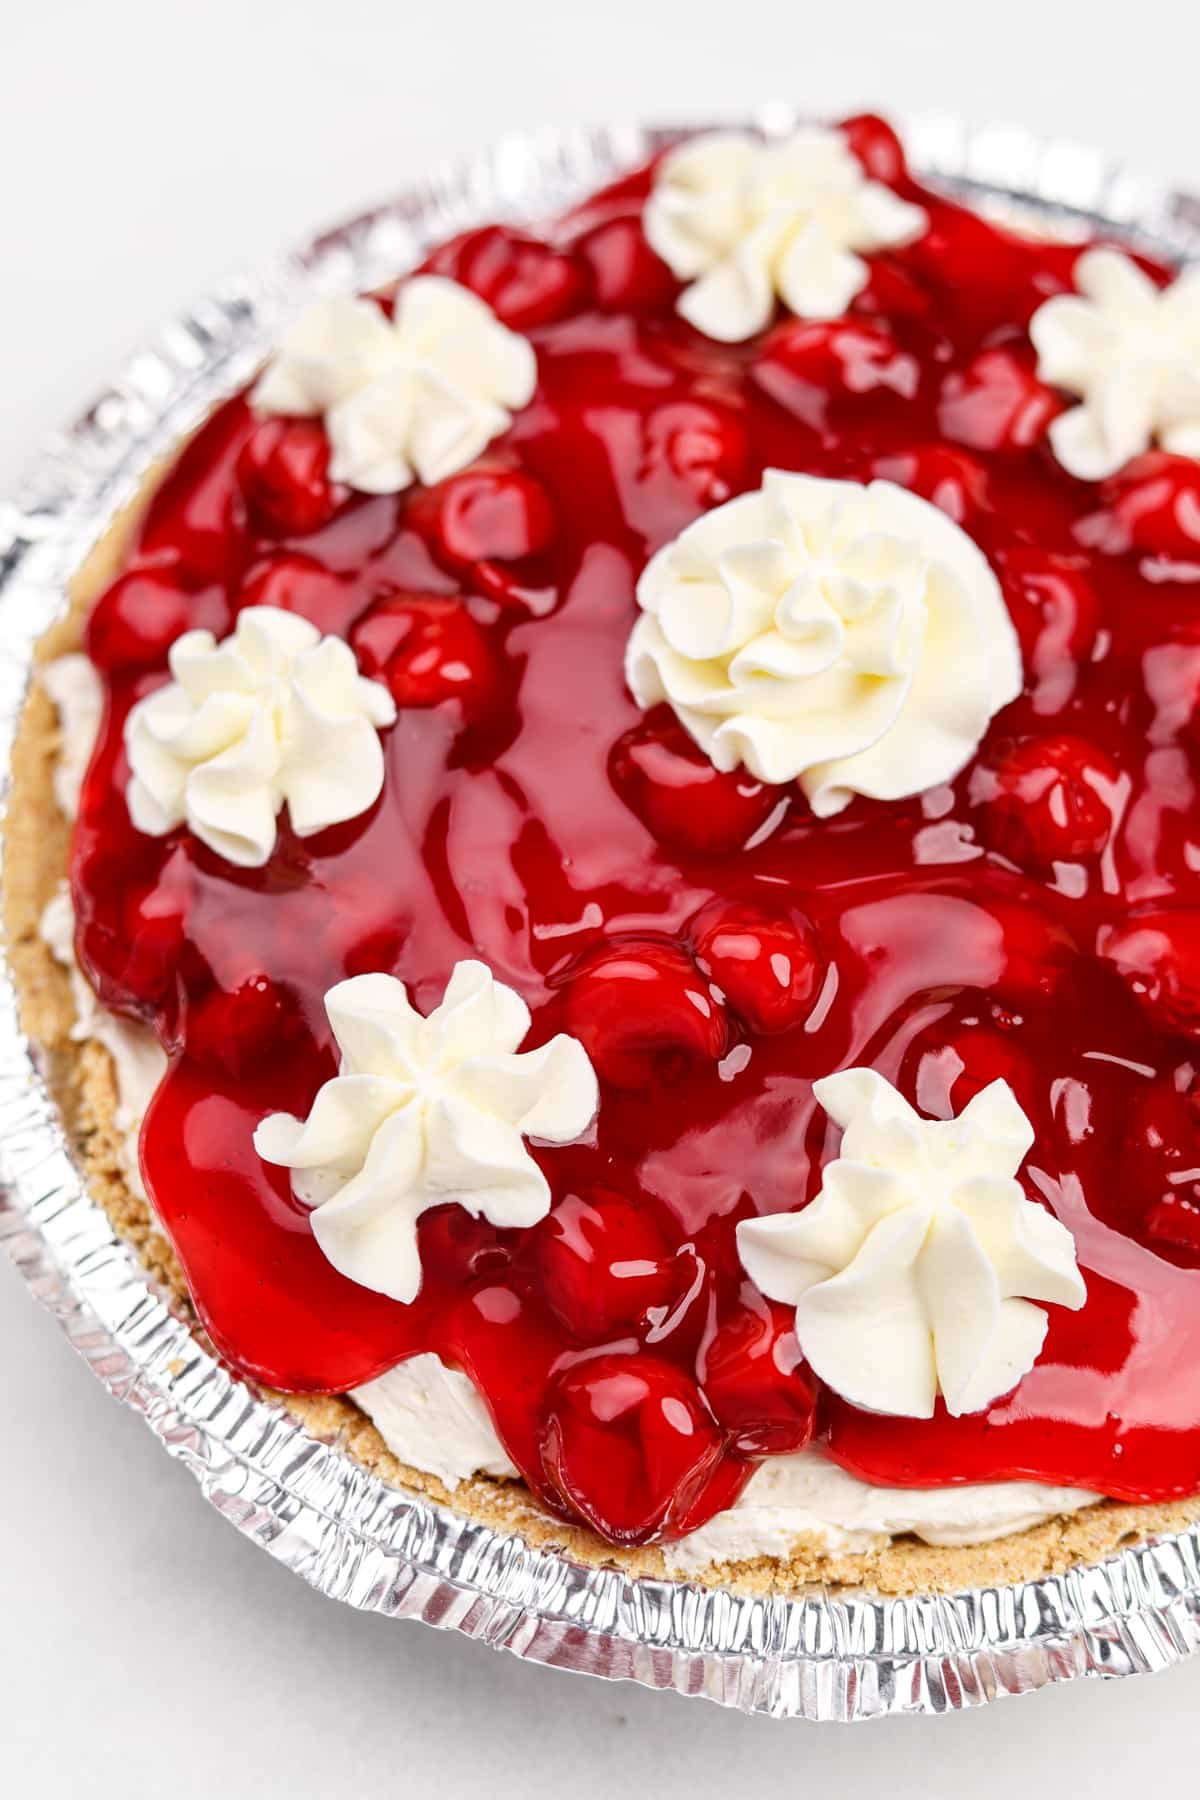
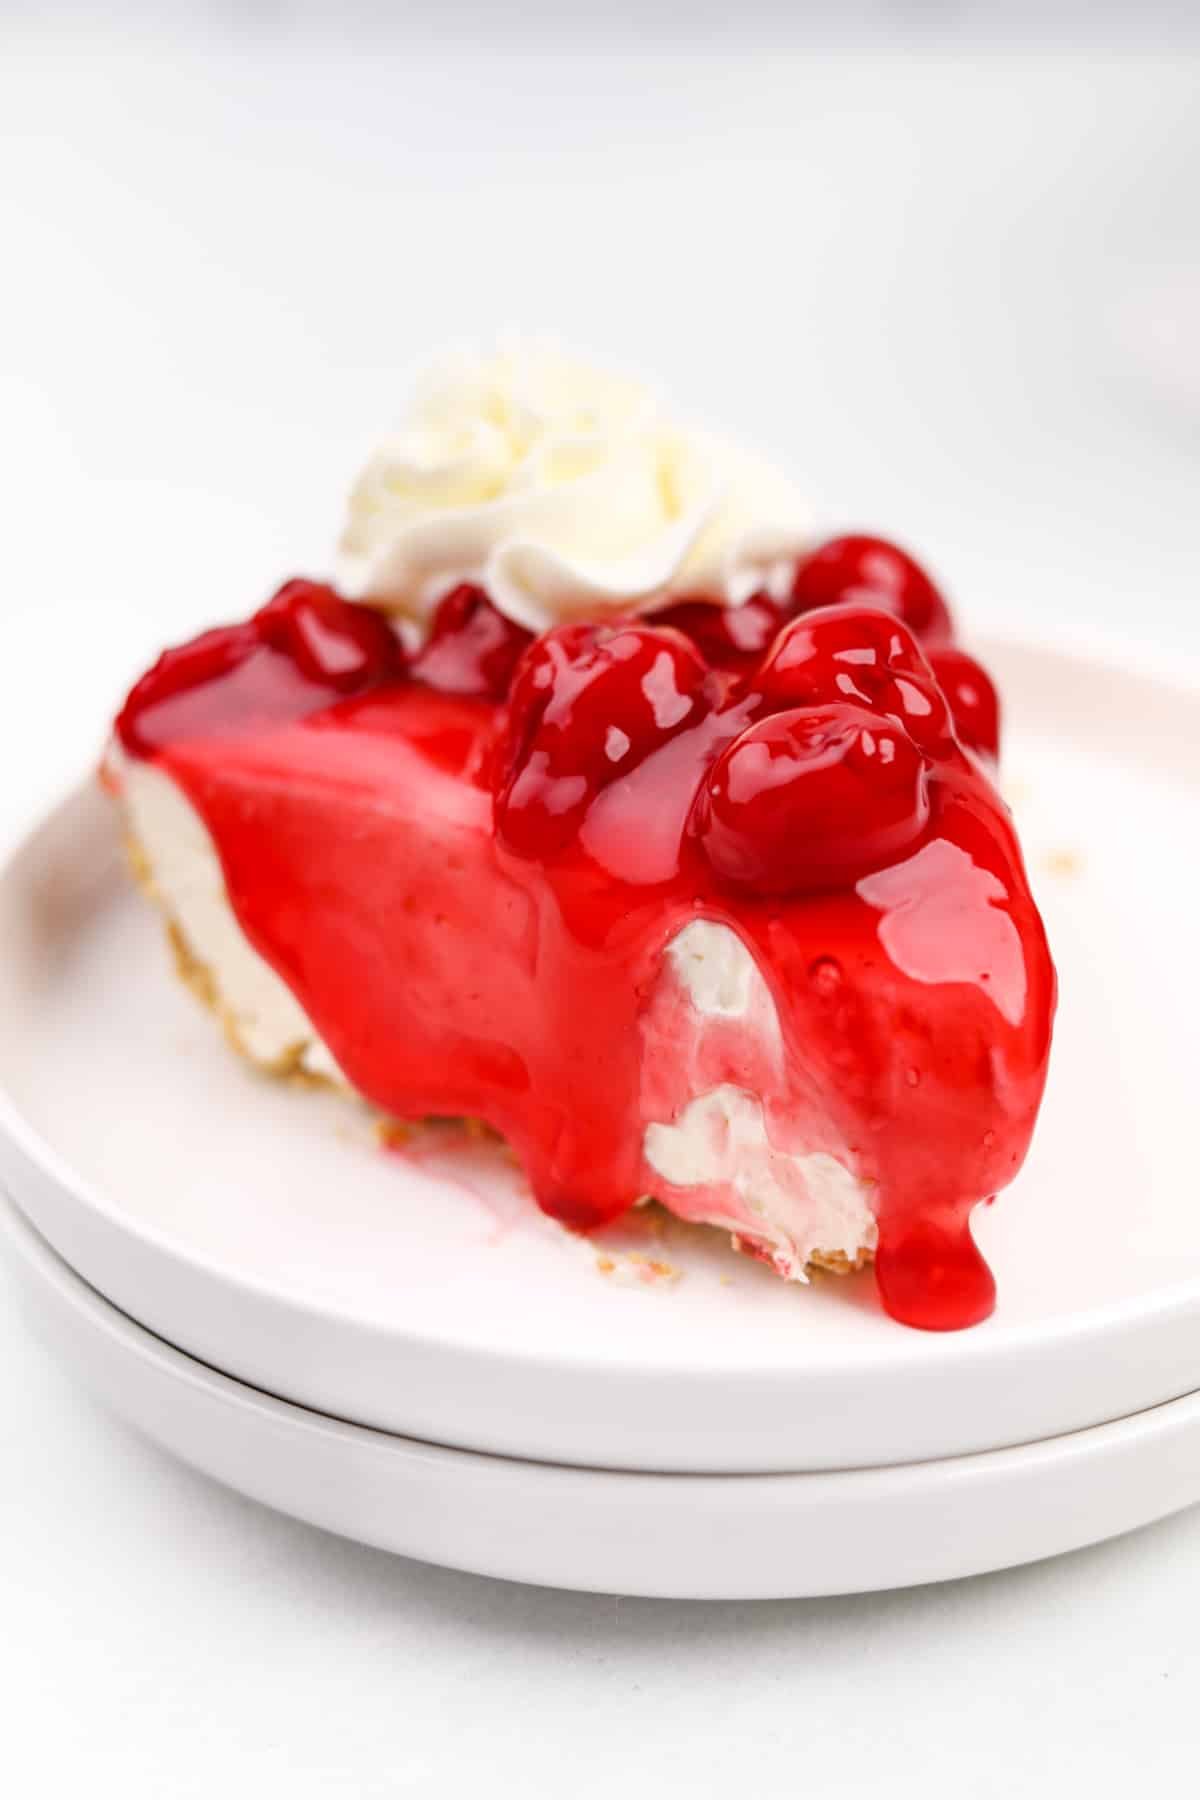
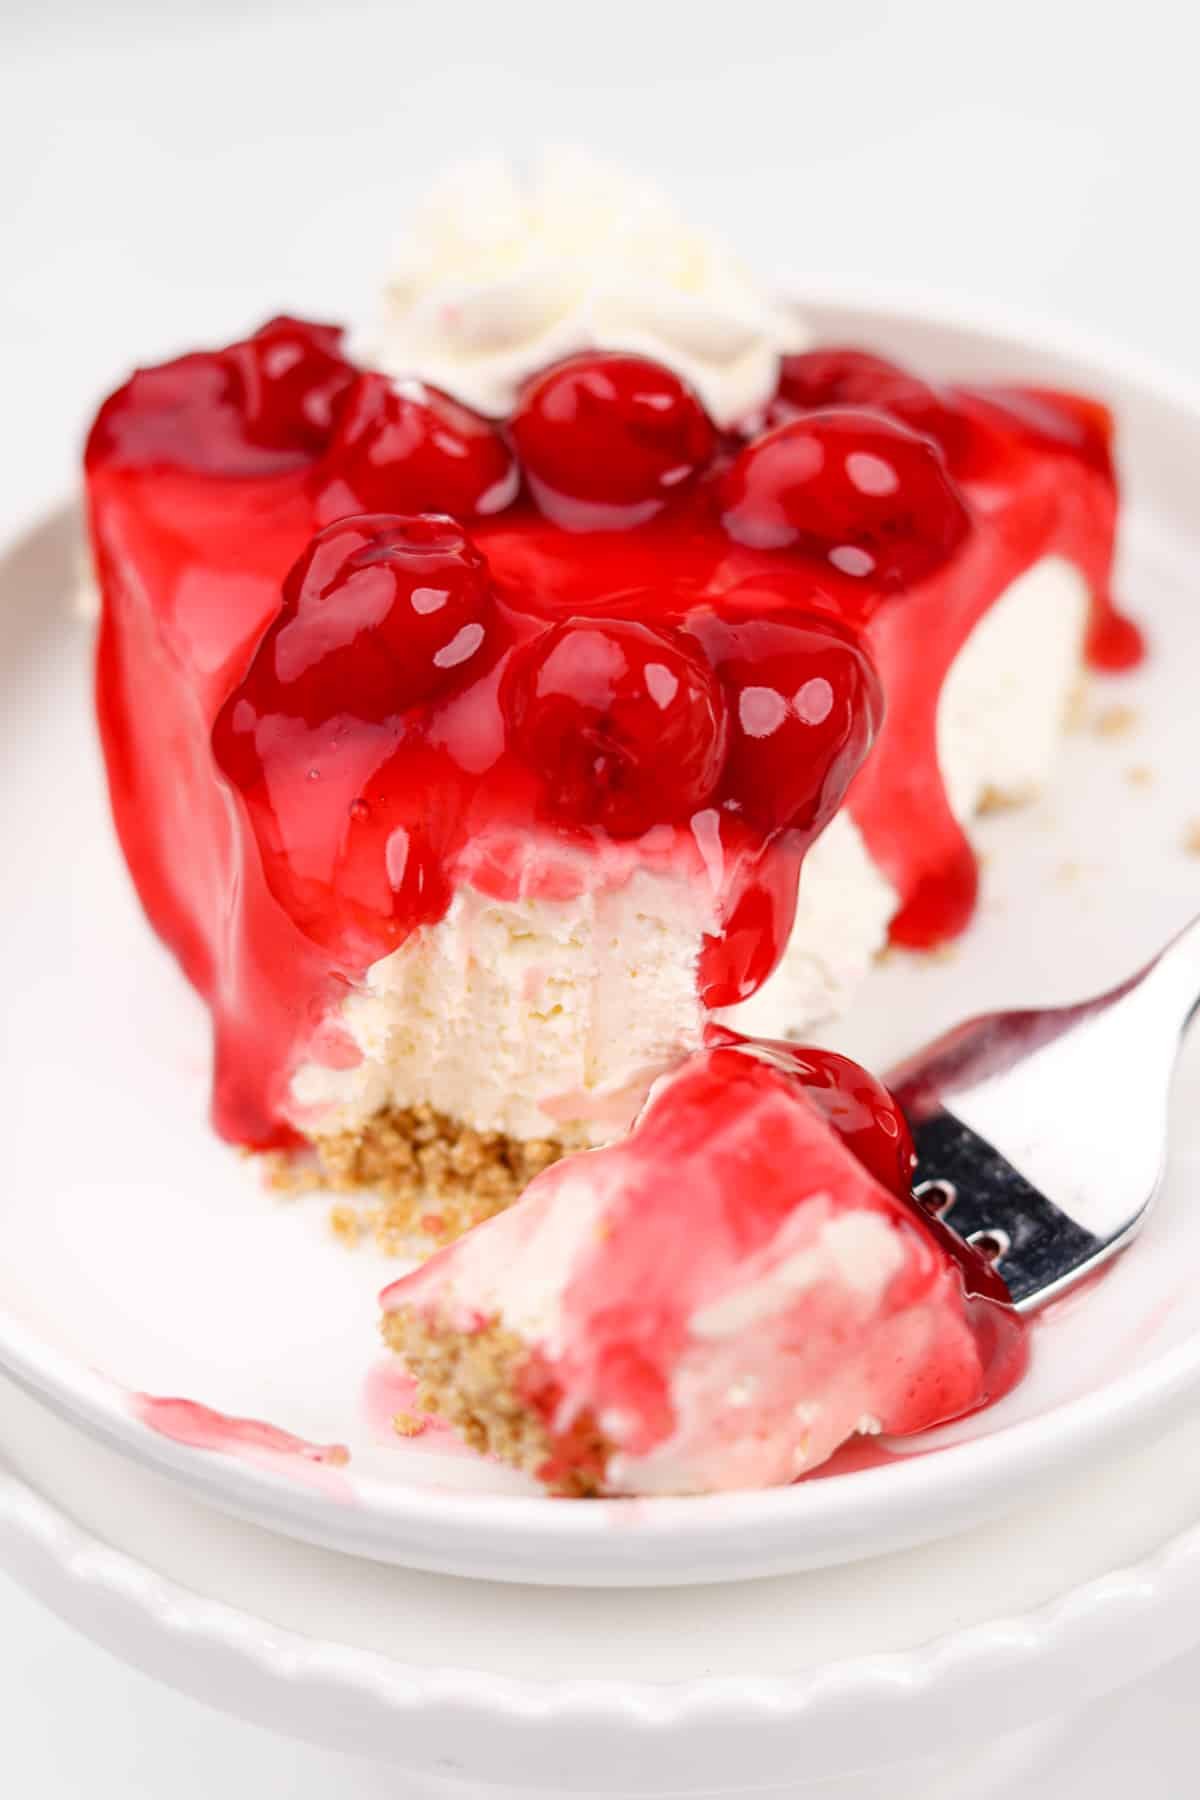
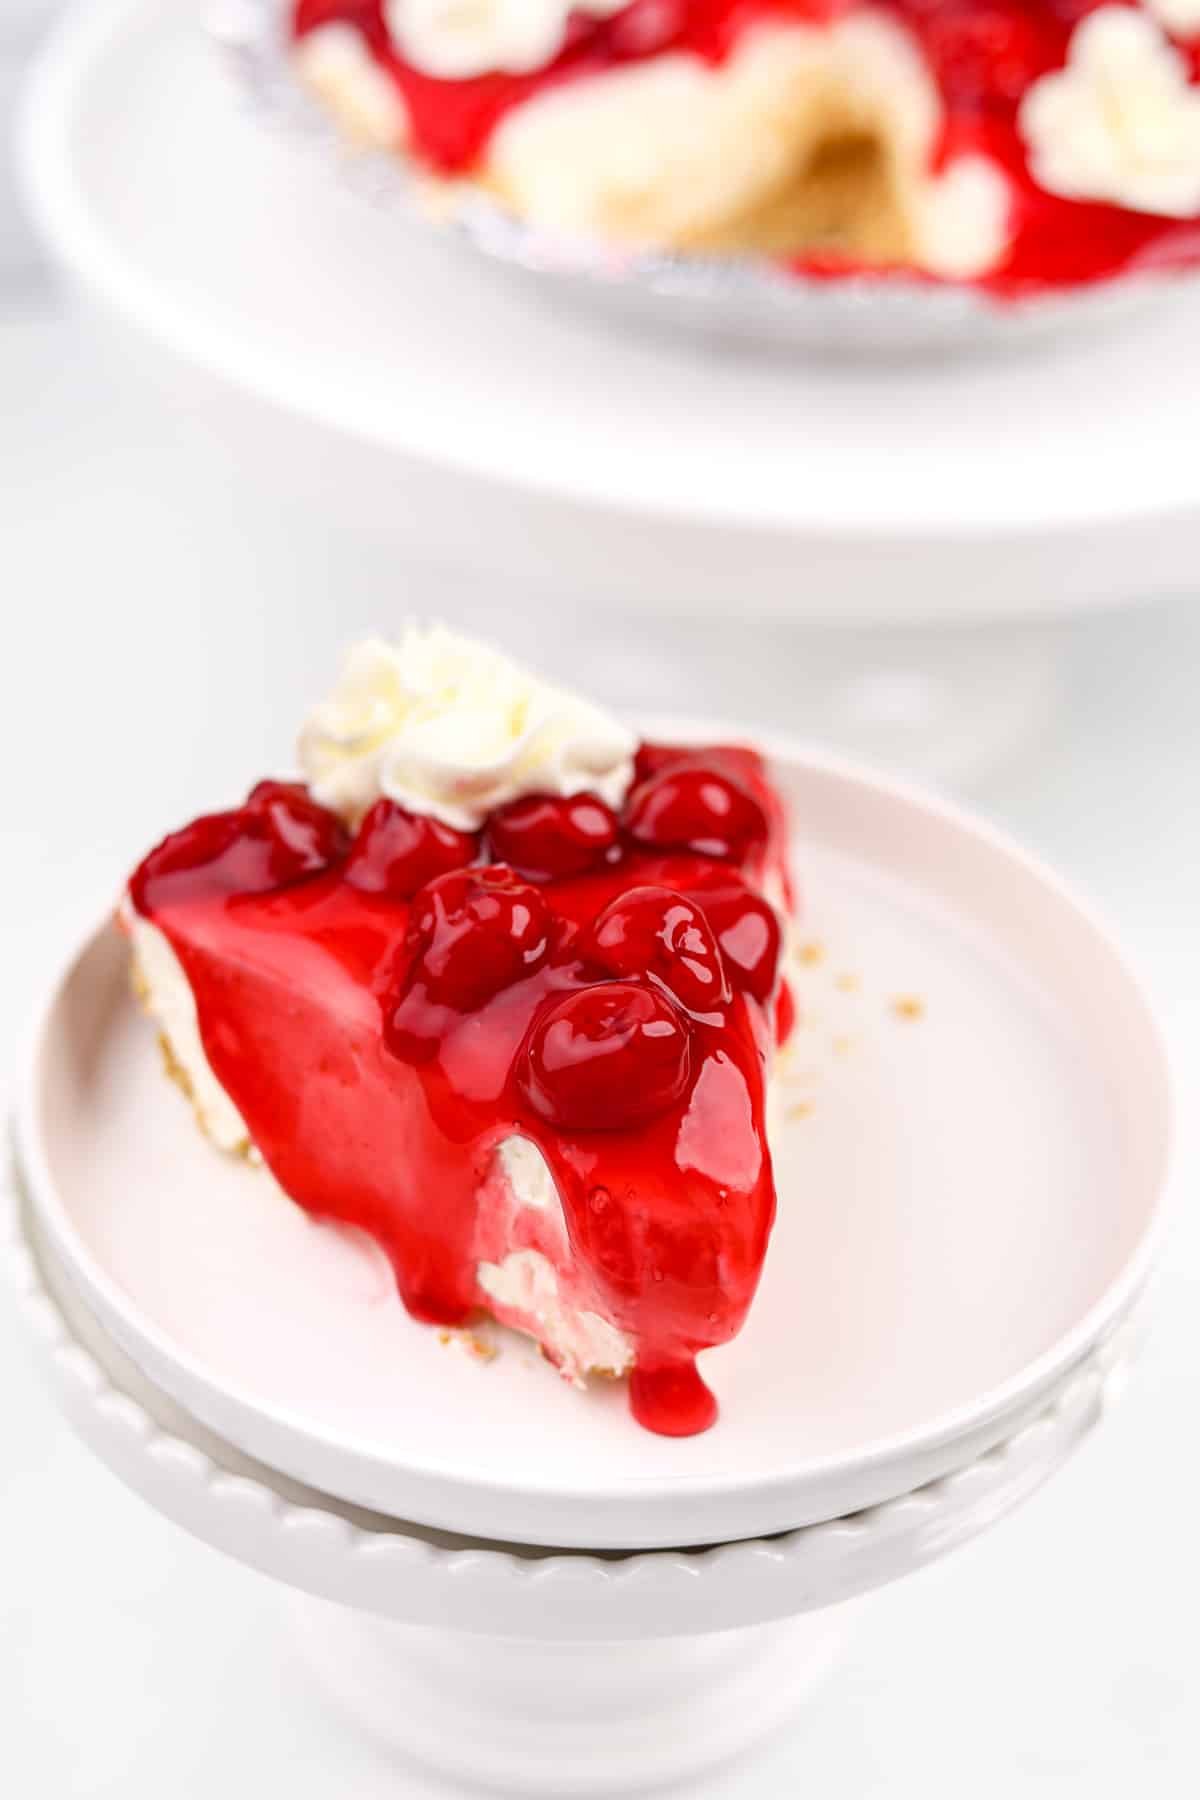
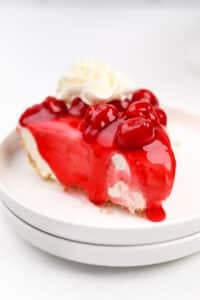
Step seven: Slice the cheesecake pie into 6-8 slices and serve with whipped cream (if desired).
Storing and Making Ahead
- Transfer any leftovers to an airtight container. Optionally, you can cover it tightly with a domed lid or plastic wrap.
- Store in the refrigerator for 3-4 days.
- To freeze: leave the pie filling off and freeze for up to 2 months. Thaw completely, then add the pie filling before serving.
- Make ahead: Prepare the cheesecake filling and crust up to 2 days before. Add the pie filling 3-4 hours before needed, then return to the fridge to chill.
How to Make Whipped Cream
The addition of whipped cream is completely optional, and not at all needed! But if you like an extra touch of sweetness and fluffy texture, it can definitely be a tasty addition.
Here's my easy method for making homemade whipped cream:
- Add ¾ cup of cold heavy cream to a bowl.
- Then add 1 ½ tablespoons of powdered sugar and ½ teaspoon of vanilla extract.
- Beat with a hand mixer (or stand mixer) on medium-high speed until moderate peaks form (about 3-4 minutes).
- The whipped cream is ready when you can pull the whisk attachment back and the peaks hold their shape.
- Transfer to a piping bag or dollop on top as desired.
Variations
- No bake cheesecake cups. To each cup add a small amount of crushed graham crackers to the bottom (optional), then fill ¾ of the way with cheesecake filling. Top it with a few spoonfuls of your favorite pie filling, then serve and enjoy!
- Crustless. Omit the graham cracker crust and layer the cheesecake filling in a baking dish or trifle dish. Top with the pie filling of your choice.
- Adding flavoring. If desired you can add vanilla extract (or vanilla bean paste), lemon juice, or the flavor of your choice.
- With a homemade graham cracker crust. If you prefer not to use a pre-made crust, you can make your own instead!
- Crush one package (about 9 sheets) of graham crackers in a food processor along with 1 tablespoon of sugar.
- Drizzle in ½ cup of melted butter and stir to combine.
- Press into the bottom of a baking dish (or springform pan) and chill for 1 hour OR bake and cool (detailed instructions in the recipe card).
Substitutions
Gluten-free: Swap the standard graham cracker crust for a gluten-free one. Cool whip and most pie fillings are gluten-free, but be sure to check labels to verify.
Lower calories: Use a low-fat cream cheese, sugar-free Cool Whip, and sugar-free pie filling in place of the standard versions in this recipe.
Different flavors: Use your favorite pie filling (or fresh fruit) to change up the flavor and try something new. Blueberry, raspberry, apple, and strawberry are all tasty options!
More No Bake Cheesecake Recipes
If you loved this recipe for easy no bake cheesecake, let me know by leaving a 5-star review in the recipe card or comment below! You can also tag me on Instagram @dashfordinner.
5 Ingredient No Bake Cheesecake
Equipment
Ingredients
- 2 packages (8oz each) cream cheese softened to room temperature
- 1 cup powdered sugar
- 1 container (12oz) frozen whipped topping thawed
- 1 pre-made graham cracker pie crust or homemade graham cracker crust*
- 1 can (21oz) cherry pie filling or pie filling of choice
Instructions
- Add the two blocks of softened cream cheese to a large bowl, along with the powdered sugar.
- Beat the cream cheese and powdered sugar until smooth and creamy, scraping down the sides of the bowl as needed.
- Add in the thawed whipped topping and mix until completely combined and smooth.
- Spread the cheesecake filling into a premade graham cracker crust. Note: There may be a bit too much filling, depending on the size of your crust. Do not overfill, instead set some of the filling aside if there is too much**.
- Cover the cheesecake with a domed lid or plastic wrap, then place in the fridge to chill for 1-4 hours.
- Once the cheesecake has chilled, spoon the pie filling over the cheesecake layer. Note: You may not need the whole can.
- Slice into 6-8 pieces, then serve and enjoy!
Notes
- 1 sleeve graham crackers (about 9 sheets), crushed (approximately 1 cup of graham cracker crumbs)
- 1 tablespoon sugar
- ½ cup melted butter
- Combine the ingredients and press it into the bottom of an 8X8 or 9X9 square baking dish that has been lined with parchment paper.
- No-bake option: Chill in the refrigerator for 10 minutes.
- Partial bake option: Bake in a 350ºF (177ºC) oven for 10 minutes. Chill before filling.
Nutrition
Please note that some of my blog posts here at Dash for Dinner may contain affiliate links. If you make a purchase through these links, I will get a small commission at no additional cost to you. Please see my Disclaimer for more information.




Leave a Reply