

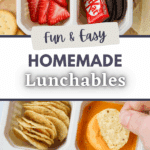
This easy recipe for homemade lunchables covers all the most popular flavors, plus an "Adult" version that will have you feeling fancy!
Whether you crave the classic cheese and crackers, pizza, nachos, or a charcuterie-inspired lunch, these are a great way to meal prep for grab-and-go lunch options throughout the week.
If you're anything like me, you've probably found yourself wondering if there was a way to make DIY lunchables instead of buying them from the store. Sure, they are convenient, great for road trips and school lunches, but they can be a little bit on the pricey side.
So I started experimenting, and boy, was I glad! Not only were they easy to make, but they actually taste better, too! Use your favorite type of crackers (we like Ritz or Raincoast Crisps), and you'll have an easy lunch idea that's perfect for make-ahead meal prep.
I picked up some 4-section containers on Amazon so they looked similar, but they can easily be assembled in any sectioned lunch container or bento box that you already own.
Why You Should Make Your Own Lunchables:
- Cheaper. The cost per serving is much lower for the homemade version.
- Better. Because you control the ingredients, you can choose to use the best quality, which often means better flavor.
- Easy to customize. Whether you want to make them gluten-free, make an "adult lunchable" with fancy add-ons, or allergen-friendly, homemade is the way to go!
You Will Need:
The specific ingredients you will need depend on the type you're making:
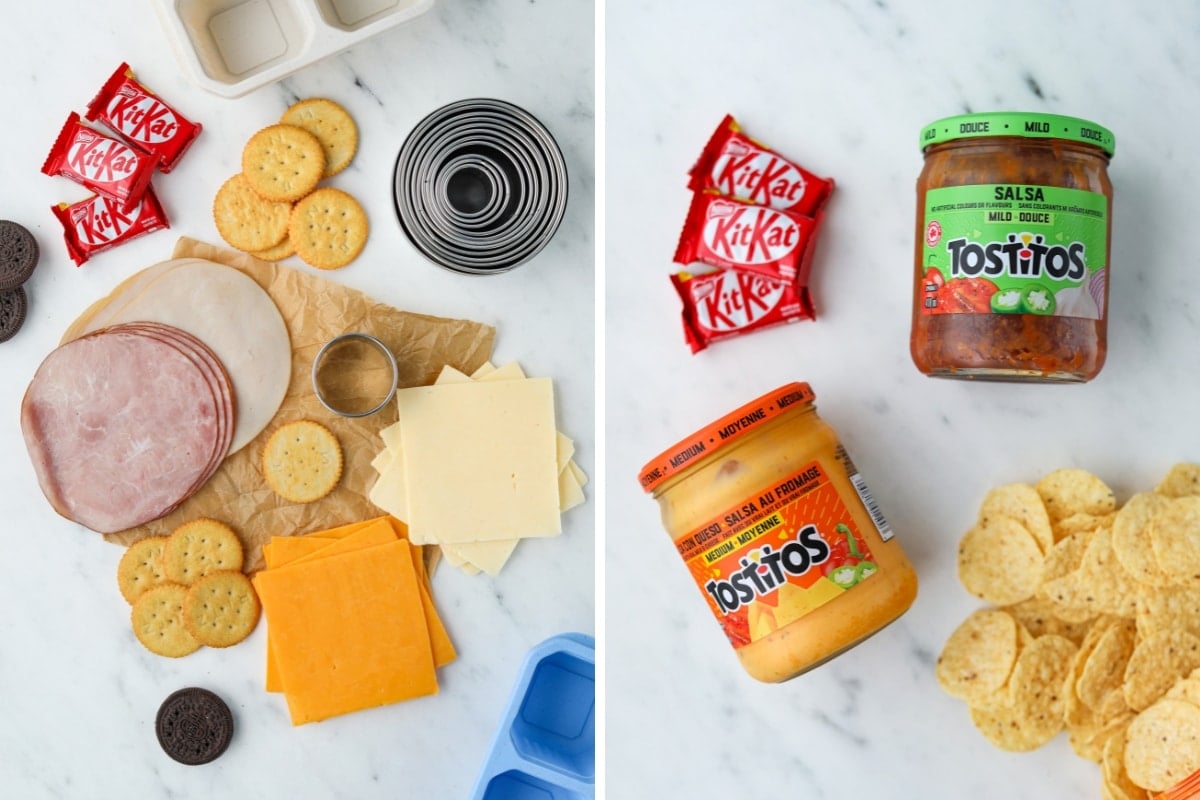
Classic Lunchable:
- Sliced deli meat
- Sliced cheese (cheddar, havarti, etc.)
- Crackers
- Sweet treat (chocolate, cookie, etc.)
Nachos:
- Tortilla chip rounds
- Queso
- Salsa
- Sweet treat of choice
Pizza:
- Sturdy wide crackers
- Pizza sauce
- Shredded cheese
- Sweet treat
"Adult" Lunchables:
- Fancy crackers (like Raincoast Crisps)
- Charcuterie-style meats
- Sliced cheese
- Mixed nuts, fruit, etc.
Recommended Equipment
- Lunchable containers (3 or 4-section lunch containers)
- Circular cutter set (or kitchen scissors)
How to Make Homemade Lunchables
For the Classic "Cheese and Crackers" Style:
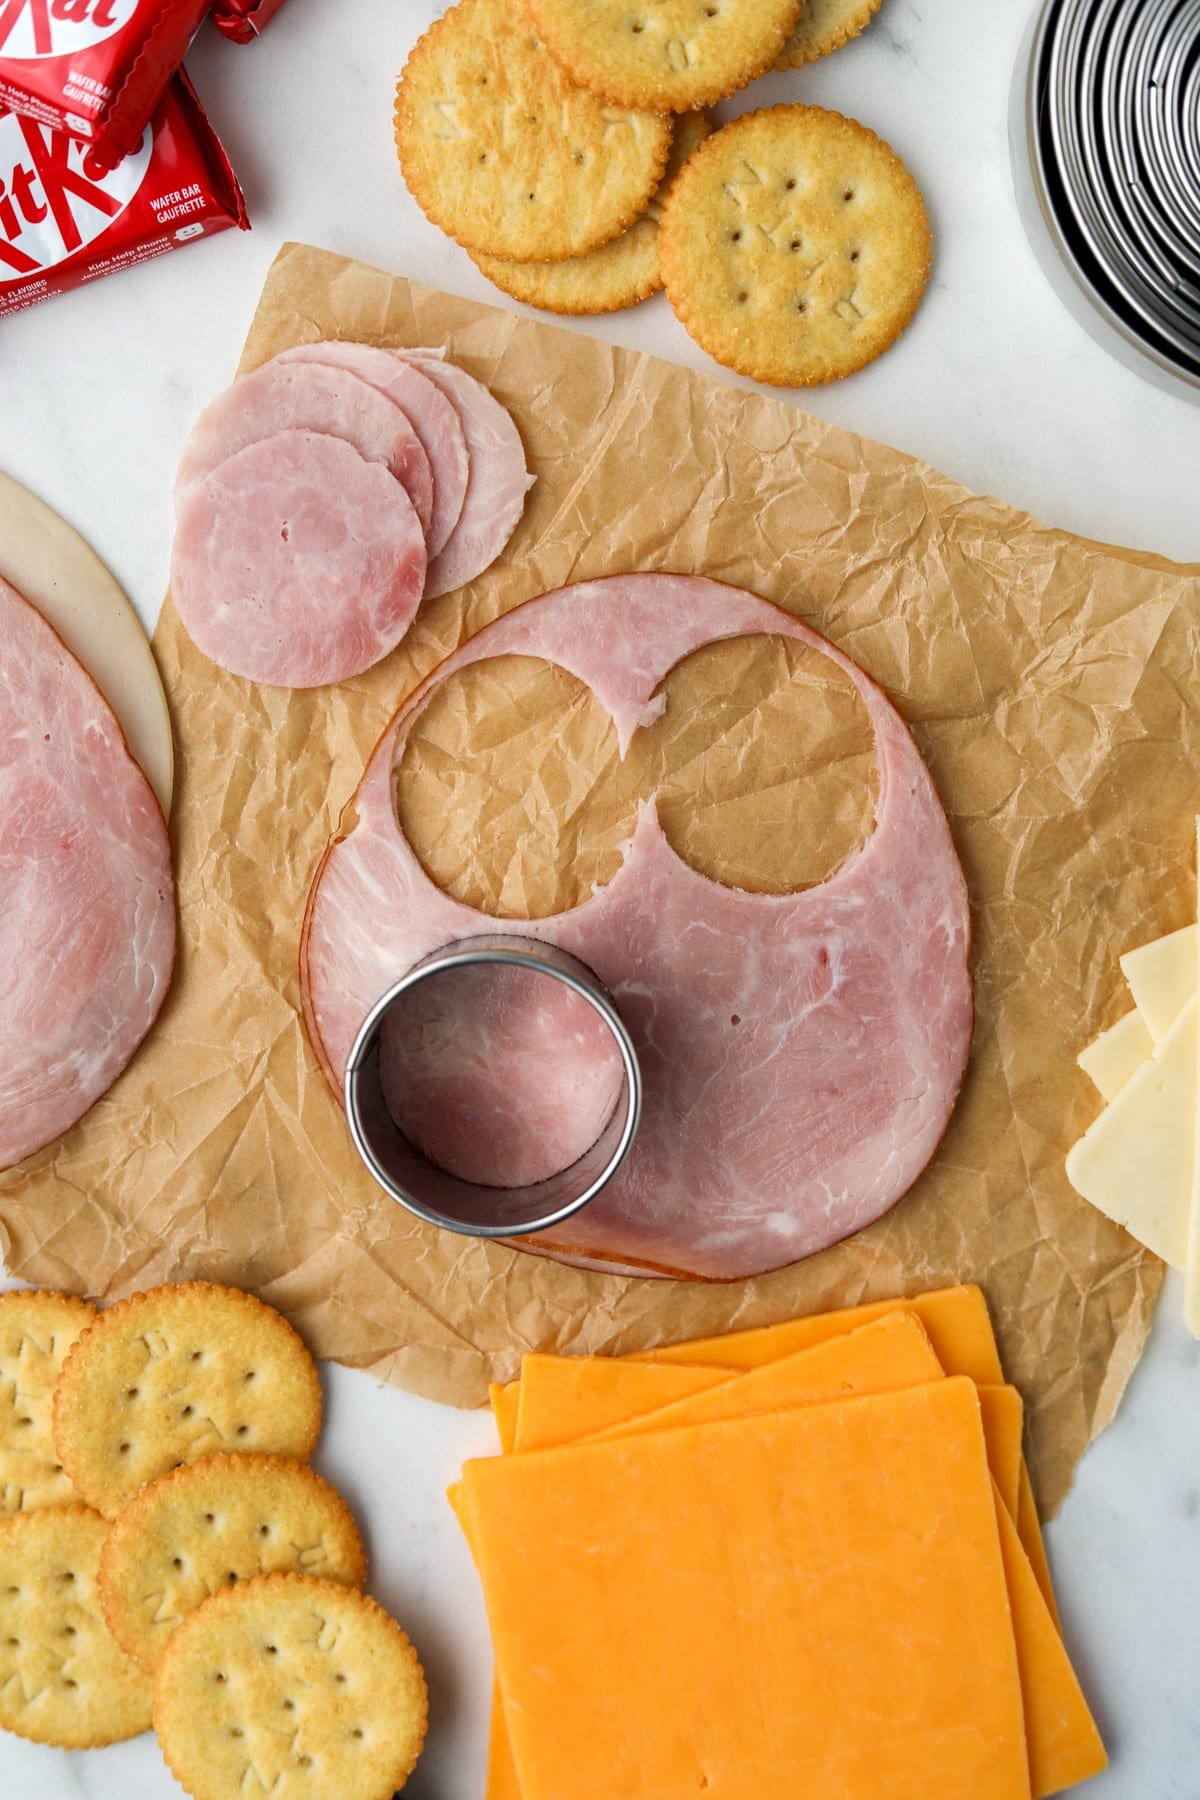
- Step one: Prepare the Meat (if using)
- Match a circular cutter to the size of the crackers you are using.
- Use the round cutter to make as many circles as you can with one slice of meat.
- Repeat until you have the desired number of circles.
- If you don't have circular cutters, make a template using parchment paper. Use that template to cut your deli meat into rounds with kitchen scissors.
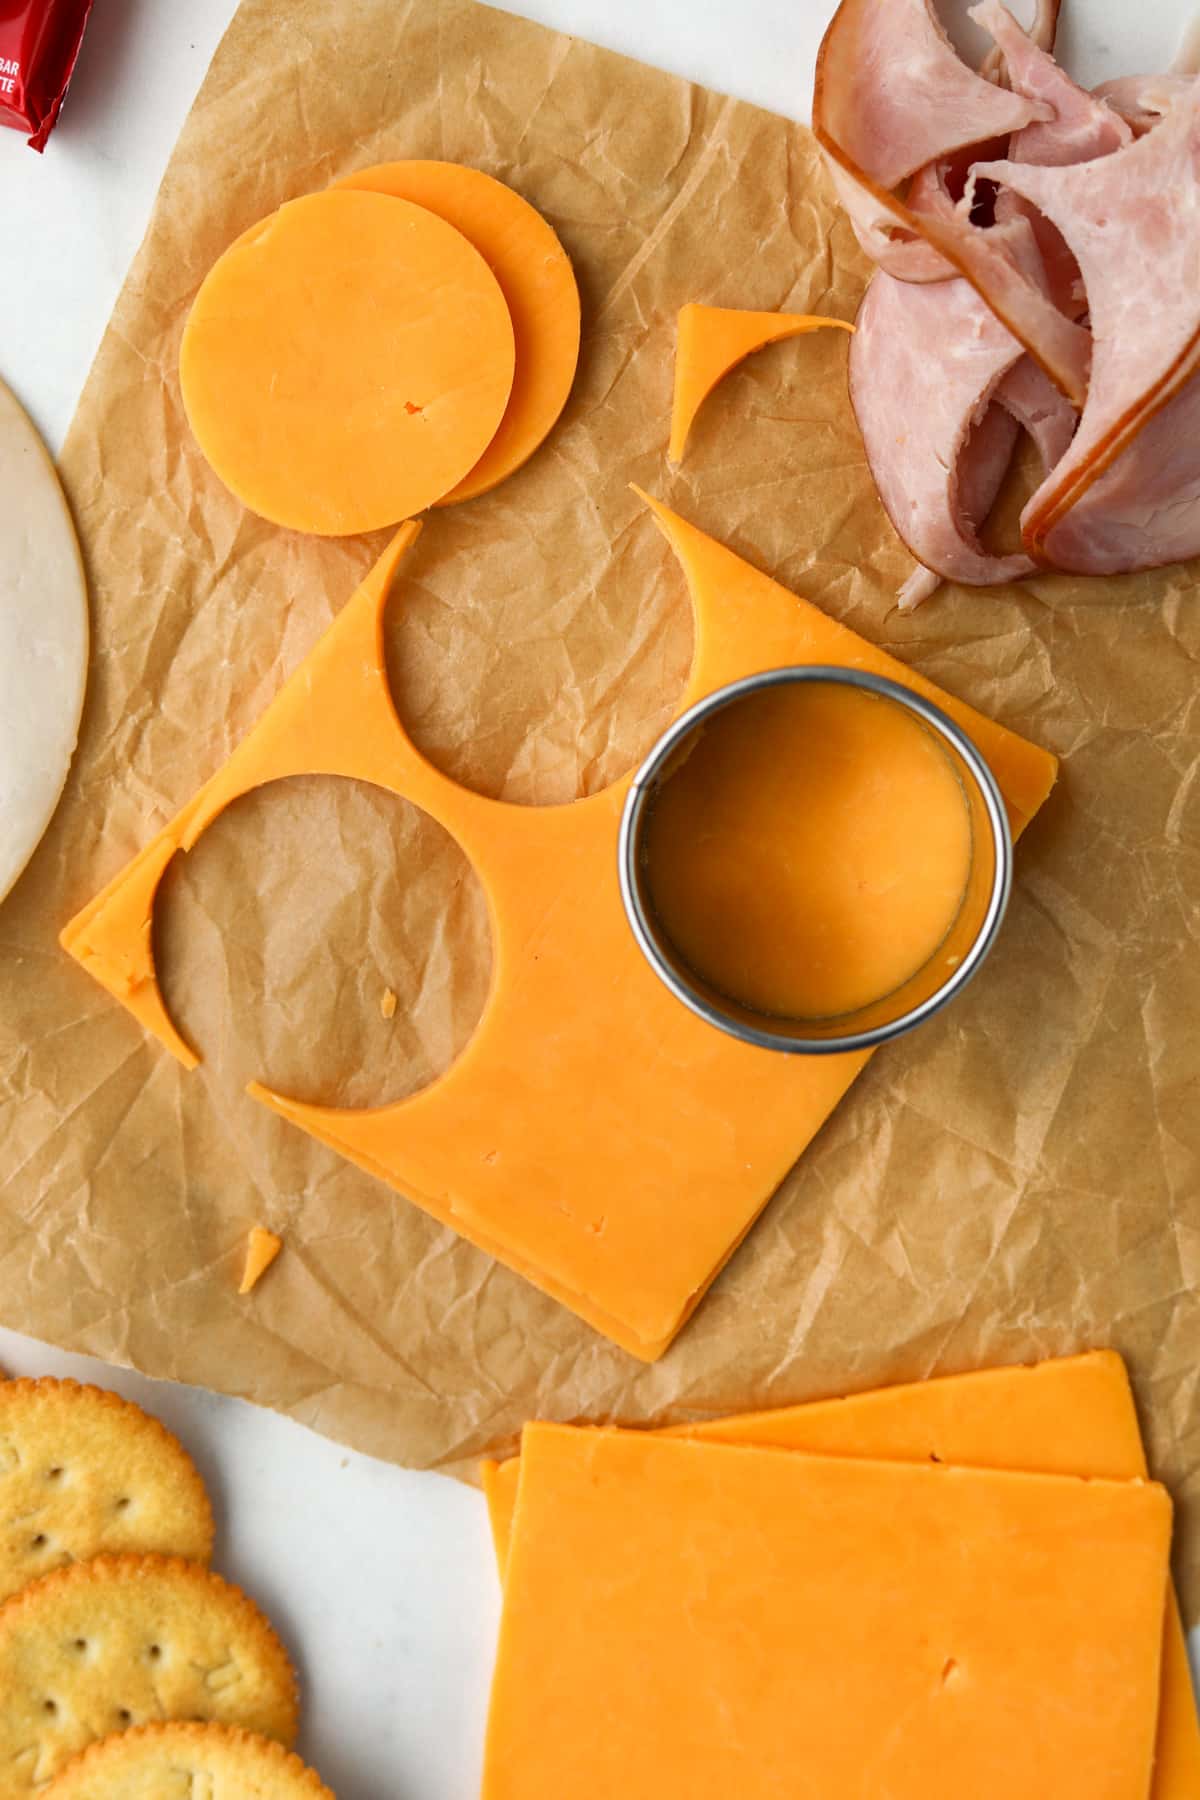
- Step two: Prepare the cheese.
- Use the same circular cutter that you used for the meat.
- Make as many cheese rounds as needed.
- If you don't have circular cutters, use the parchment template as described.
What can I do with the scraps of meat and cheese?
The scraps can either be had as a snack, or chopped up and used in a chopped salad (I highly recommend my Italian Sub Salad) or pasta salad.
Assemble the Containers
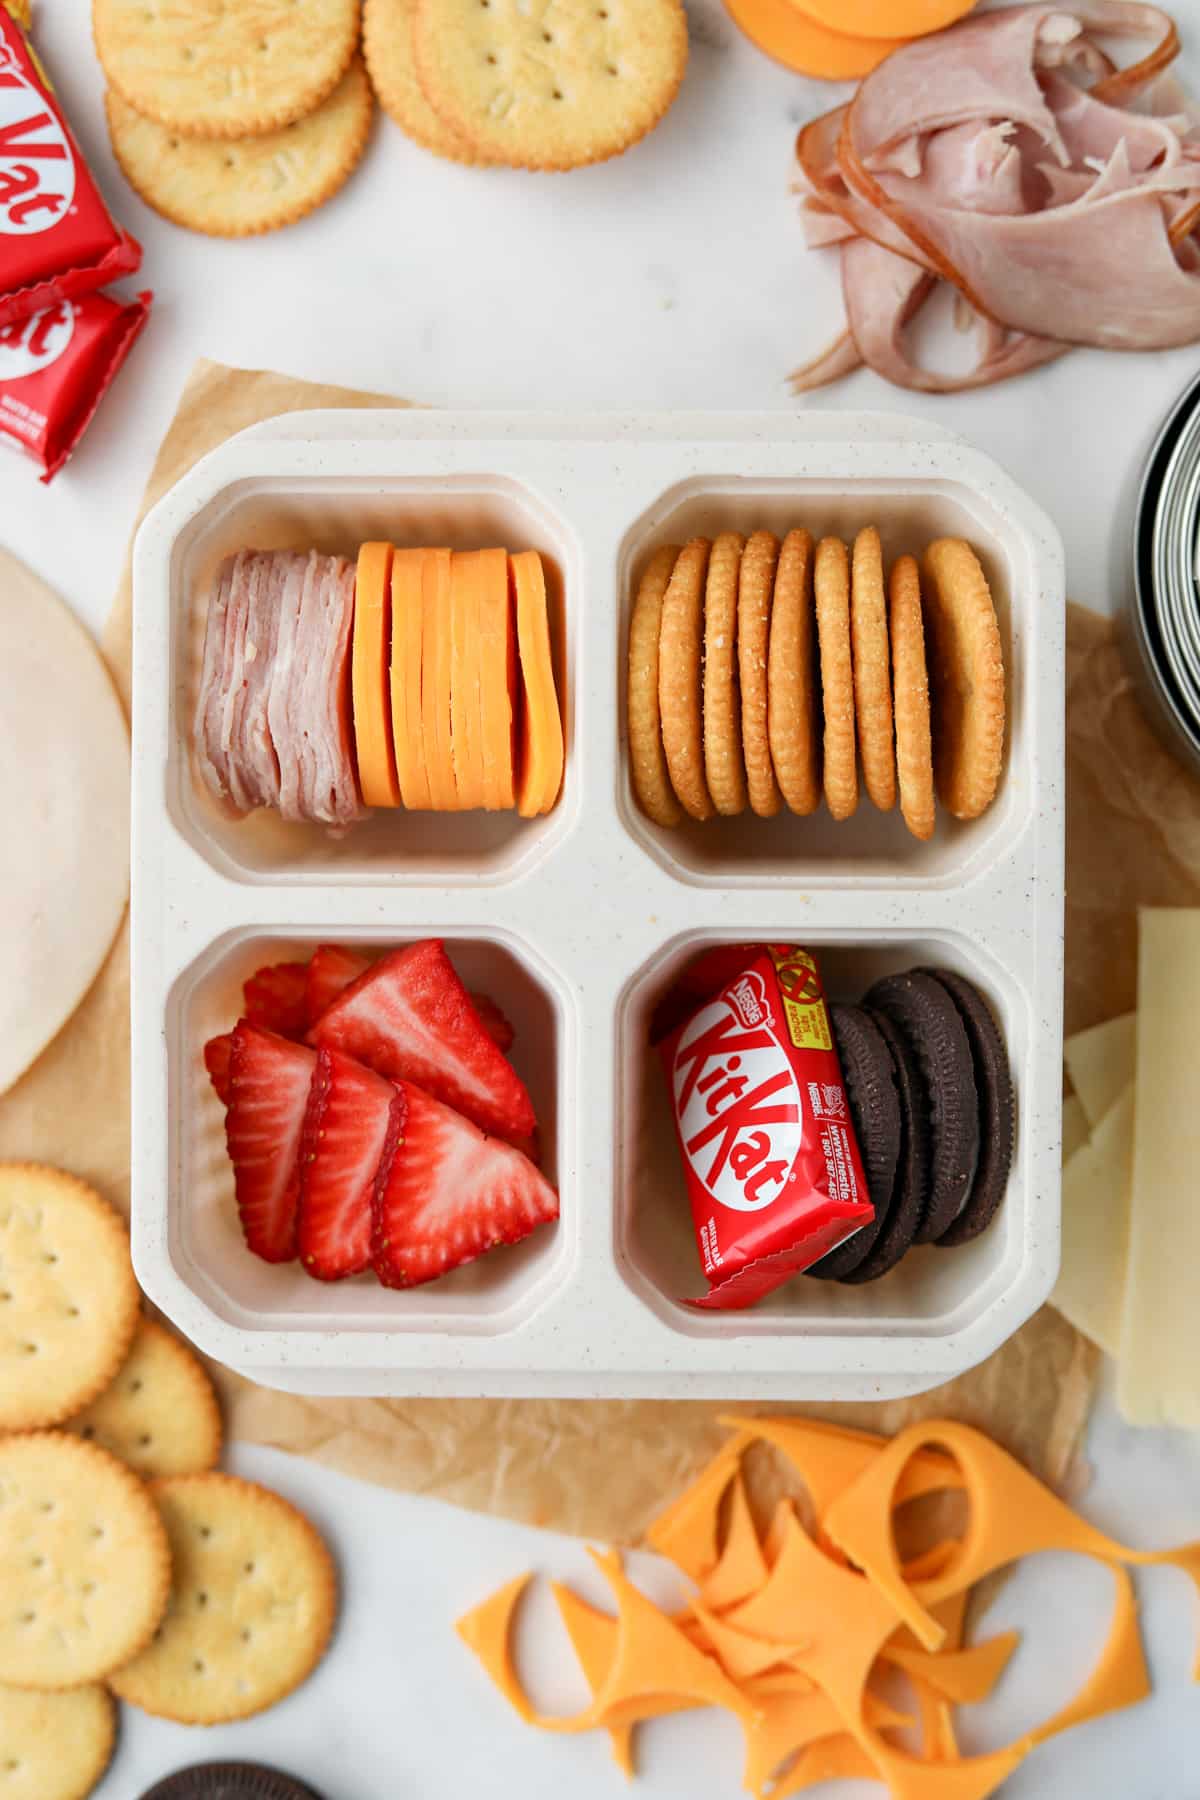
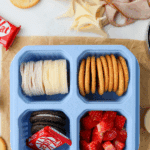
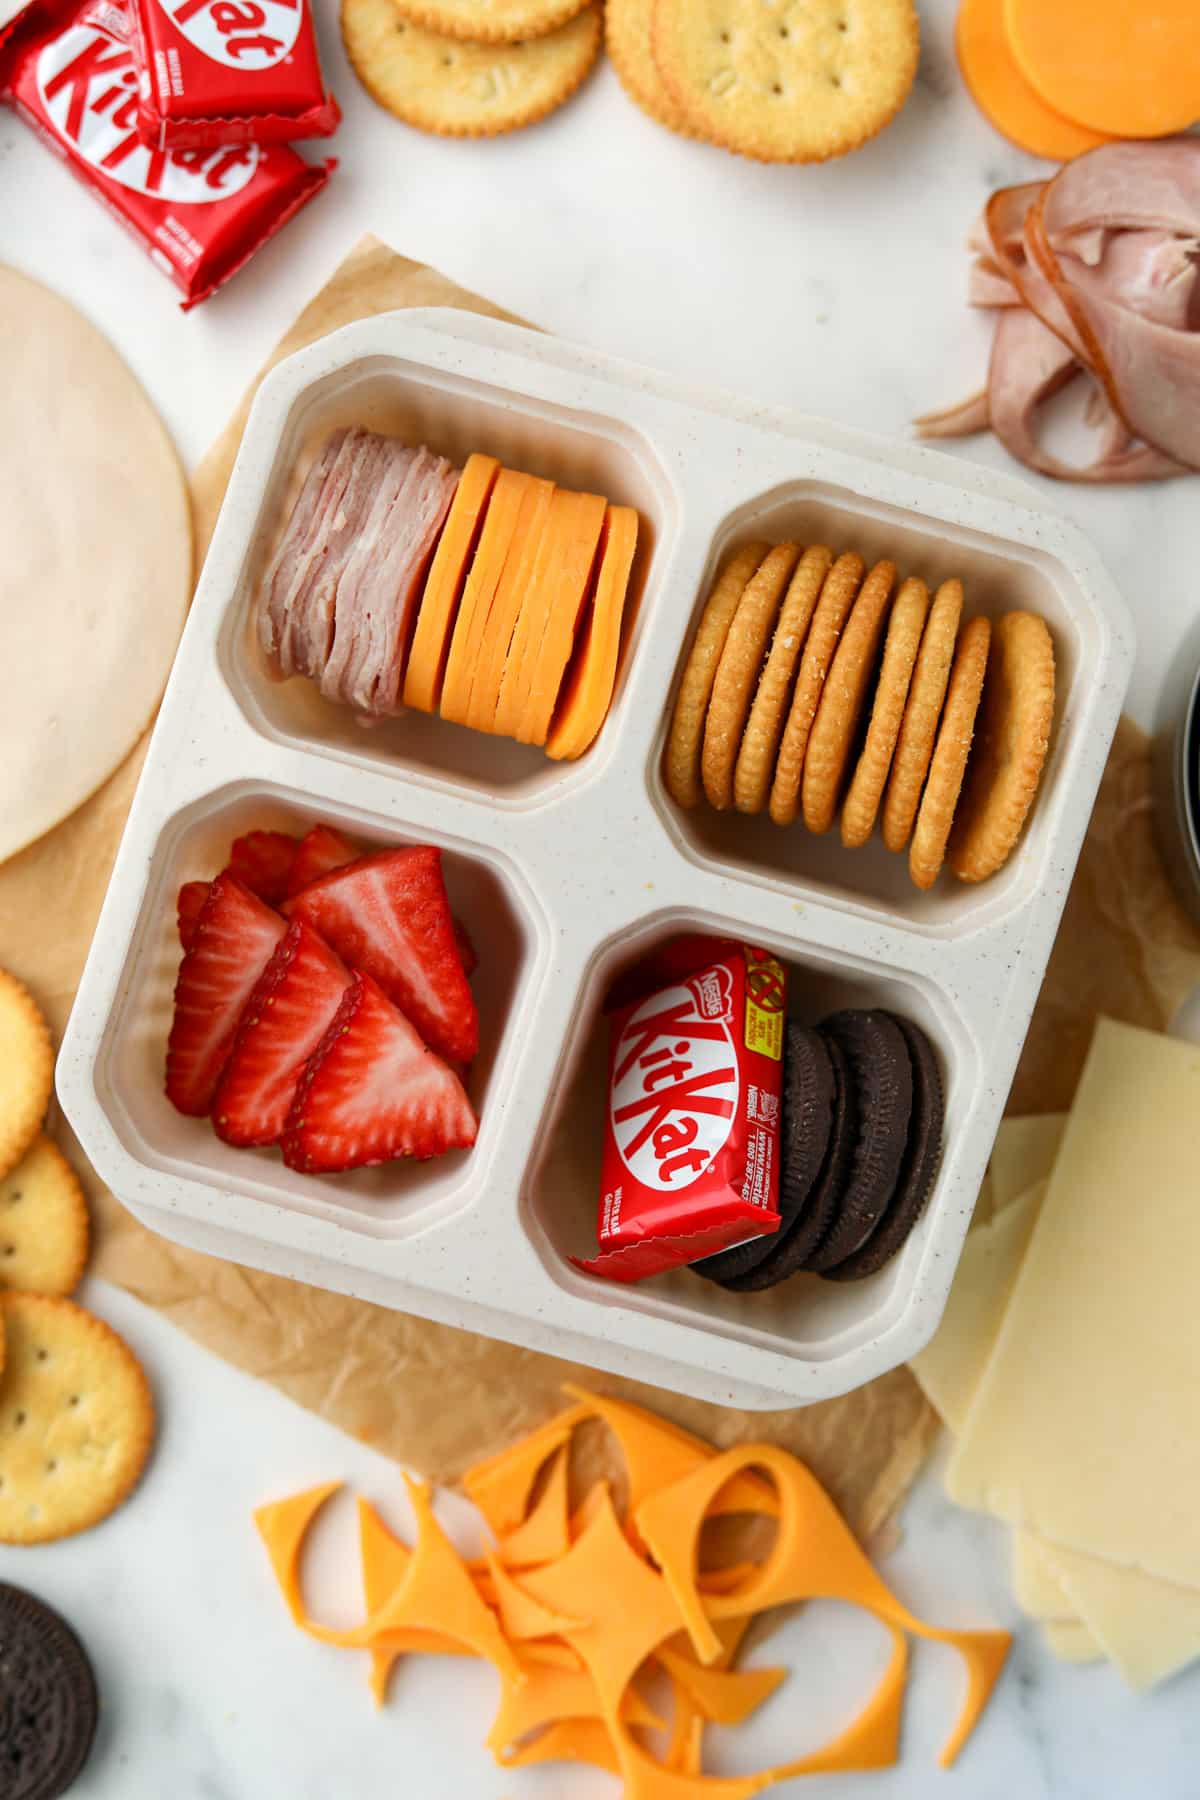
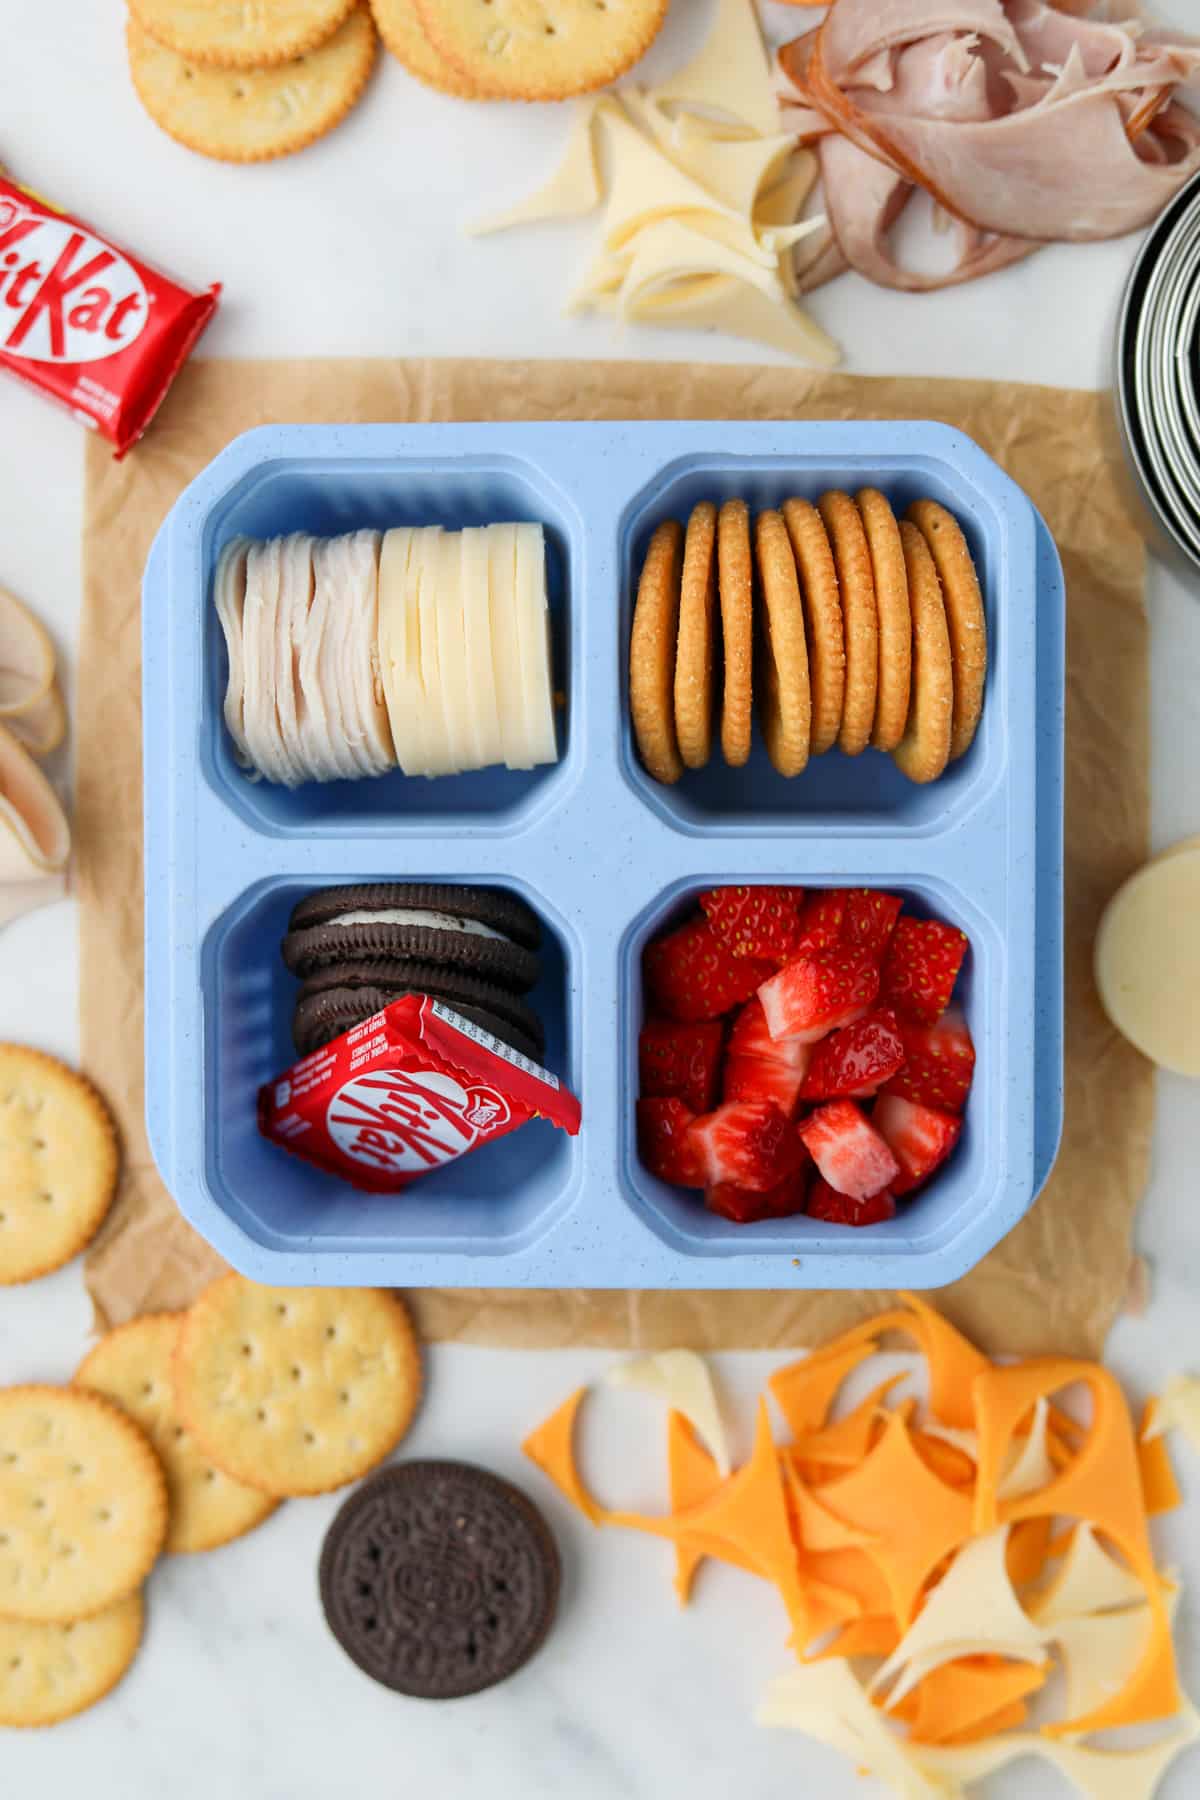
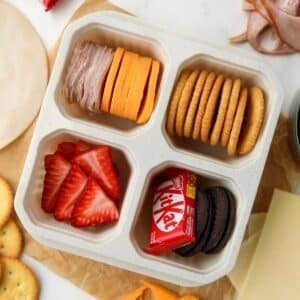
- Step three: Stack the meat and cheese rounds, and place them in one of the sections of a reusable lunch container. Then add the crackers to another, fruit (or the sweet treats of your choice) to a third (and fourth) section.
Top tip: We like to add a few cookies and/or a mini chocolate bar so they are similar to the store-bought ones.
All the Varieties!
Yes, you can even make the pizza or nachos flavors at home! It's easy as long as you have the right ingredients and a sectioned lunch container!
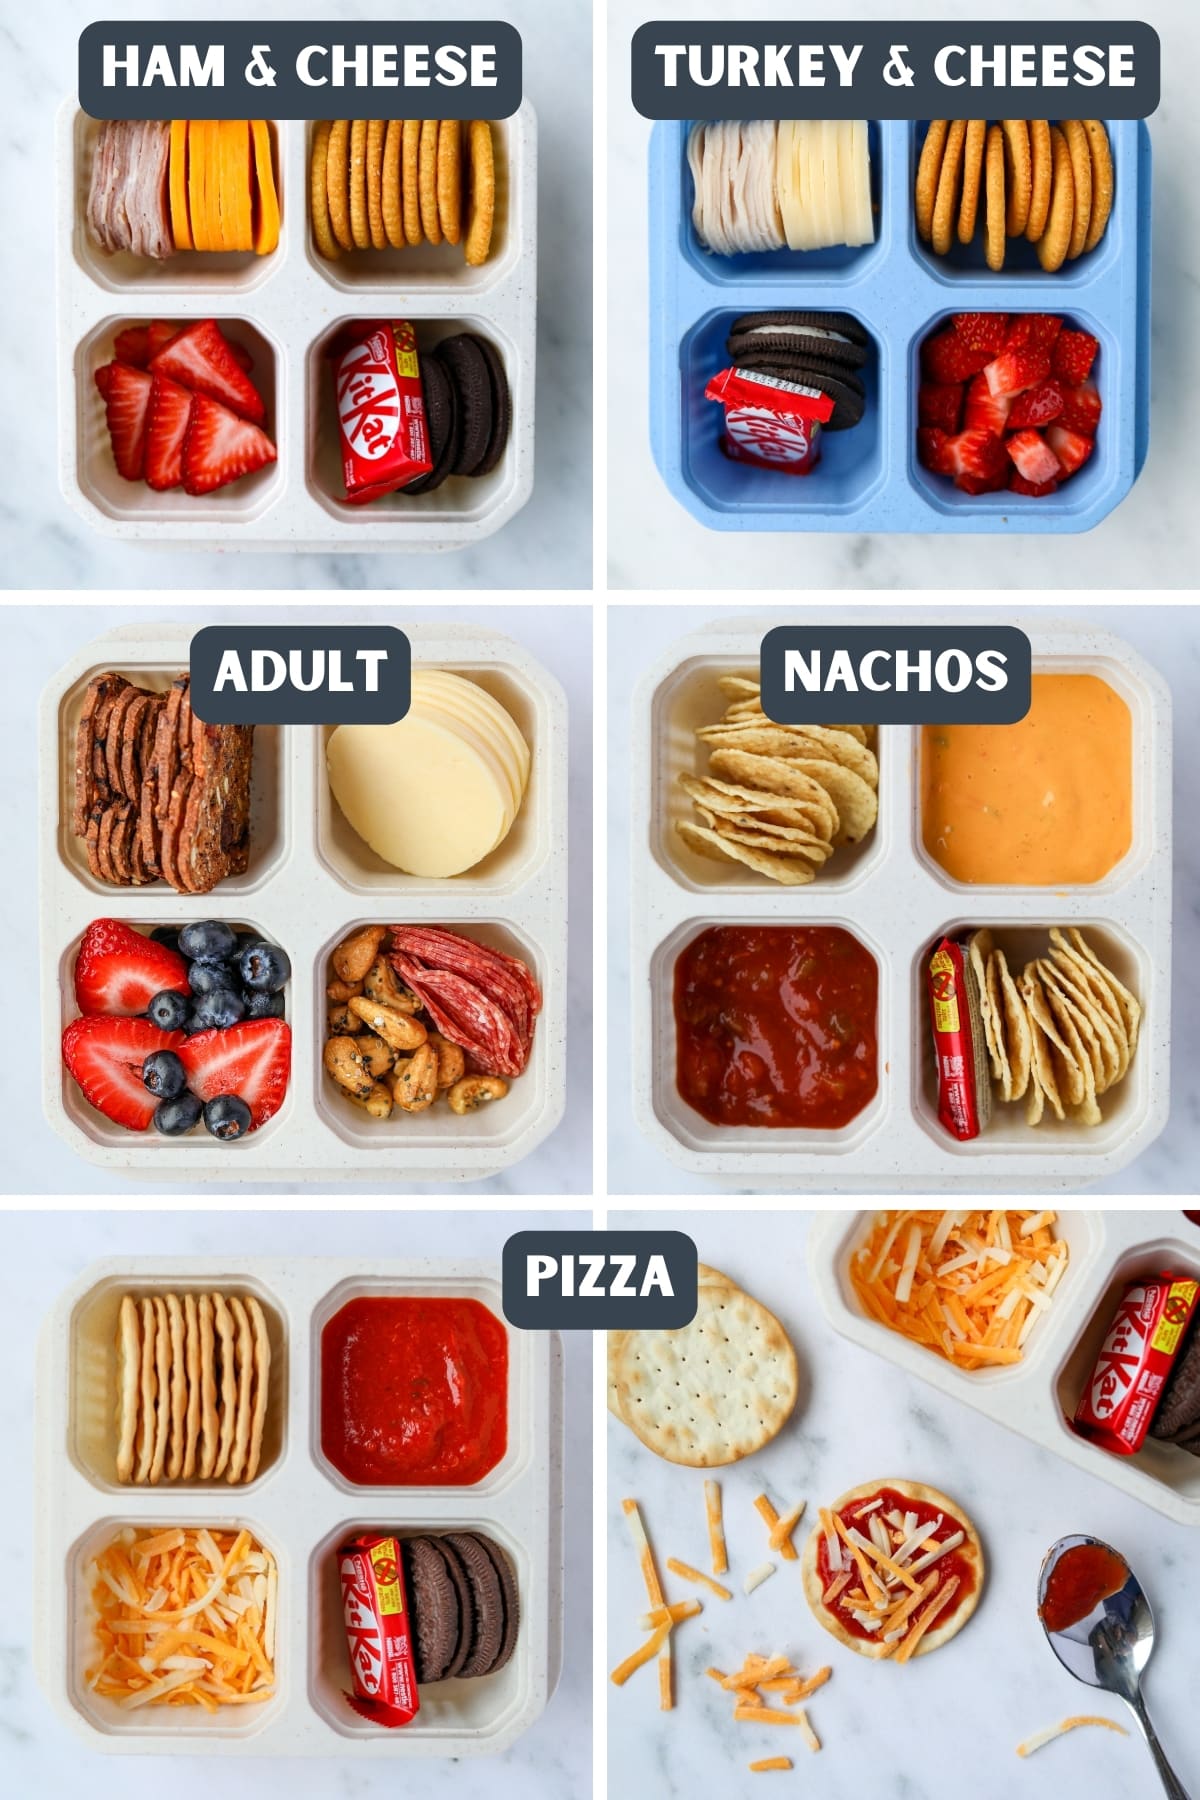
- Classic cheese and crackers: Meat and cheese rounds, crackers, and sweet treats.
- "Adult" lunchables: Think fancy charcuterie-style meats, cheeses, mixed nuts, and more! We love to use Raincoast crisps and everything cashews. Yum!
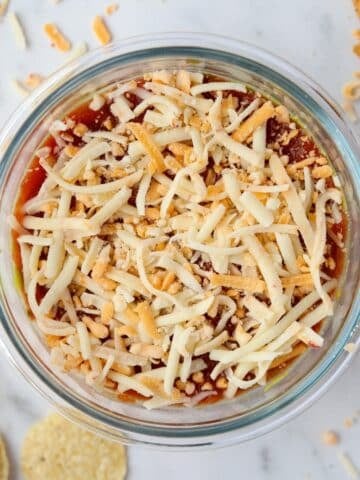
- Nachos: Add jarred queso to one section, salsa to another, and round tortilla chips.
- Pizza: Find sturdy crackers (like water crackers) that fit into your containers, or use mini pitas. Add pizza sauce, shredded cheese, and sweet treats to each section.

Make Ahead and Storage Tips
- Prep 2-3 days at a time. Homemade lunchables are best when eaten within a few days of prep time. For this reason, we recommend working in batches of 2-3 days, then making them again mid-week if you want more.
- Sectioned containers are best. These prevent ingredients that are "wet," such as meat, salsa, or pizza sauce, from leaking onto crispy items, which would then make them soggy.
- Keep crackers and chips out of the fridge. We find that ingredients that are stored at room temperature (like chips and crackers) lose their crunch when refrigerated. For the best results, add them just before packing them for lunch (but it's okay if you don't).
More School Lunch Ideas:


If you loved this recipe for Homemade Lunchables, let me know by leaving a 5-star review in the recipe card or comment below! You can also tag me on Instagram @dashfordinner.
Homemade Lunchables
Equipment
- Lunch containers 3 or 4 section
- Circular cutter set or parchment paper and kitchen scissors*
Ingredients
Classic Cheese and Cracker Style:
- Cheese slices cheddar, provolone, havarti, etc.
- Deli meat ham, turkey, etc.
- Crackers (we recommend Ritz)
- Sweet treats mini chocolate bars, cookies, etc.
- Sliced fruit or berries (optional)
Homemade Nacho Lunchables:
- Tortilla chips (we recommend rounds, which are smaller and easier to fit into containers)
- Queso
- Salsa
- Sweet treats (optional) mini chocolate bars, cookies, fruit, etc.
Homemade Pizza Lunchables:
- Sturdy crackers like water crackers (or mini pitas)
- Pizza sauce
- Shredded cheese
- Mini pepperoni (optional)
- Sweet treats (optional) mini chocolate bars, cookies, fruit, etc.
"Adult" Lunchables:
- Salami or charcuterie meats of choice
- Sliced cheese provolone, havarti, etc.
- Fruit and nut crackers we recommend Raincoast Crisps (or fancy crackers of choice)
- Deluxe mixed nuts (optional)
- Sliced fruit or berries (optional)
Instructions
Classic Cheese and Crackers:
- Cut the meat and cheese into circles. Using a set of circular cutters (or parchment paper and kitchen scissors*), find which size fits the crackers that you are using. Use this circular cutter to cut both the cheese slices and deli meat into circles. The scraps can be used in a chopped salad (or eaten as a snack!).
- Assemble your container. Place a stack of cheese circles and meat circles in one section, the crackers in another, a little sweet treat (like a mini chocolate bar or cookies) in a third, and fruit (or snack of your choice) in the fourth.
Nachos:
- Add the queso and salsa. In one section of your container, add queso, filling it up about ¾ of the way. To another section, add the salsa about ¾ of the way.
- Add the tortilla chips: Carefully stack some tortilla rounds into 2 of the sections, and wedge a small sweet treat alongside the chips (like a mini chocolate bar or cookie).
Pizza:
- Stack your sturdy crackers in one section of the container (like water crackers; make sure you measure them first to ensure they will fit!)
- Add the pizza sauce to another section of the container, filling it no more than ¾ of the way.
- Add the shredded cheese to a third section of the container.
- Fill the final section with your favorite sweet treats (cookies, mini chocolate bars, fruit, etc.)
Adult:
- Slice the meat and cheese. Use circular cutters (or scissors*) to slice the meat and cheese into small rounds.
- Assemble the container. Stack the meat and cheese together and place it in one section, the fancy crackers in another, mixed nuts in a third section, and fruit (or berries) in a fourth section.
Notes
Please note that some of my blog posts here at Dash for Dinner may contain affiliate links. If you make a purchase through these links, I will get a small commission at no additional cost to you. Please see my Disclaimer for more information.


Dorothy Bigelow says
These were great for easy lunches! We tend to eat out on the weekend more than we would like to, and these have helped us avoid the drive-thru.